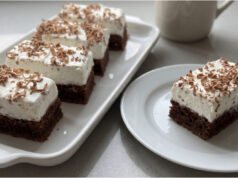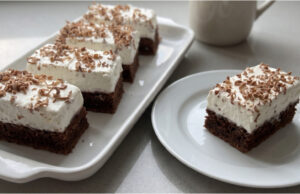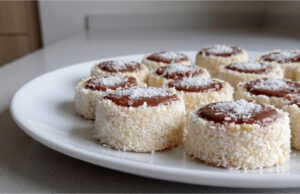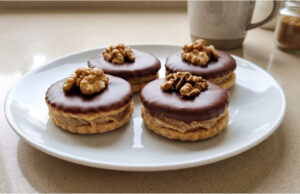

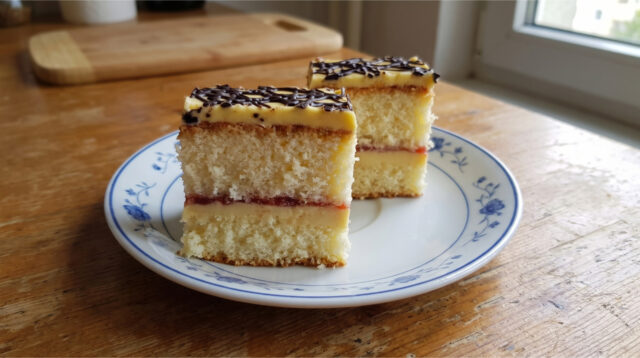
A delicate sponge base, butter cream, raspberry jam, and chocolate decoration create an impressive dessert that tastes and looks like a classic cake. However, it is baked simply in a regular baking pan and served cut into slices once finished.
This cake slice is perfect for a family celebration or as a sweet treat with weekend coffee. The base is a fluffy batter with whipped egg whites, which is sliced after cooling and filled with cream and jam to your liking. Finally, the entire dessert is coated with the remaining cream and decorated with chocolate.
What you’ll need
For the sponge cake:
- 4 egg yolks,
- 300 g granulated sugar,
- 100 ml hot milk,
- 150 g plain flour,
- 150 g semi-coarse flour,
- 1/2 packet of baking powder,
- 4 egg whites for the meringue.
For the filling and finishing:
- cream of your choice, for example butter cream,
- jam of your choice, for example raspberry,
- chocolate for decoration.
The original recipe does not specify the exact amount of cream, jam, or chocolate, so adjust them according to the size of your baking pan and the desired thickness of the filling layer.
Step-by-step preparation:
1. Preparing the baking pan and oven: Preheat the oven to 180 °C. Grease the baking pan thoroughly and dust with flour so the baked sponge can be easily removed after cooling and won’t get damaged when slicing.
2. Whipping the yolks: Place the yolks in a large bowl, add the granulated sugar, and whisk together until light and fluffy. Careful whisking helps create a lighter base for the batter.
3. Adding the milk: Pour 100 ml of hot milk into the yolk mixture. Whisk again thoroughly to combine all ingredients evenly and help dissolve the sugar.
4. Incorporating the flour: Mix the plain and semi-coarse flours with half a packet of baking powder. Gradually add the dry mixture to the yolk base and mix well until you have a smooth batter with no dry spots.
5. Preparing the meringue: Whip the four egg whites into stiff peaks. Gently fold them into the prepared batter in batches to keep as much air as possible, so the resulting cake stays soft and fluffy.
6. Baking the base: Pour the batter into the prepared baking pan, smooth the surface, and place in the oven preheated to 180 °C. The original recipe does not state the exact baking time, so check the cake regularly with a skewer. It is done when the skewer comes out clean.
7. Cooling and slicing: Let the baked cake cool completely. Only then slice it horizontally once, so the base doesn’t crumble when filling and the cream doesn’t melt on a warm surface.
8. Filling the cake: Fill the sliced cake with your chosen cream and spread jam on top to taste. Butter cream and raspberry jam work well, but adjust the amount according to the size of the cake. Then cover with the remaining cake layer.
9. Finishing and decorating: Spread the remaining cream over the top and sides of the cake. Finally, decorate with chocolate as you like and let the finished dessert set before cutting.
How to slice the base correctly
Slice the base only after it has completely cooled. Place it on a flat surface and cut horizontally about halfway up to create two layers of roughly equal thickness. Take your time, as the delicate sponge could tear if you rush.
How to tell if the cake is baked
Since the original recipe does not specify the exact baking time, use the skewer test. Insert a skewer into the center of the cake, where it bakes the longest. If it comes out clean and without raw batter, you can remove the pan from the oven.
Tip at the end
You can choose any cream or jam you like without changing the basic process. Raspberry jam adds a pleasant fruity flavor, while butter cream helps create the look of a classic cake. Use chocolate for simple decoration on top, and cut the finished cake into neat slices.