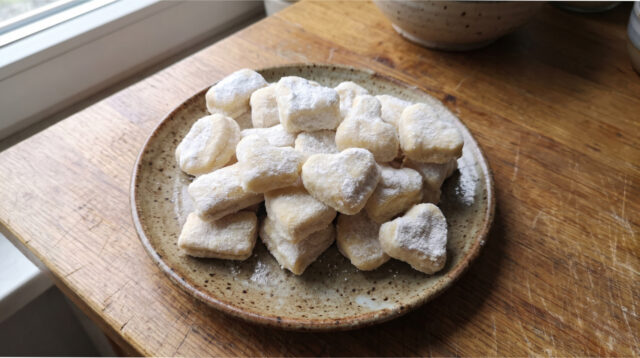
Butter, chilled whipping cream, and plain flour create a delicate dough for tender Christmas cookies with a subtle creamy flavor. Once coated in a mix of powdered and vanilla sugar, they become beautifully fragrant and literally melt in your mouth.
This recipe is simple and you can make it without any complicated decorating. Just prepare a smooth dough, cut out your favorite shapes, and bake the cookies briefly. For extra flavor, you can add vanilla extract or lemon zest, or sandwich the finished pieces with jam or chocolate cream.
What You Will Need
For the dough:
- 450 g plain flour,
- 250 g butter,
- 1 pack of whipping cream.
For coating:
- powdered sugar,
- vanilla sugar.
The original recipe does not specify the exact amount of sugar for coating, so adjust it according to the amount of baked cookies.
Optional for flavor and finishing:
- 1 teaspoon vanilla extract or lemon zest,
- jam or chocolate cream for sandwiching,
- melted chocolate for dipping.
Step-by-Step Preparation:
1. Preparing the cream: Take the whipping cream out of the fridge only right before using. It must stay well chilled, as the original recipe calls for working it into the dough while cold.
2. Making the dough: Put the plain flour into a bowl, add the butter and the cold whipping cream. Work everything together until you get a smooth and cohesive dough. If you want to gently scent the cookies, you can now add a teaspoon of vanilla extract or some lemon zest.
3. Preheating the oven: Preheat the oven to 200°C. Prepare your baking tray so you can place the cut-out shapes on it right away and the dough doesn’t have to wait at room temperature for too long.
4. Rolling out the dough: Roll the finished dough into an even sheet. The original recipe doesn’t specify the exact thickness, so adjust it to the size of your chosen shapes and make sure the sheet is about the same thickness everywhere.
5. Cutting out shapes: Cut out the desired shapes from the rolled-out dough. You can use several different cutters to make your Christmas cookies more varied. Place each piece onto the prepared baking tray as you go.
6. Baking: Place the cookies in the oven preheated to 200°C and bake for about 8 minutes. Watch them carefully while baking so they don’t burn. The finished shapes should only have a light golden color.
7. Brief cooling: Remove the baked cookies from the oven and let them cool briefly. Don’t let them cool completely, because according to the original method, they should be coated in the sugar mixture while still warm.
8. Coating in sugar: Mix the powdered sugar with vanilla sugar. Carefully coat the still-warm pieces in this mixture so they get a sweet surface and a pleasant vanilla aroma. Then let them cool completely.
9. Resting: You can serve the finished cookies once cooled, but they taste best if you let them rest for at least a day. Their flavor will develop beautifully during this time.
How to Vary the Flavor
For a gentle aroma, you can add a teaspoon of vanilla extract or a little lemon zest to the dough. Use both options sparingly so the buttery and creamy flavor of the whipped cream dough remains the star.
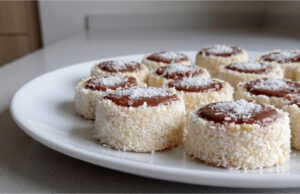
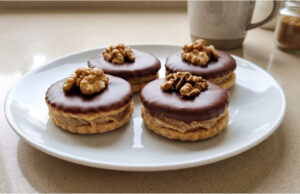
You can also sandwich the cooled shapes with jam or chocolate cream. This way, you can turn simple cut-out cookies into a filled version perfect for a festive Christmas platter.
How to Finish the Cookies Festively
If you want a more striking look, dip half of each cooled piece in melted chocolate. Let the chocolate set before handling the cookies to keep a smooth layer on the surface.
When finishing, you can choose one option or make several types from a single batch of dough. Coat some in sugar, sandwich some with filling, and decorate a few pieces with chocolate.
More Inspiration for Christmas Cookies
Other great recipes include coconut crescents, delicate and fragrant pudding crescents, or egg yolk puffed cookies. Each type can be served alongside the whipped cream shapes to create a varied Christmas selection.