
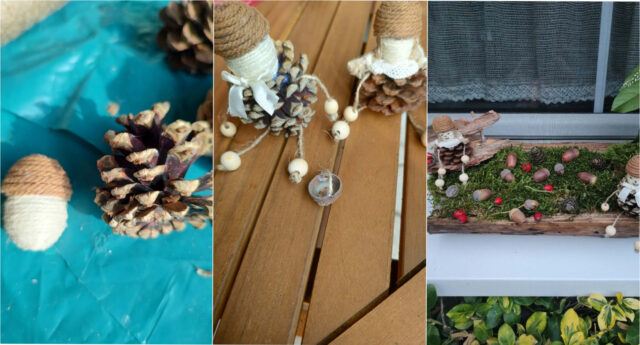
Create a charming autumn world where pine cone gnomes settle among moss, acorns, and tiny cones. With this step-by-step photo guide, you’ll make not only simple figurines, but also a natural decoration that will look beautiful on an outdoor windowsill or any sheltered spot.
What You’ll Need
- larger open pine cones for the gnome bodies
- smaller cones, acorns, and other autumn fruits for decorating
- sturdier twine in two natural shades
- wooden beads
- small oval bases for the heads
- ribbon or a small textile ornament
- moss
- a piece of hollowed-out wood or an elongated natural container
- brown wood stain suitable for wood
- scissors and suitable glue
- small natural materials and colorful fruits for extra decoration
1. Prepare the basic materials: Lay out the larger pine cones, balls of natural twine, wooden beads, and oval pieces for the heads on your work surface. Clean the cones before use and let them dry thoroughly so they’re easy to work with.
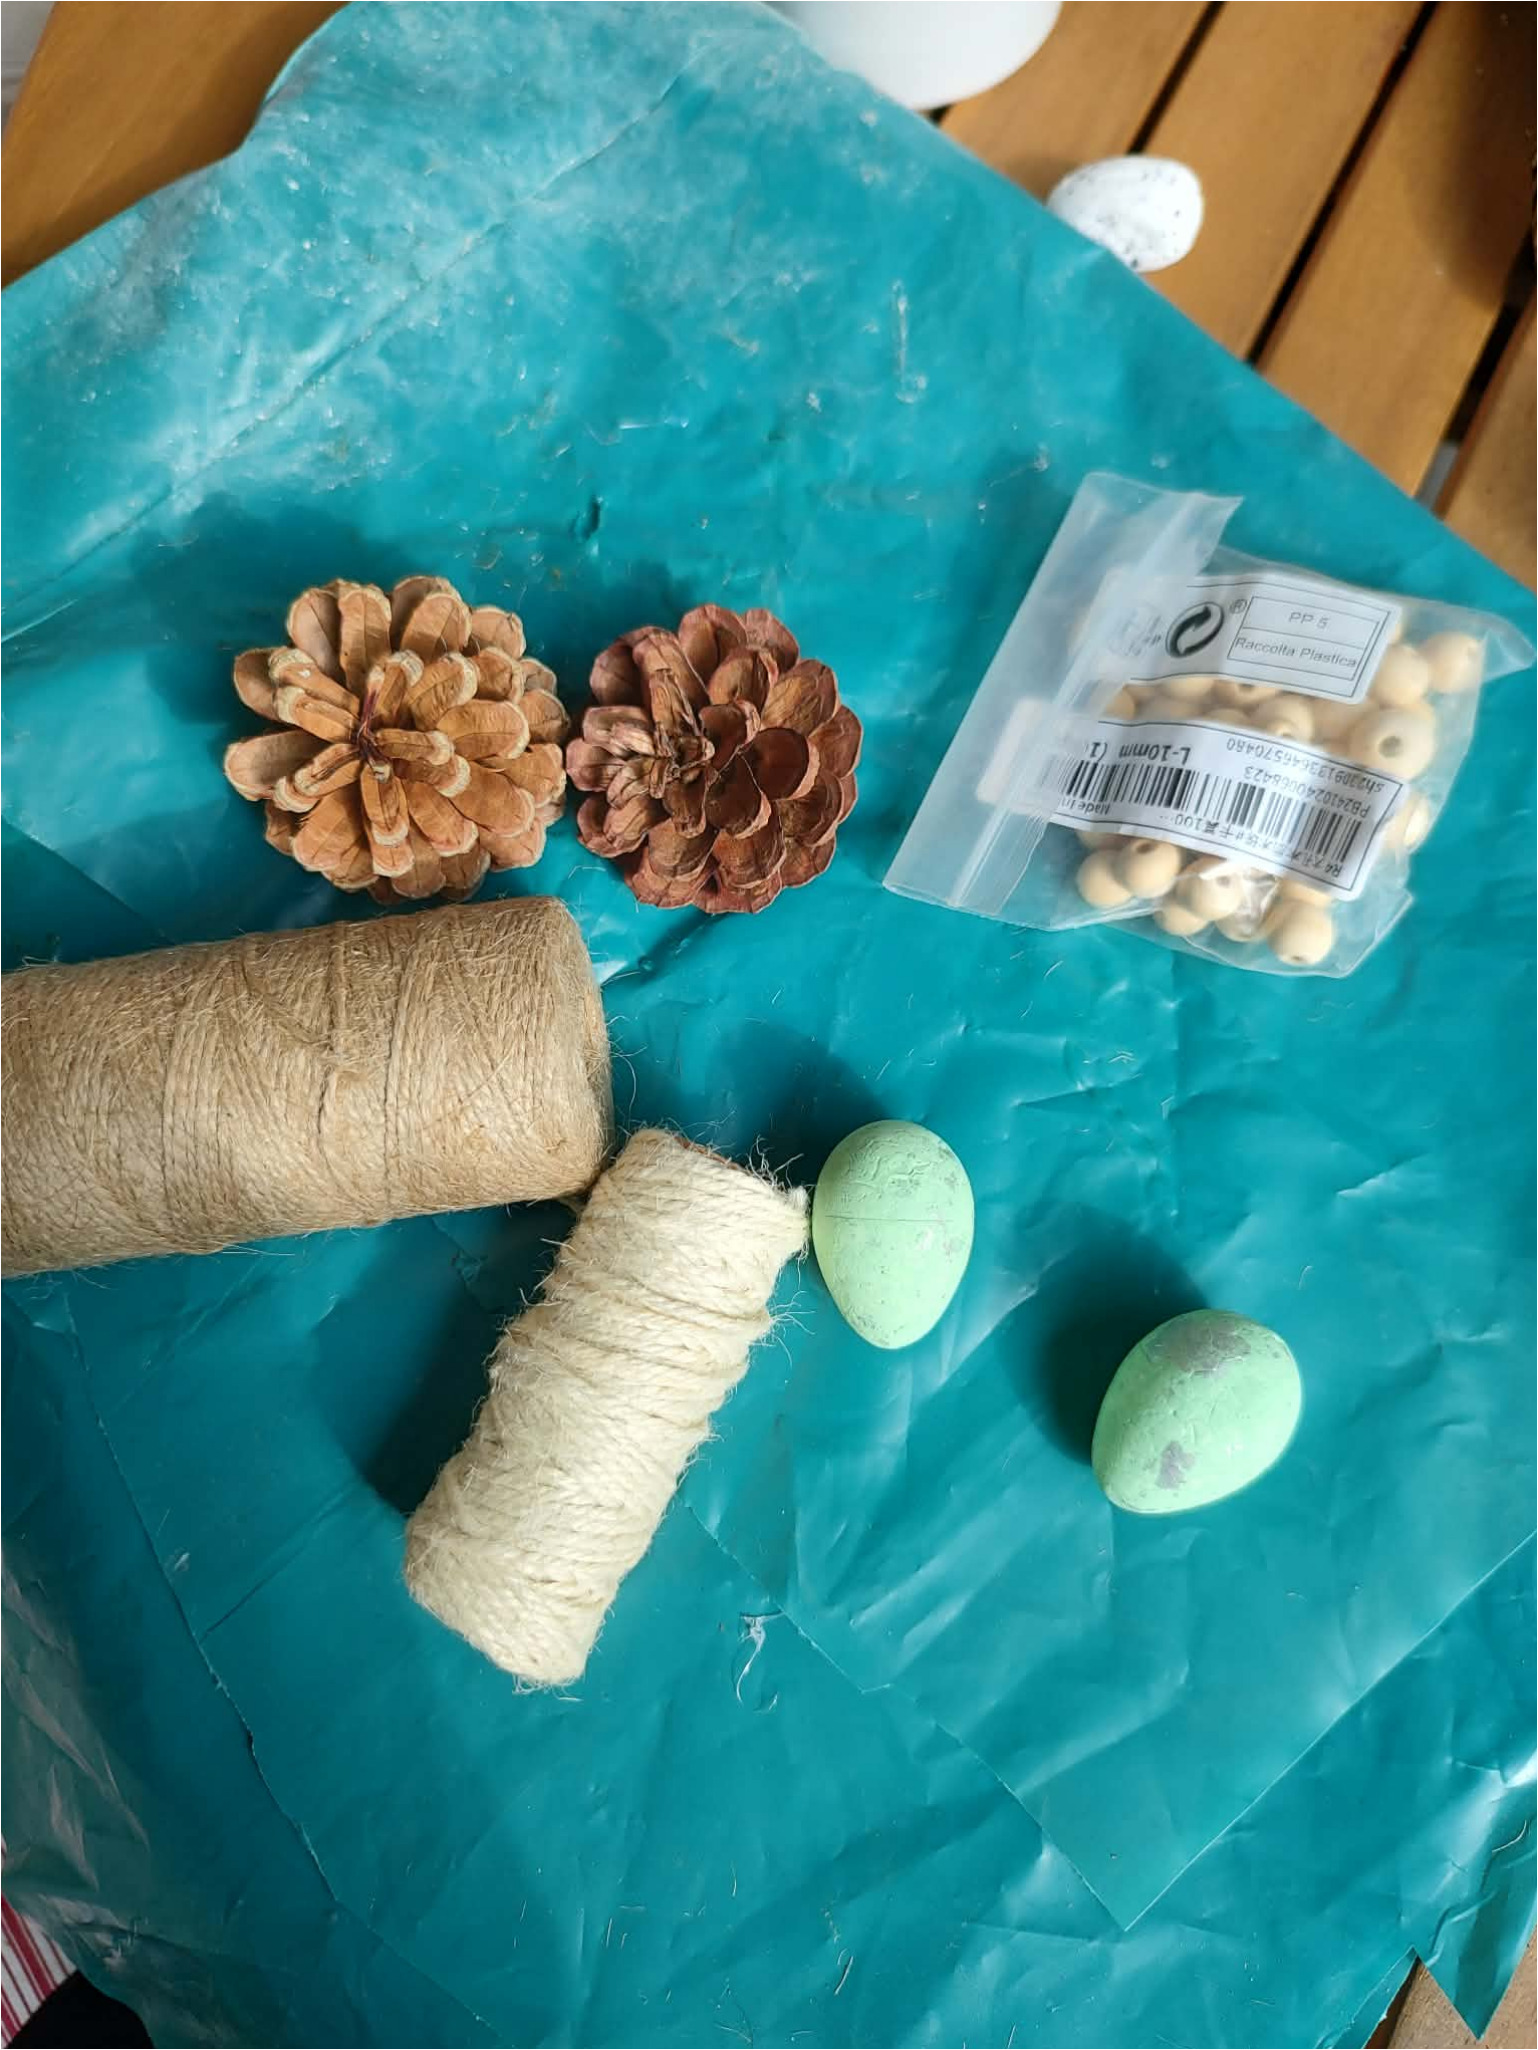
2. Start wrapping the head: Place the end of the light-colored twine at the narrower part of the oval base and begin winding it tightly into a spiral. Keep each row close together so the base doesn’t show through. Secure the end with glue as you go.
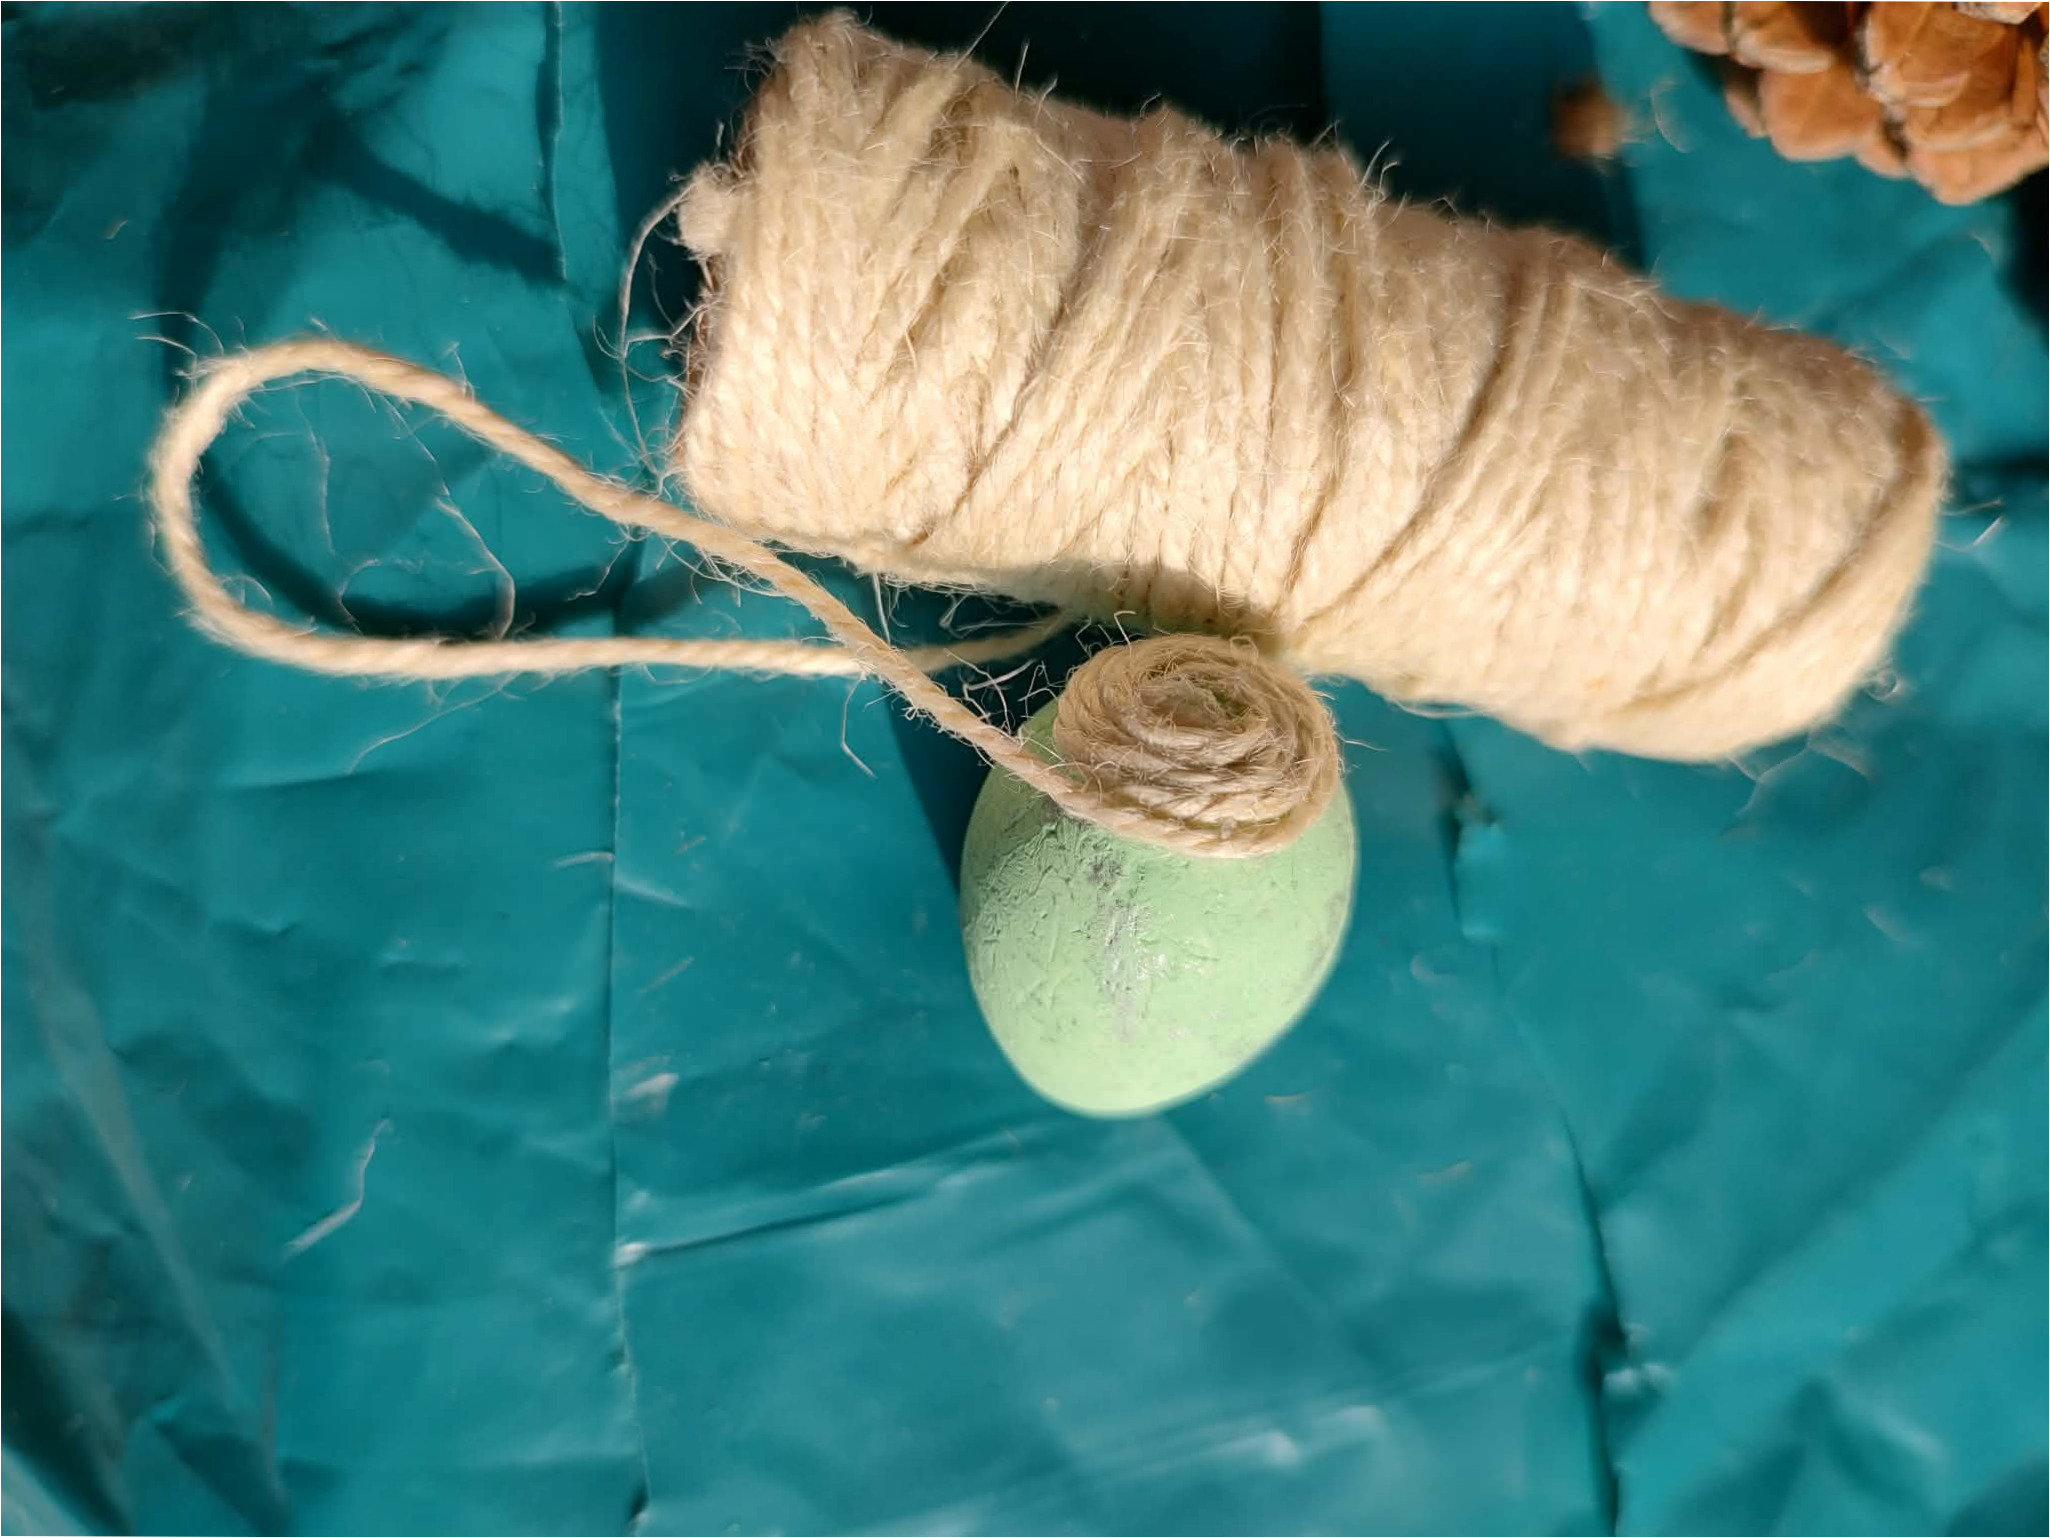
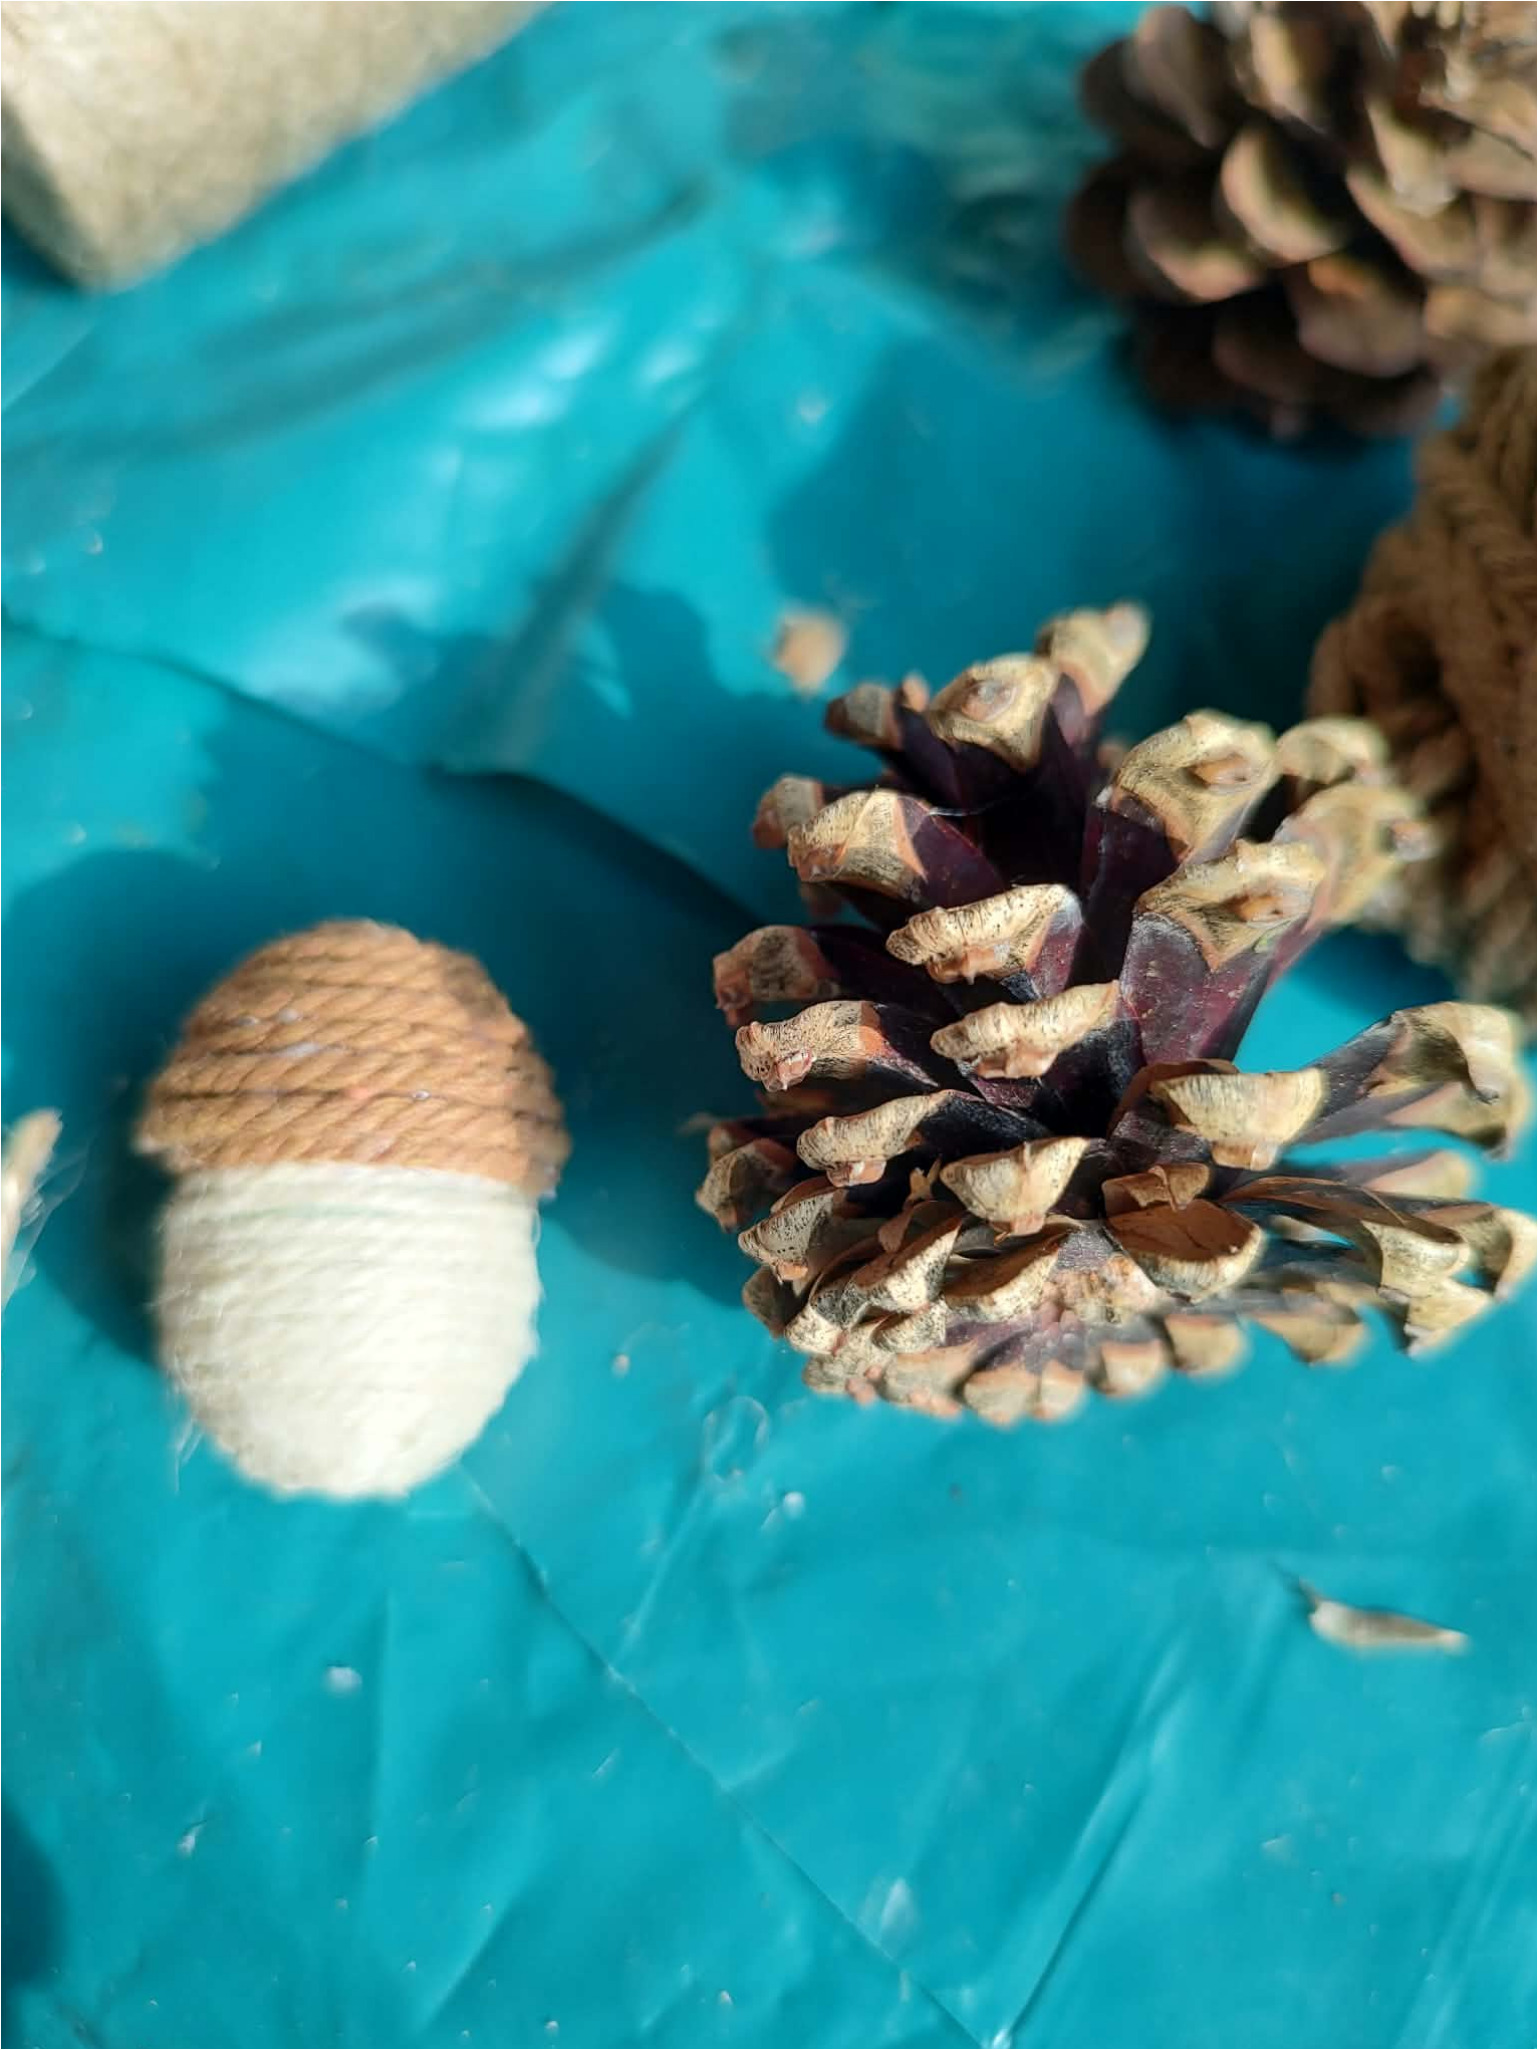
3. Make a two-tone head with a cap: Wrap the lower part of the base with the light twine and the upper part with the brown one. The color transition will create the edge of the cap. Cut off any excess twine and glue down all ends carefully so the wrapping doesn’t come loose.
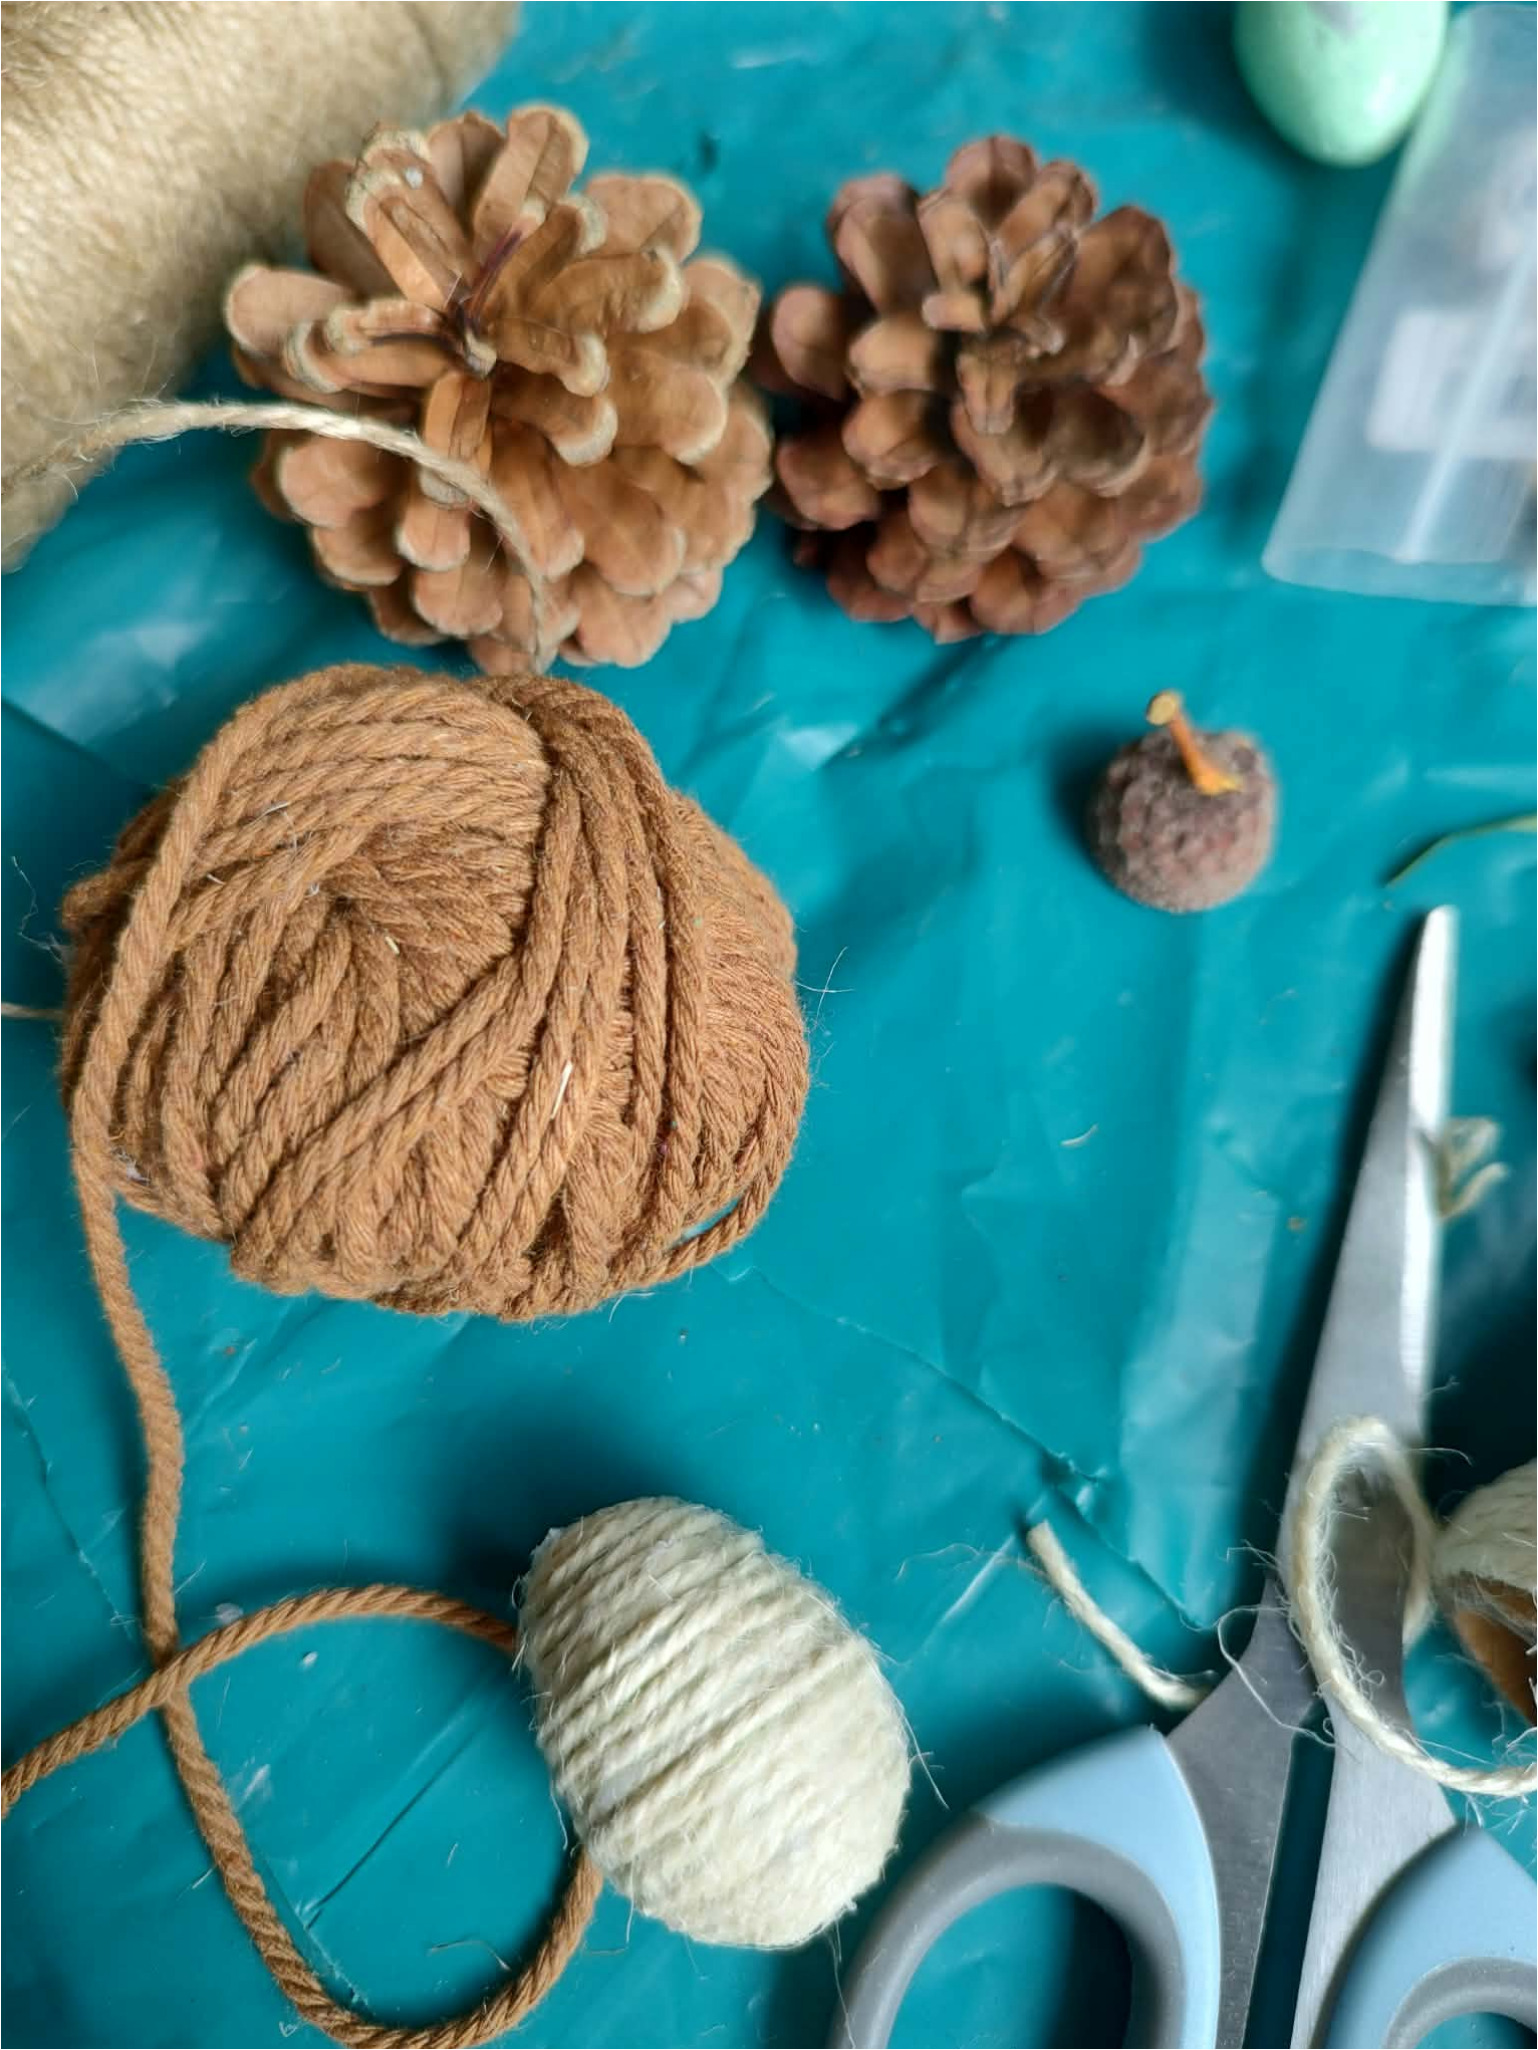
4. Attach the head to the cone: Place the finished wrapped head on top of the open pine cone. Turn it so the brown cap faces up and the light part forms the face. Then glue it firmly to the body.
5. Add arms, legs, and a bow: Cut four pieces of twine to the appropriate length. Attach two to the sides as arms and two at the bottom as legs. Thread wooden beads onto the ends and secure them with knots. Tie or glue a light-colored bow under the head.
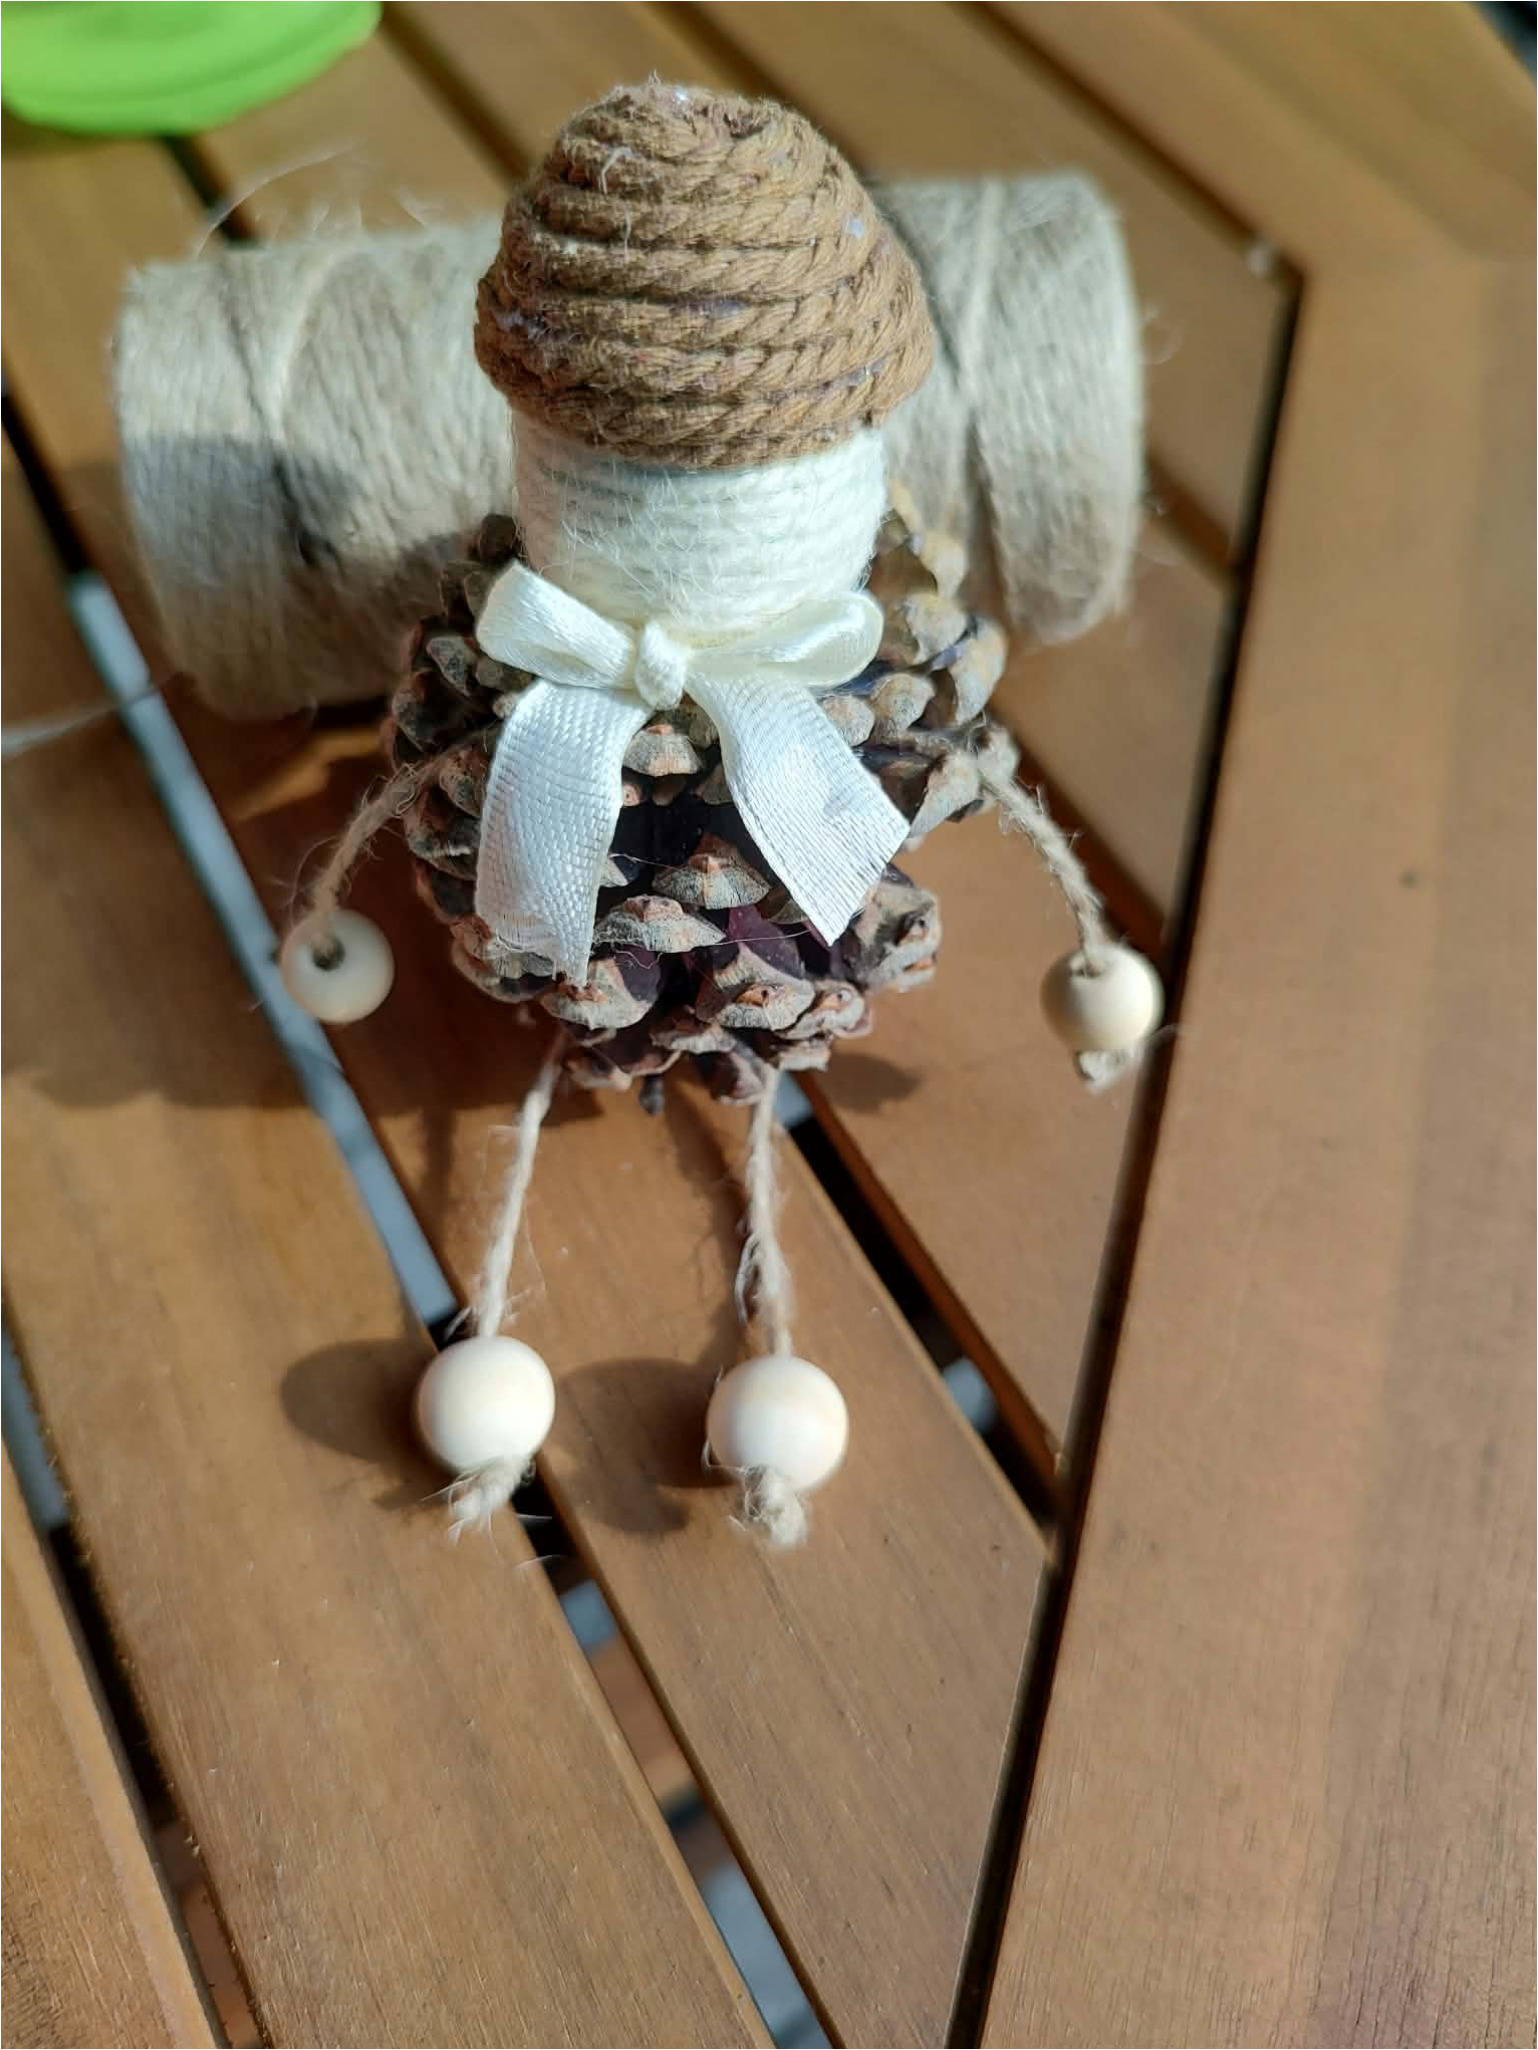
6. Adjust the figurine: Sit the finished gnome down and check the length of the limbs. The legs can point forward, while the arms naturally hang alongside the cone. Adjust the knots and frayed ends of the twine so the finished figure looks neat.
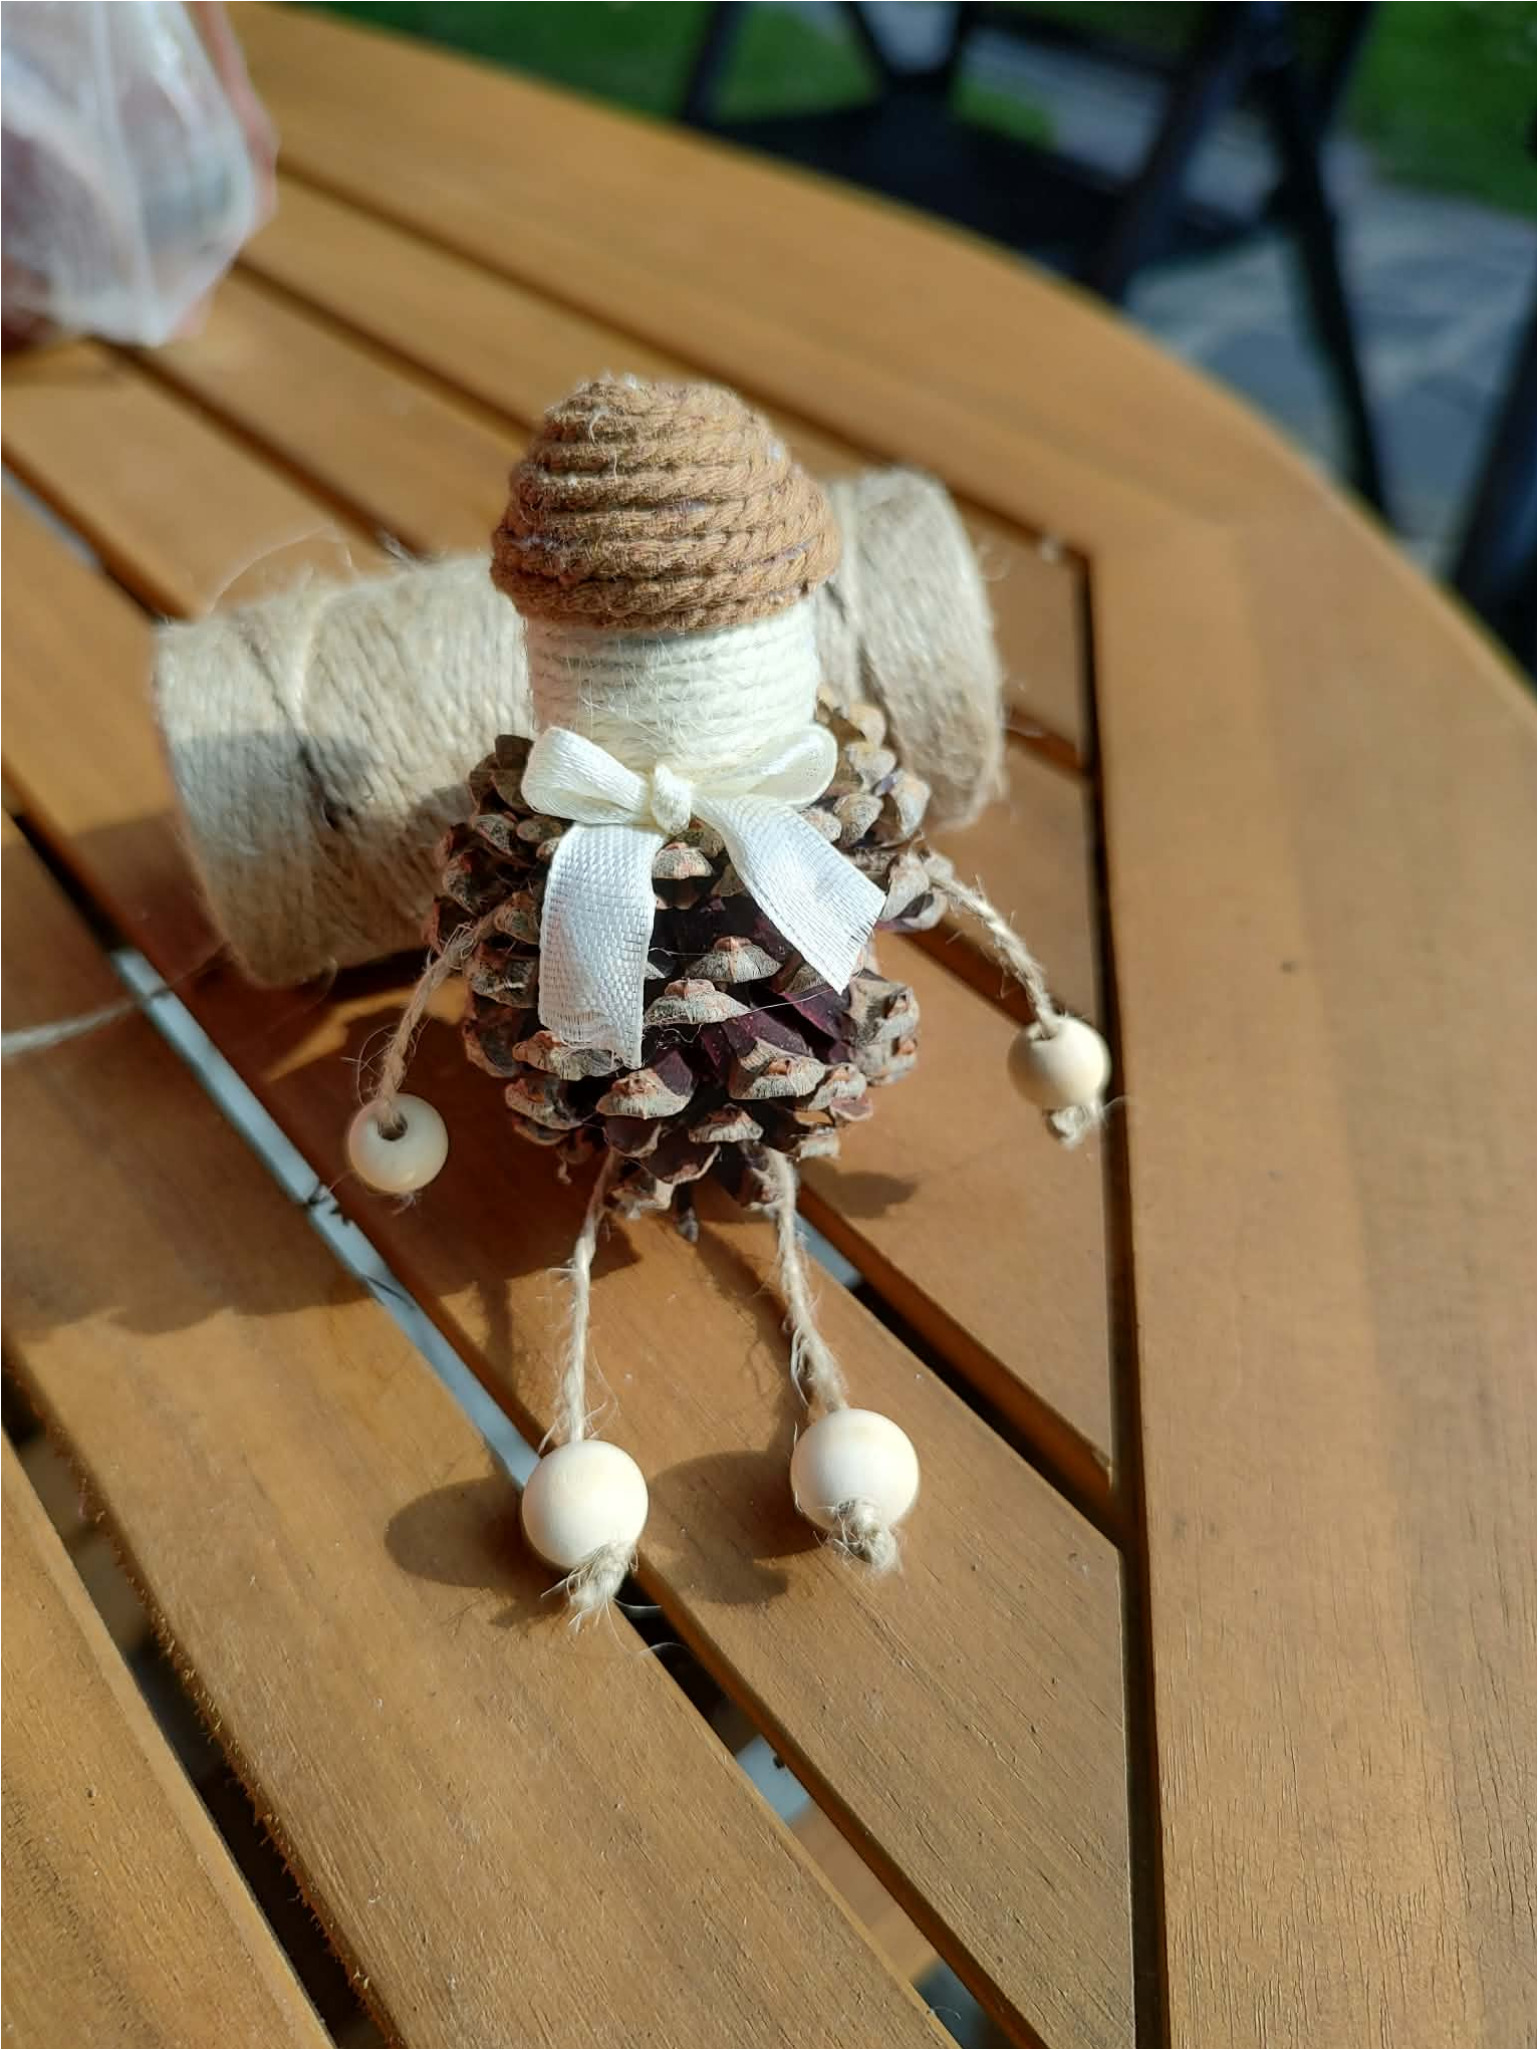
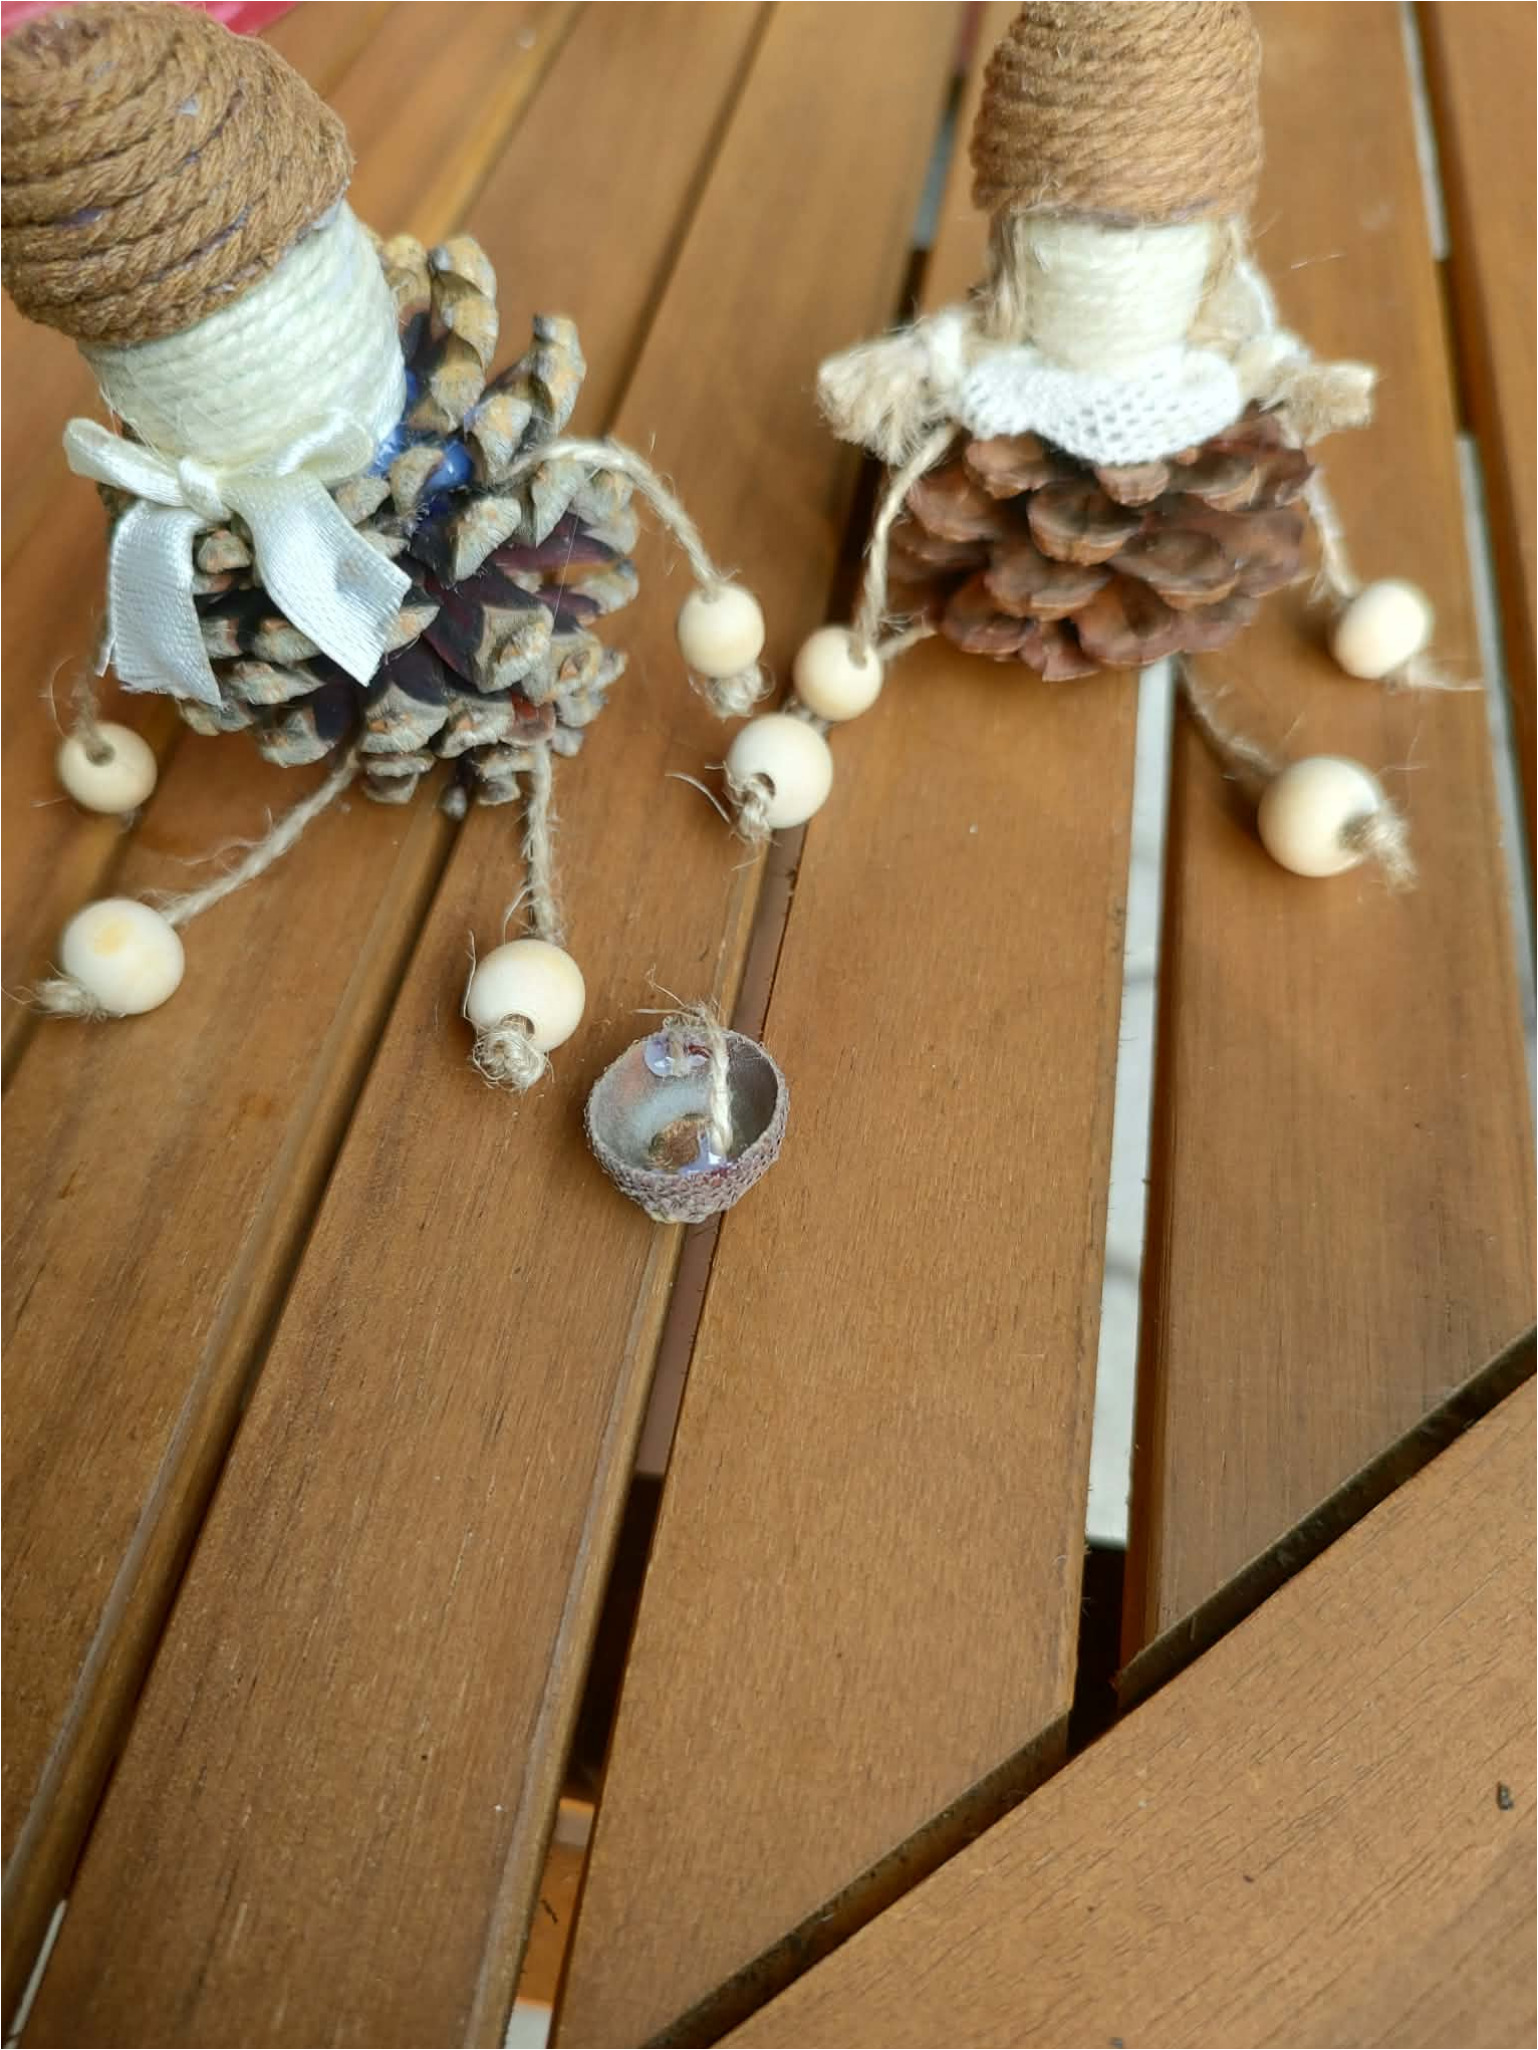
7. Make a second gnome: Prepare another figure in the same way. You can vary the gnomes slightly by changing the shape of the cone, the decoration under the head, or the length of the arms and legs. These little differences will make your autumn scene look livelier.
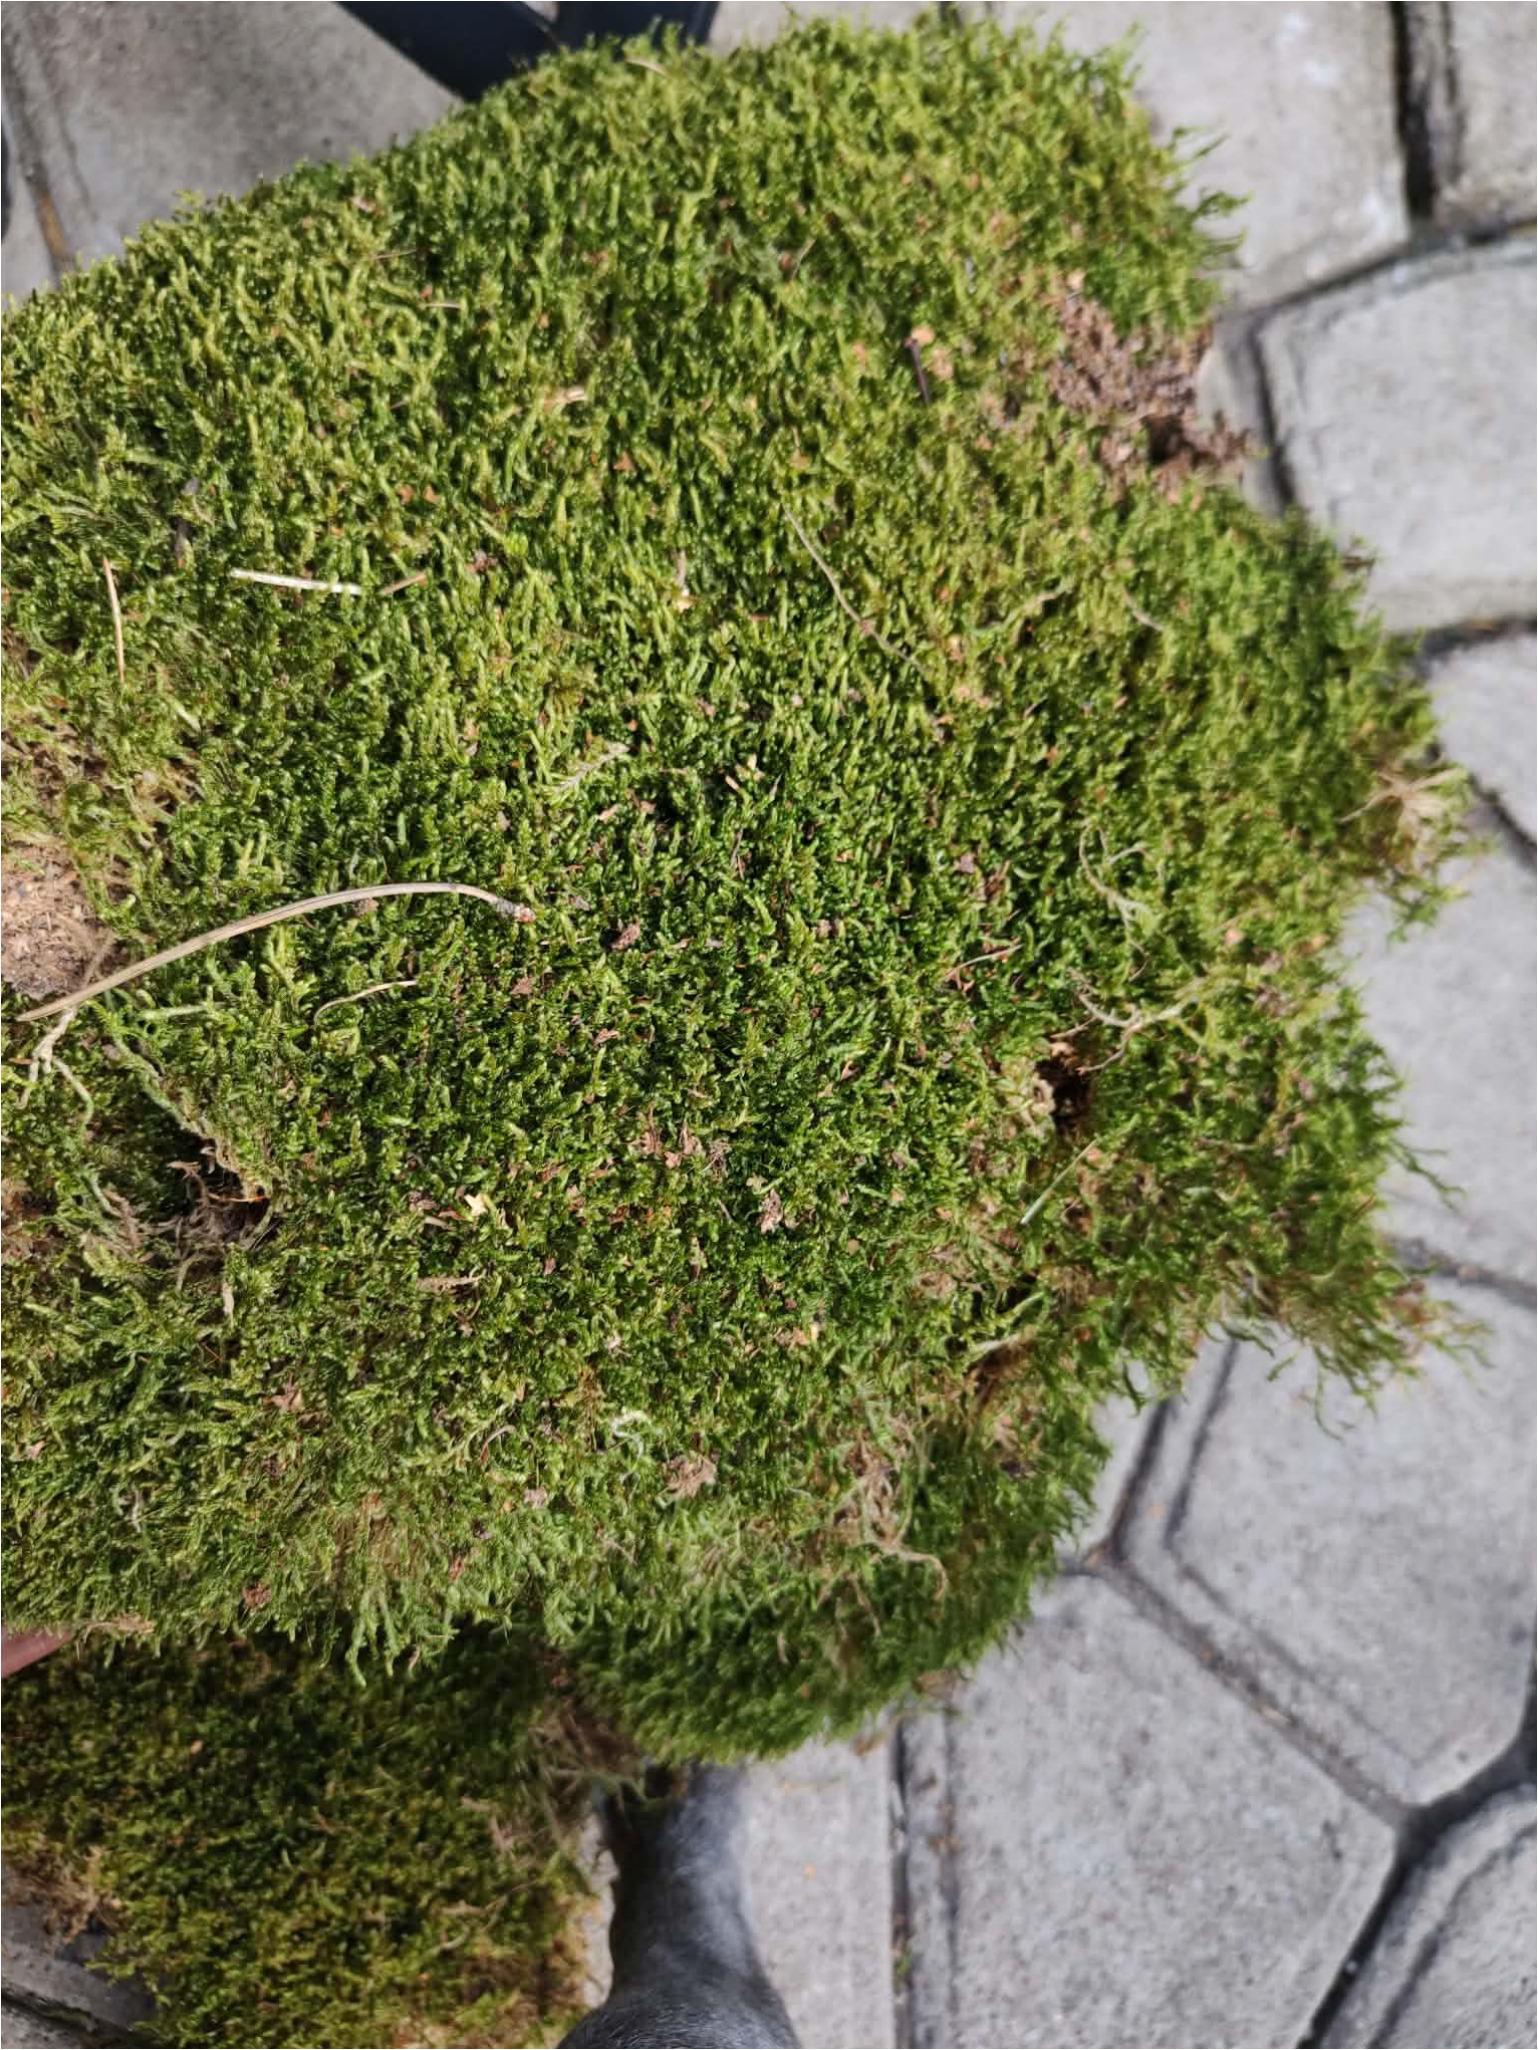
8. Prepare the moss: Use clean green moss as the base for your decoration. Carefully remove twigs, soil, and other debris. If it’s damp, let it dry before arranging, especially if the decoration will be by a window.
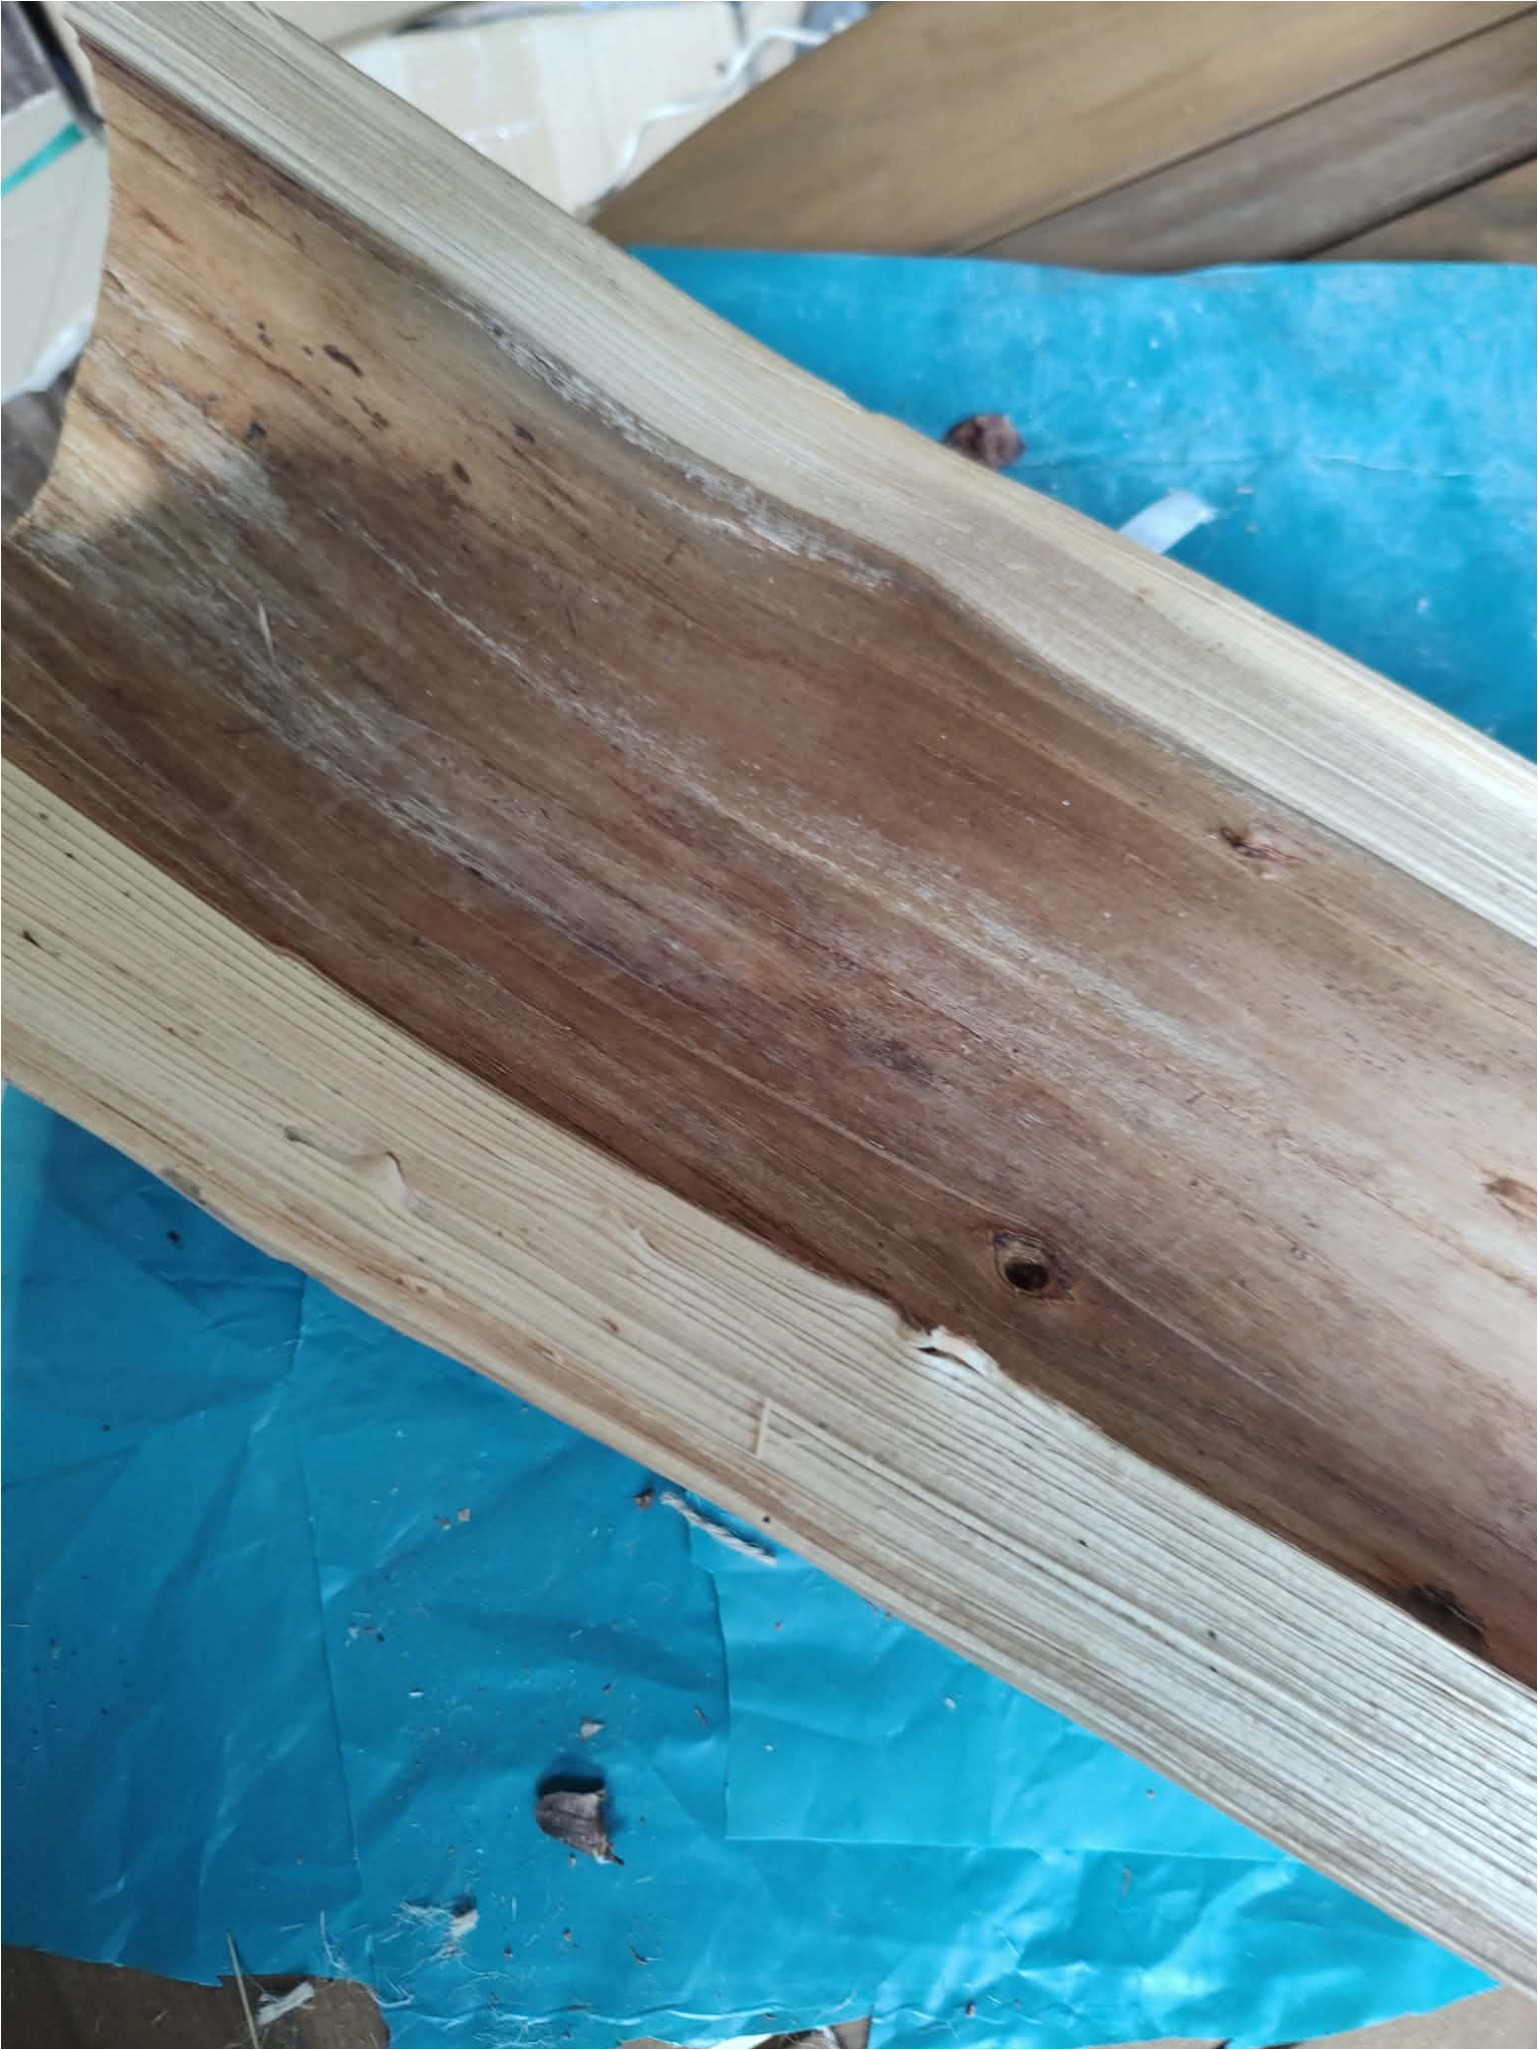
9. Choose a natural container: Use a long, hollowed-out piece of wood resembling a trough as your base. Check its stability, clean both the inside and outside, and remove any loose splinters. The preserved irregularities and wood grain will give your creation a natural look.
10. Prepare the stain: You can unify the color of the wooden base with a brown stain. Work on a protected surface and follow the instructions on the product you use. If the decoration will be outdoors, choose a product suitable for the intended location.
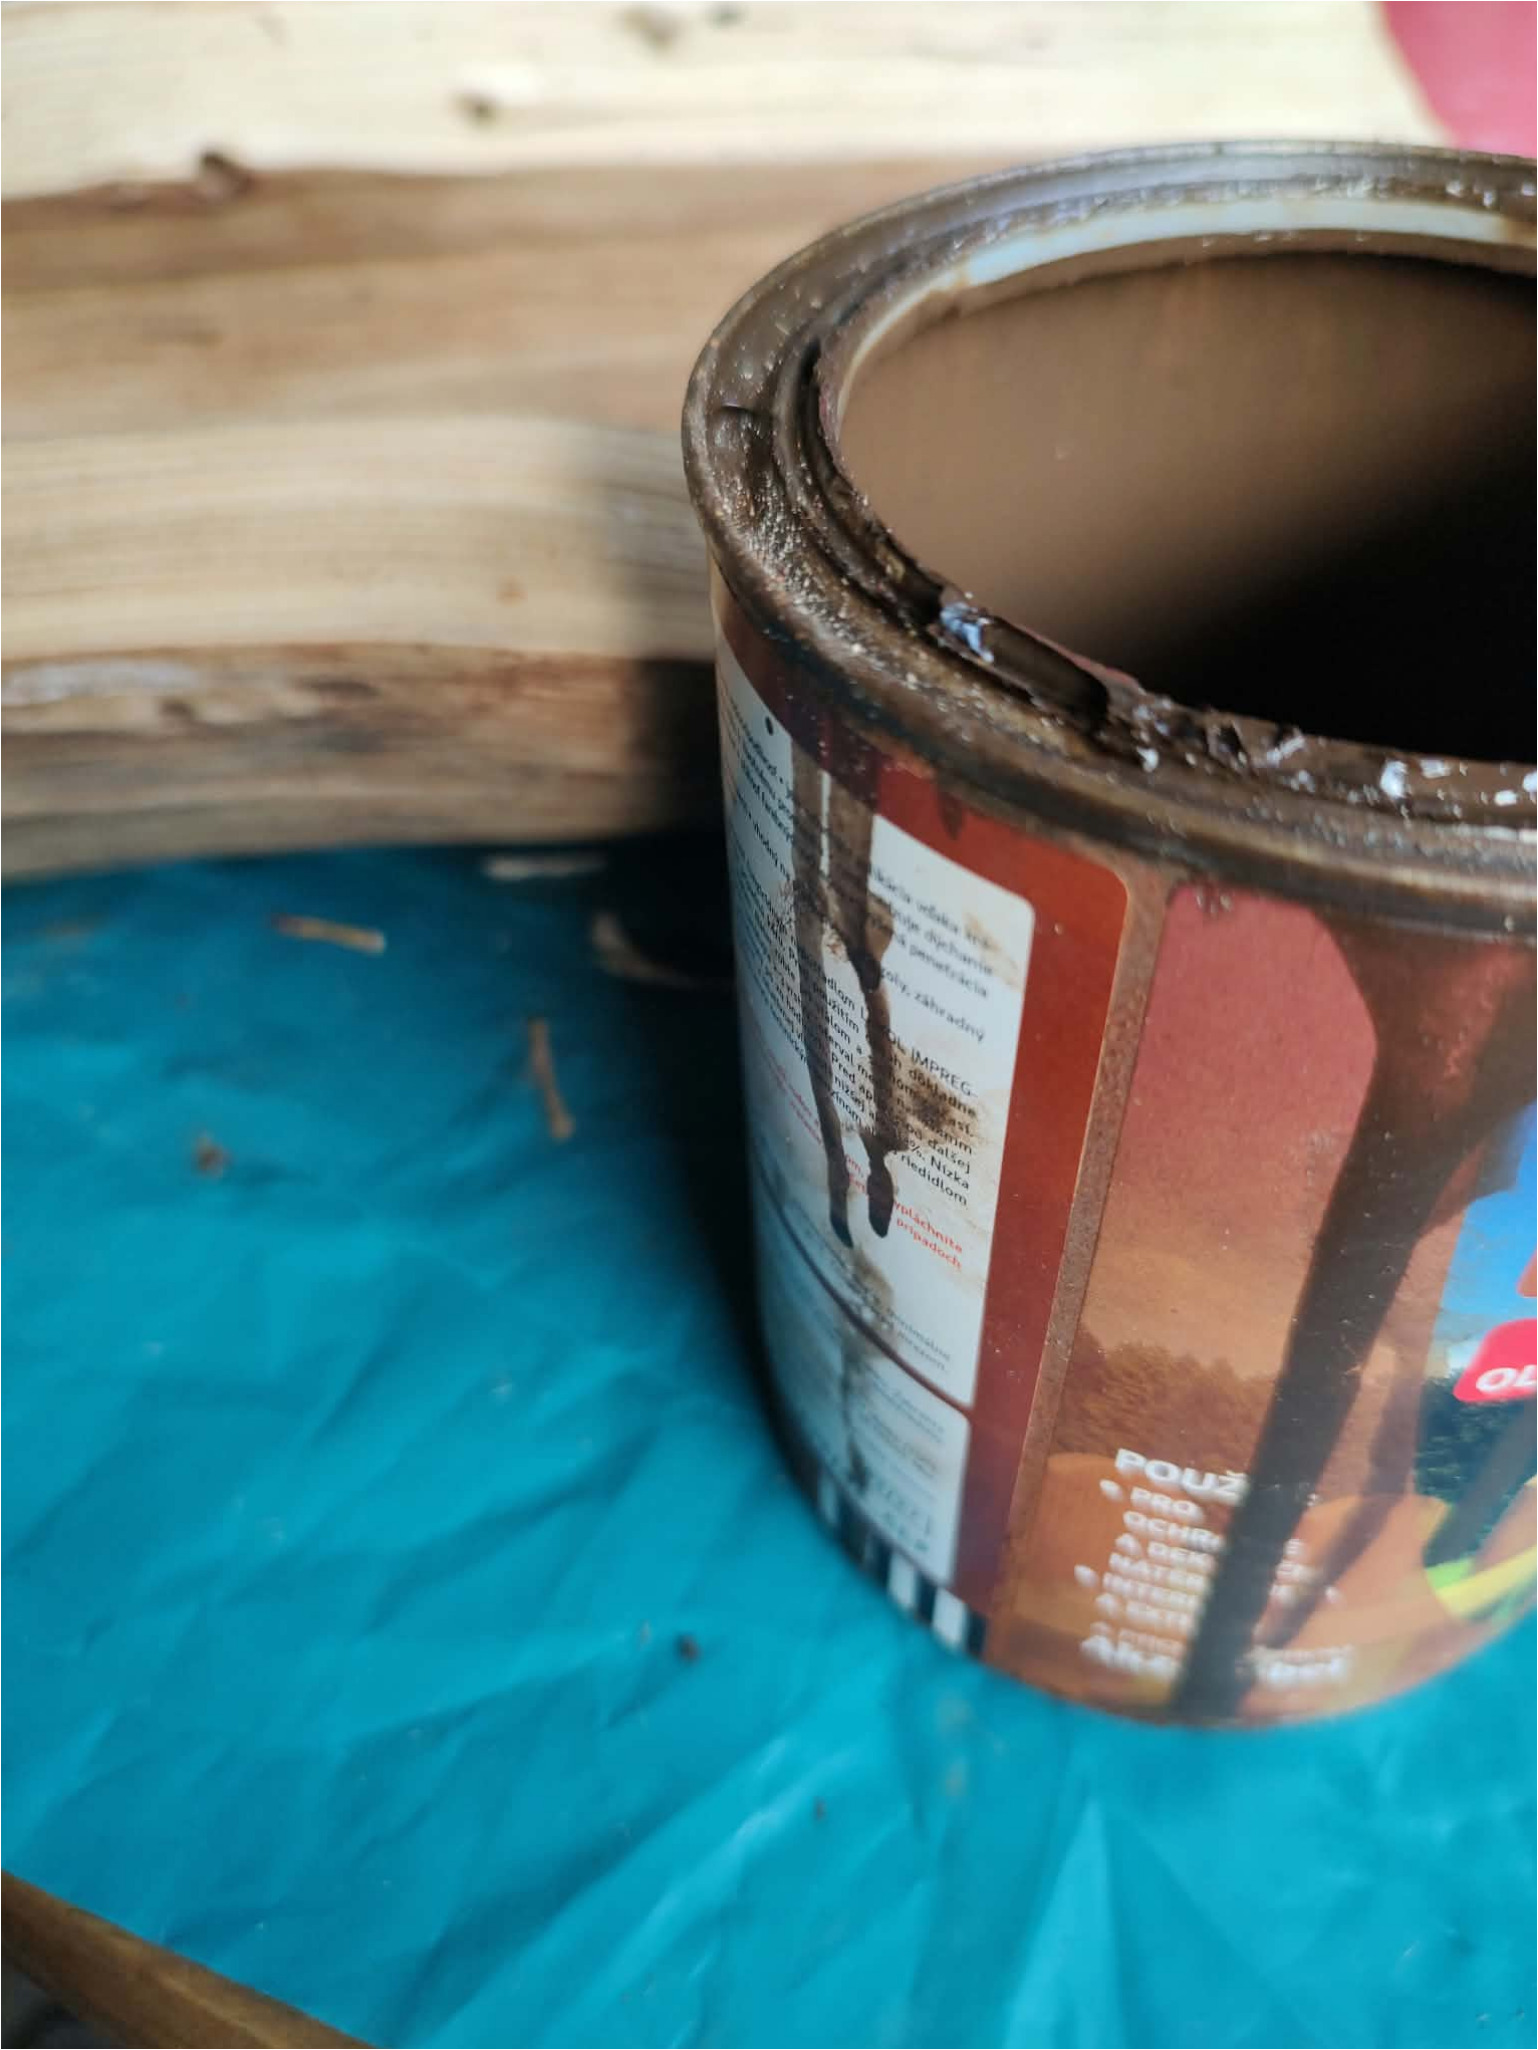
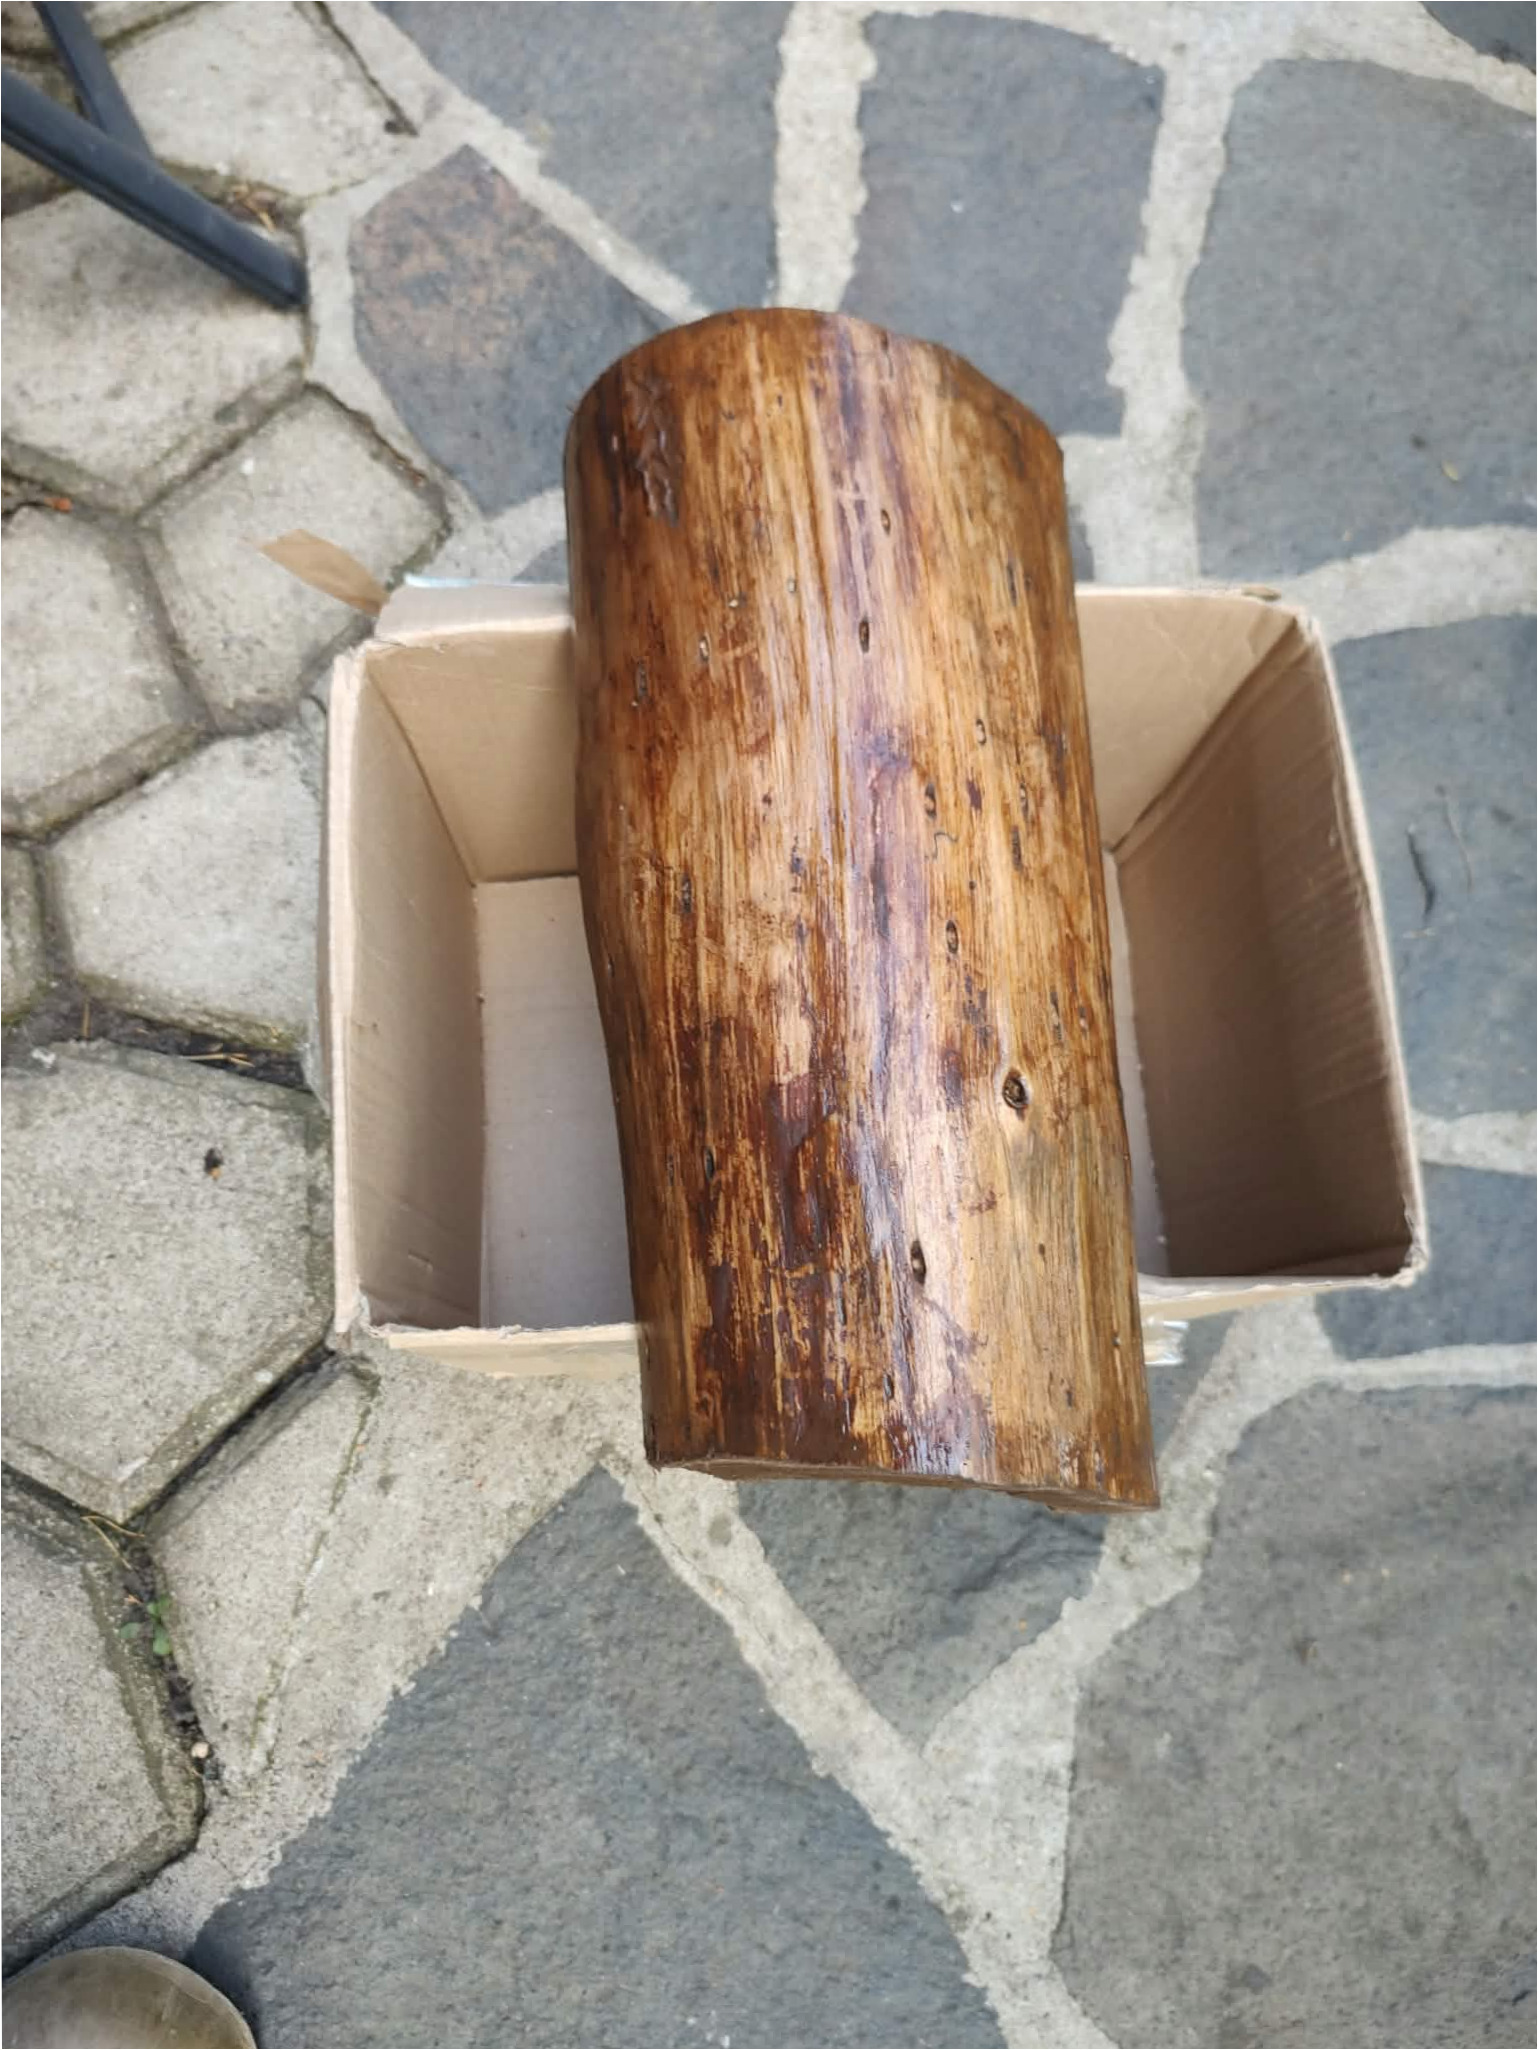
11. Treat the wooden base: Apply the stain evenly over the wood surface to highlight its natural grain. Place the stained piece on a suitable pad and let it dry completely before continuing. Well-treated wood will have a richer shade.
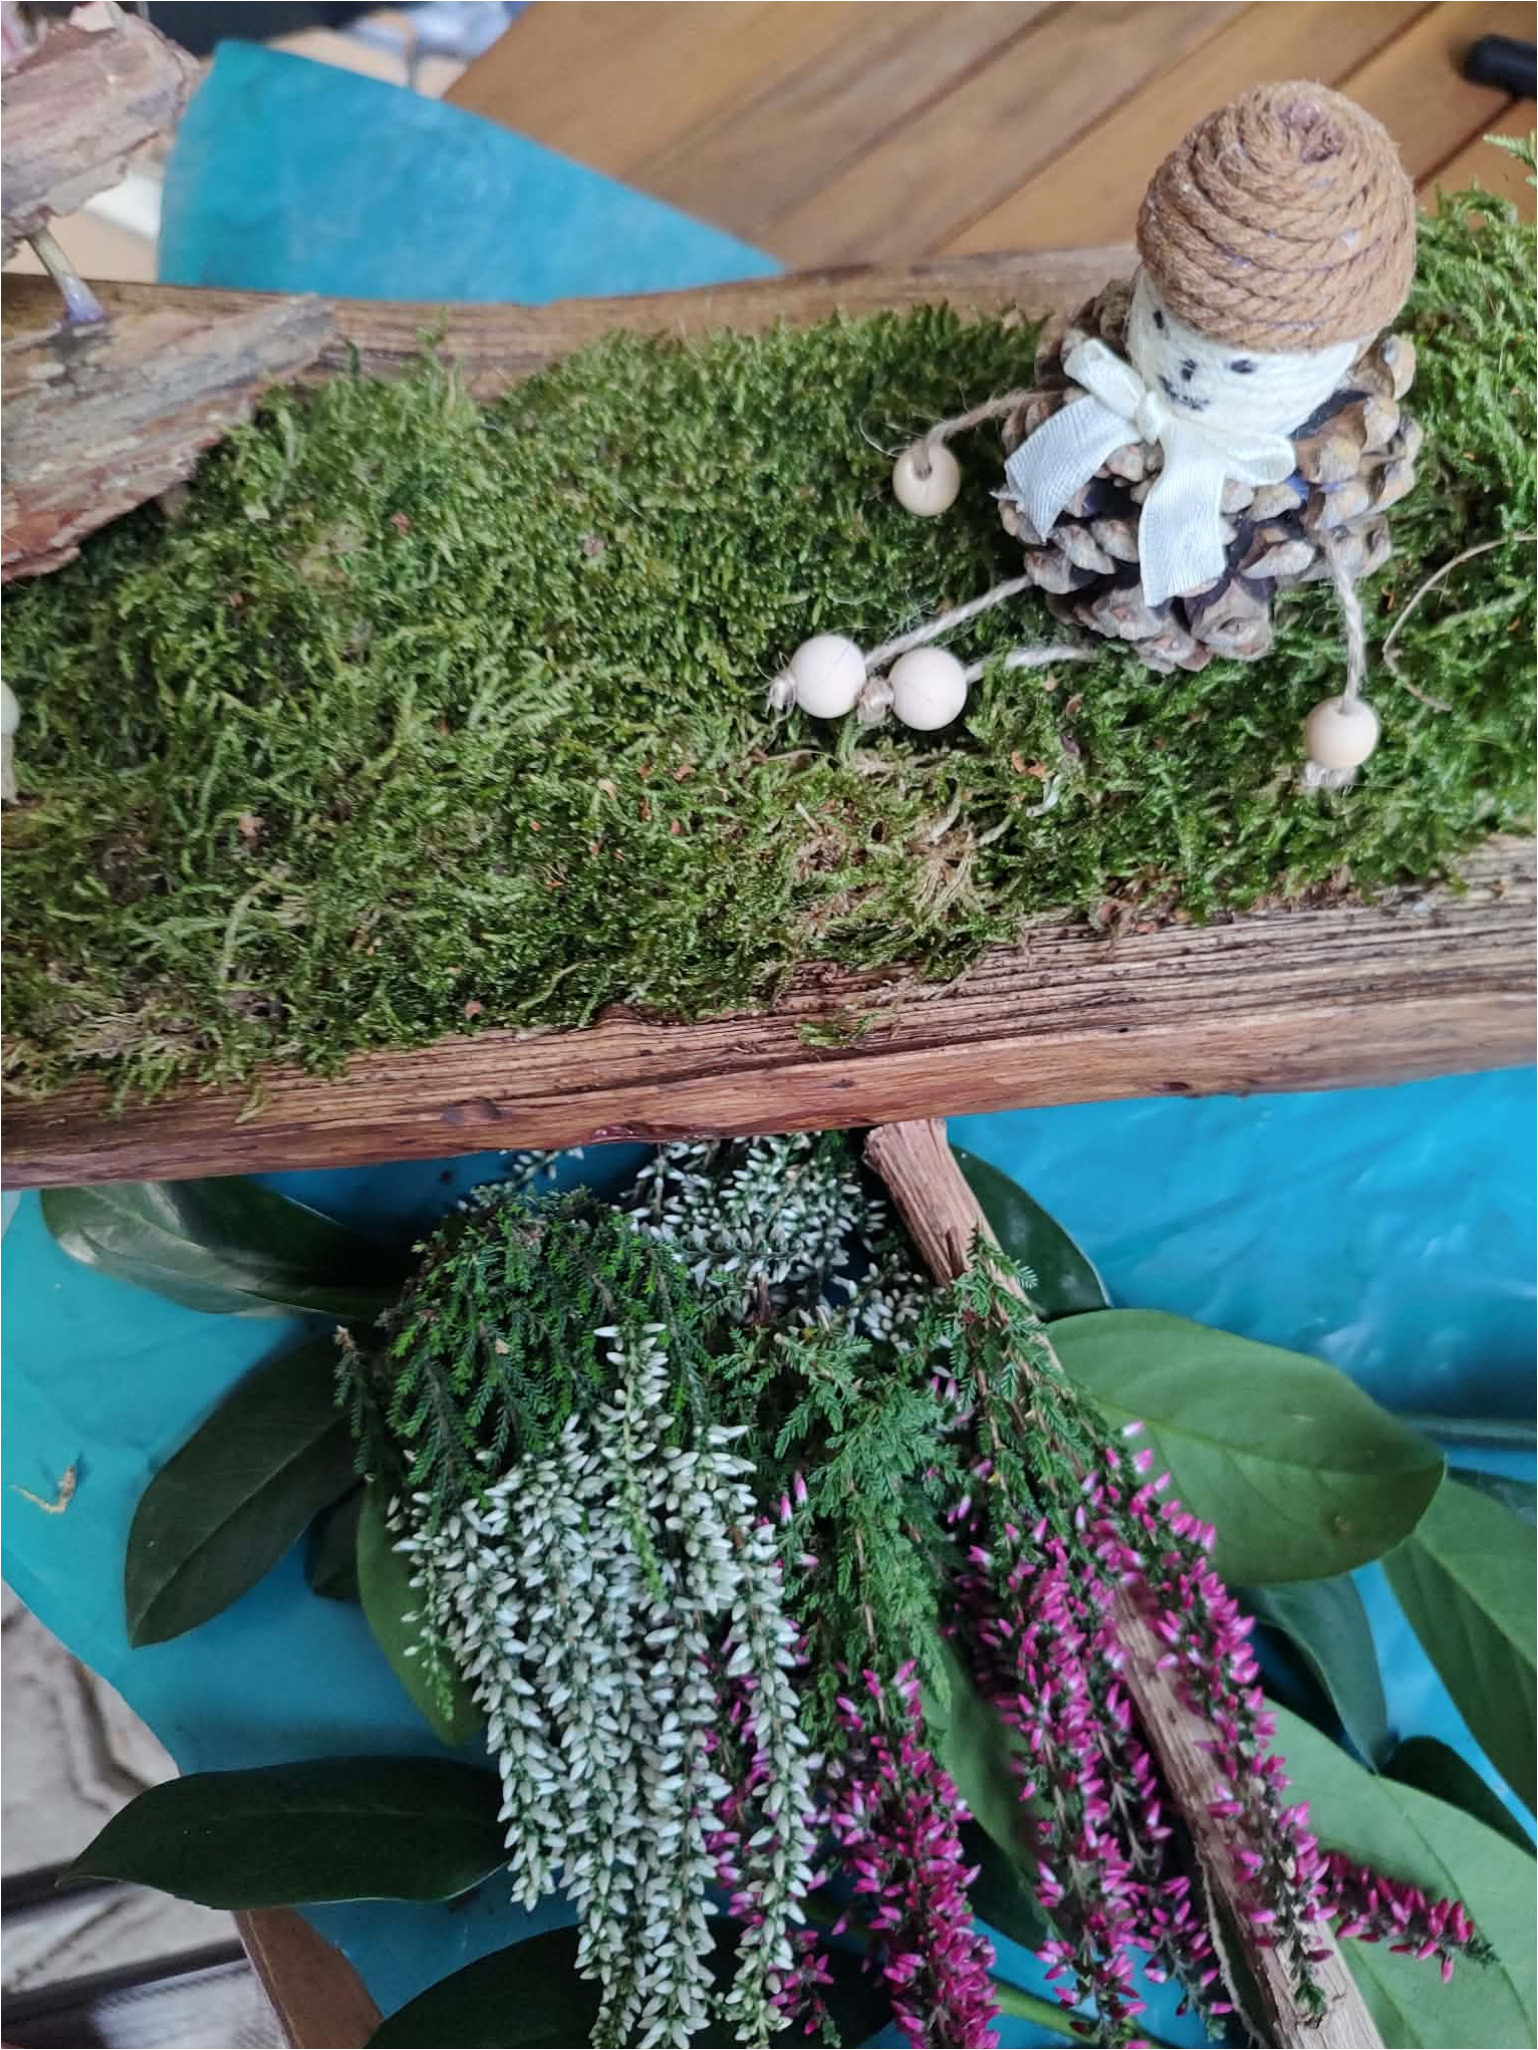
12. Line the trough with moss: Fill the inside of the wooden base with a continuous layer of moss. Spread it toward the edges as well to create a soft green surface. Seat the first gnome at one end, nestling it gently into the moss or securing it in place.
13. Arrange the inhabitants and natural materials: Seat the second gnome at the opposite end. Fill the space between the figures with acorns, small cones, red berries, and other dried natural items. Place some elements individually and group others into small clusters.
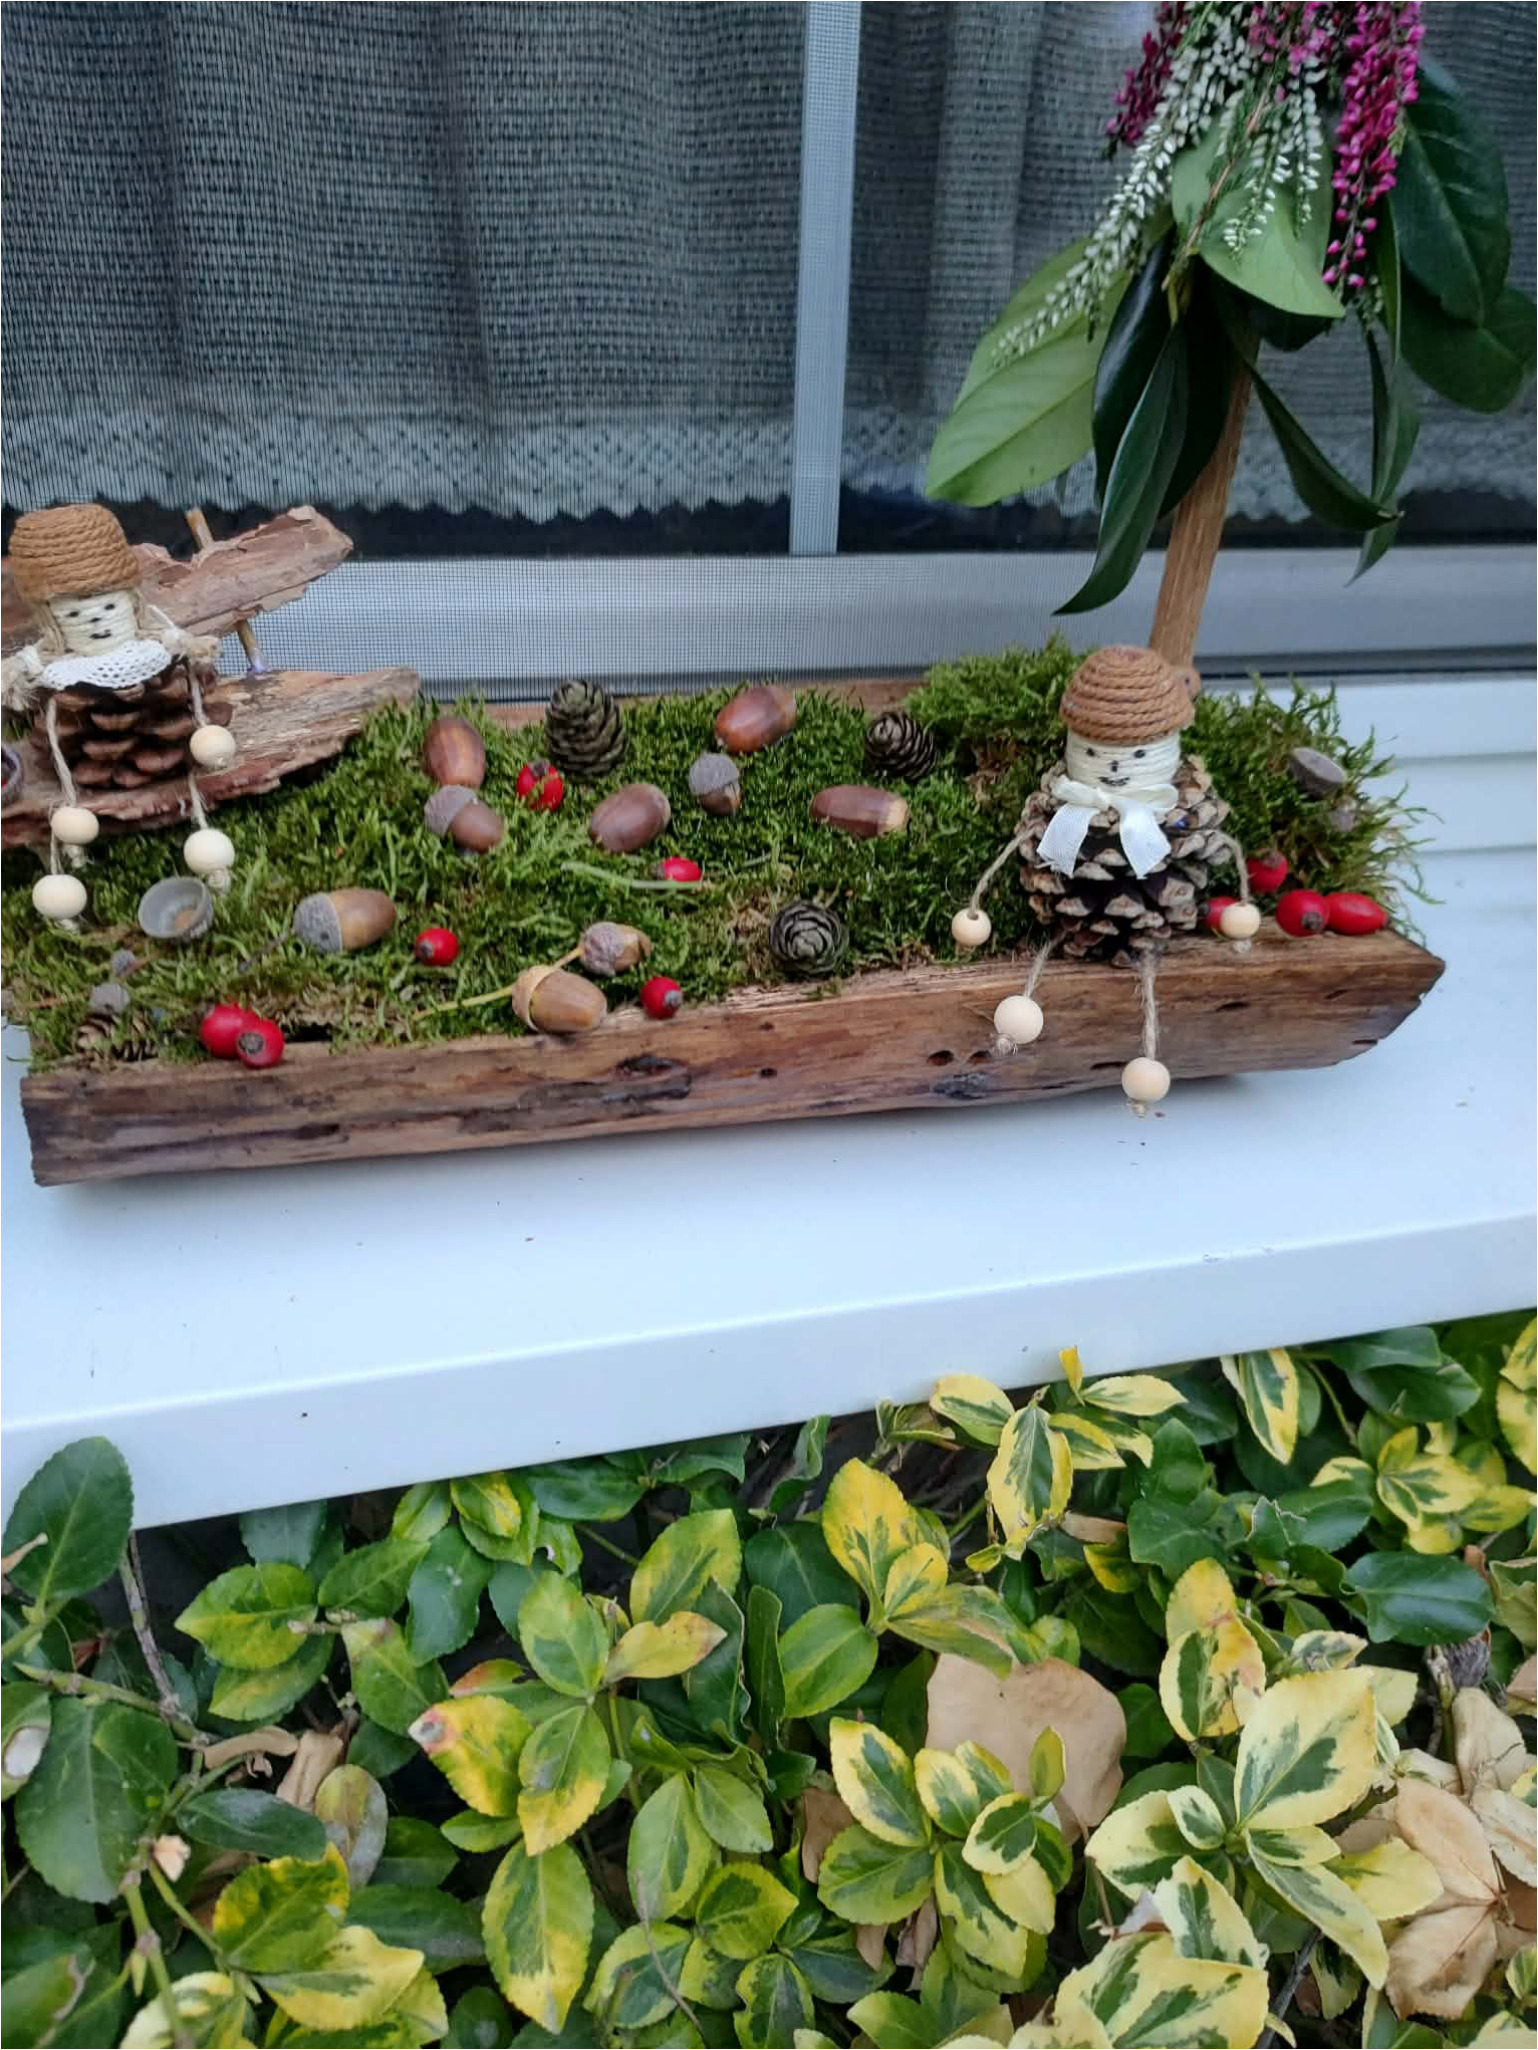
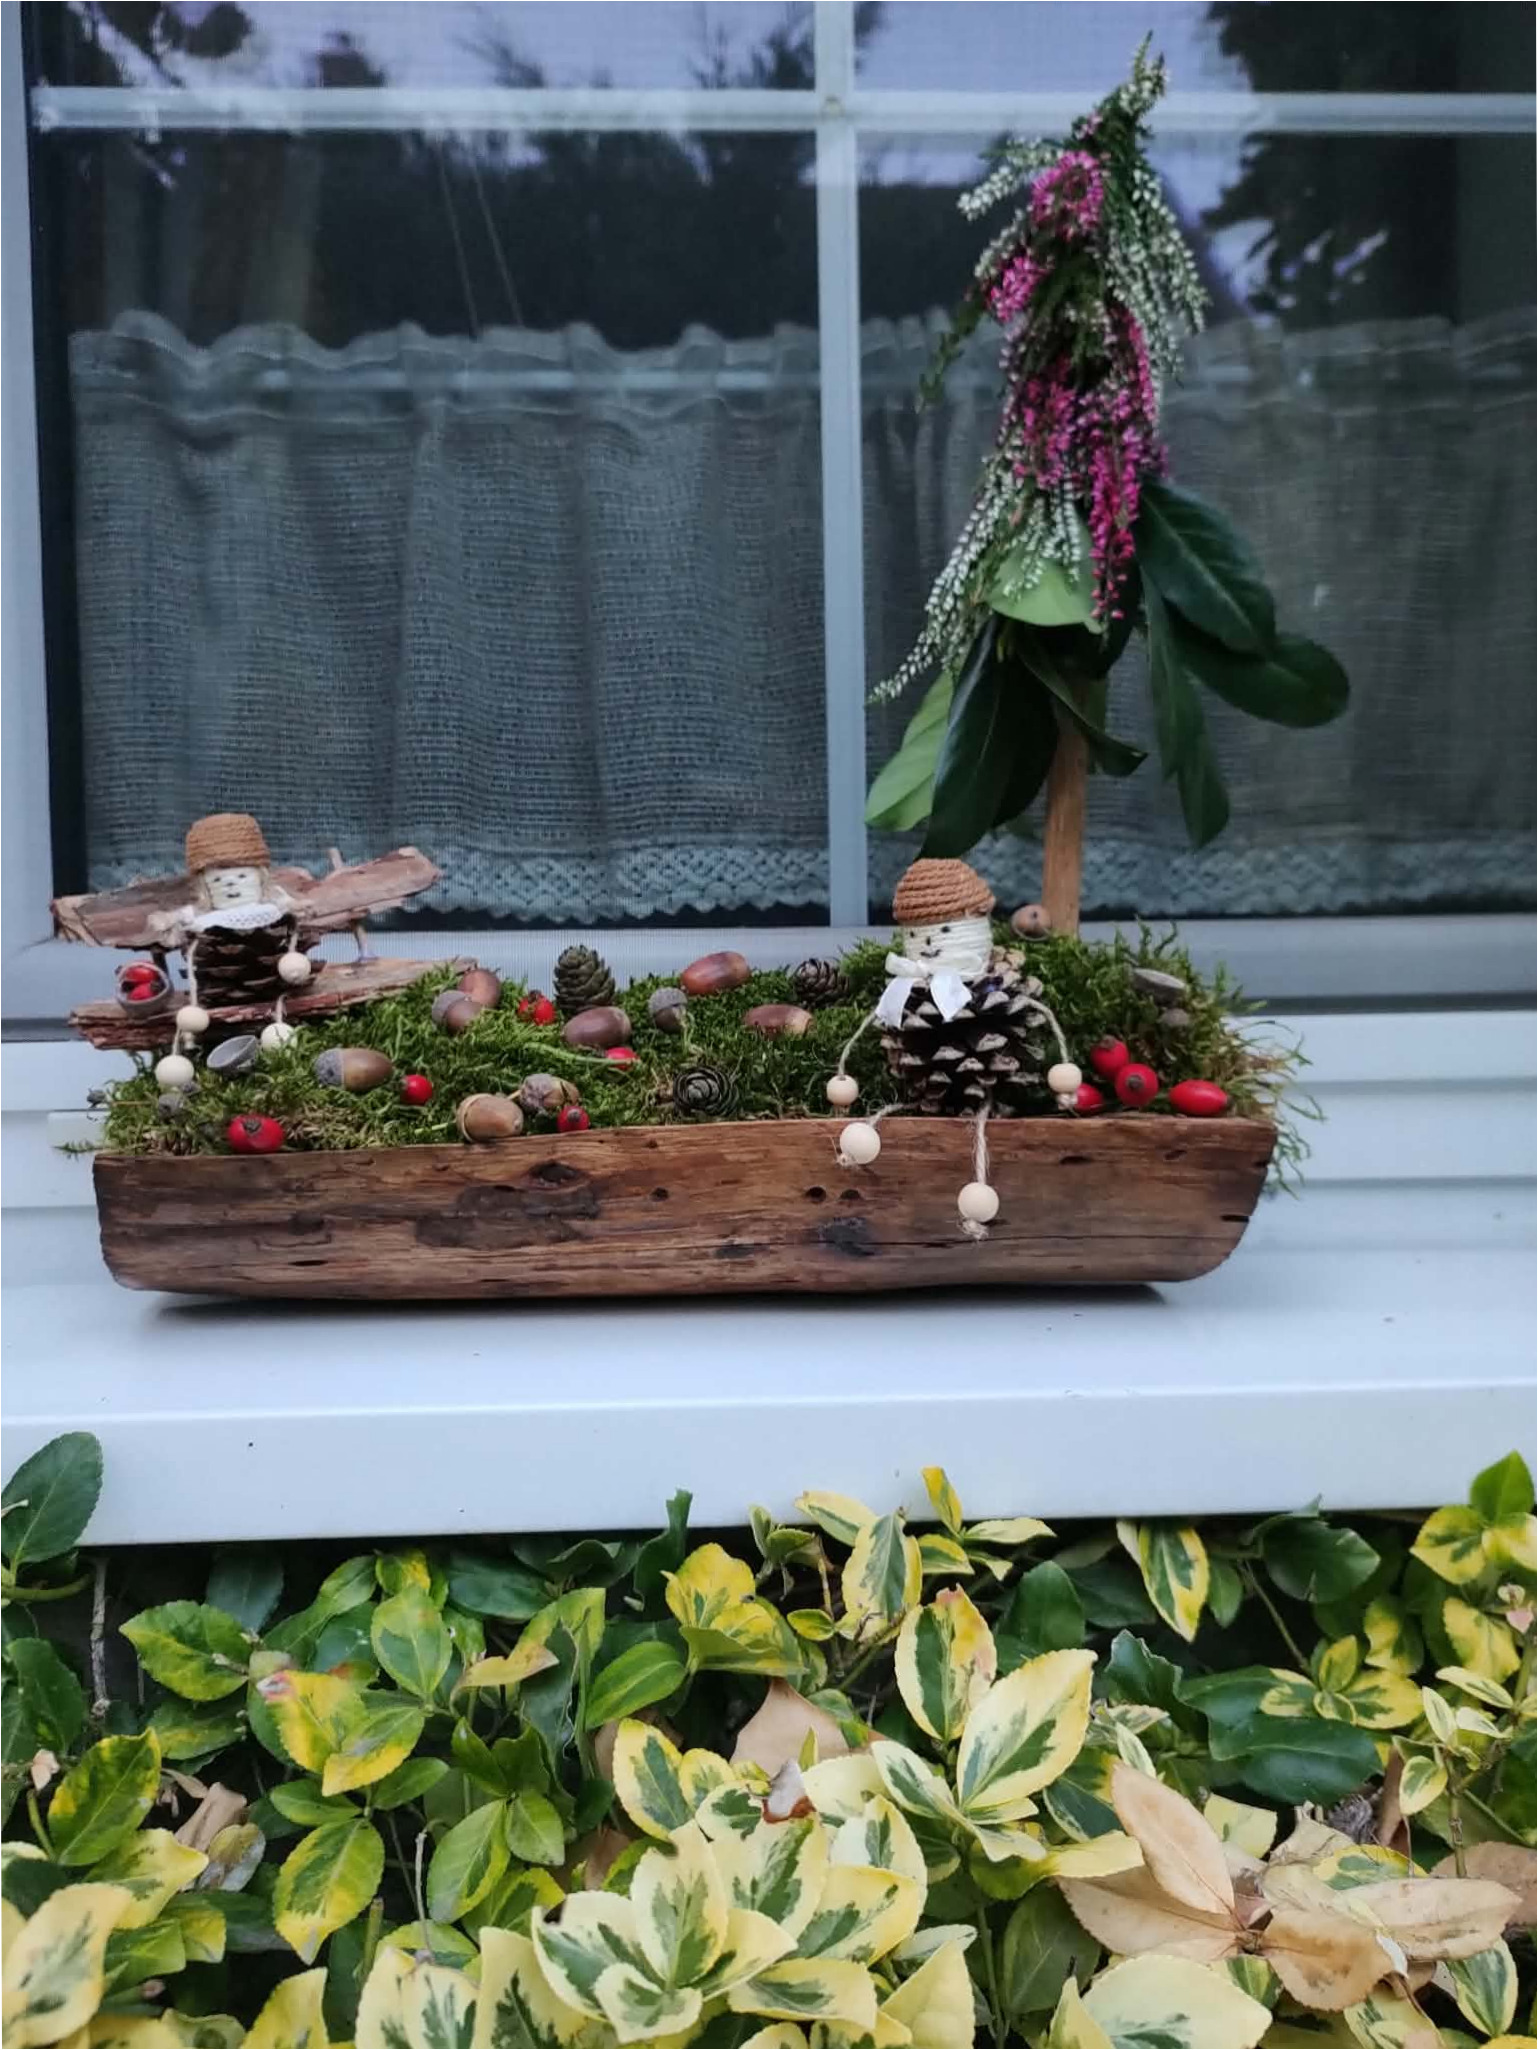
14. Fine-tune the composition: Look at the decoration from the front and adjust the placement of each element. The gnomes should be clearly visible and the central part shouldn’t look overcrowded. At the back, you can create a small scene with a piece of wood and add a simple natural tree.
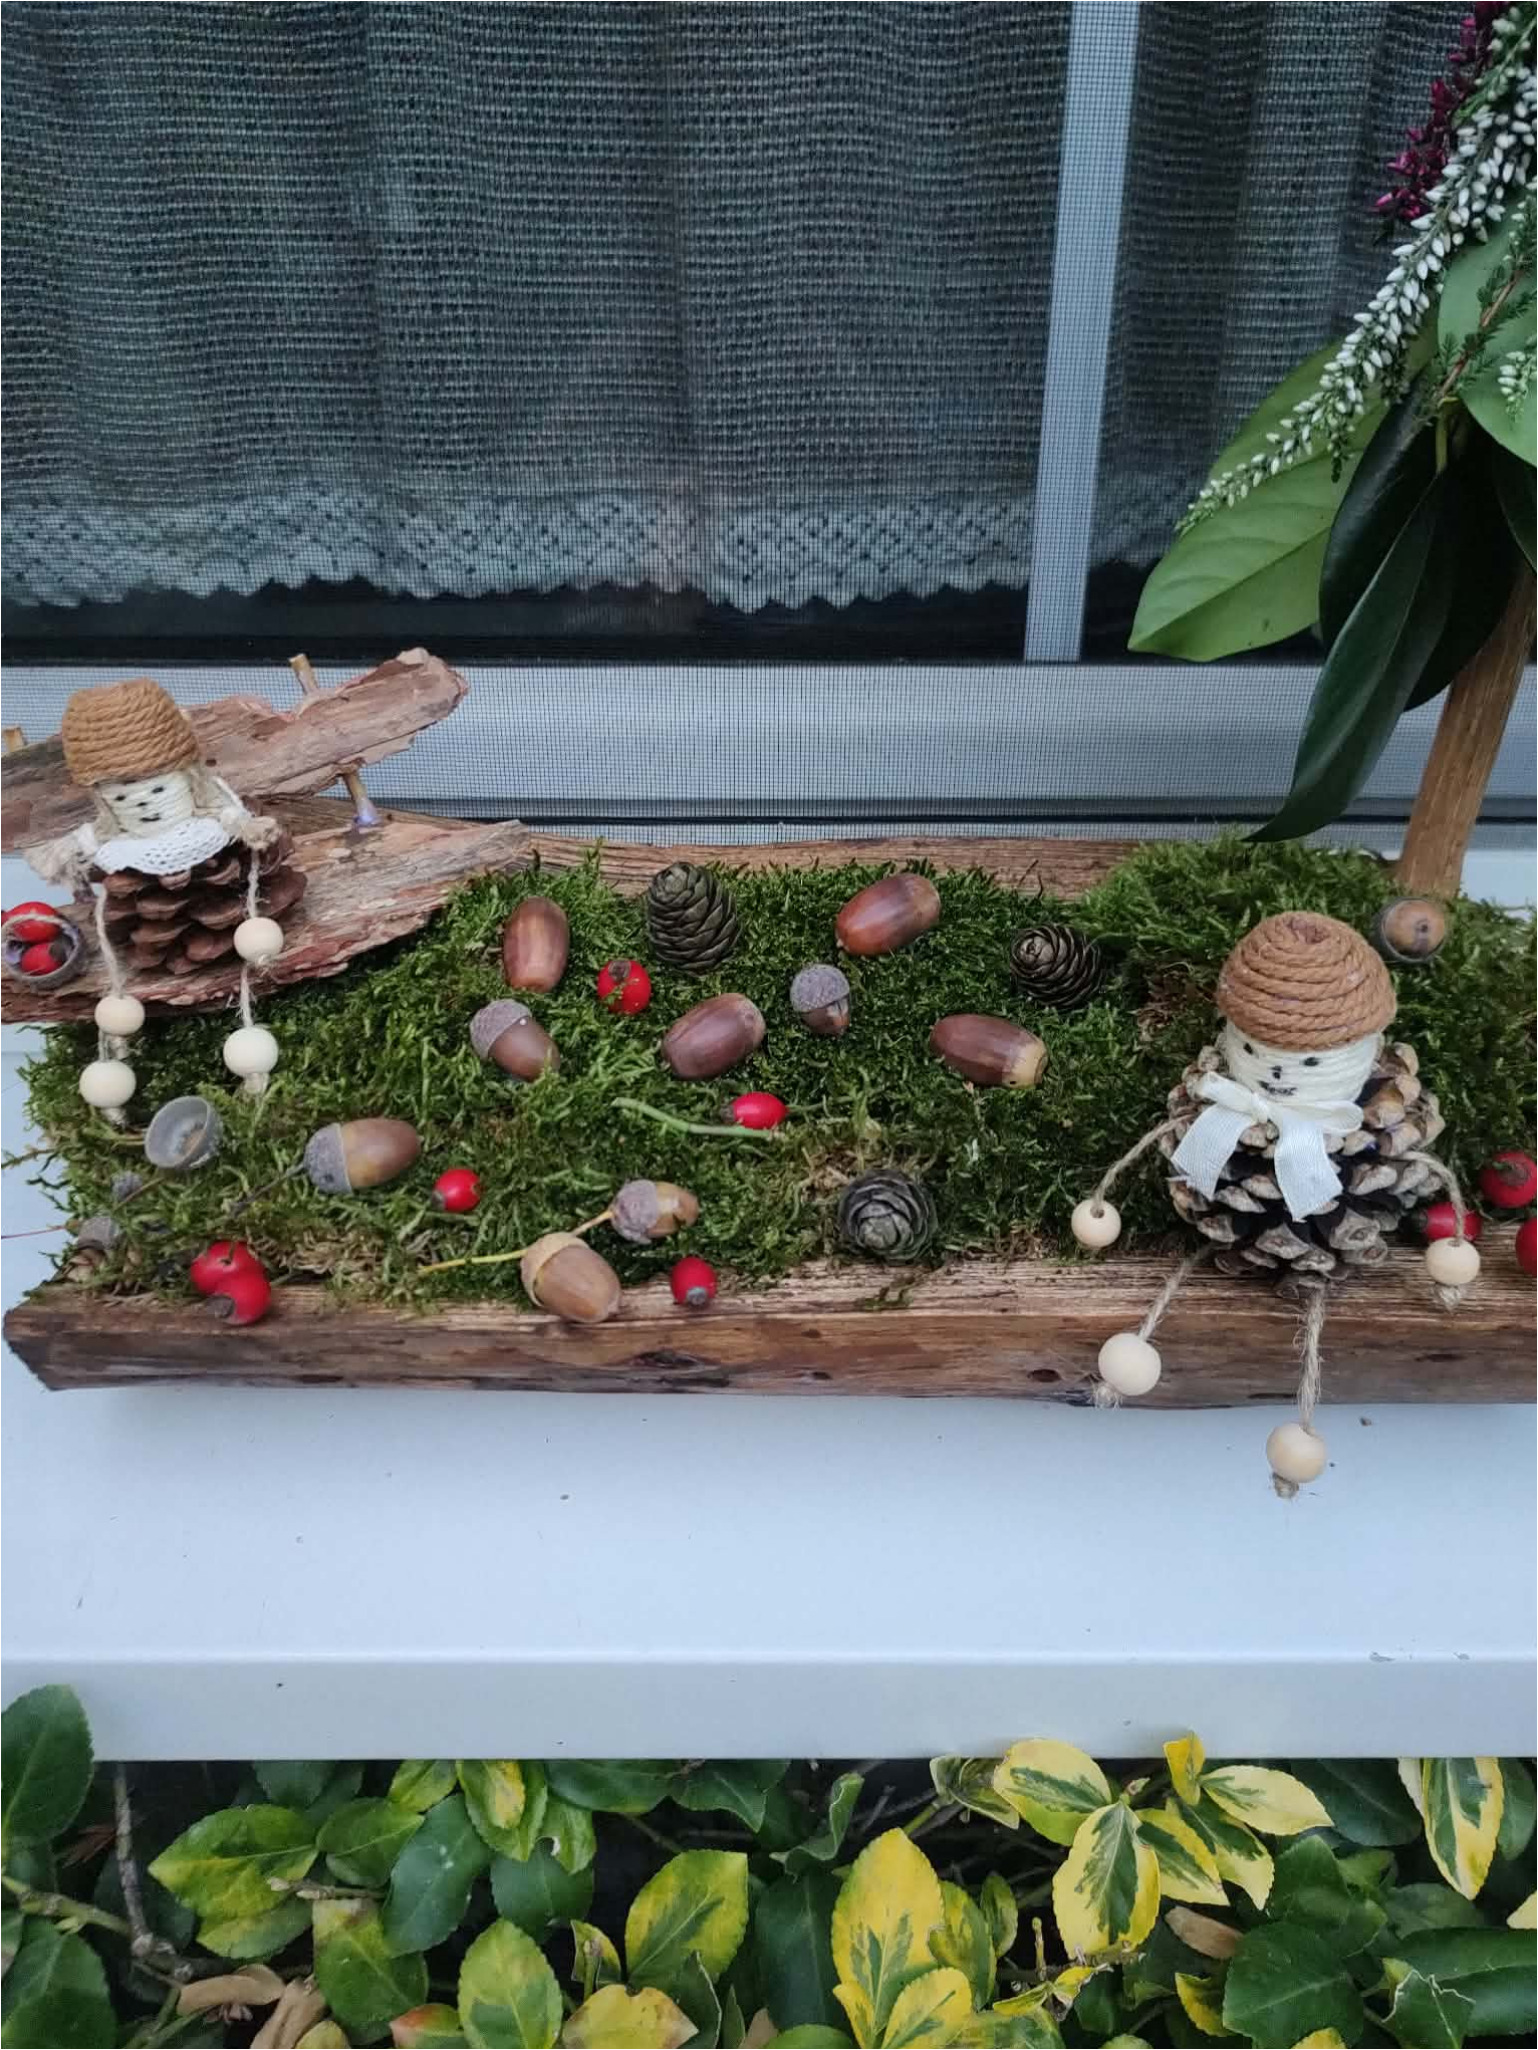
15. Place your autumn world on the windowsill: Set the finished decoration on a stable, preferably sheltered windowsill. Check that the trough doesn’t wobble and that the wind can’t blow away any light ornaments. Overhanging greenery or flowering branches in the background can visually raise the scene and give it a more striking silhouette.
Final Tip
Natural materials change over time, so check your decoration occasionally. Replace fallen parts, clean the moss, and reattach any loose fruits. If you display the piece outdoors, protect it from persistent rain and strong winds. After the season, you can store the figures in a dry place and use them to create a new autumn landscape next year.