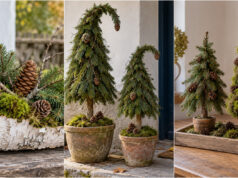

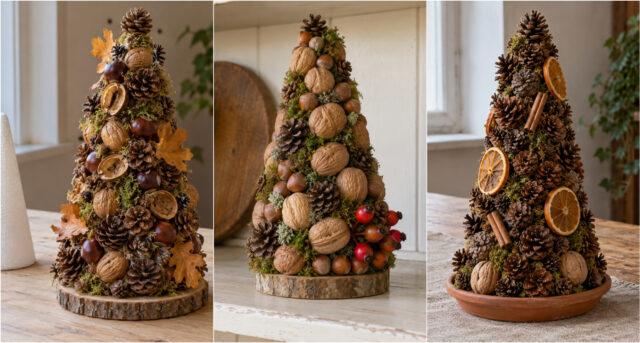
A styrofoam cone can be easily transformed into an impressive autumn decoration adorned with pinecones, acorns, chestnuts, moss, leaves, or pieces of bark. The following twenty photos offer inspiration for various natural combinations and also show you how to proceed step by step.
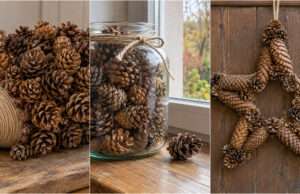
What You Will Need
- styrofoam cone,
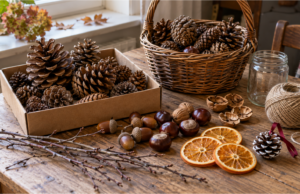
- pinecones of various sizes, acorns, chestnuts, and nutshells,
- dried leaves, moss, bark, twigs, or dried flowers,
- wooden slice, plate, or shallow bowl as a base,
- scissors and a suitable adhesive for attaching decorations.
Clean all natural materials before use and let them dry thoroughly. Attach each part gradually from the bottom edge of the cone, and cover any gaps at the end with moss or small pinecones.
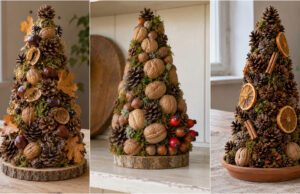
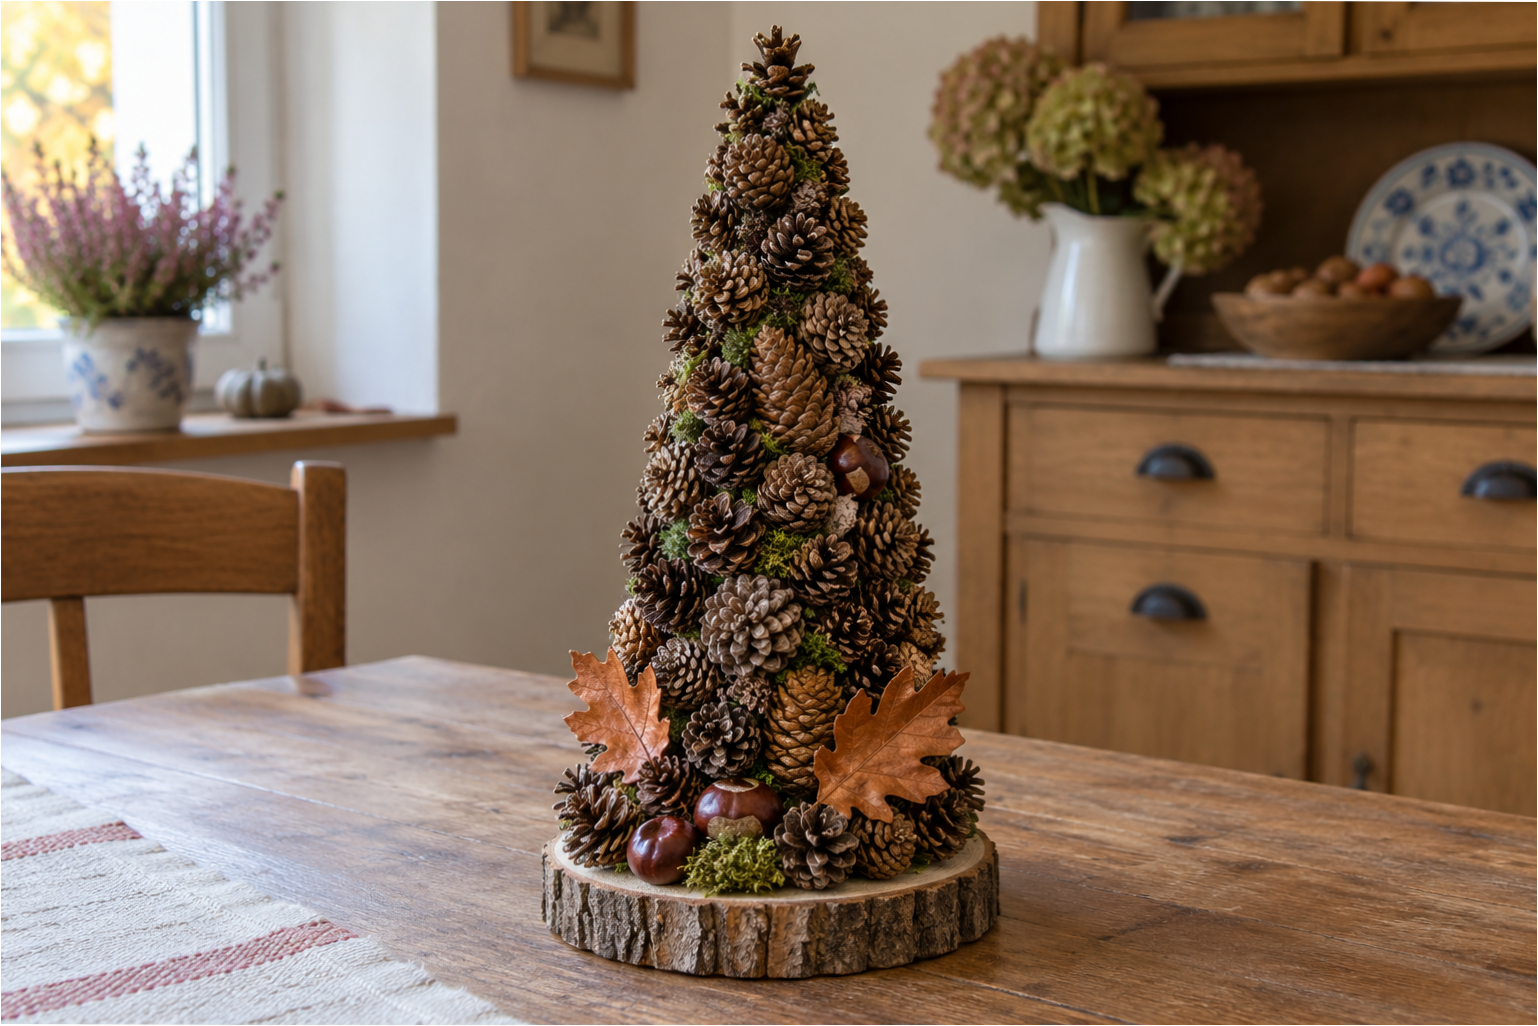
1. Cone Covered with Pinecones: The first version stands on a round wooden slice and is densely decorated with pinecones of different sizes. Start with larger pieces at the bottom, use smaller pinecones as you move upwards, and fill gaps with moss. Add acorns and dried oak leaves around the base.
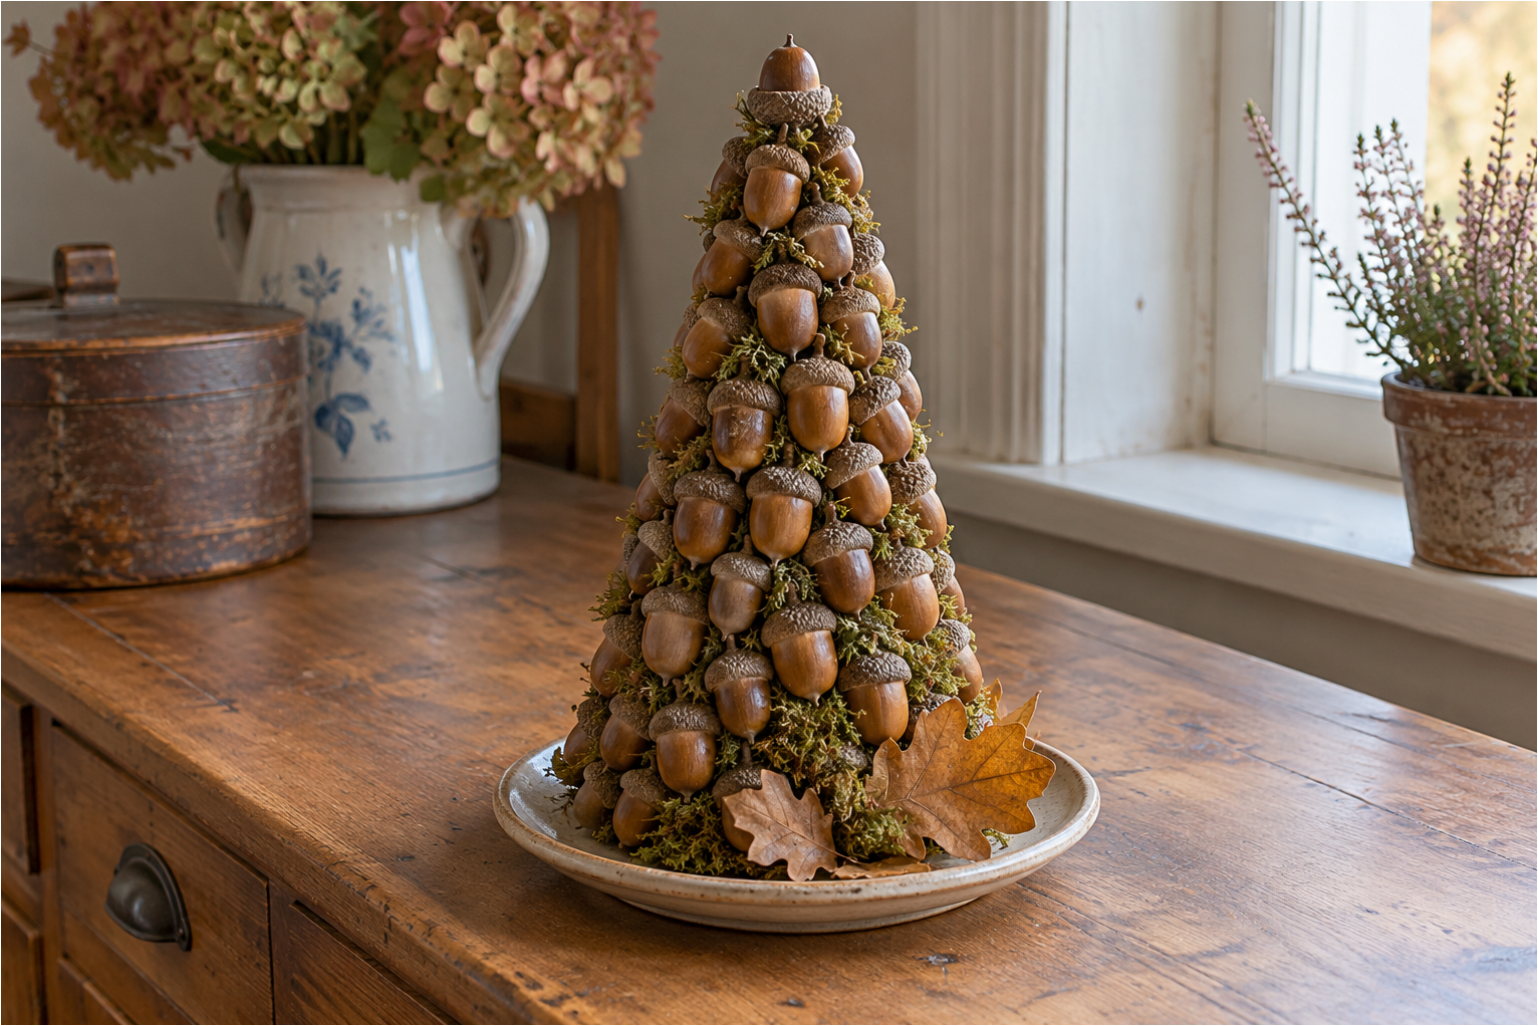
2. Acorn Decoration: Cover the cone gradually with acorns arranged in irregular rows. Fill the spaces between them with green moss to highlight their brown color. Place the finished cone on a plate and arrange moss and a few leaves around the base.
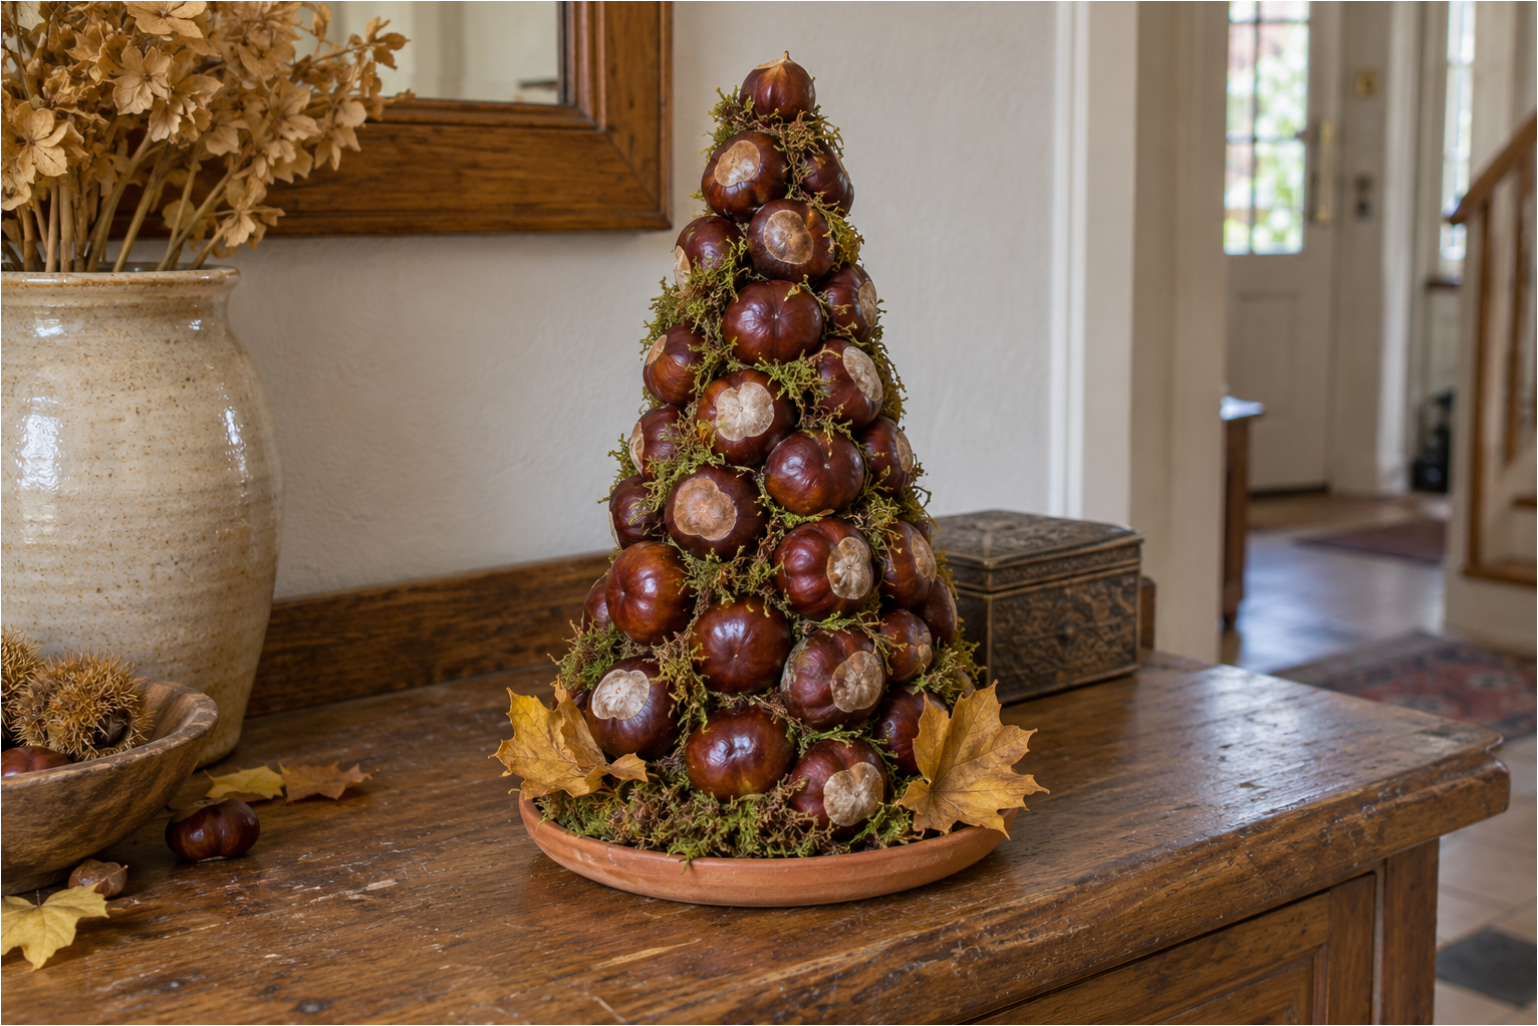
3. Shiny Chestnuts in the Spotlight: For this version, use chestnuts of various sizes. Attach them closely together, but cover any remaining gaps with moss and small natural elements. Place the decoration in a shallow bowl and decorate the edge with dried leaves.
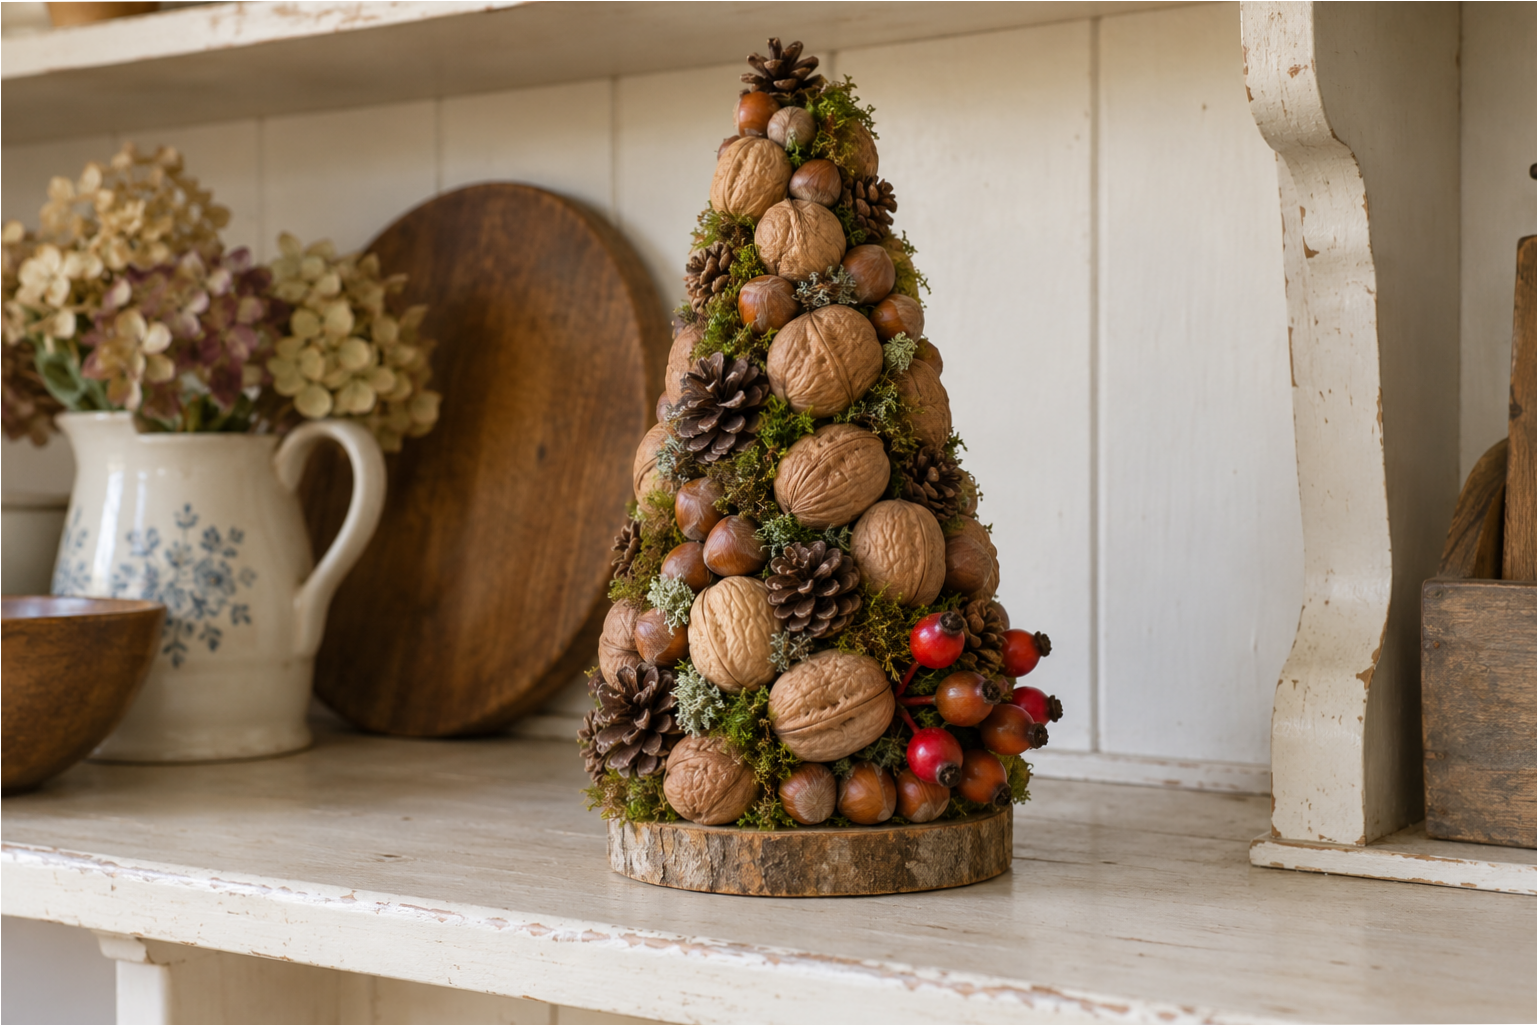
4. Mix of Nuts, Pinecones, and Berries: The base is made of a combination of whole walnuts, pinecones, acorns, and small red berries. Arrange the elements irregularly for a natural look. Unite empty spaces with moss and secure the cone to a wooden base.
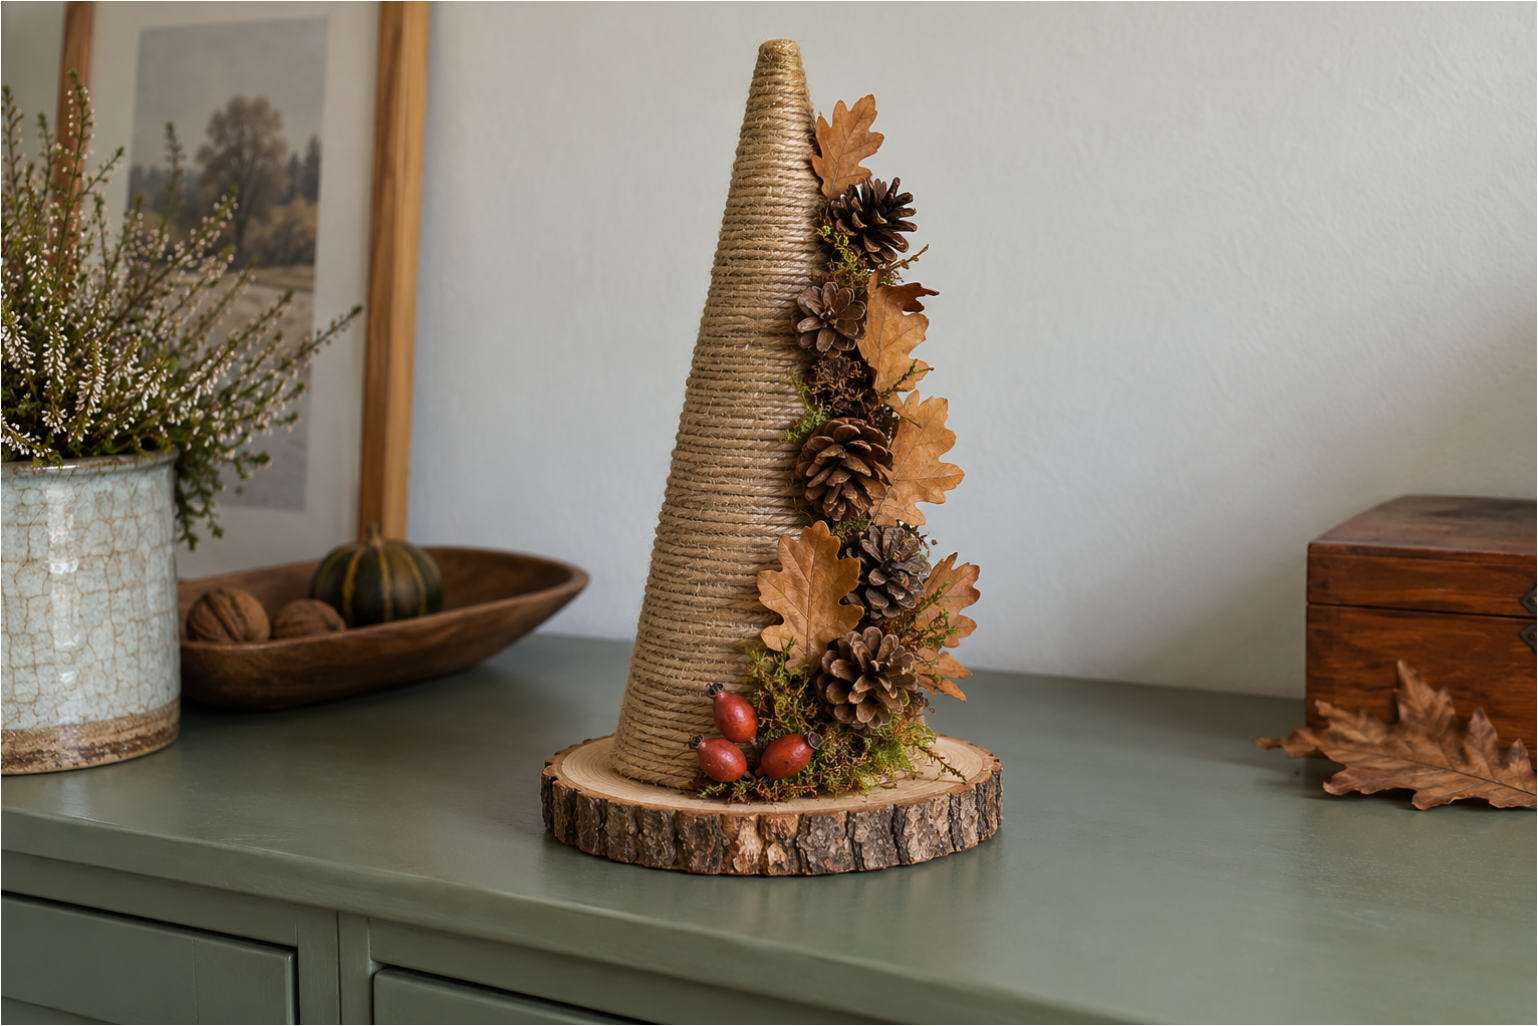
5. Cone Wrapped with Twine: If you prefer a more minimalist look, wrap the entire cone with natural twine. Concentrate pinecones, leaves, moss, and red berries into a narrow vertical stripe on one side. This creates an interesting contrast between the smooth and richly decorated areas.
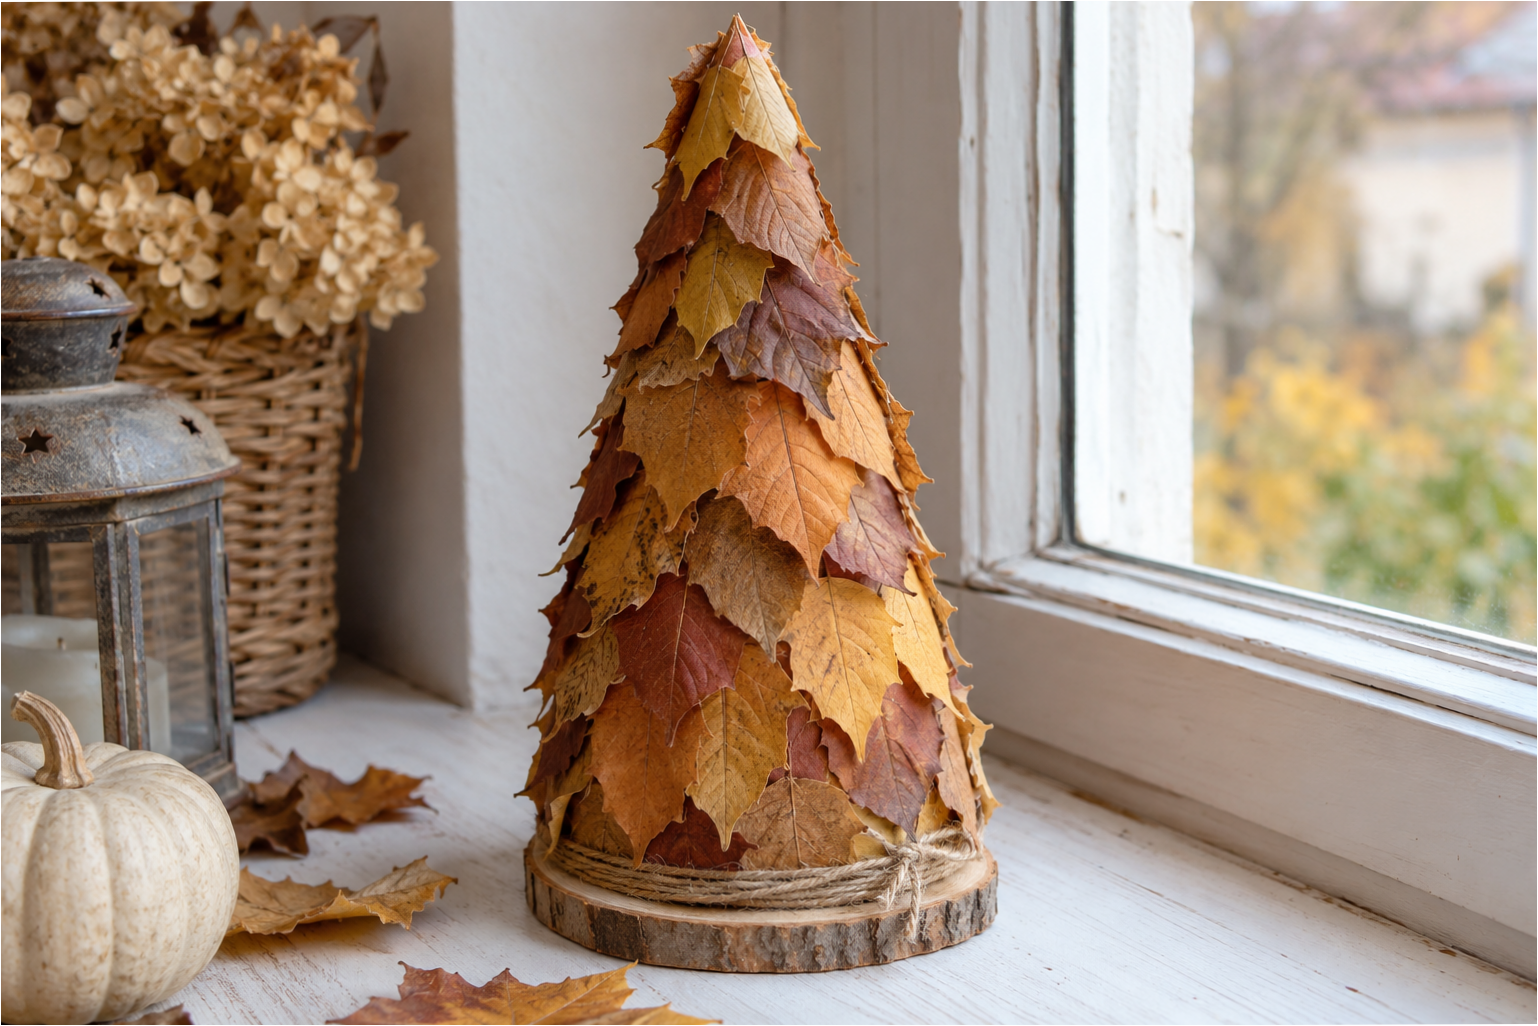
6. Colorful Mosaic of Leaves: Layer dried leaves from bottom to top, overlapping them like roof tiles. Alternate yellow, orange, red, and brown shades, letting the tips of the leaves stick out slightly. You can border the bottom part with a few turns of twine.
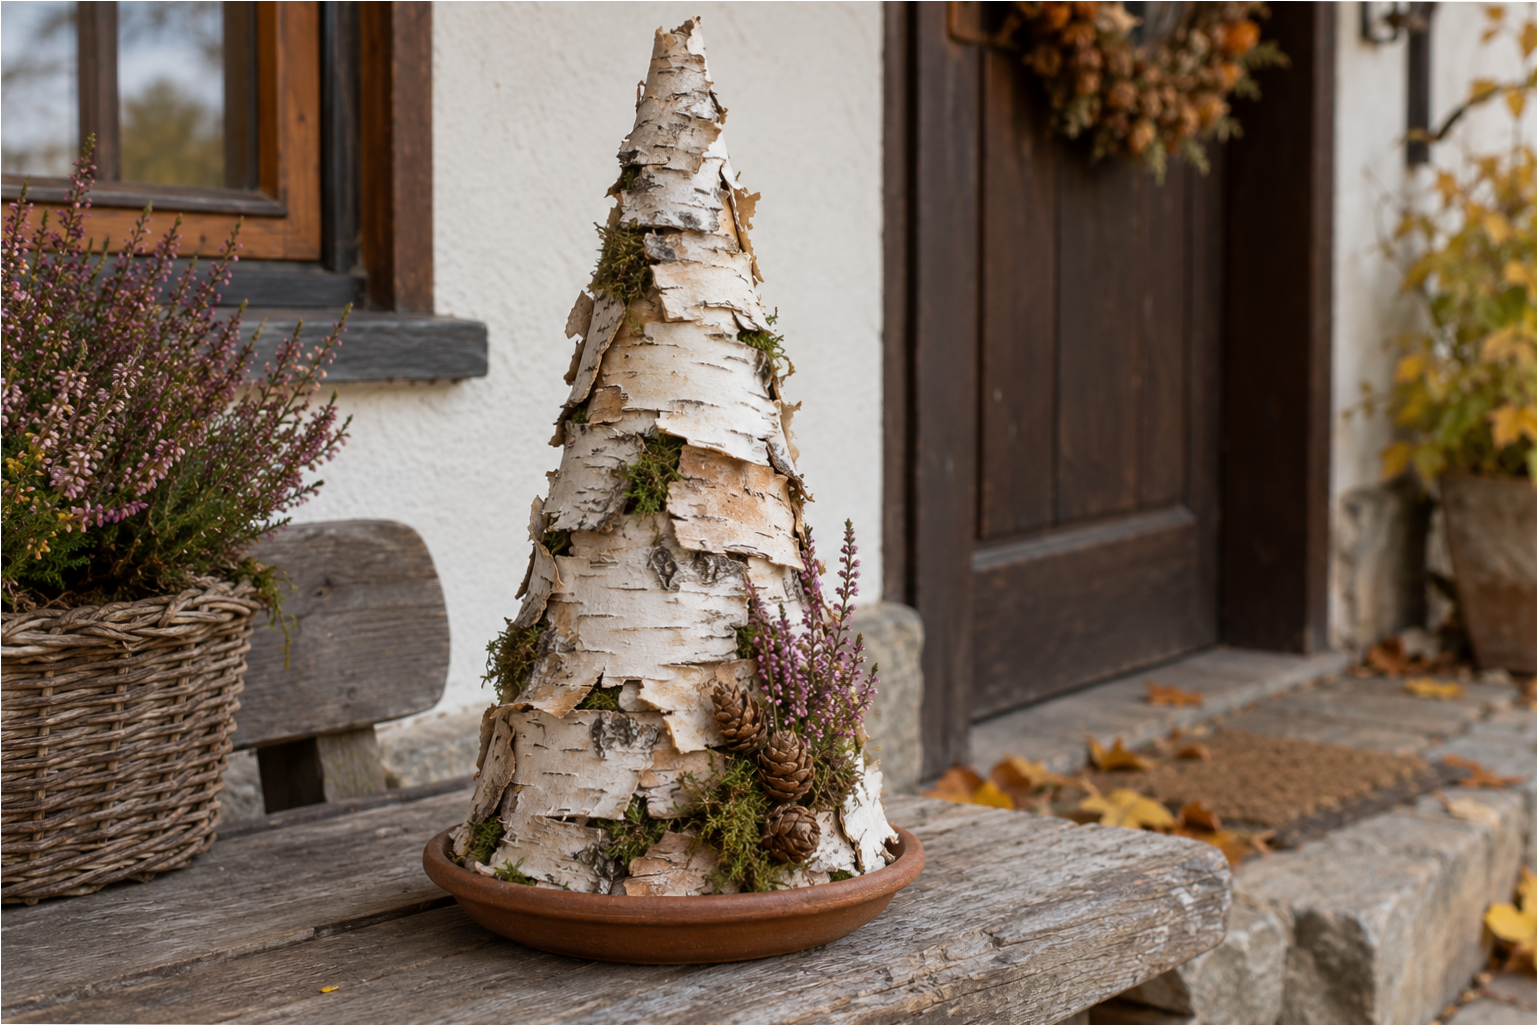
7. Surface of Birch Bark: Attach pieces of light bark in overlapping layers so that the cone resembles a slender tree. Fill the gaps irregularly with moss. Place the decoration in a shallow bowl and add pebbles, moss, or a small sprig of heather at the base.
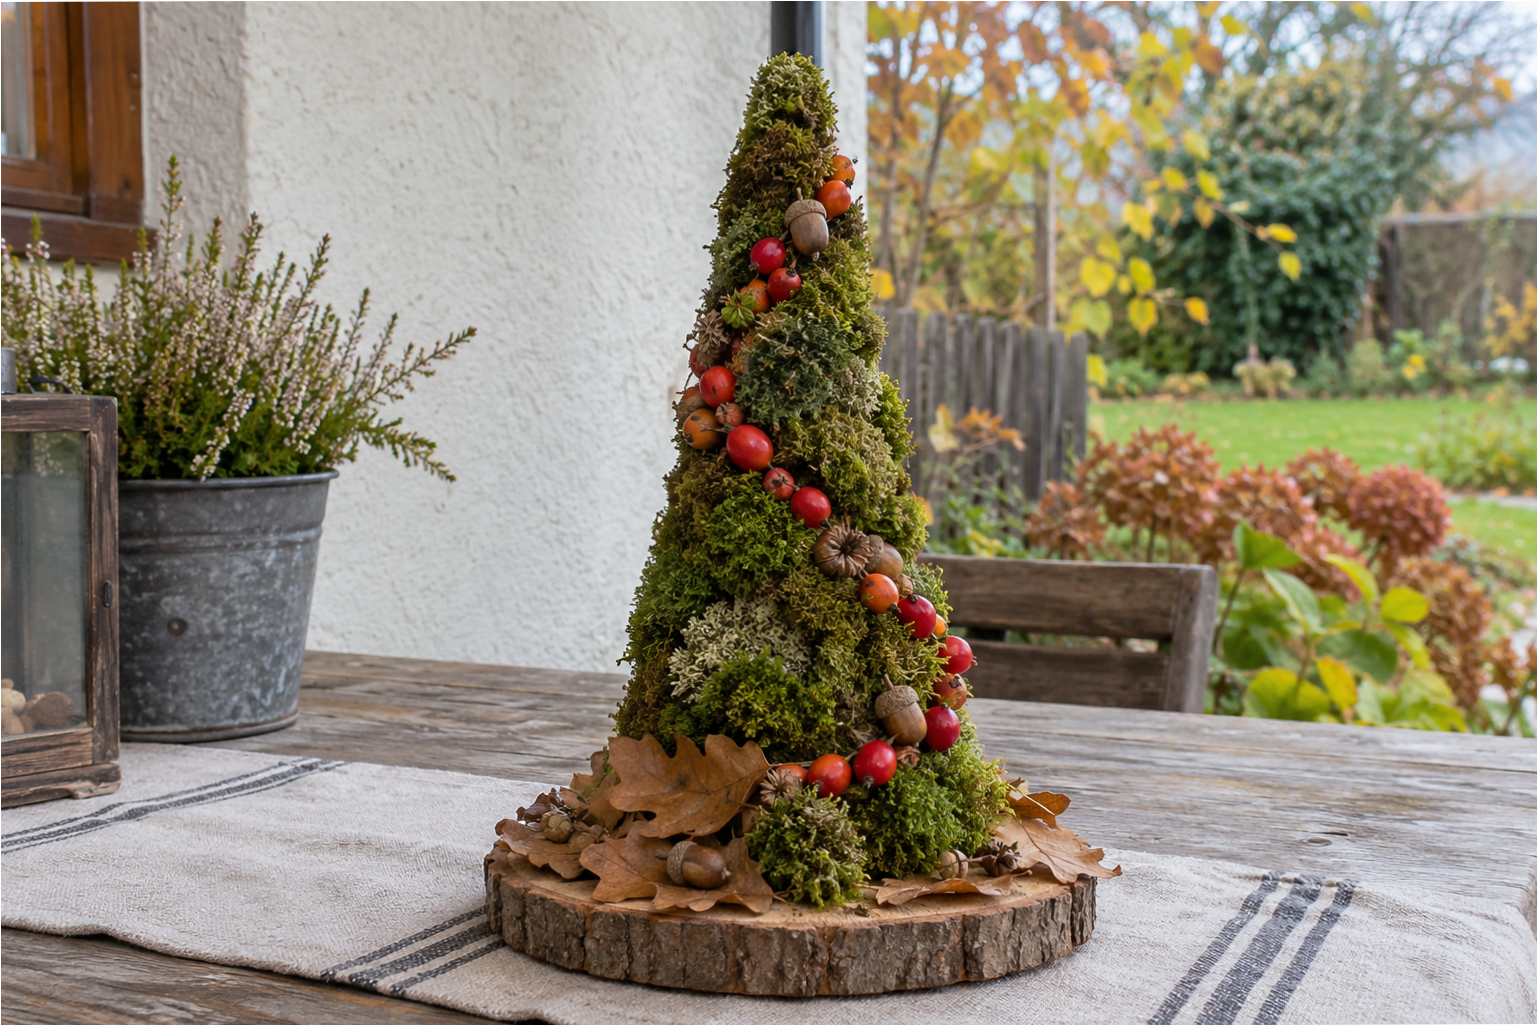
8. Moss Cone with Garland: Cover the entire surface densely with moss to create a clean silhouette. Wrap a spiral of acorns and red berries around the cone. Arrange dried leaves and a few more acorns on the wooden base.
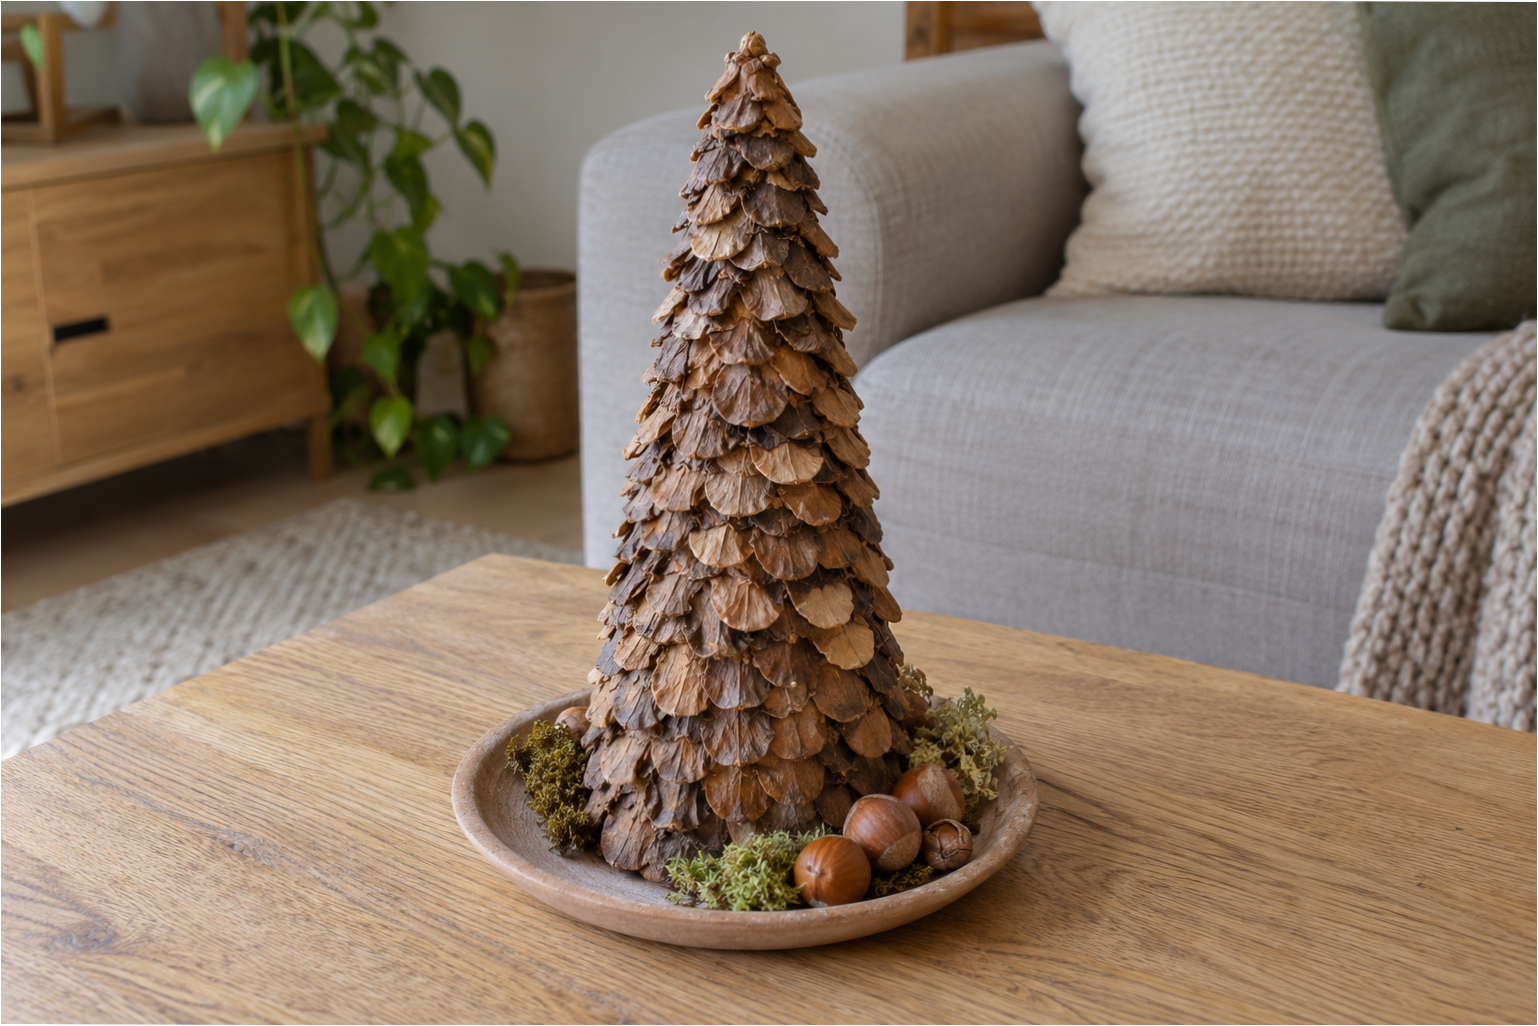
9. Scaly Effect from Dry Pinecone Pieces: Stack individual flat pinecone scales tightly above each other in regular rows. Start at the base and slightly overlap each new layer to create a surface reminiscent of scales. Soften the bottom edge with moss and acorns.
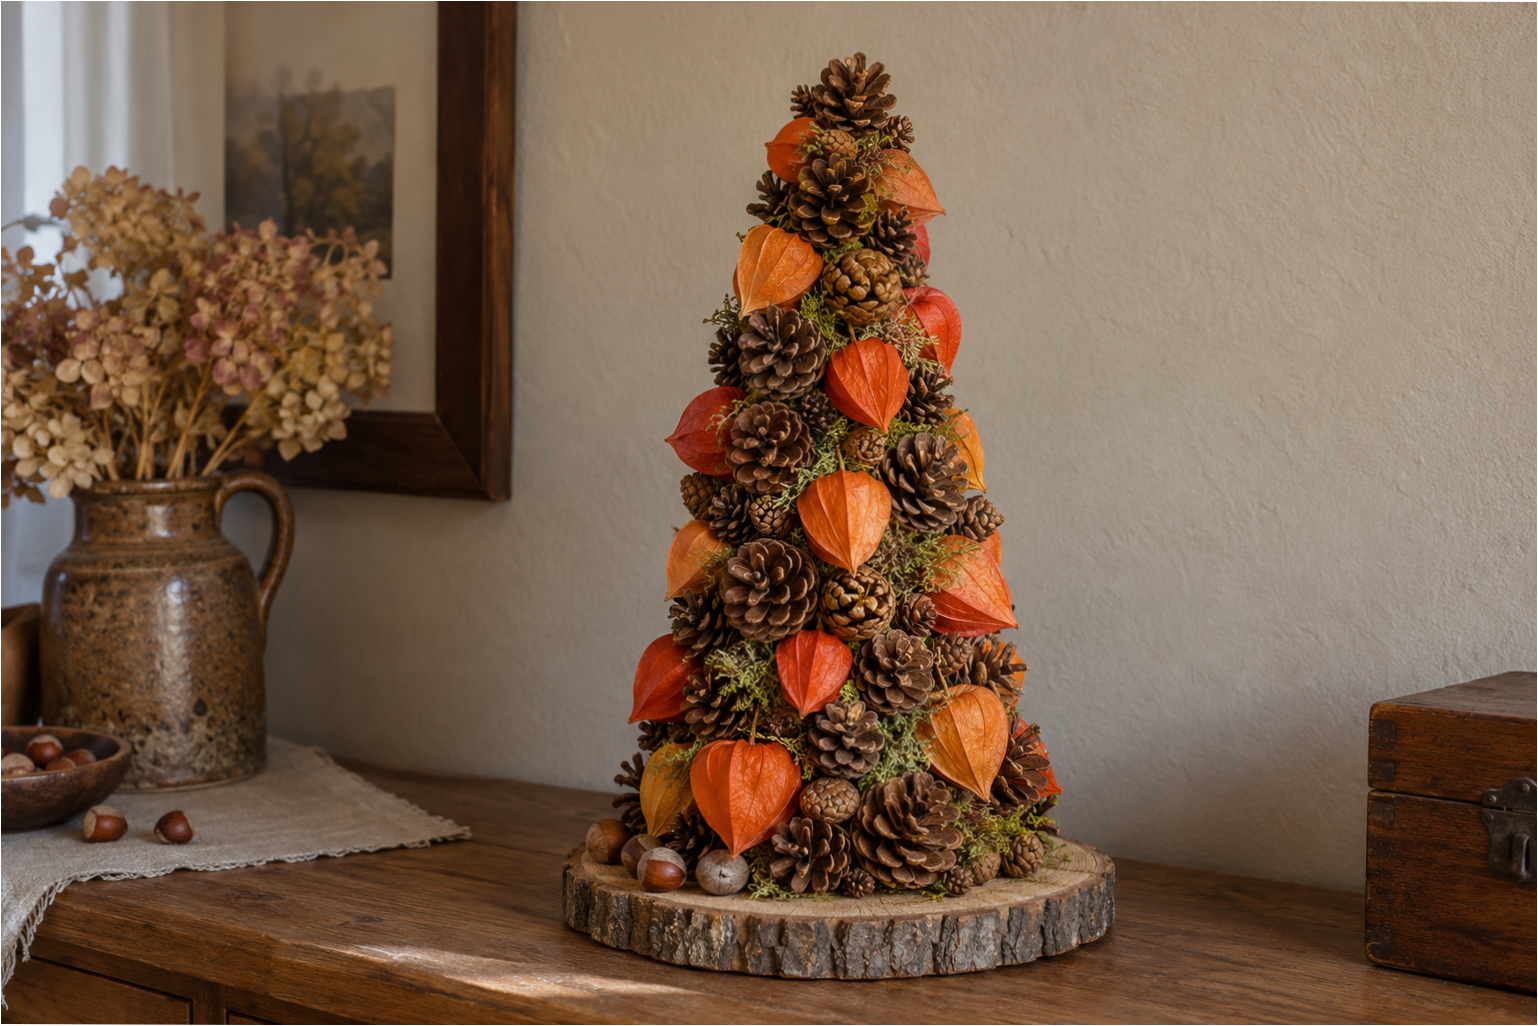
10. Pinecones with Orange Physalis: Brighten up the dark pinecone base with striking orange physalis husks. Distribute them evenly along the height of the cone for balanced color. Fill gaps with moss and small pinecones.
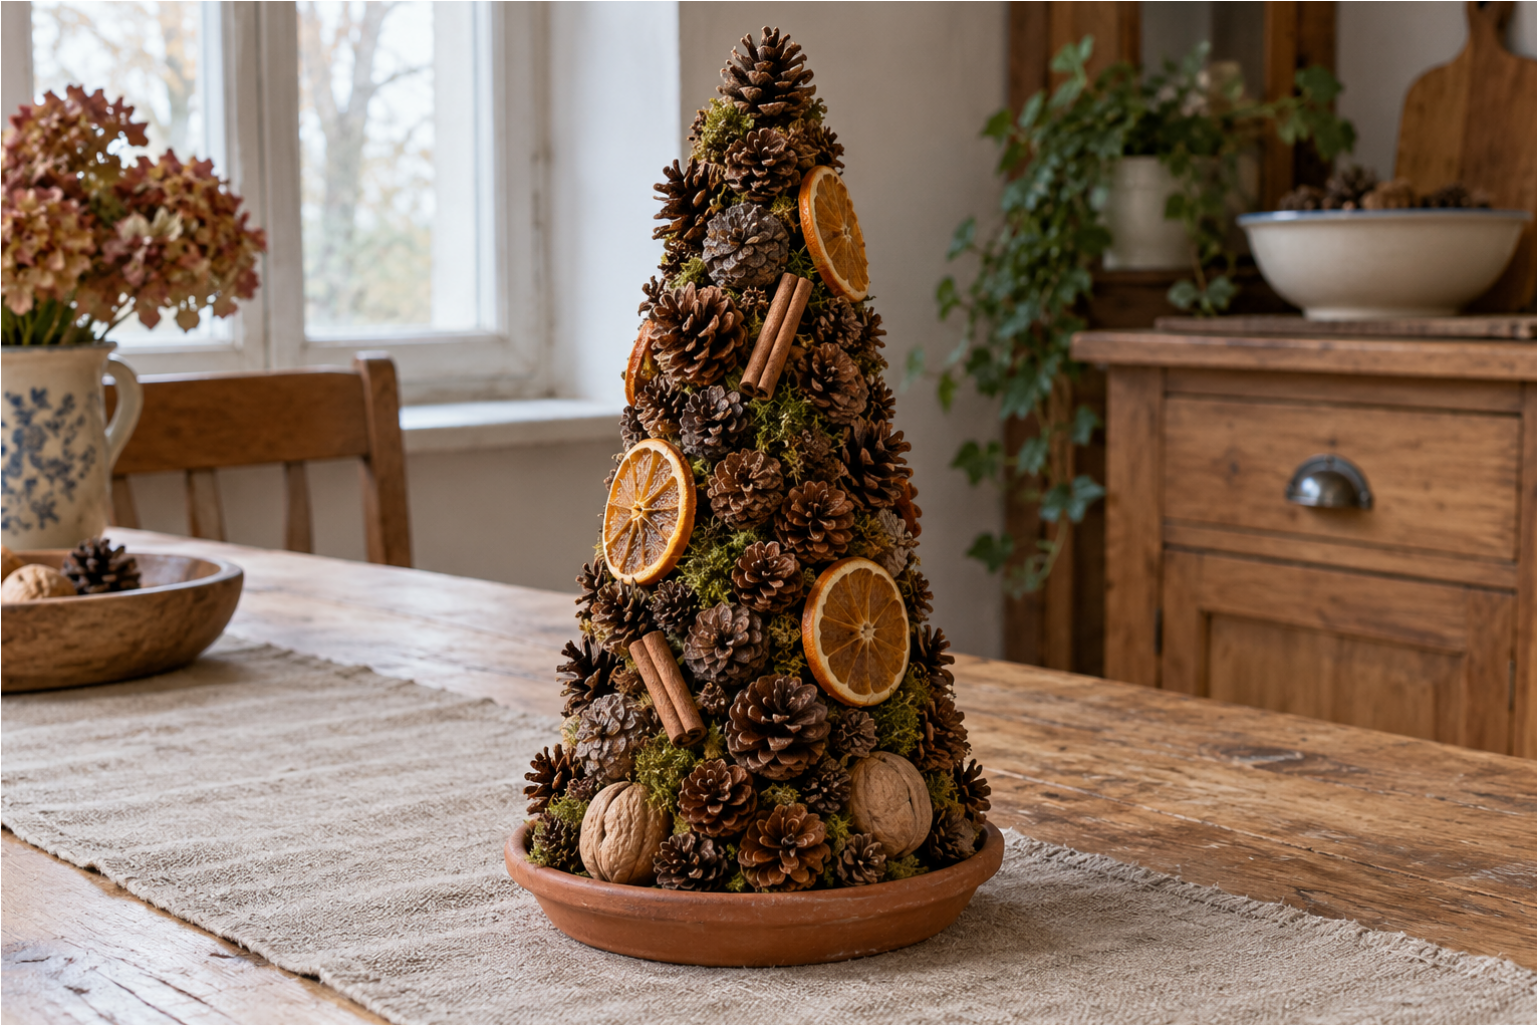
11. Fragrant Autumn Combination: Decorate the cone with pinecones and add dried citrus slices and whole cinnamon sticks. Space out the bold elements so they stand out. Add whole walnuts at the base and place the decoration in a shallow terracotta bowl.
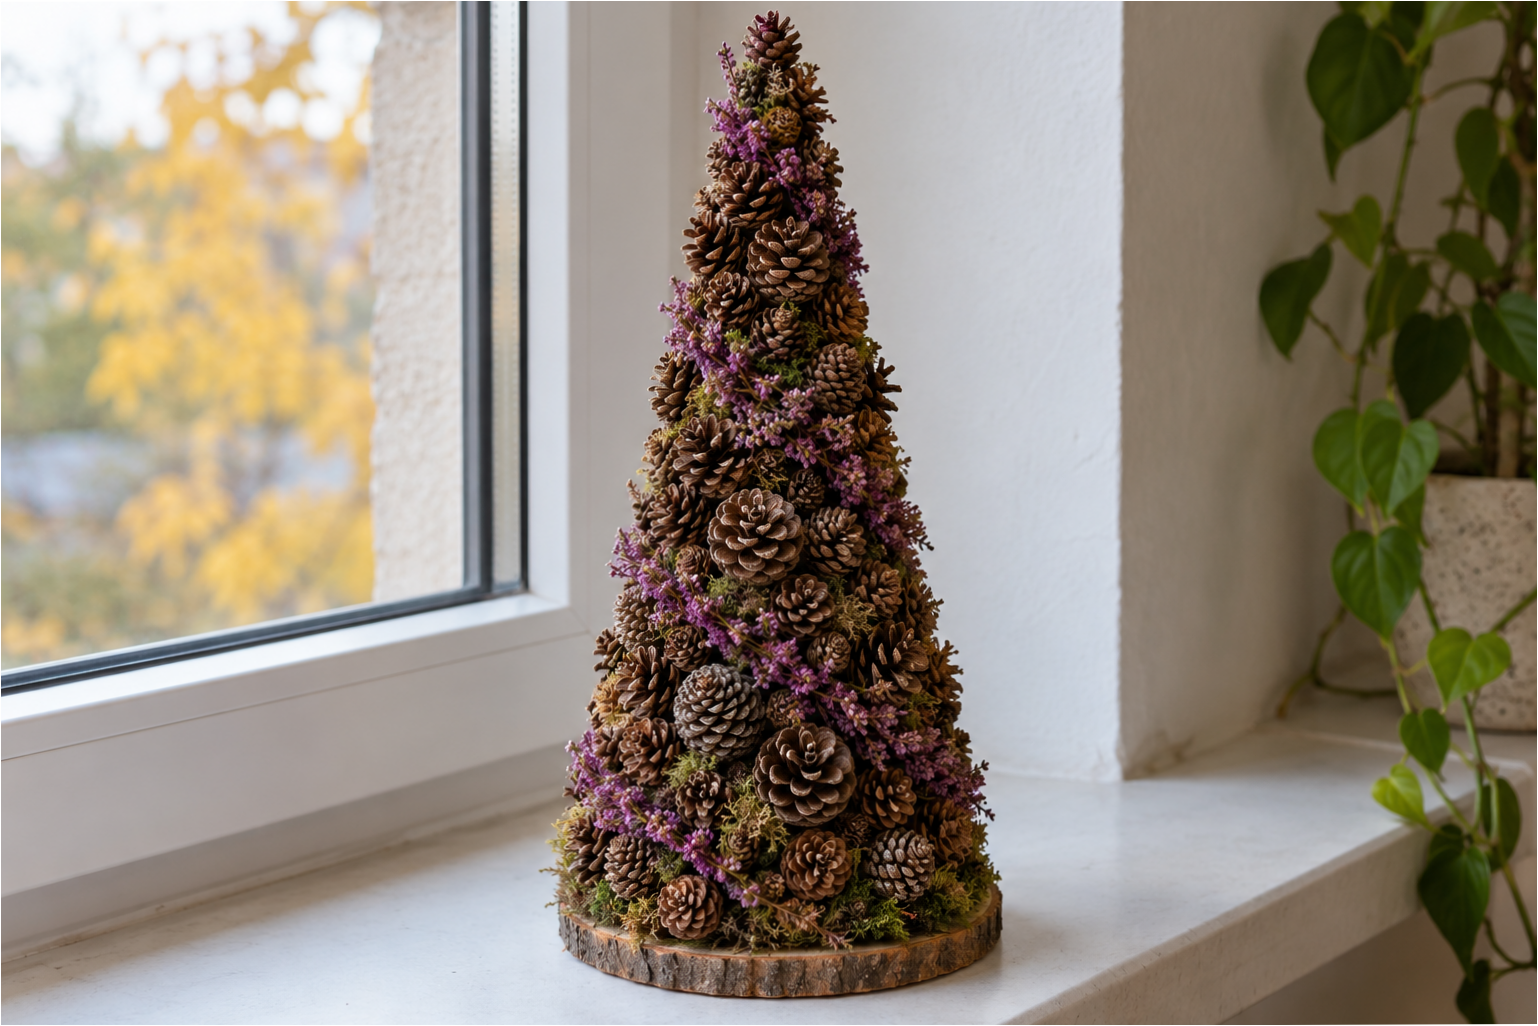
12. Pinecones Intertwined with Heather: Attach a mix of pinecones of various shapes and sizes to the cone. Run irregular stripes of small purple flowers or heather between them. Finish the base with green moss and place on a round wooden slice.
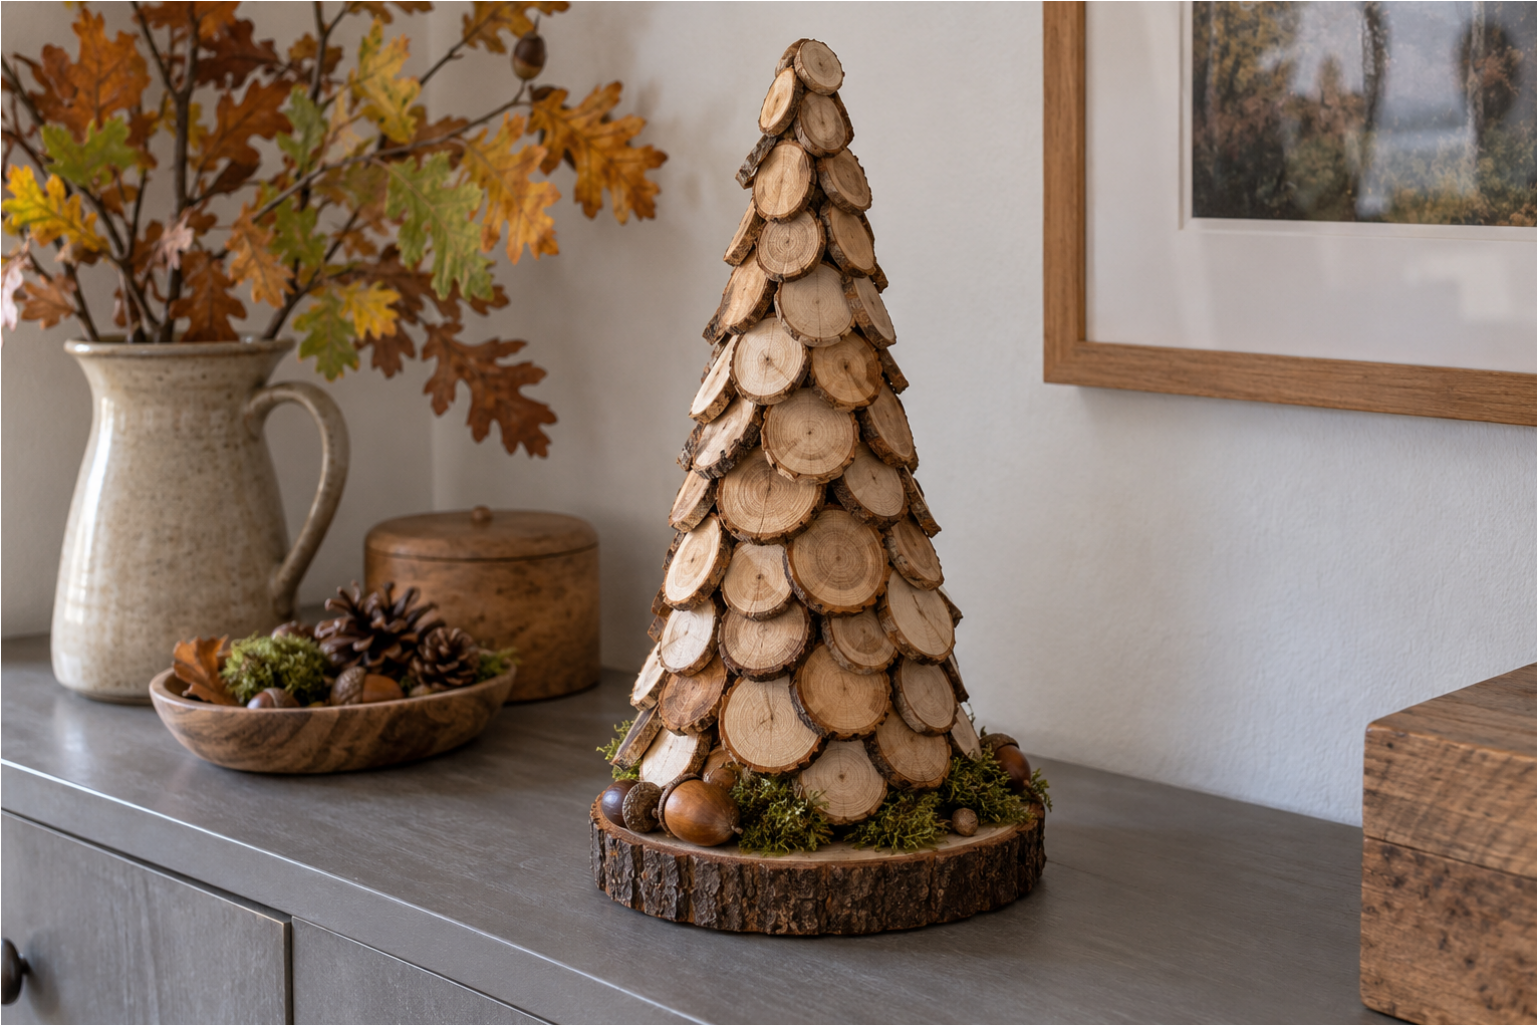
13. Wooden Slices: Stack thin slices from twigs from the bottom row upwards, slightly overlapping them. Use larger slices at the bottom and smaller ones near the tip. Decorate the base area with moss, acorns, and a few pinecones.
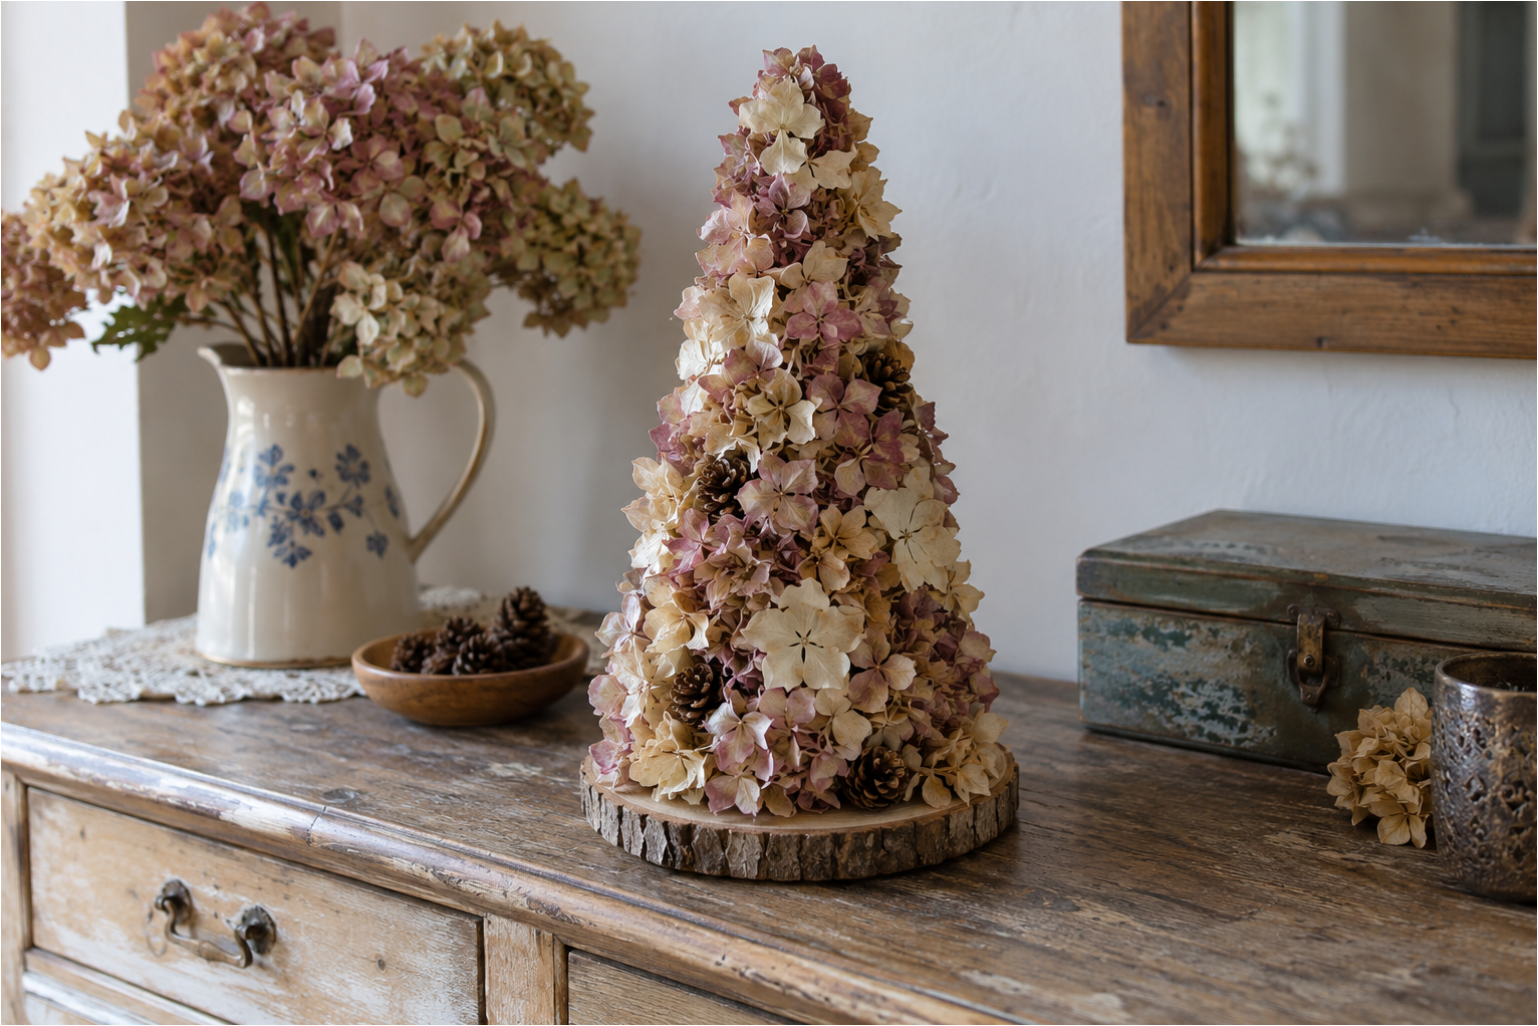
14. Delicate Dried Flower Decoration: Cover the entire cone with small dried flowers in light and muted pink shades. Attach the flower heads densely so the base doesn’t show through. Add a few small pinecones at the bottom for an autumn contrast.
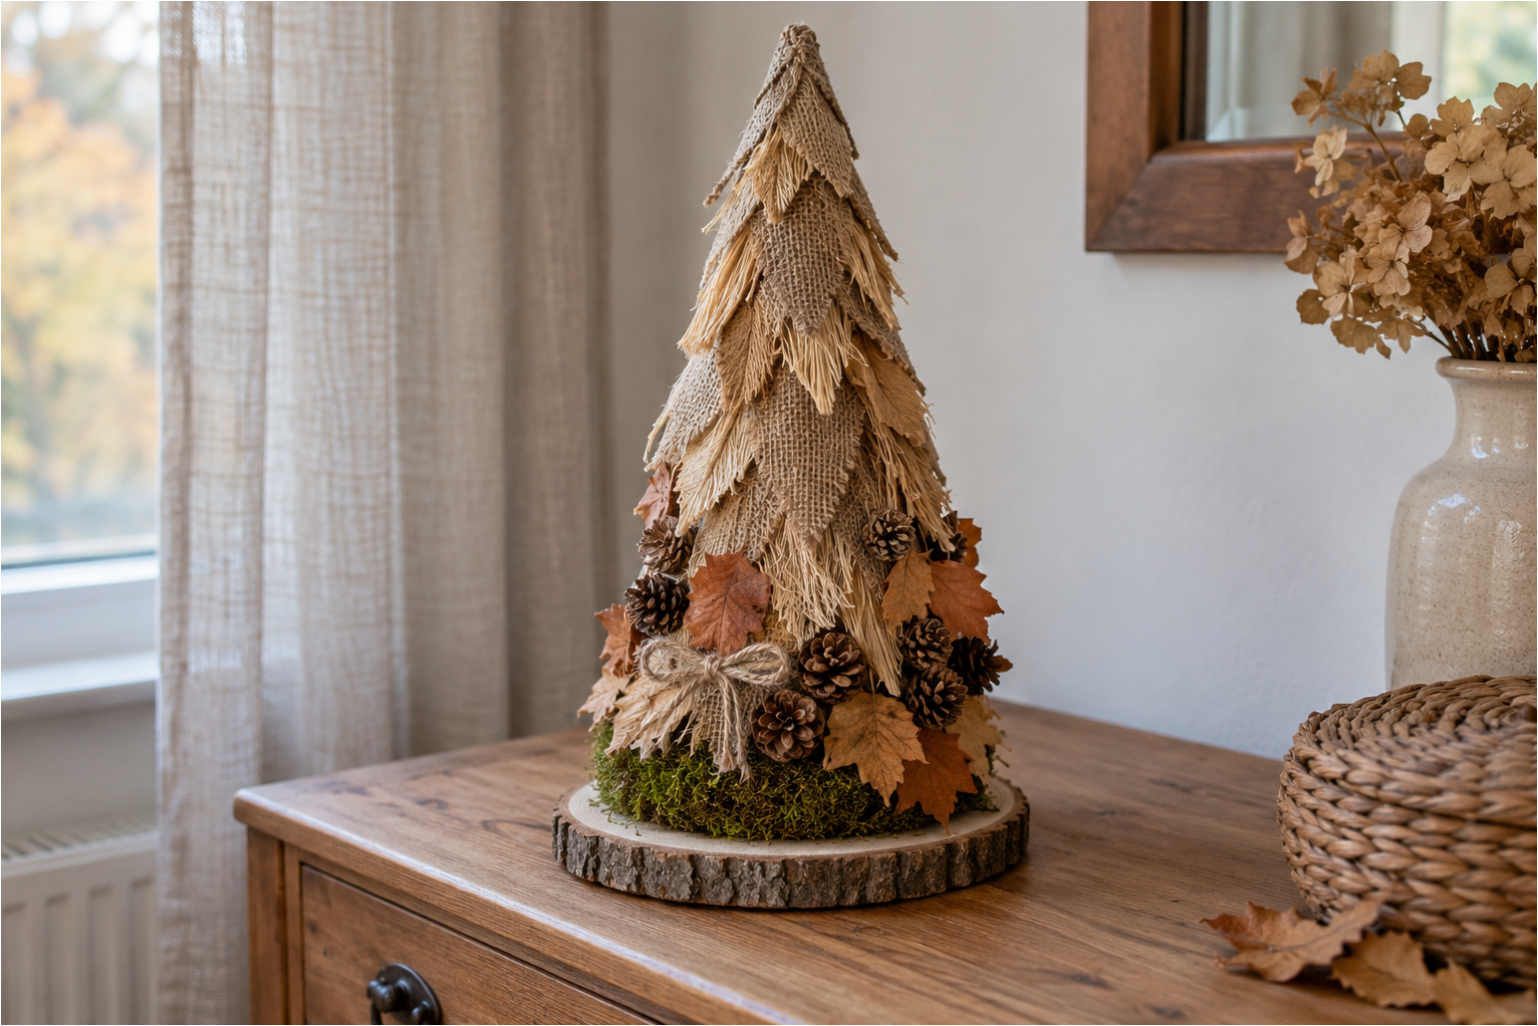
15. Rustic Jute Cone: Cover the surface with overlapping pieces of jute fabric with frayed edges. Decorate the bottom band with pinecones, dried leaves, and tied jute twine. Complete the base with moss and place on a wooden slice.
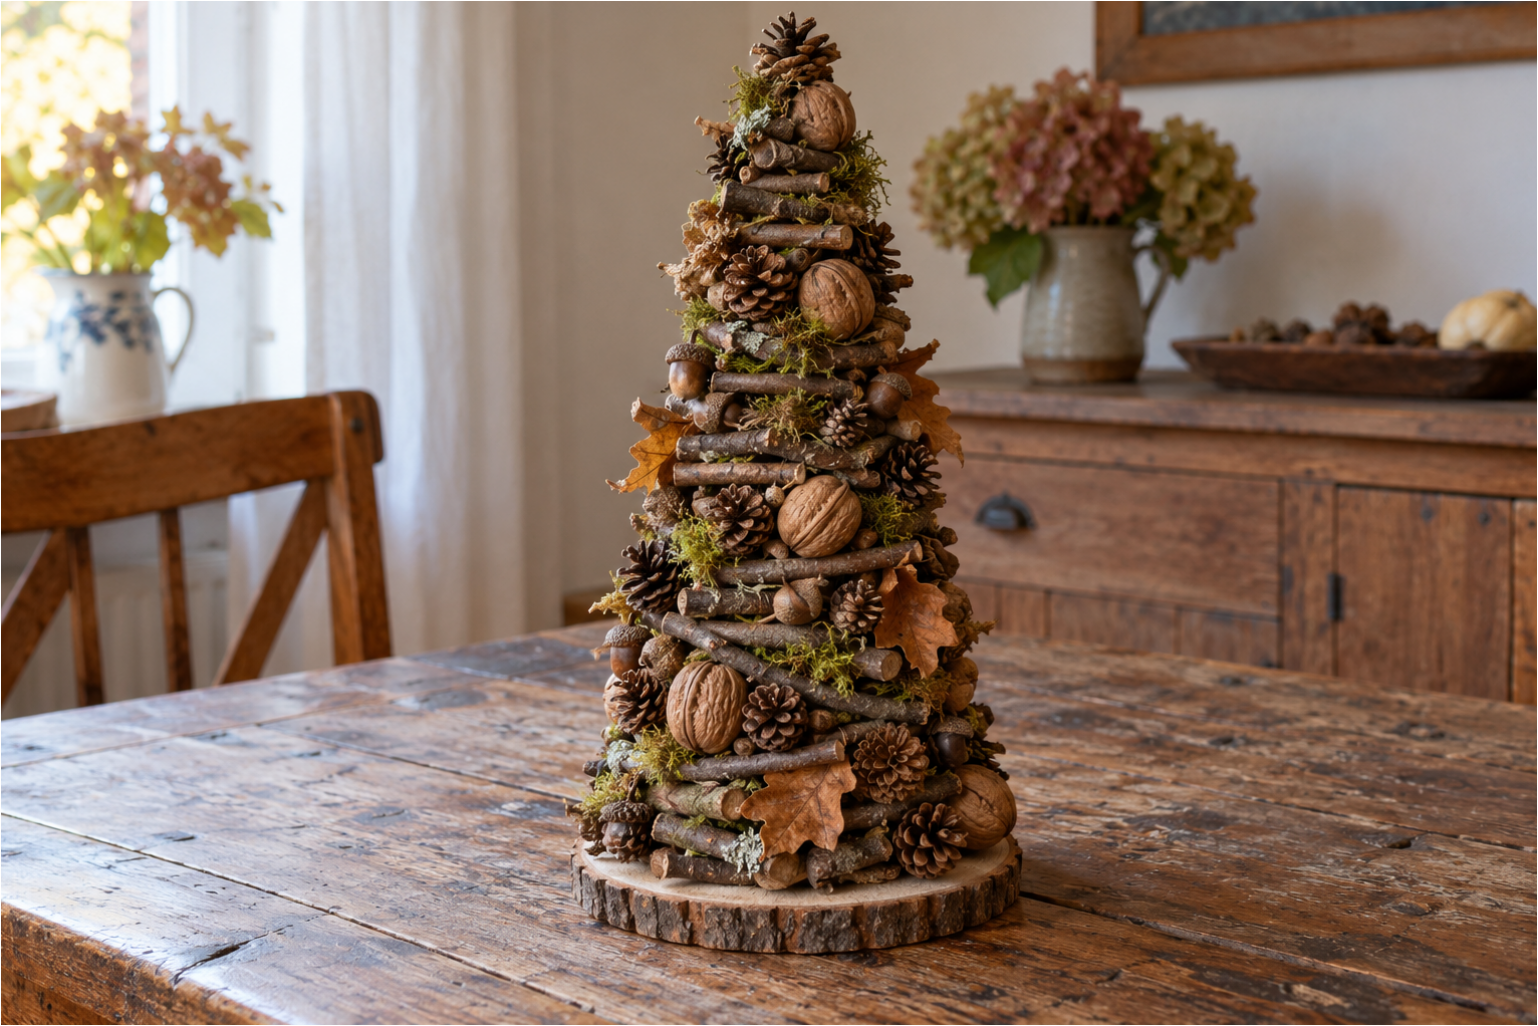
16. Spiral Rows of Twigs: Attach short sections of twigs around the cone in irregular horizontal or spiral lines. Fill the spaces between them with pinecones, nuts, moss, and leaves. The result is a richly textured forest decoration.
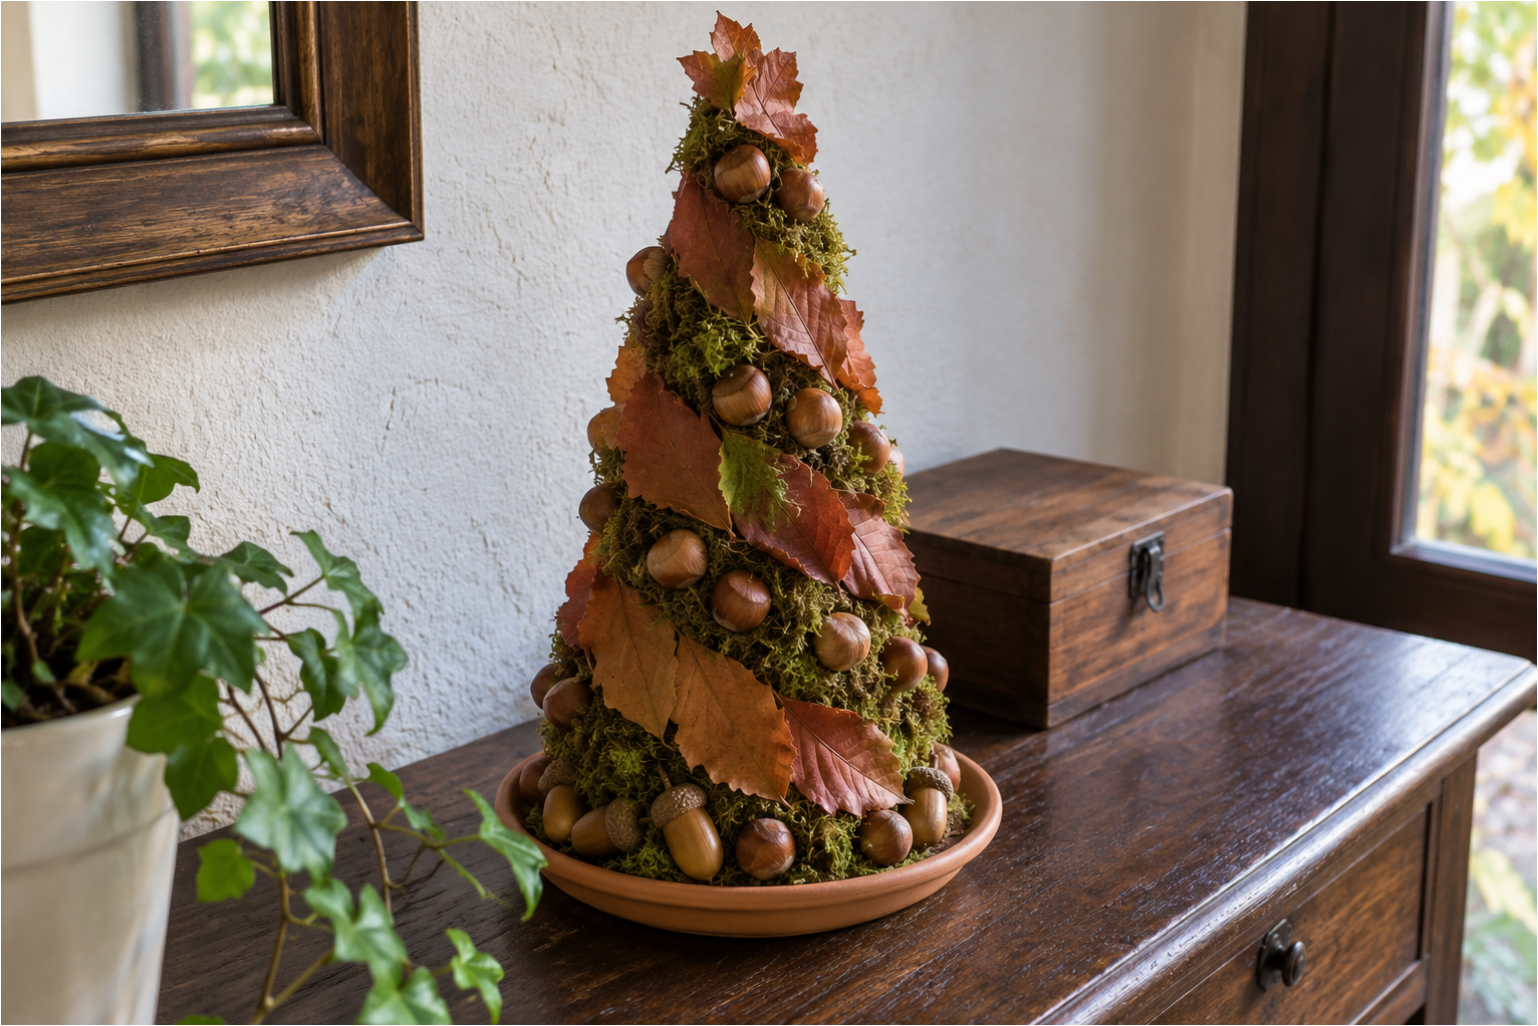
17. Wide Spiral of Dried Leaves: First cover the cone with moss, then wrap a bold band of large autumn leaves around it. Fill empty spots with acorns, chestnuts, and other small fruits. Expand the base with a shallow bowl filled with natural materials.
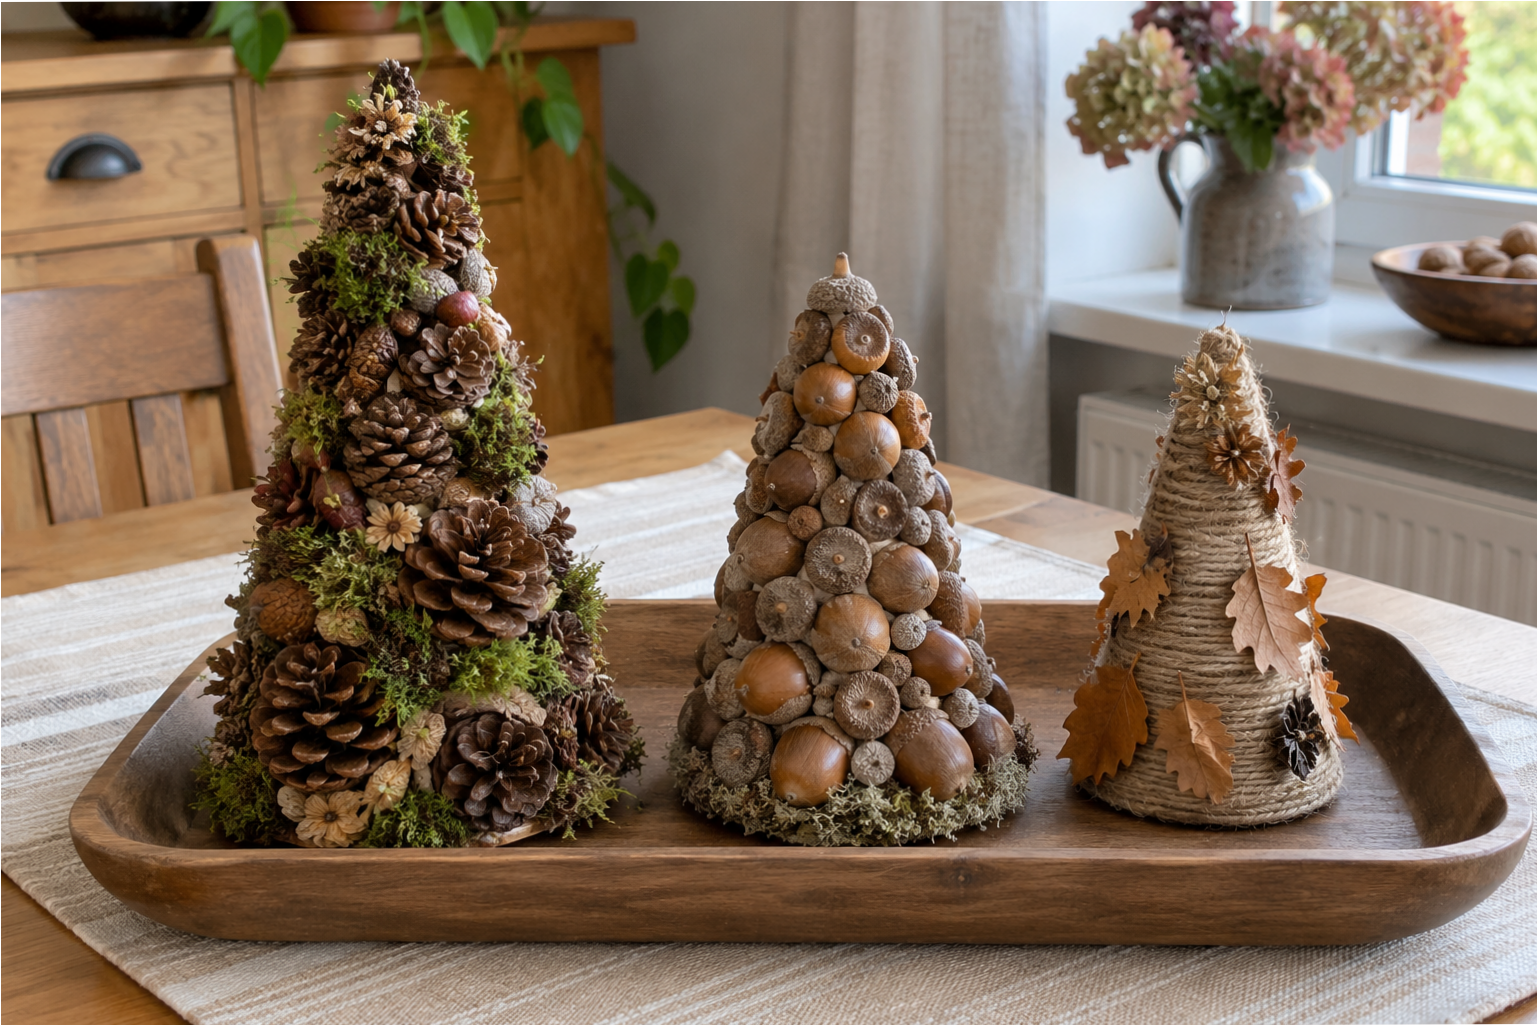
18. Trio of Differently Decorated Cones: You can group finished decorations on a long wooden tray. Combine a richly pinecone-covered cone, an acorn version, and a smaller model wrapped in twine. The different heights and textures create a balanced autumn arrangement.
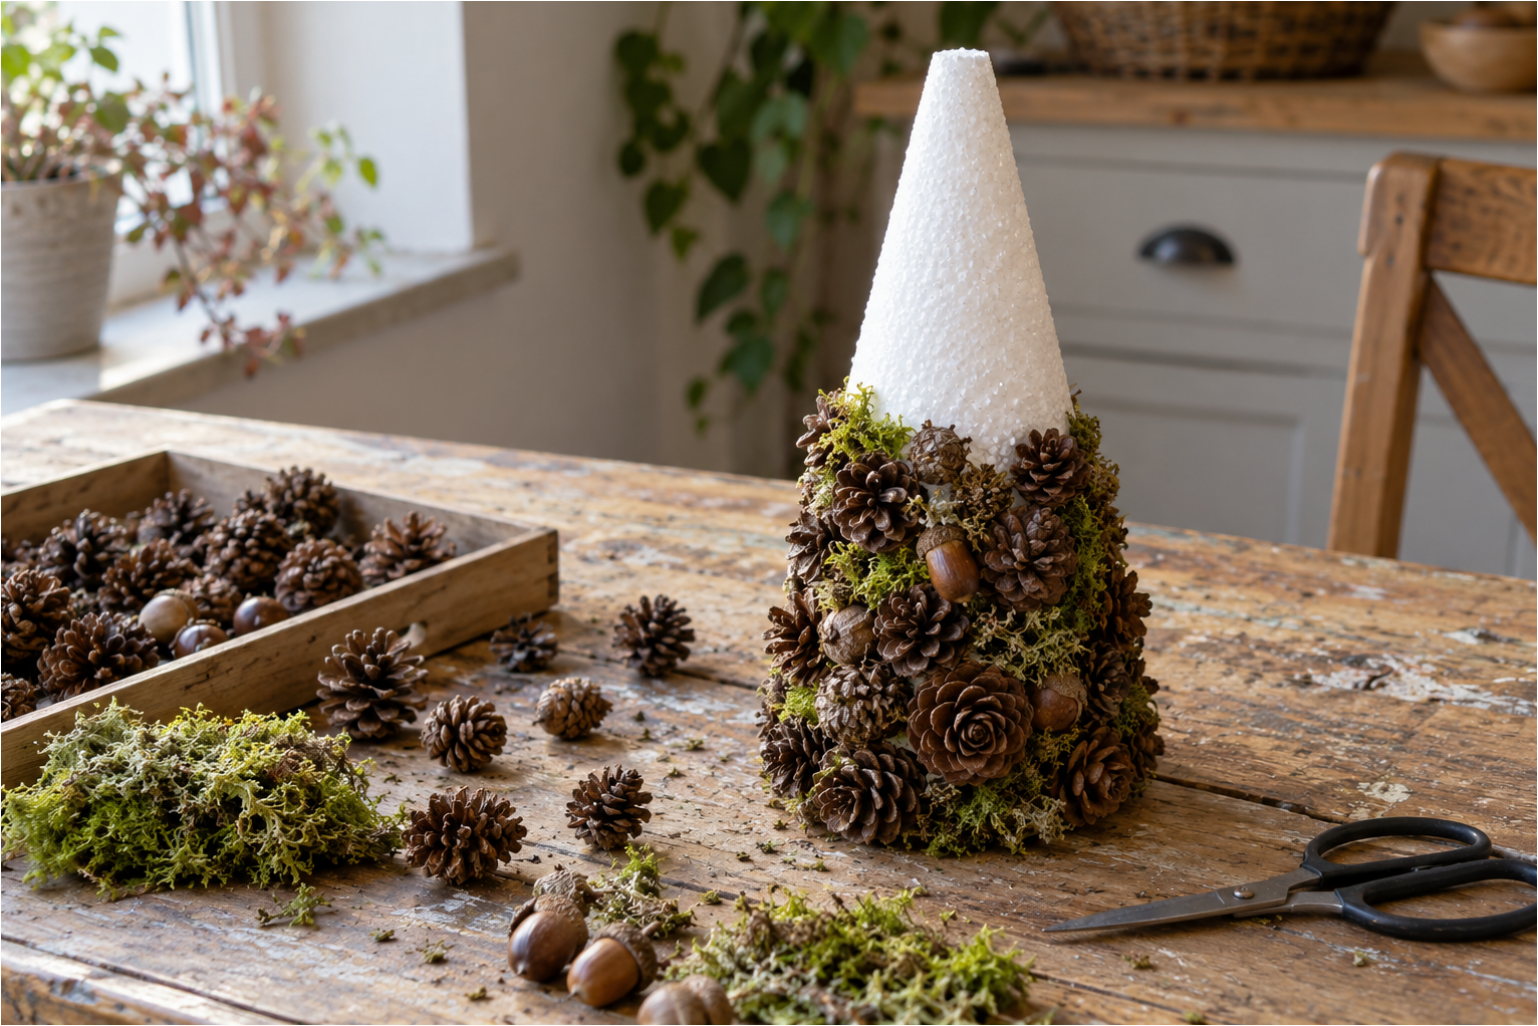
19. Gradual Covering of Styrofoam: The photo shows the actual making process. Start at the bottom of the cone, attaching moss, pinecones, and acorns in irregular clusters. Work your way around and upwards, filling larger gaps with pinecones first and smaller cracks with moss. You can trim any overhanging parts with scissors.
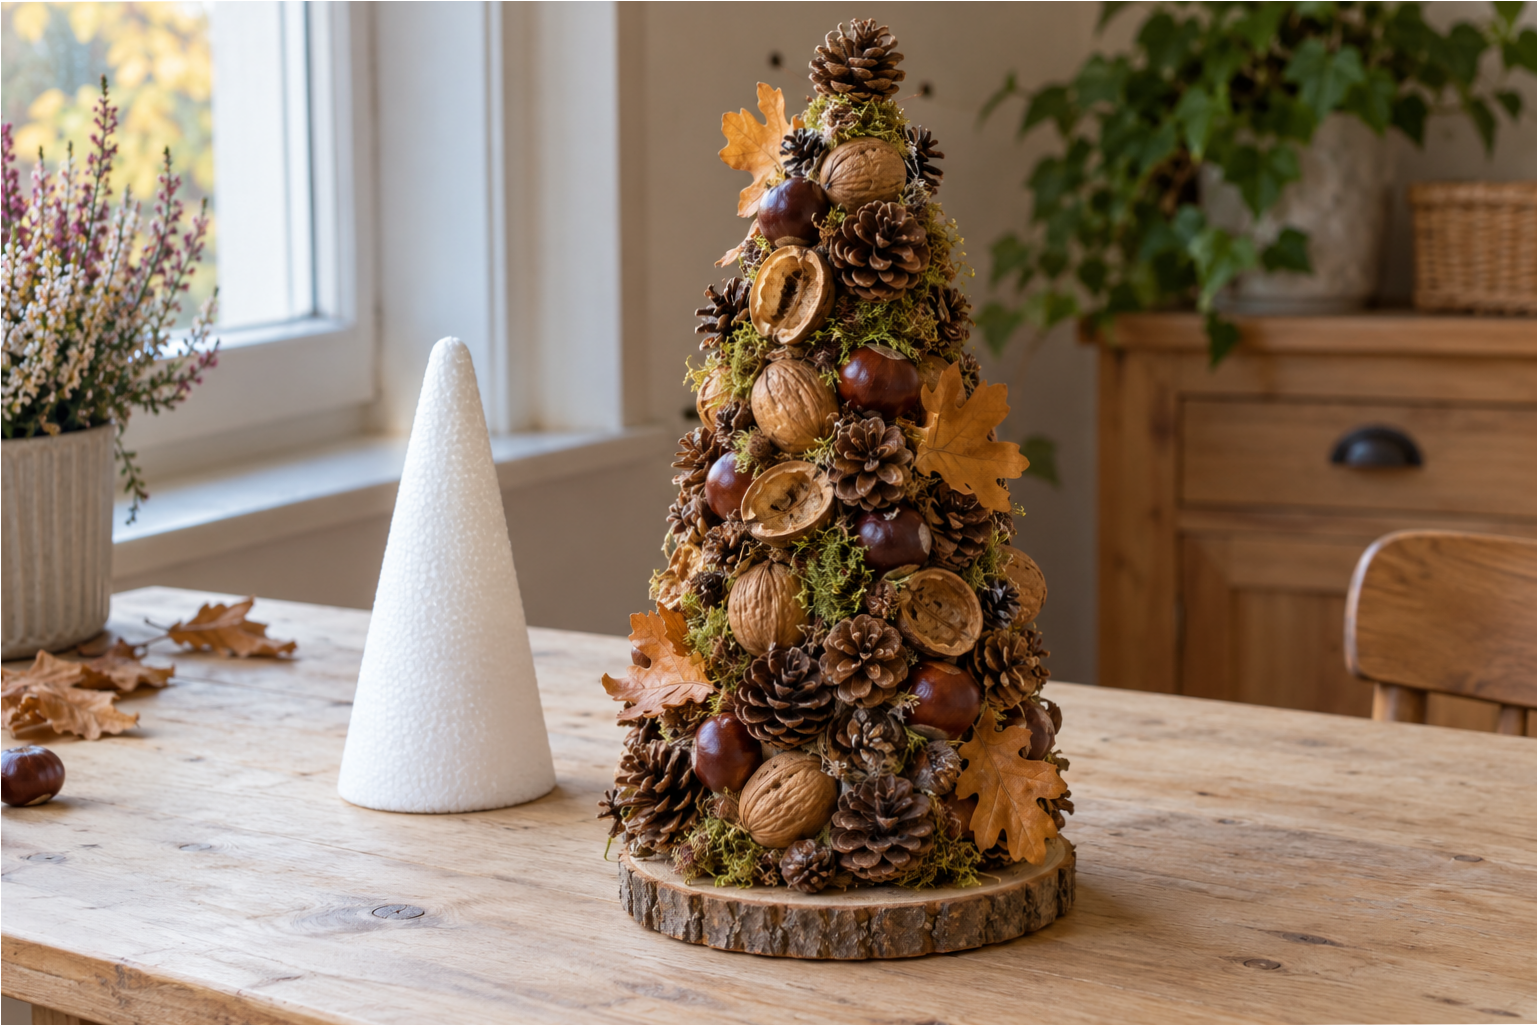
20. Finishing and Checking the Result: The finished cone no longer shows any styrofoam base. Pinecones, chestnuts, nuts, twig slices, moss, and dried leaves create a continuous surface. Finally, check the decoration from all sides, fill in any empty spots, and secure it to a sturdy wooden base.
Final Tip
You’ll achieve the best result by alternating sizes and textures. Place heavier and larger natural items near the bottom, while small pinecones, acorns, and light leaves work best at the top. If your decoration will stand outdoors, put it in a sheltered spot away from direct rain and strong wind. Allow each attached section to set before turning or adding to the other side of the cone.