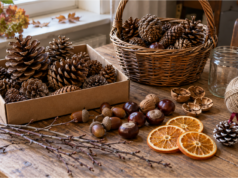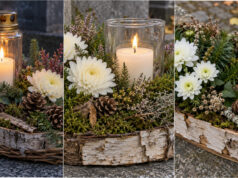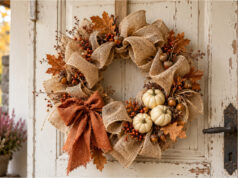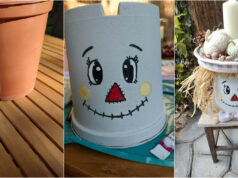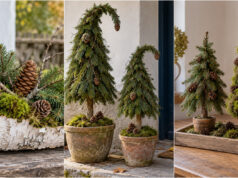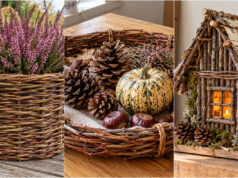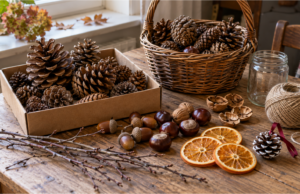

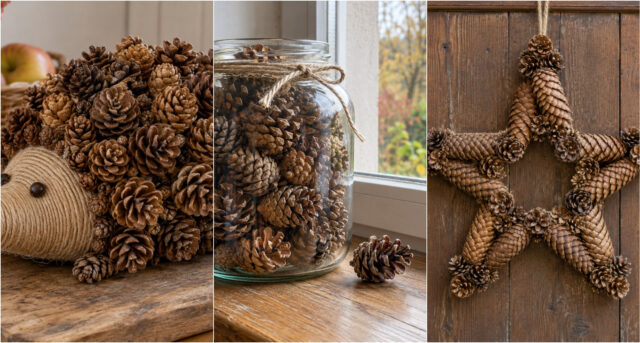
Ordinary pine cones collected during an autumn walk can be transformed into impressive decorations for your table, door, window, or outdoor seating area. Take a look at 20 simple ideas that make use of their natural color and fit perfectly into a cozy home.
What You’ll Need
- dry pine cones of various sizes and shapes
- glass jars, bowls, baskets, or wooden crates depending on your chosen idea
- string, twigs, and natural wicker
- a sturdy base for wreaths and other shaped decorations
- candles in glass holders or safe fairy lights
- suitable glue or another strong way to attach the pieces
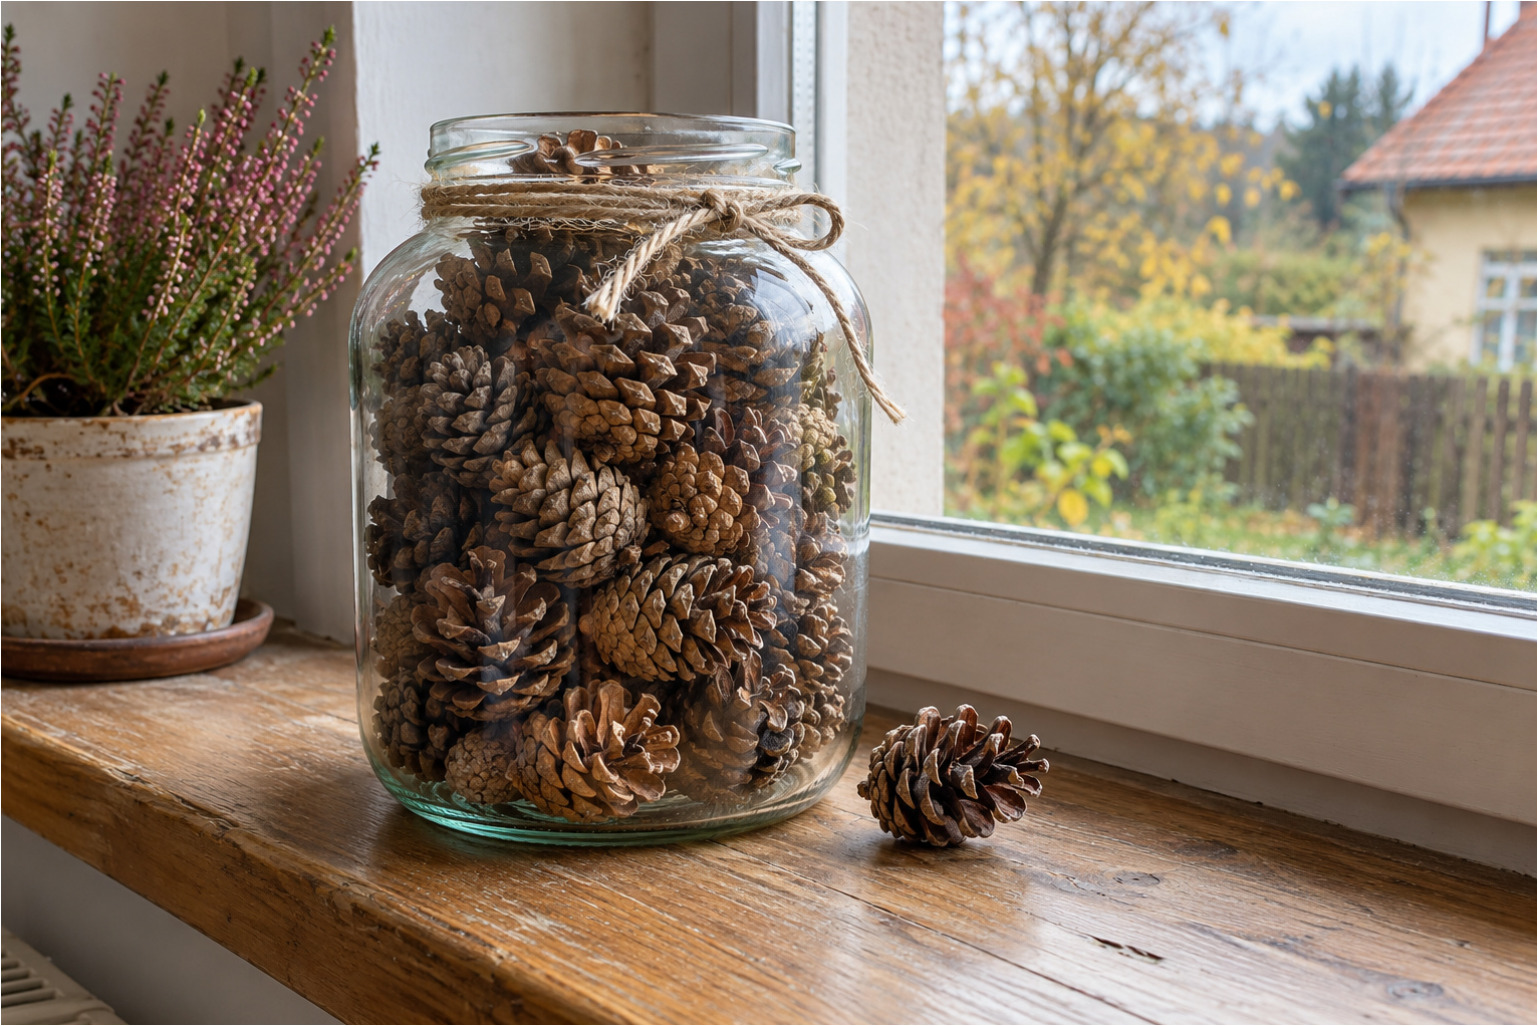
1. Pine Cones in a Jar: The simplest decoration is made by filling a large clear glass jar with pine cones of various sizes. Fill the jar up to the rim for a rich look, and tie a piece of natural string around the top. You can place one cone next to the jar as a subtle detail.
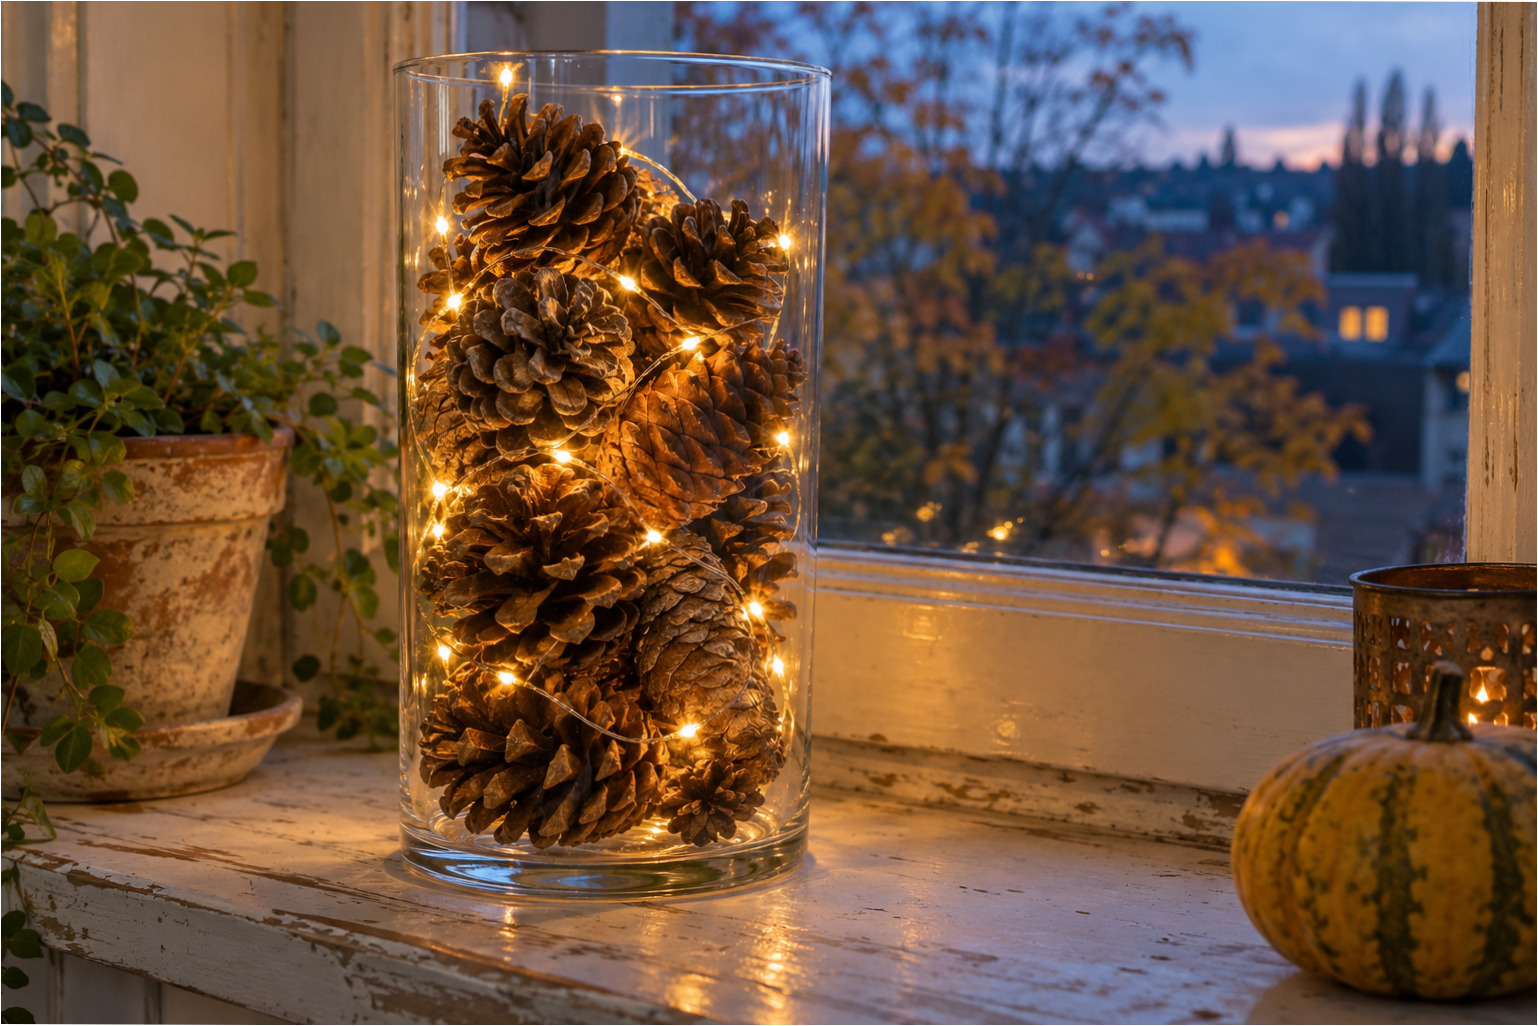
2. Glowing Glass Cylinder: Alternate layers of pine cones and a small string of lights in a tall glass container. Spread the lights between the layers so the whole jar glows from top to bottom. Hide the cable and battery pack behind the decoration.
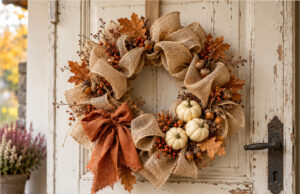
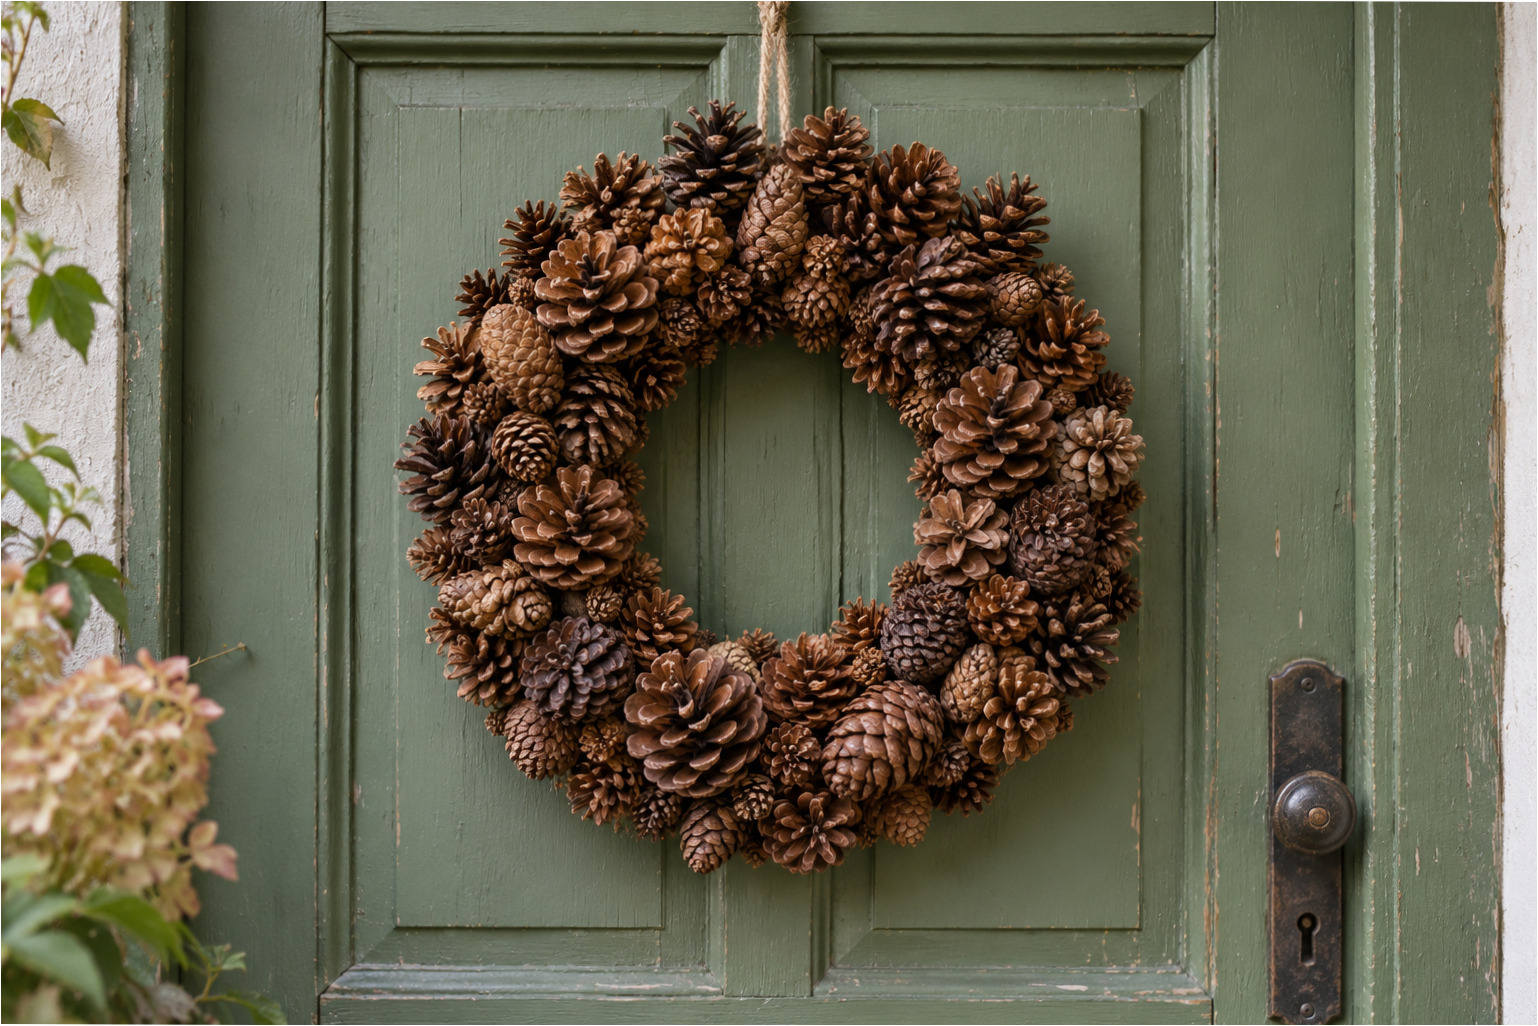
3. Full Door Wreath: Gradually attach pine cones of different sizes to a round base. Place them close together and alternate their direction to cover the base and create a striking, textured surface. Hang the finished wreath with a sturdy string.
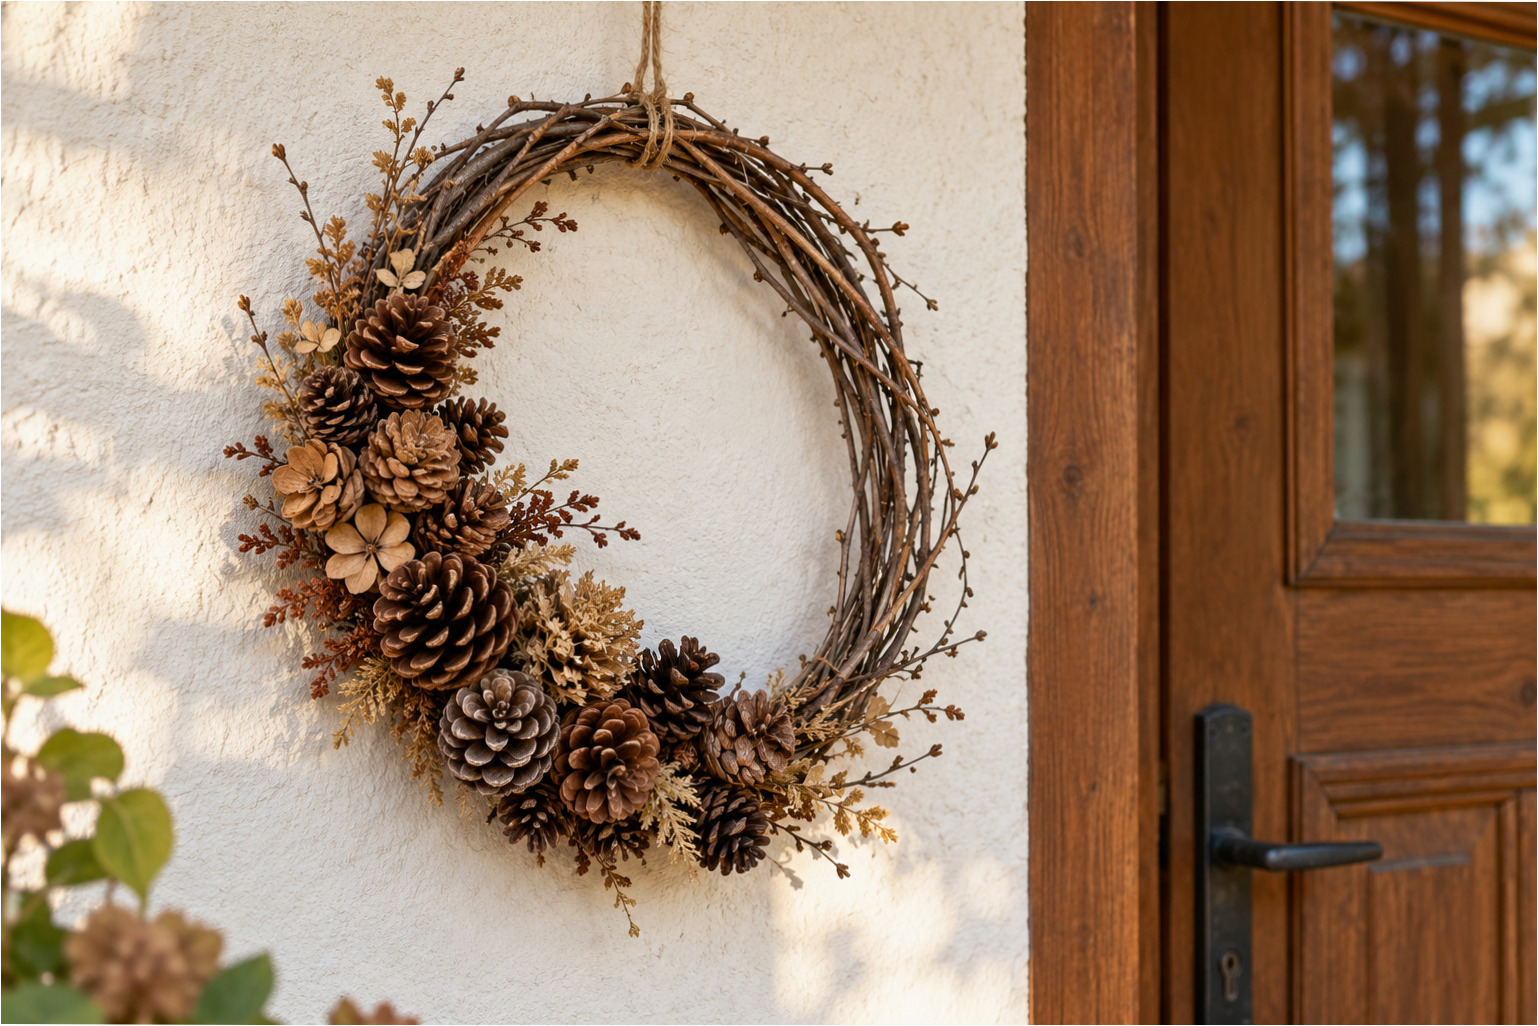
4. Airy Wicker Wreath: If you prefer a lighter decoration, leave most of the wicker ring visible. Concentrate pine cones, dry twigs, and natural plant parts mainly on one side and the lower part of the wreath.
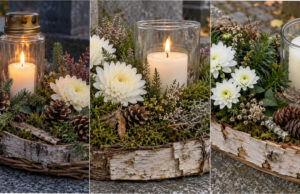
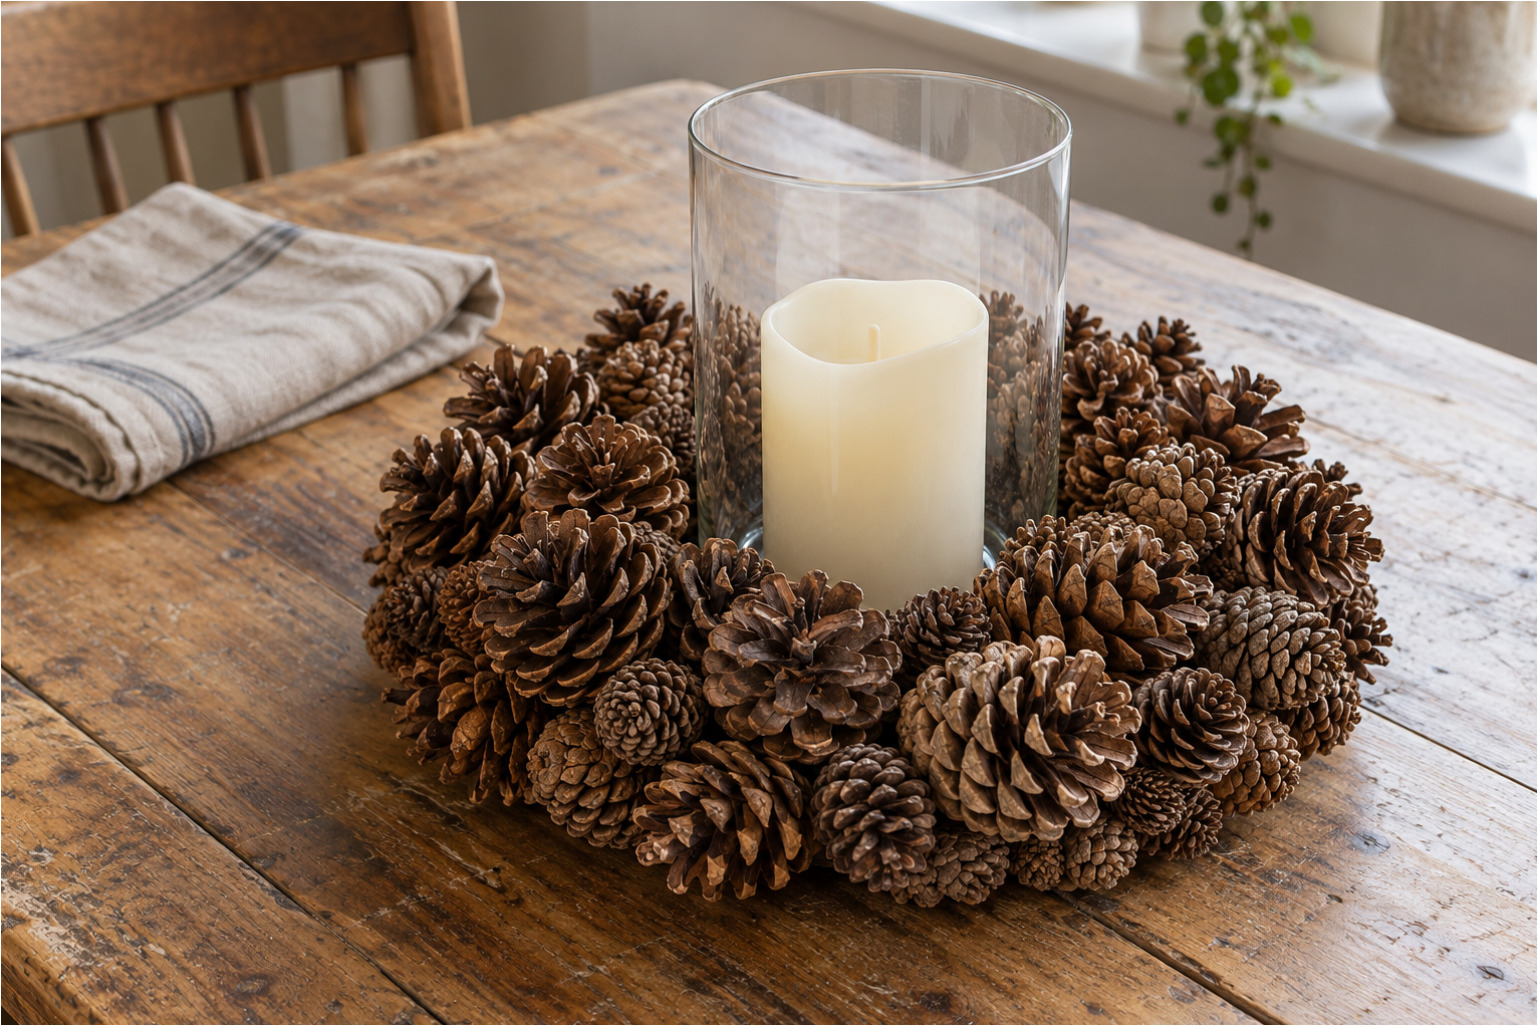
5. Table Wreath with Candle: Arrange pine cones in a low circle and place a tall glass cylinder with a candle in the center. Mix cones of different sizes so there aren’t any large gaps. The flame must always be safely separated from the dry material by the glass.
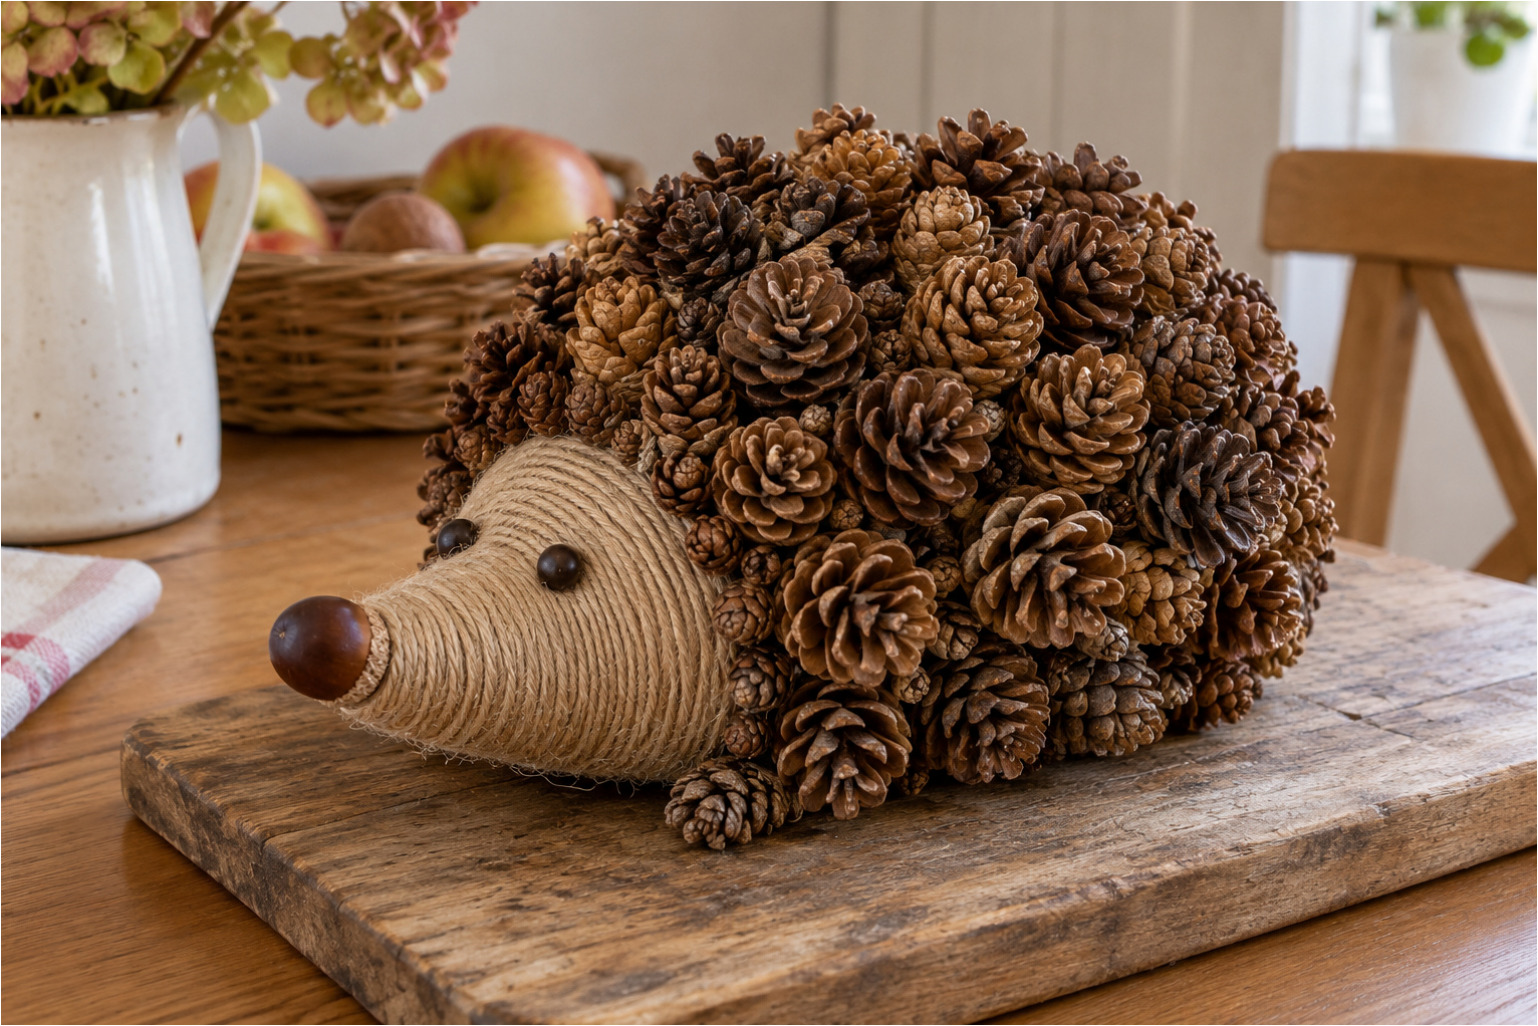
6. Autumn Hedgehog: Shape the hedgehog’s body as a compact, rounded form covered with pine cones. Form the front into a pointed snout wrapped with string and add a simple nose and eyes. This decoration looks best on a wooden board.
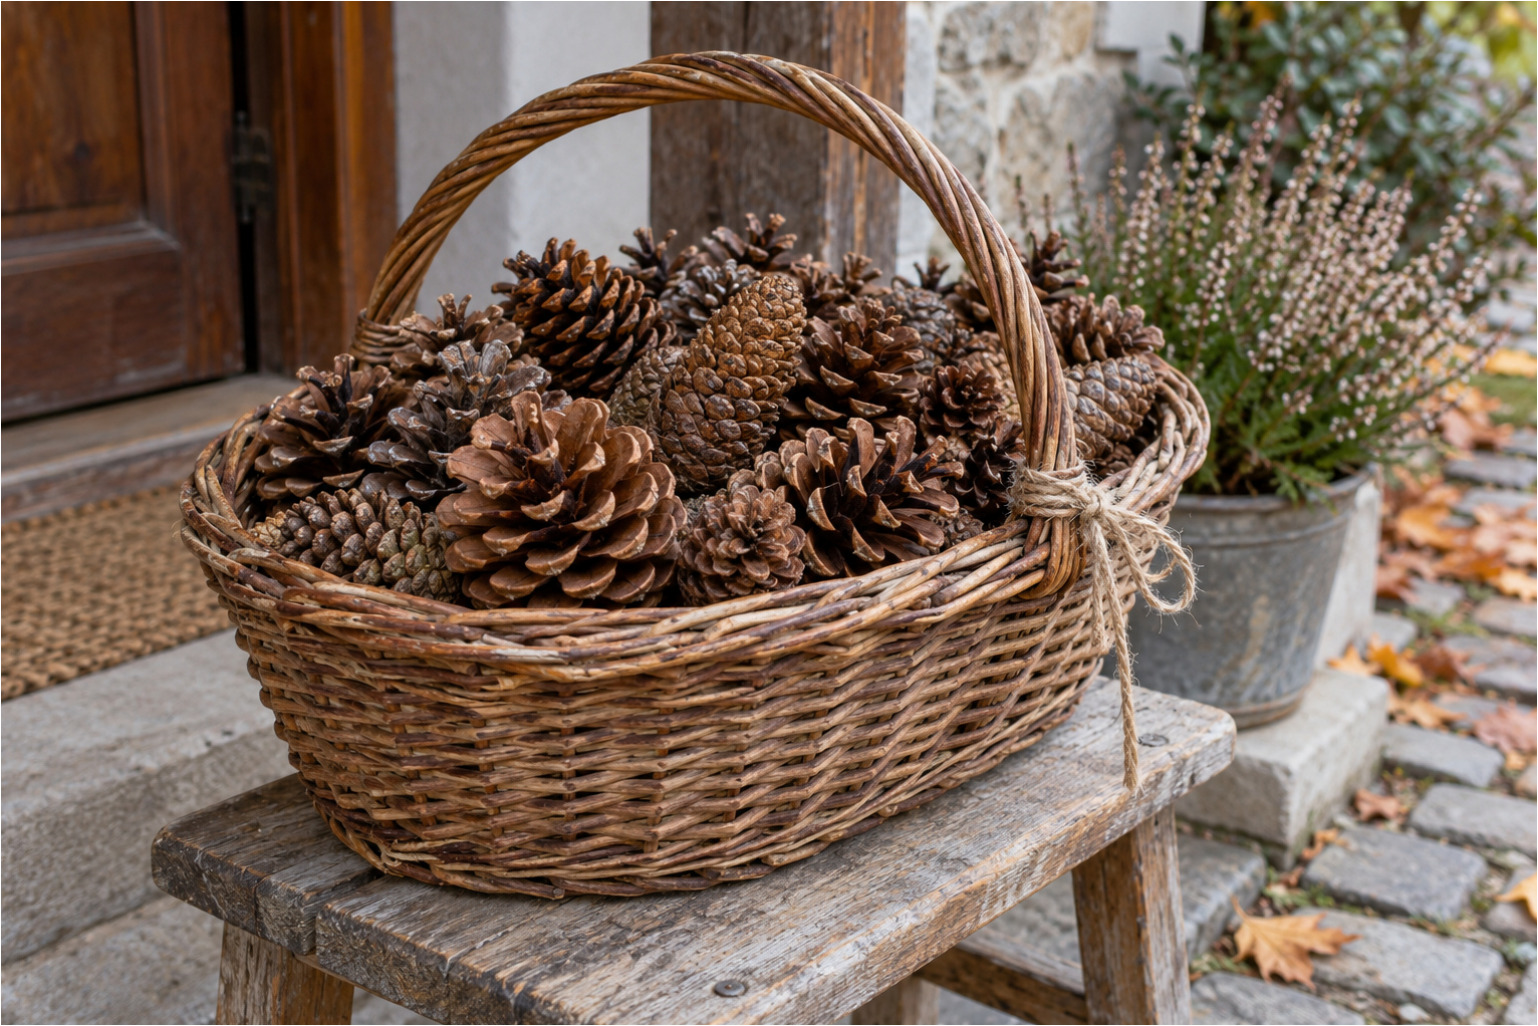
7. Basket Full of Pine Cones: Fill a wicker basket with pine cones of various shapes, leaving the largest ones visible on top. Tie a simple bow from string onto the handle. The basket is perfect for the entrance, a bench, or a covered terrace.
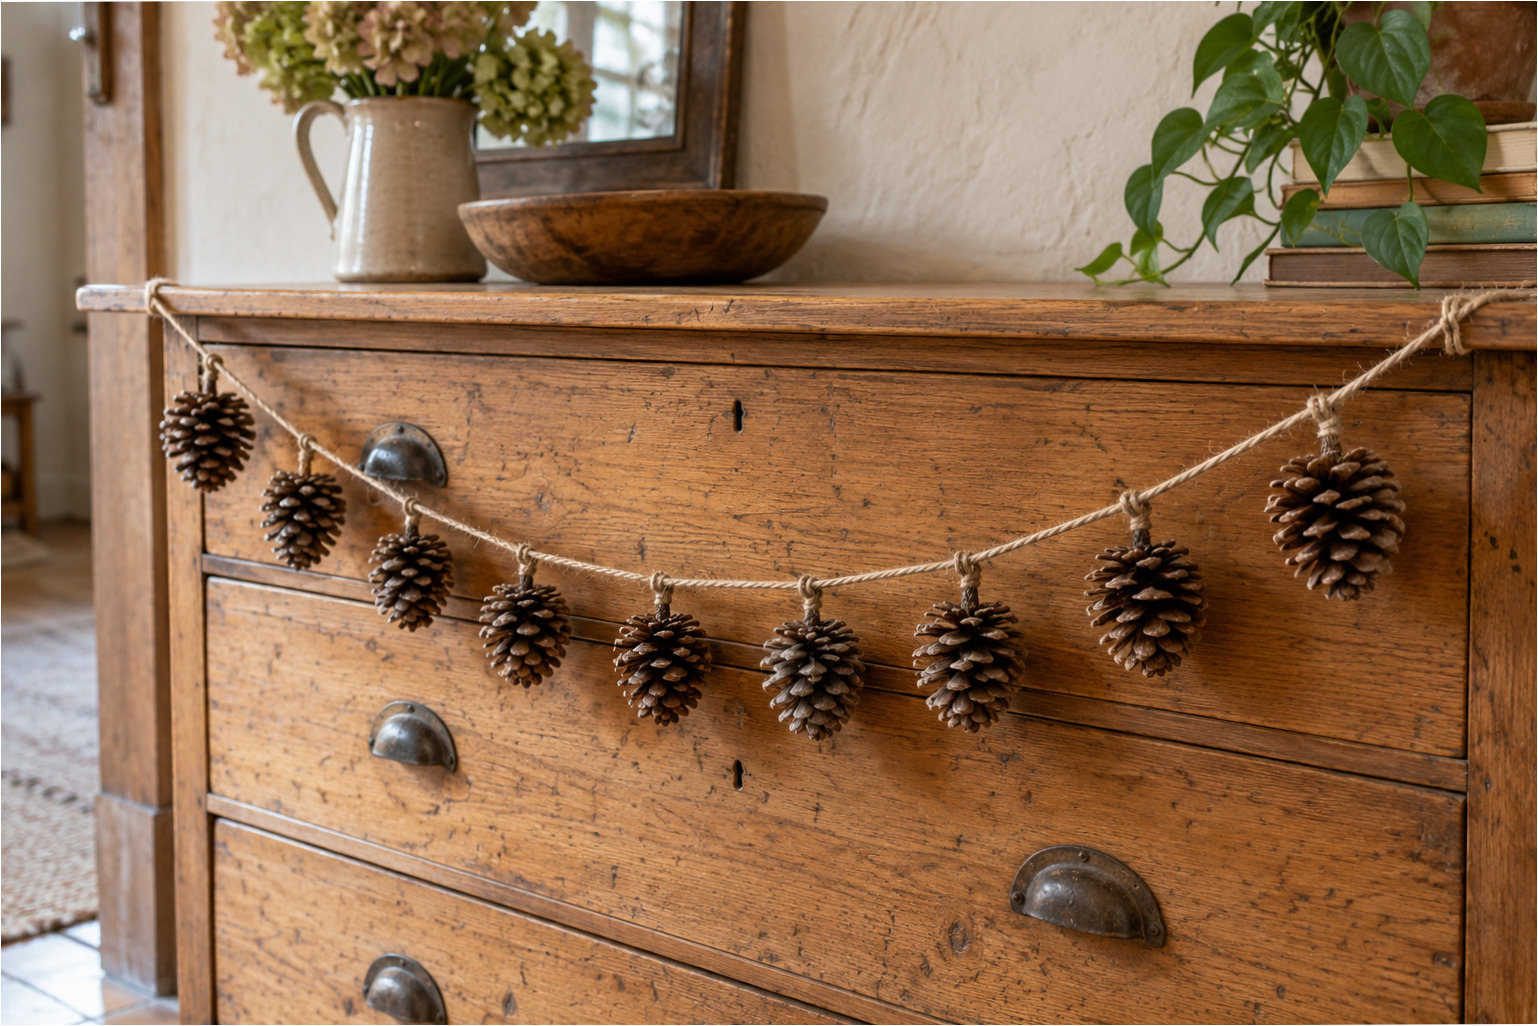
8. Simple Pine Cone Garland: Tie individual pine cones at regular intervals onto a long piece of string. Alternate smaller and larger cones, and leave the ends of the string free for easy hanging. The garland can decorate a sideboard, shelf, or window frame.
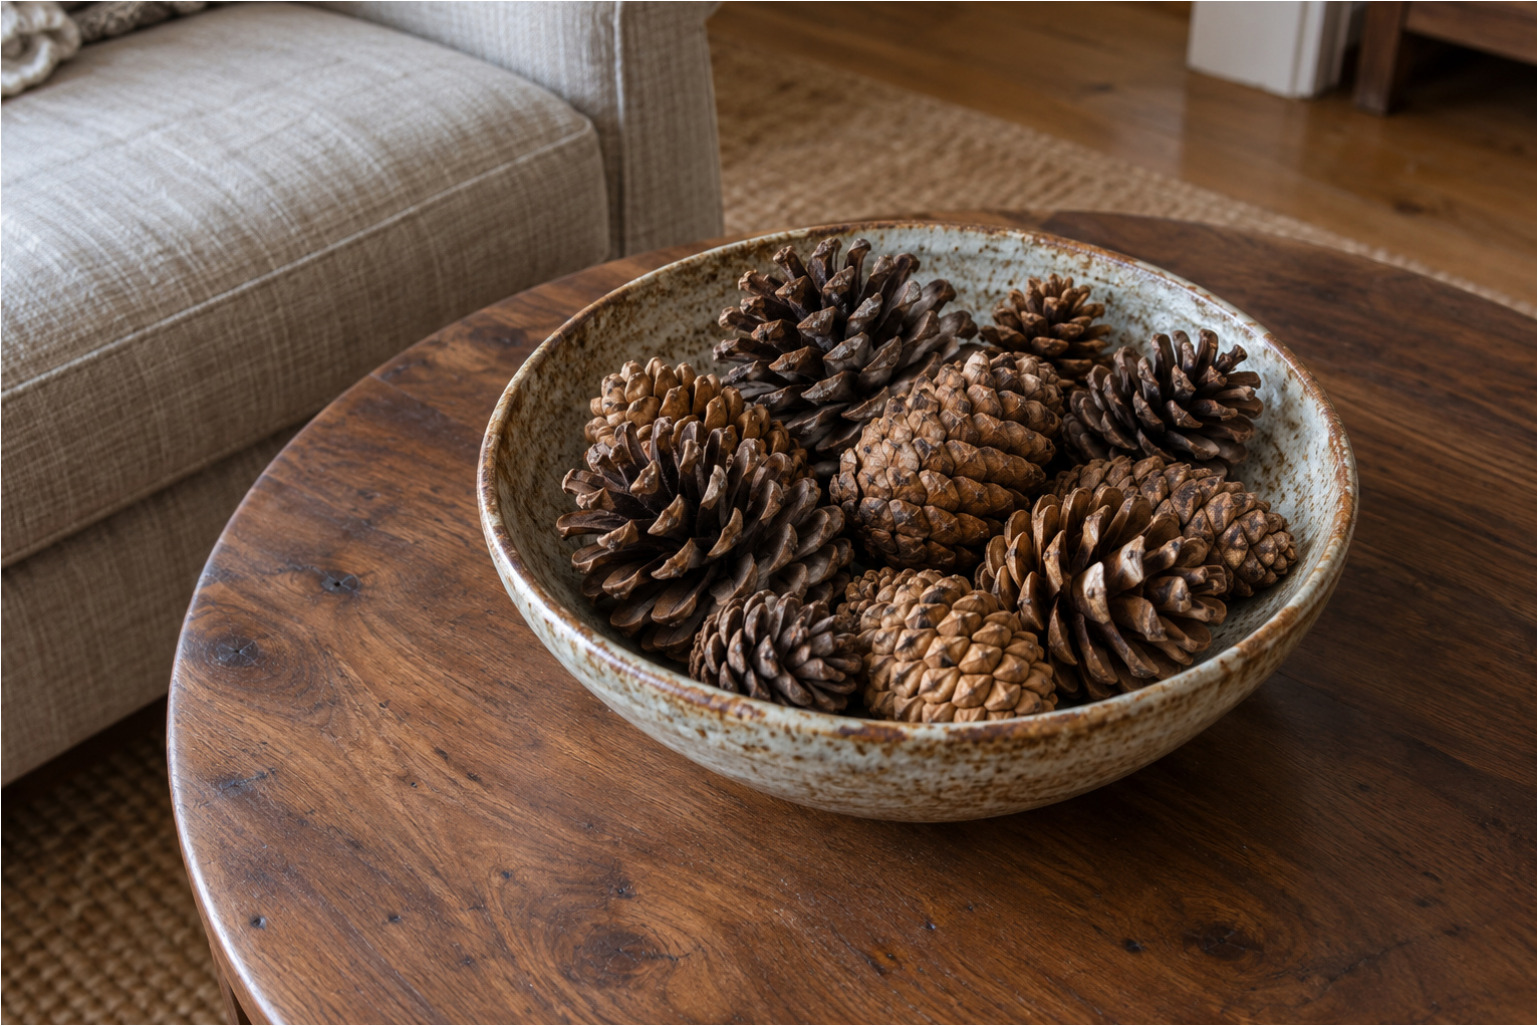
9. Bowl with Natural Elements: Choose a shallow ceramic bowl and loosely arrange several nice pine cones inside. The combination of different brown shades and shapes doesn’t need any extra embellishment. It’s a quick decoration for a coffee table.
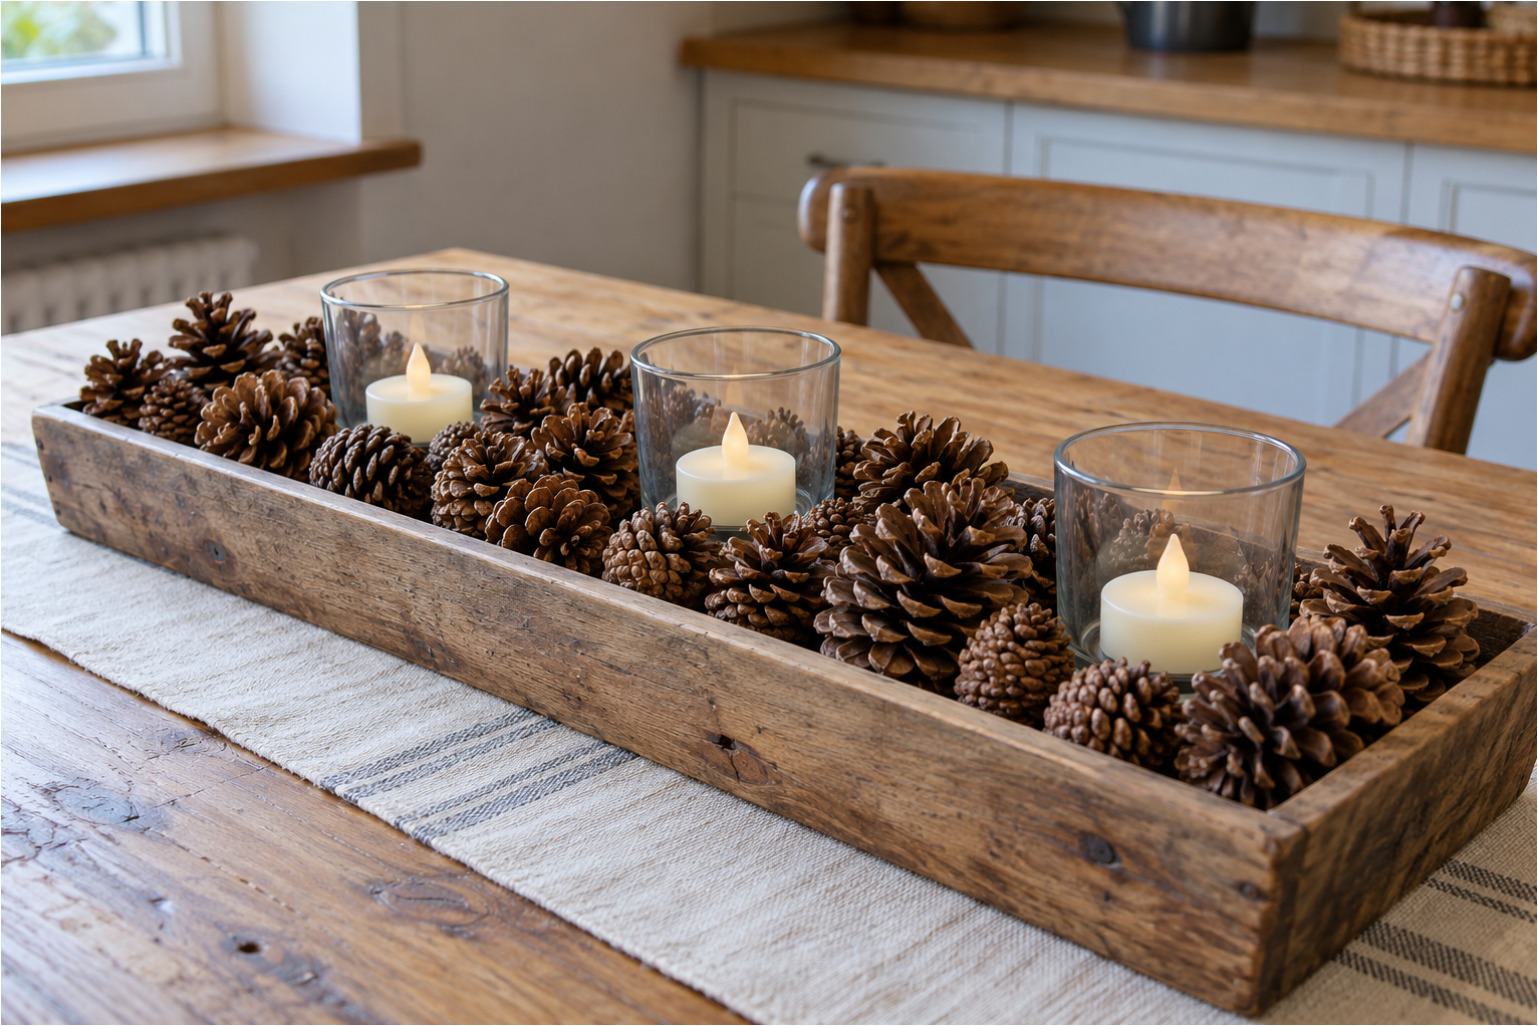
10. Elongated Table Candle Holder: Arrange several candles in individual glass holders on a wooden tray. Fill the empty spaces with pine cones and make sure everything is stable. For worry-free use, you can also choose flameless candles.
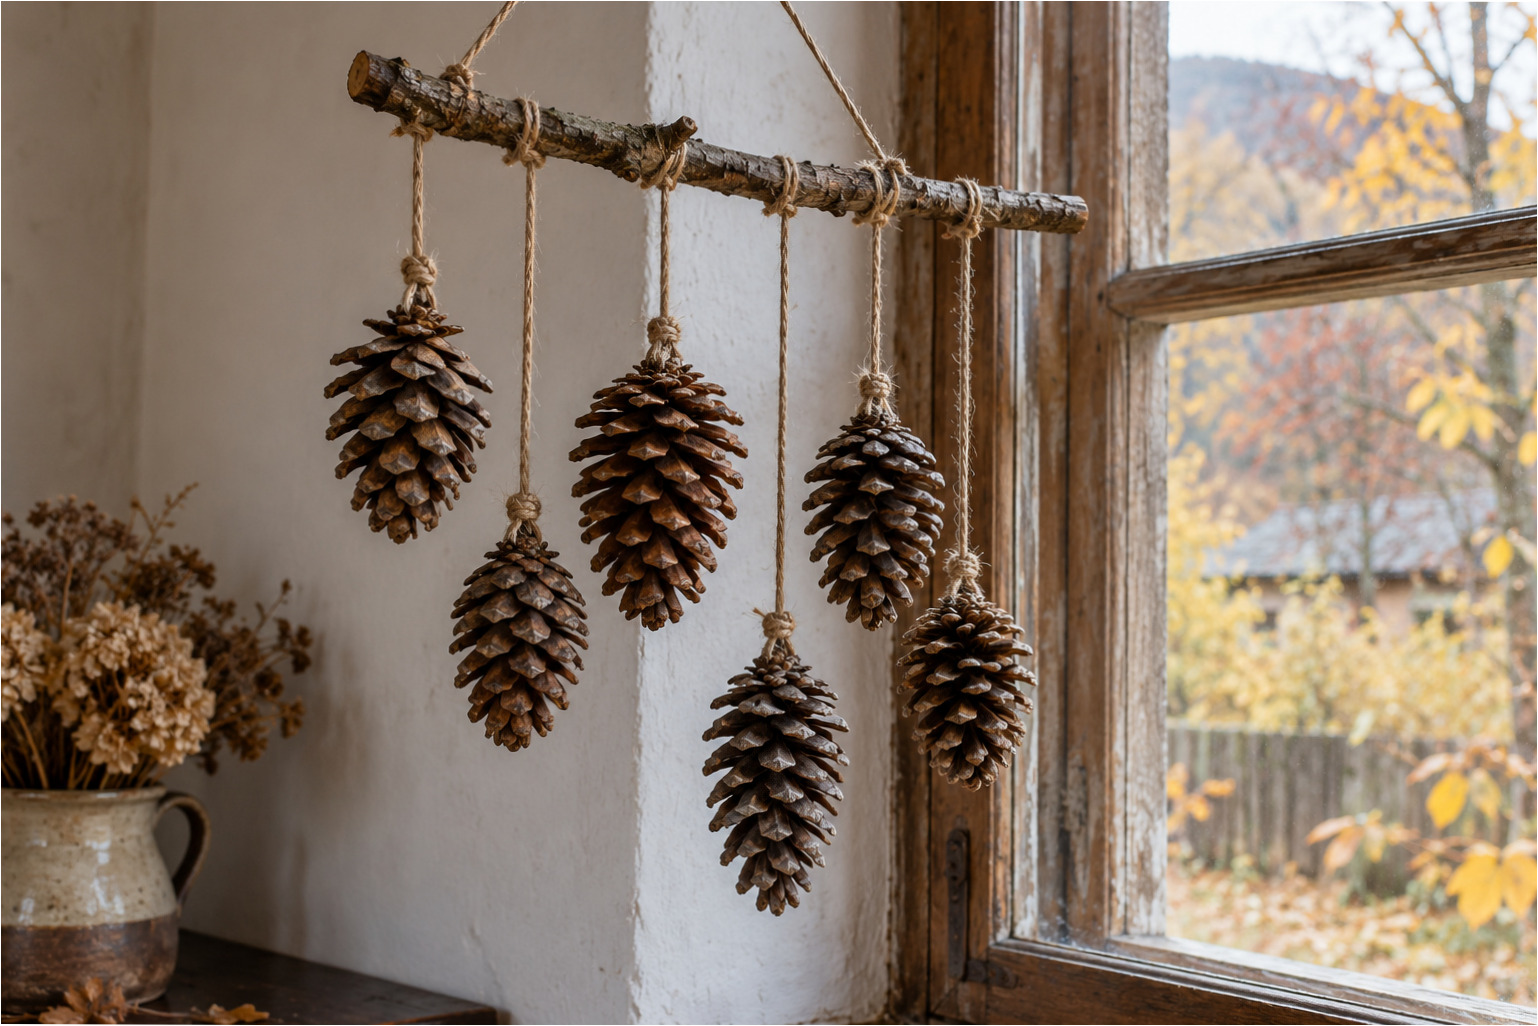
11. Hanging Branch Decoration: Tie several strings of different lengths to a straight natural branch. Attach larger pine cones to the ends and hang the whole piece with another string. The uneven heights give the decoration a natural look.
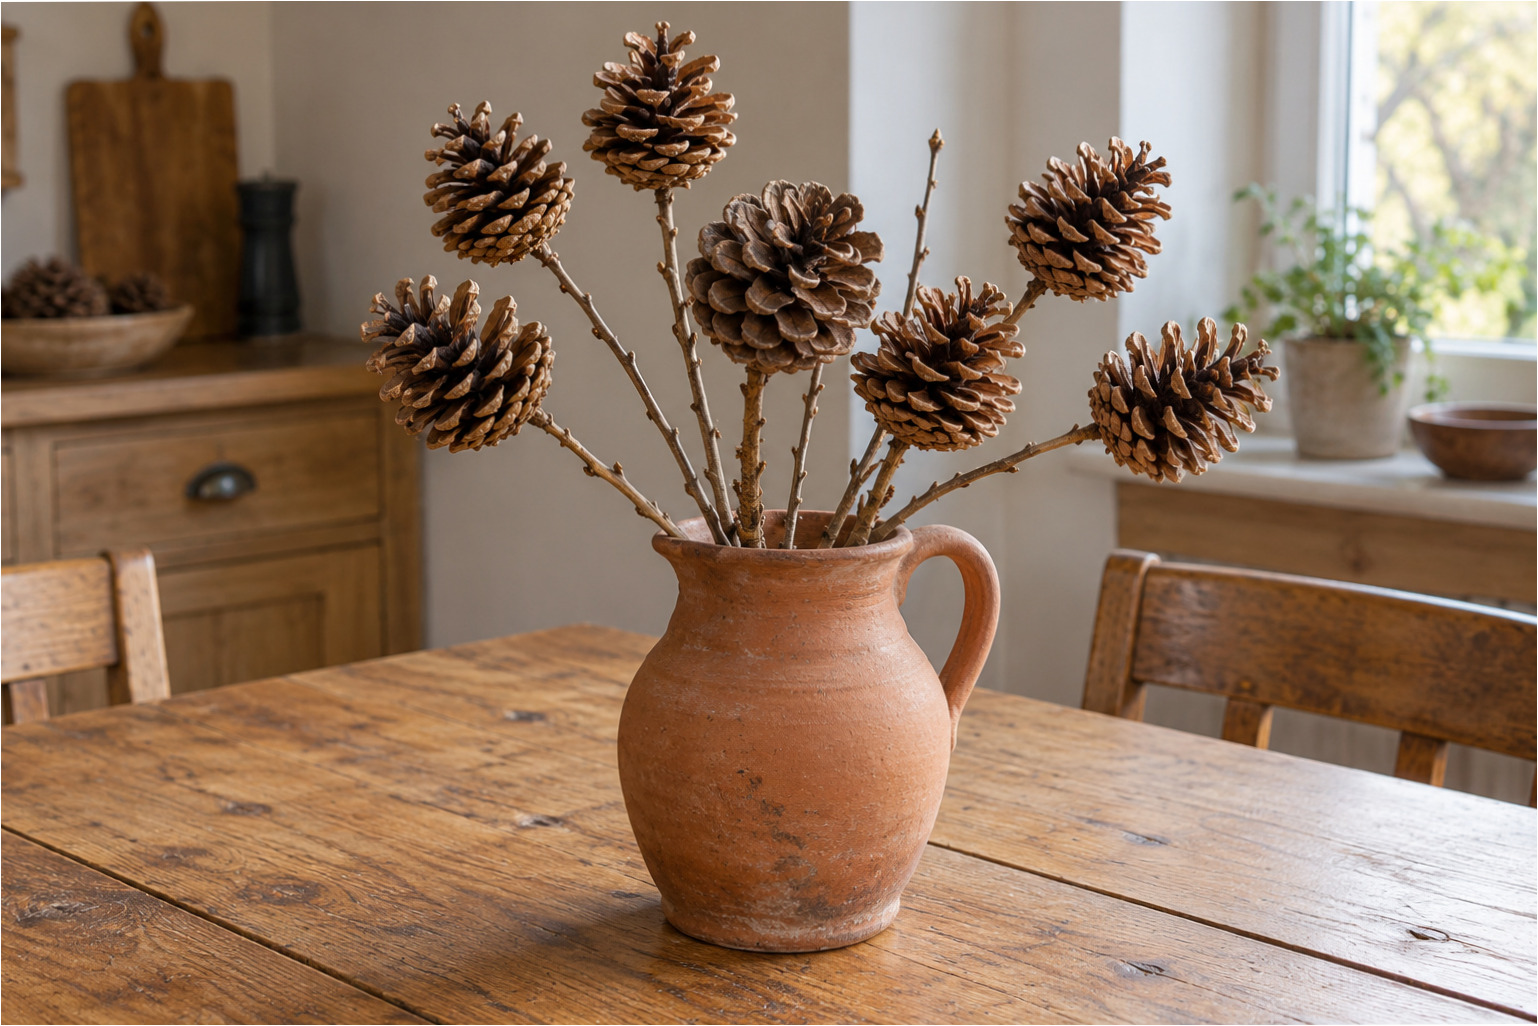
12. Pine Cone Flowers in a Jug: Attach a pine cone to the end of each thin, branching twig. Place these natural stems in a stoneware jug and arrange them into a light bouquet. Alternate the heights of the branches for a balanced result.
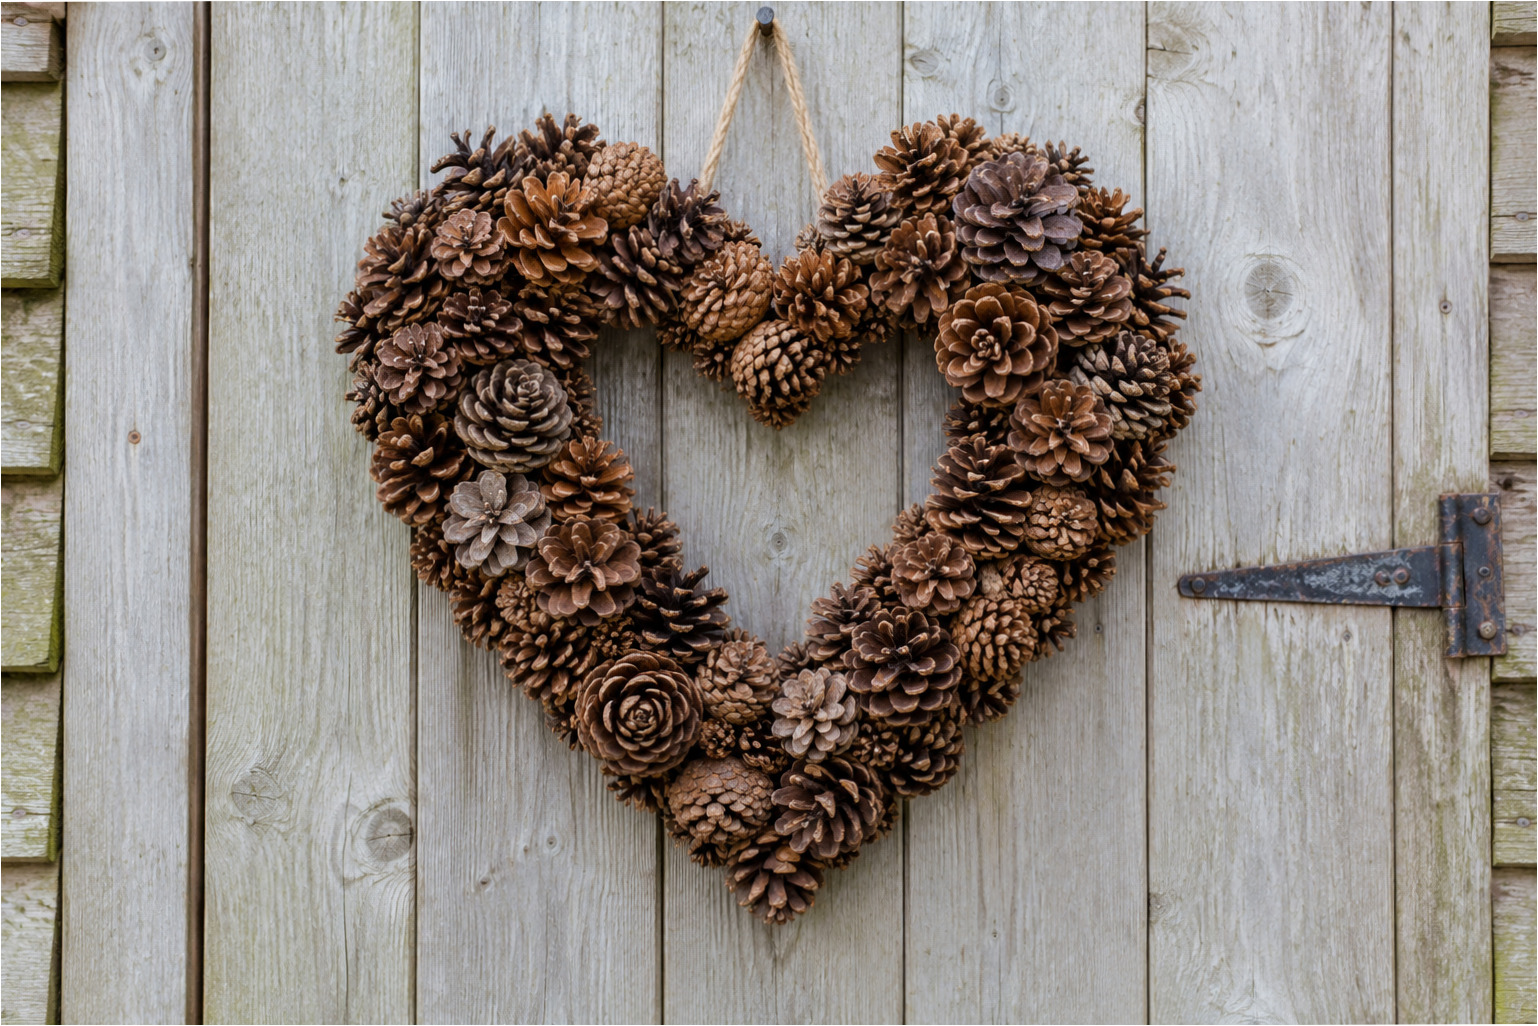
13. Heart-Shaped Wreath: Shape a sturdy base into a heart and densely cover the entire surface with pine cones. Use smaller cones in the center and narrow parts, and larger ones to accentuate the edges. Attach a discreet loop at the top for hanging.
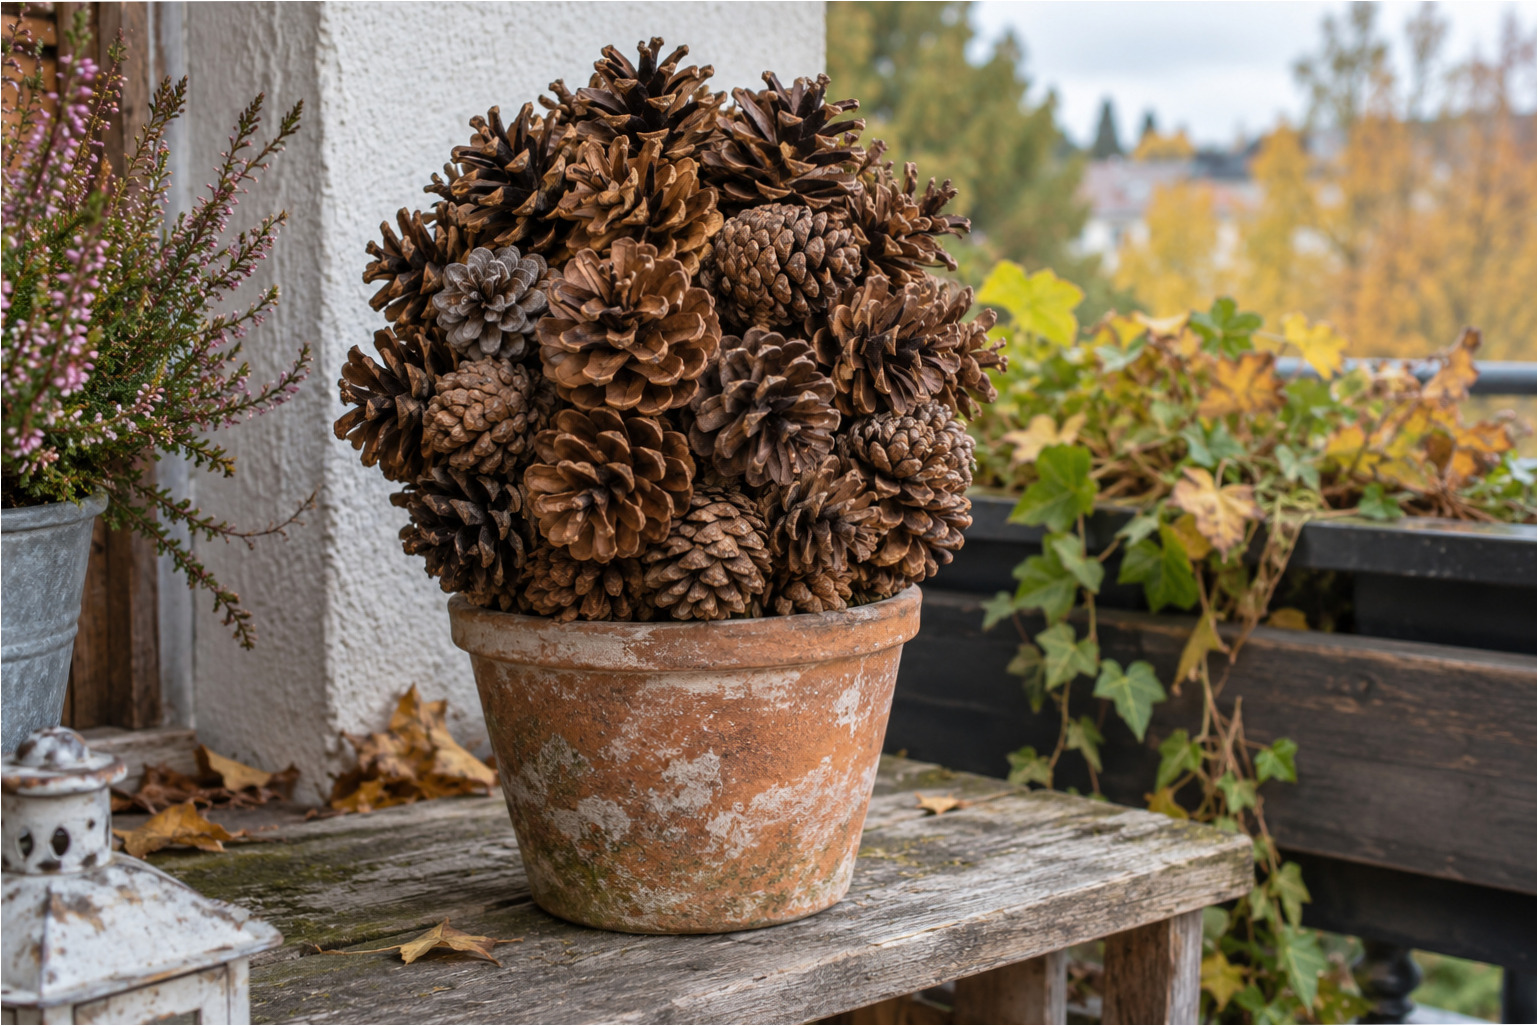
14. Pine Cone Ball in a Flowerpot: Create a firm spherical base and cover it with pine cones from all sides. Place the finished ball in an empty terracotta flowerpot so it looks like a simple autumn topiary.
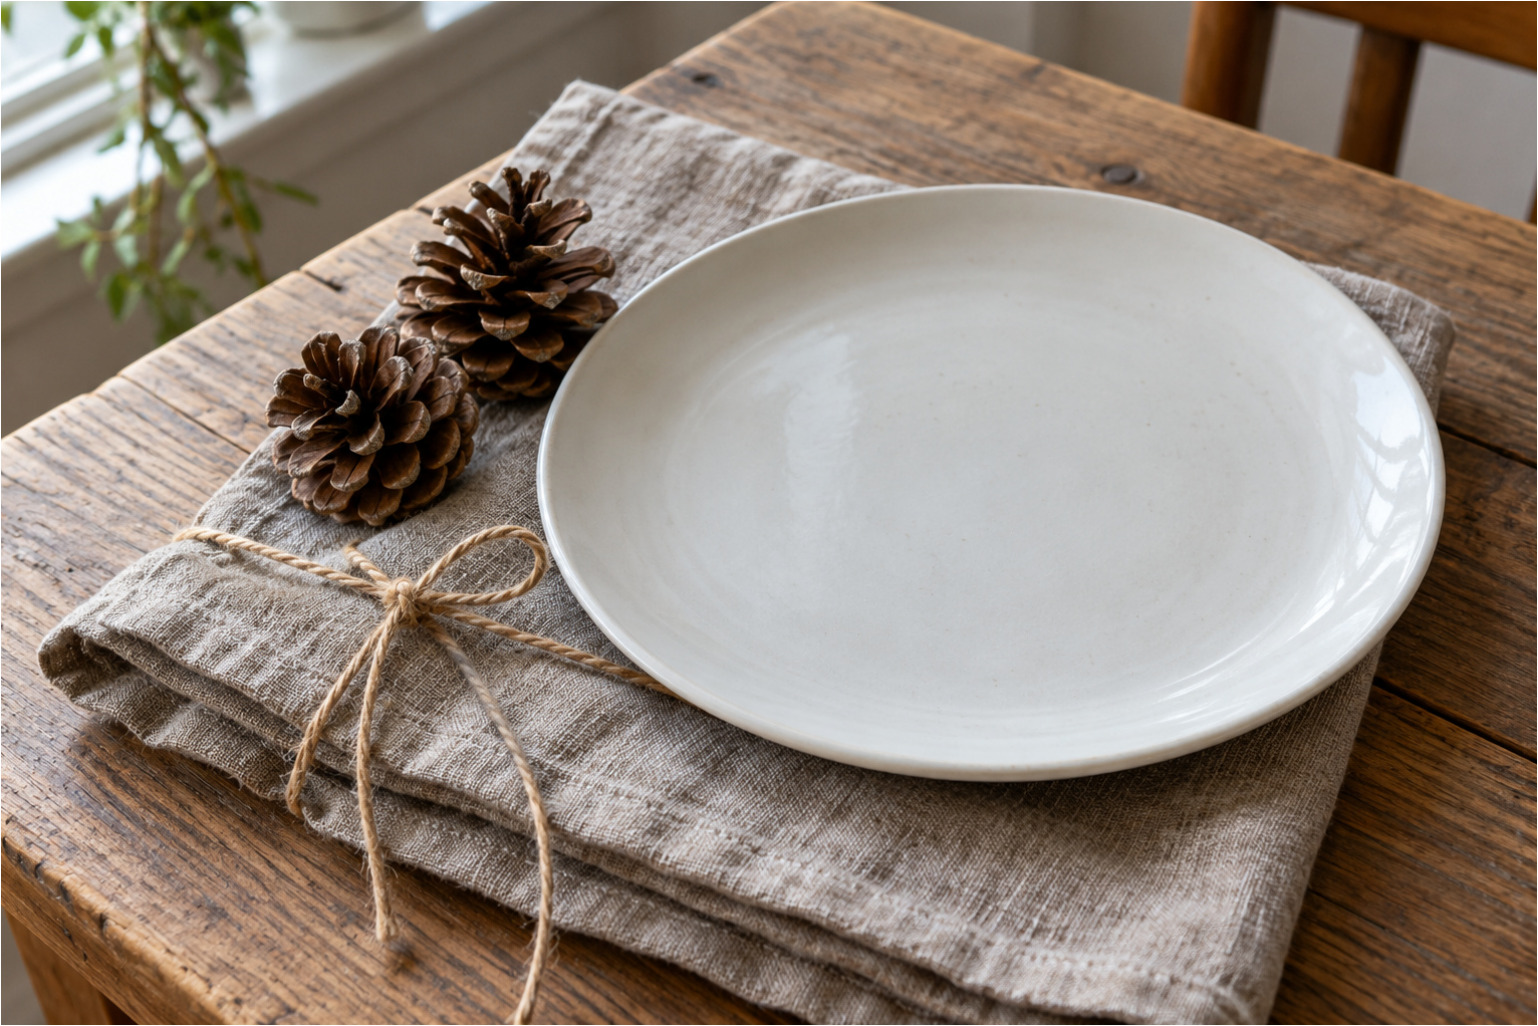
15. Natural Place Setting: Tie a folded fabric napkin with string and place two small pine cones under or next to the plate. This simple detail transforms an ordinary table into an autumn setting without unnecessary decorations.
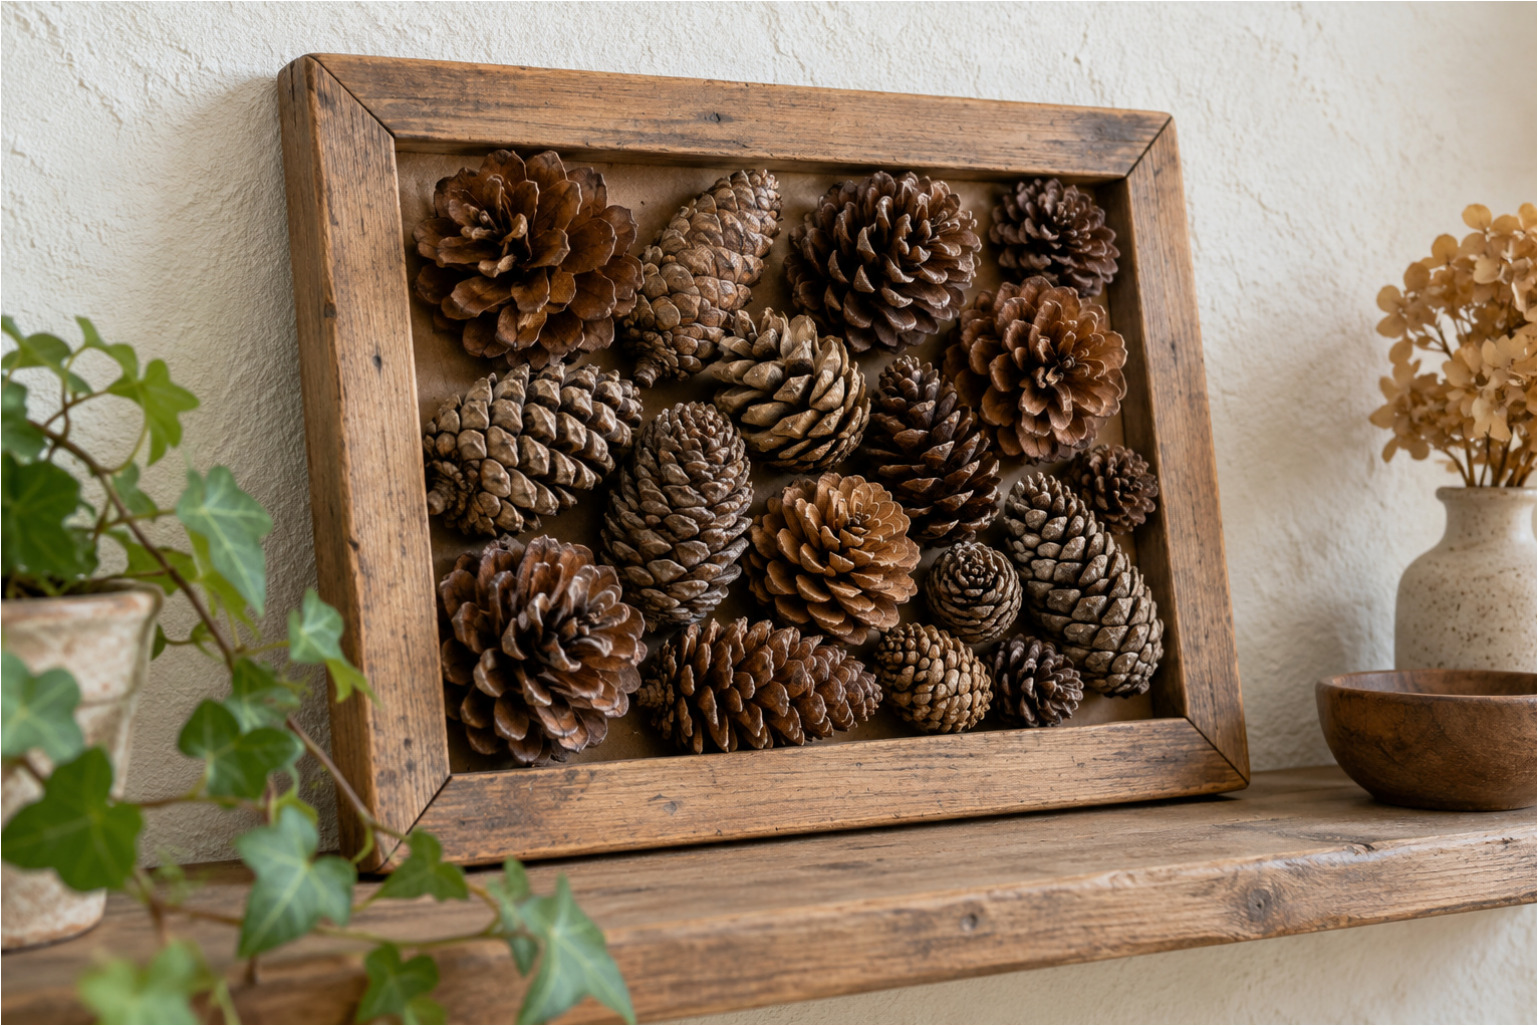
16. Pine Cone Picture: Arrange pine cones in a deep wooden frame so they fill the entire inner area. Alternate their orientation, sizes, and shades, and secure all pieces thoroughly. You can place the finished picture on a shelf or lean it against a wall.
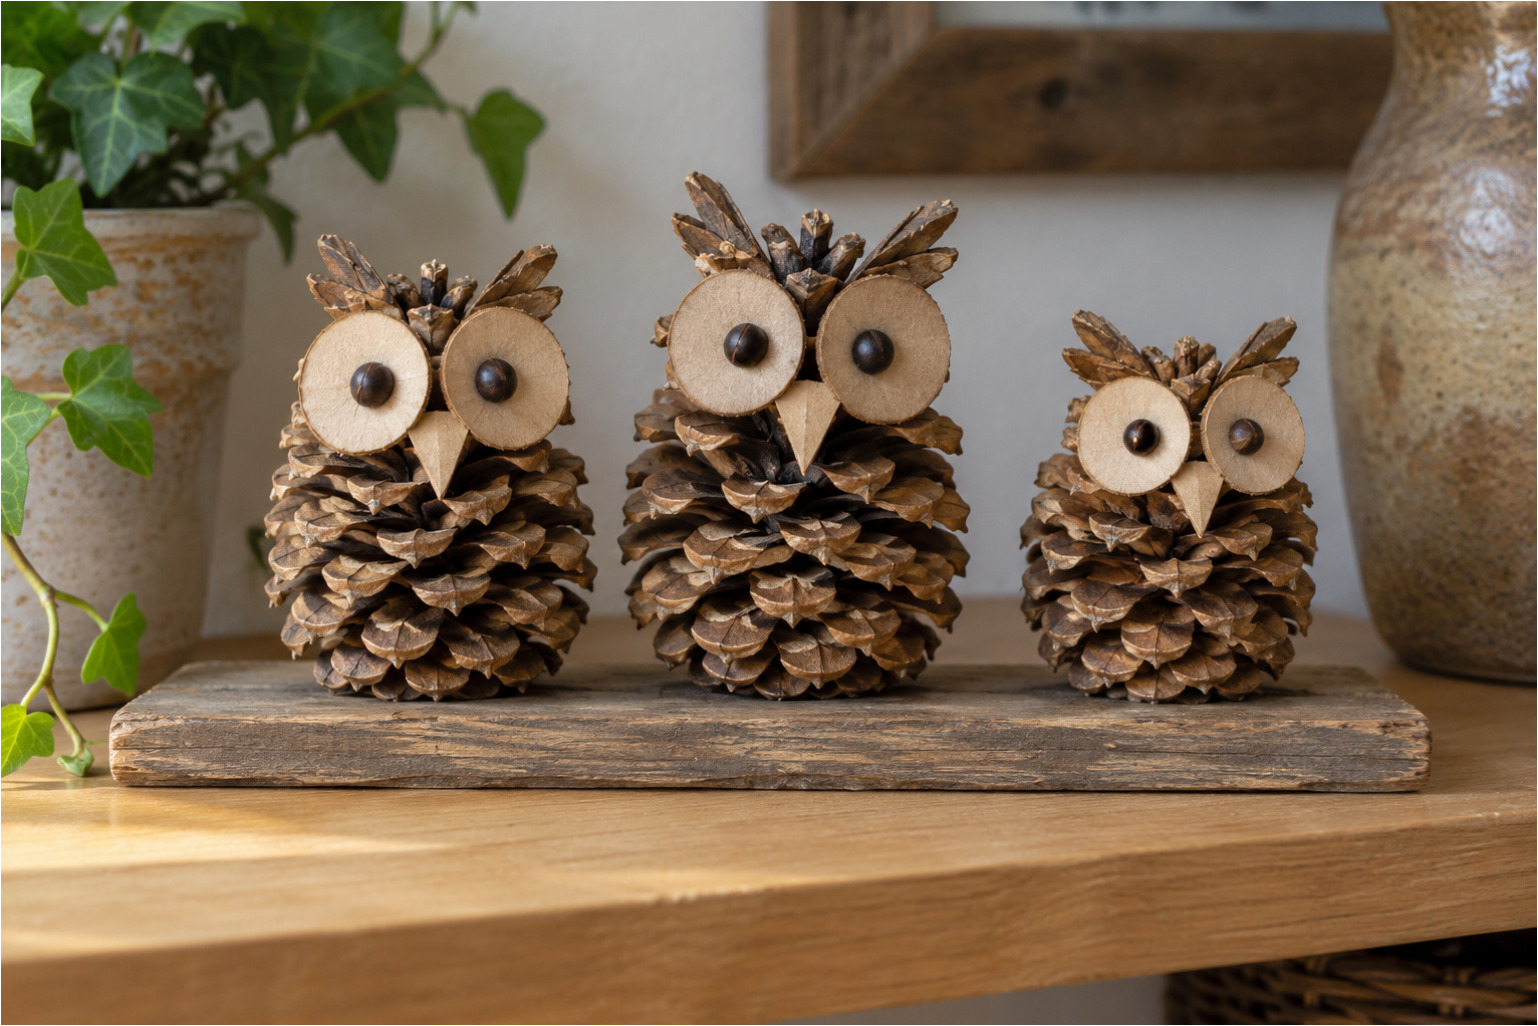
17. Little Owls from Large Pine Cones: Stand large, open pine cones upright with the wider end down. Add prominent round eyes, a pointed beak, and small parts resembling eyebrows or feathers. A group of owls in different sizes makes a charming natural display.
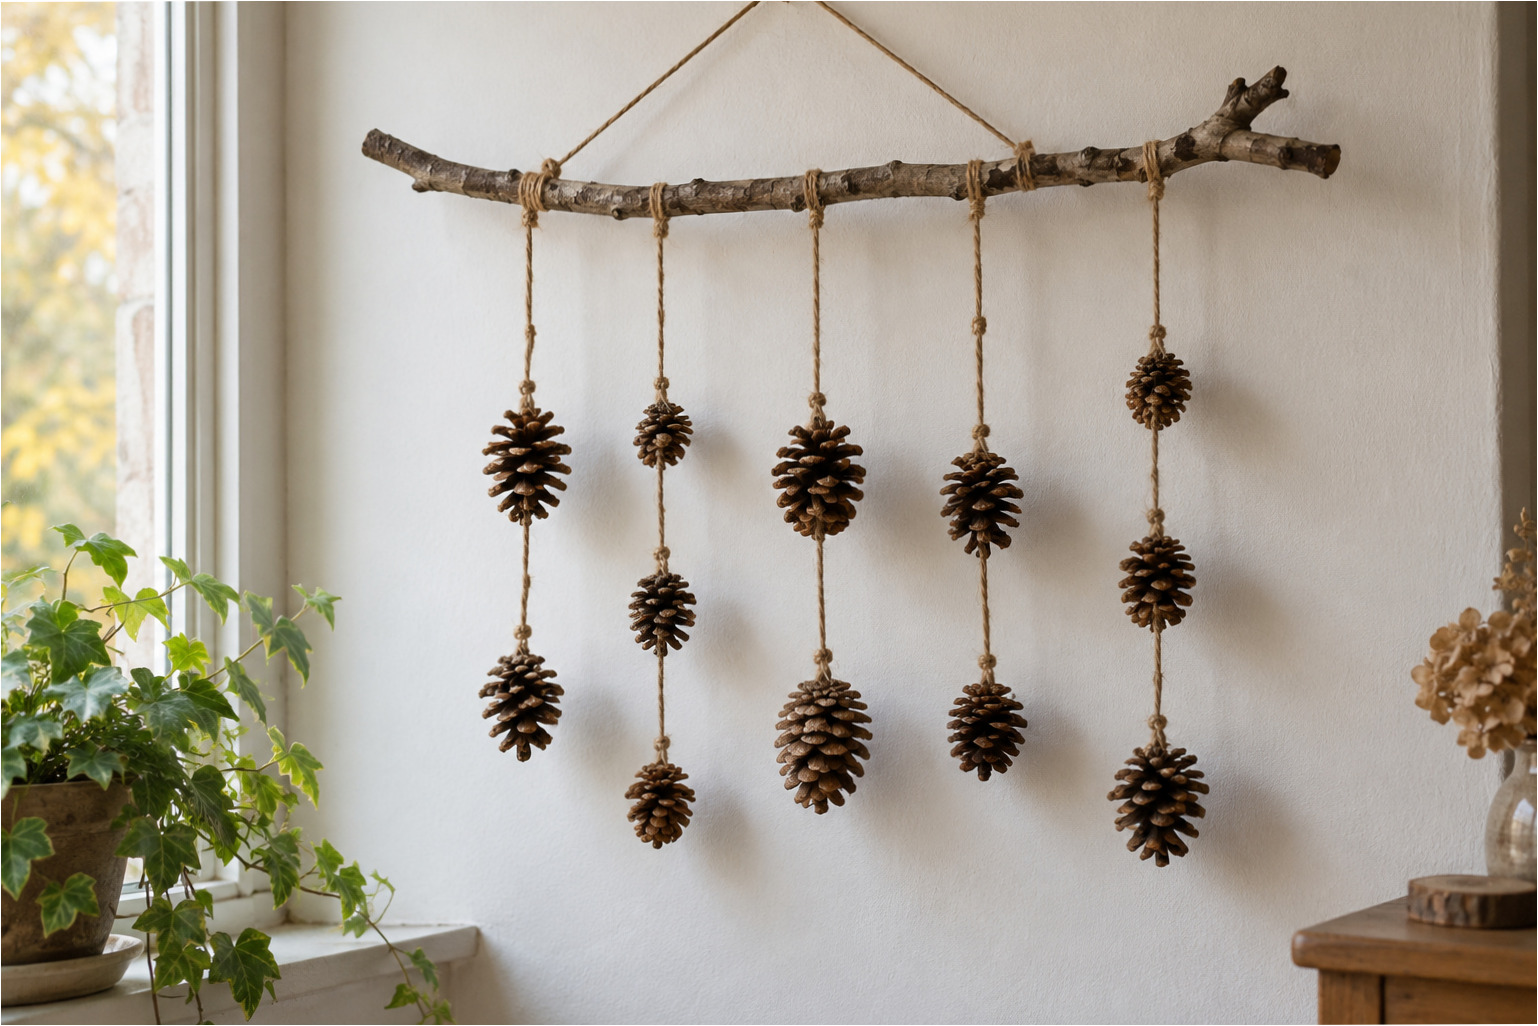
18. Longer Hanging Decoration: Tie several vertical strings to a sturdy branch. Attach several small pine cones at different heights on each string, leaving spaces between them. Hang the branch horizontally with a strong string.
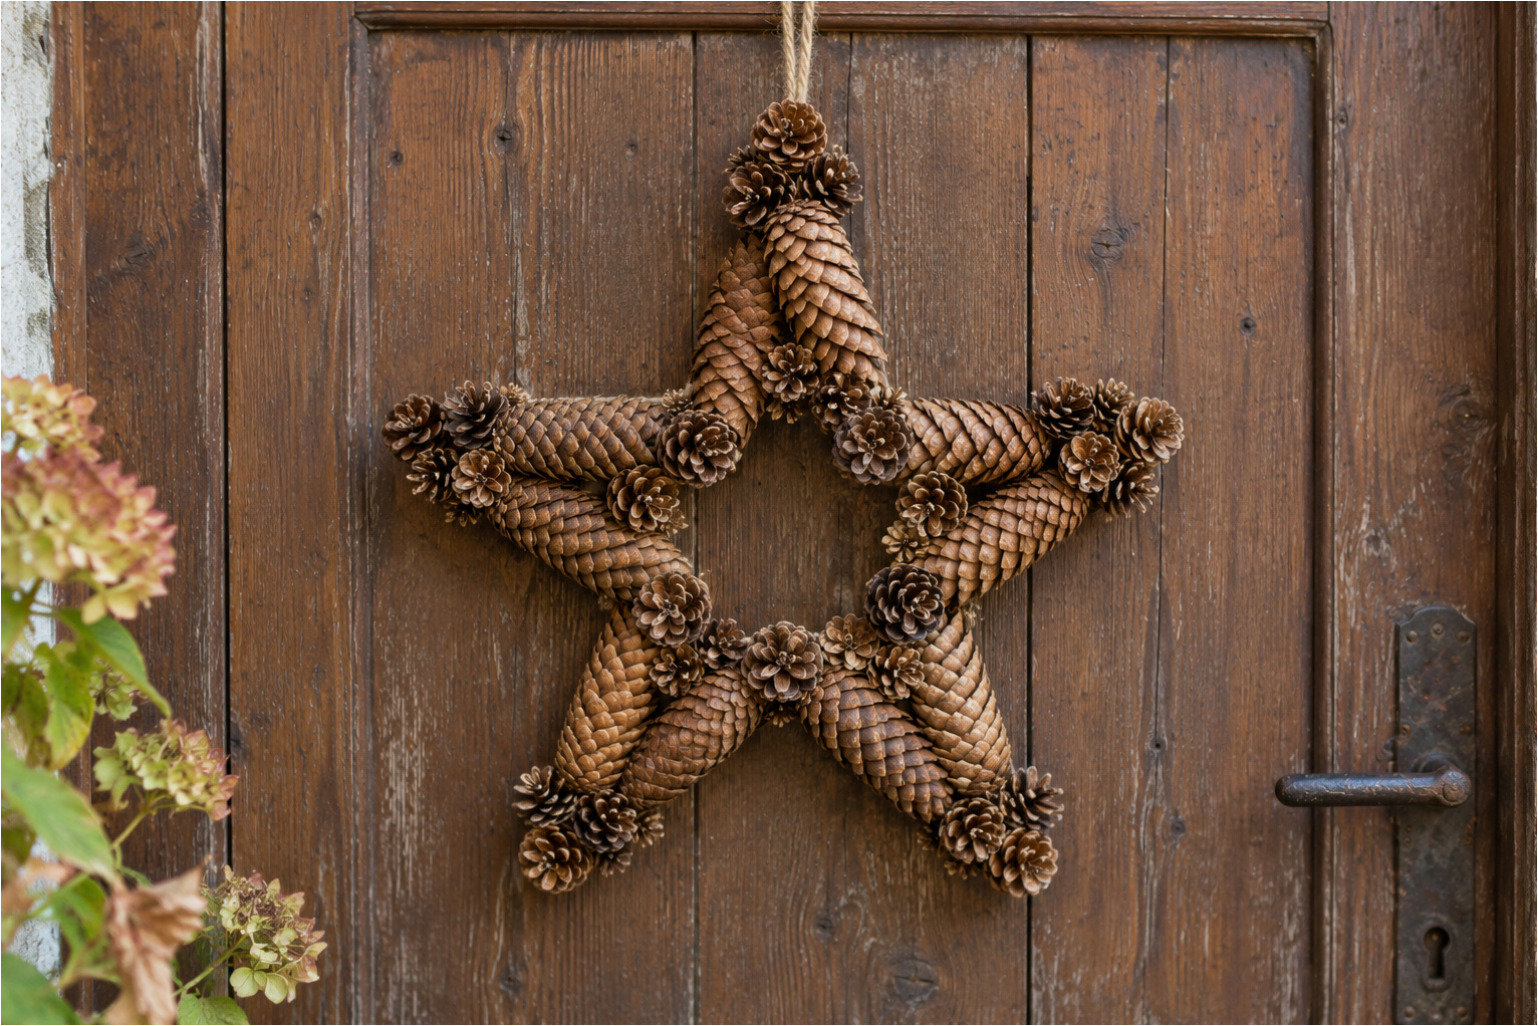
19. Star for the Door: Use sturdy, elongated pine cones to form a five-pointed star. Join the arms in the center and cover the joints with smaller cones, which also hide the construction. Make a loop at the top for hanging.
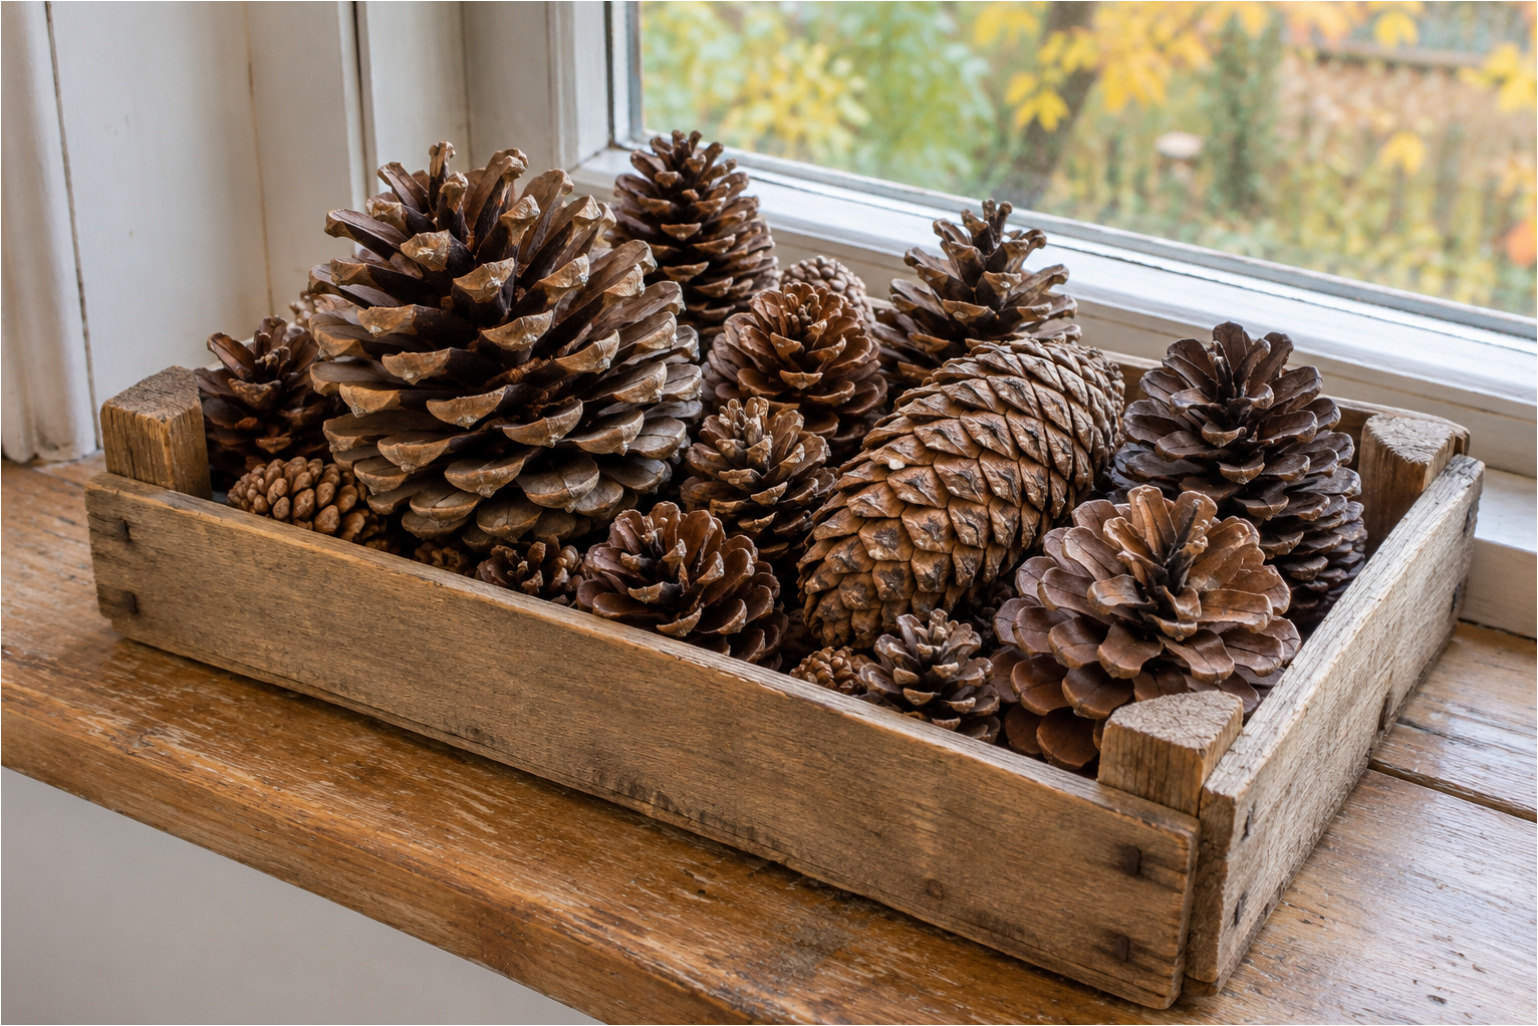
20. Autumn Crate: Fill a low wooden crate with large and small pine cones, stacking them in several layers. Place the most interesting cones on top and turn them in different directions. The crate looks great on a windowsill or shelf.
Final Tip
Let the collected pine cones dry thoroughly and clean them before crafting. When arranging, start with the largest cones and fill in the gaps with smaller ones. Never leave decorations with candles unattended, and always keep dry natural materials at a safe distance from open flames.