
An ordinary plastic flowerpot can be transformed in a single afternoon into a charming autumn scarecrow to decorate your terrace, balcony, or a sheltered nook by your house. All you need is a bit of paint, a bundle of natural raffia, a few ribbons, and some small autumn decorations you probably already have at home.
What You’ll Need
- a larger plastic flowerpot and a matching saucer
- light-colored covering paint and a sponge
- acrylic paints, fine brushes, and a pencil or marker
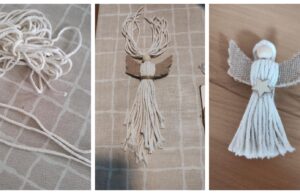
- natural raffia
- glue suitable for the chosen materials
- ribbons, jute fabric, and decorative strings
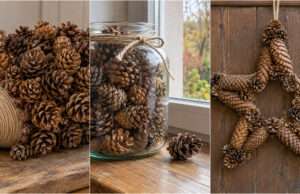
- pinecones, chestnuts, acorns, small gourds, and other autumn decorations
- a candle or a safer LED alternative
1. Prepare the flowerpot: Choose a clean flowerpot with a smooth surface. Before painting, remove any dust and grease so the new layer adheres well. Cover your work surface, as you’ll be painting right up to the edges.
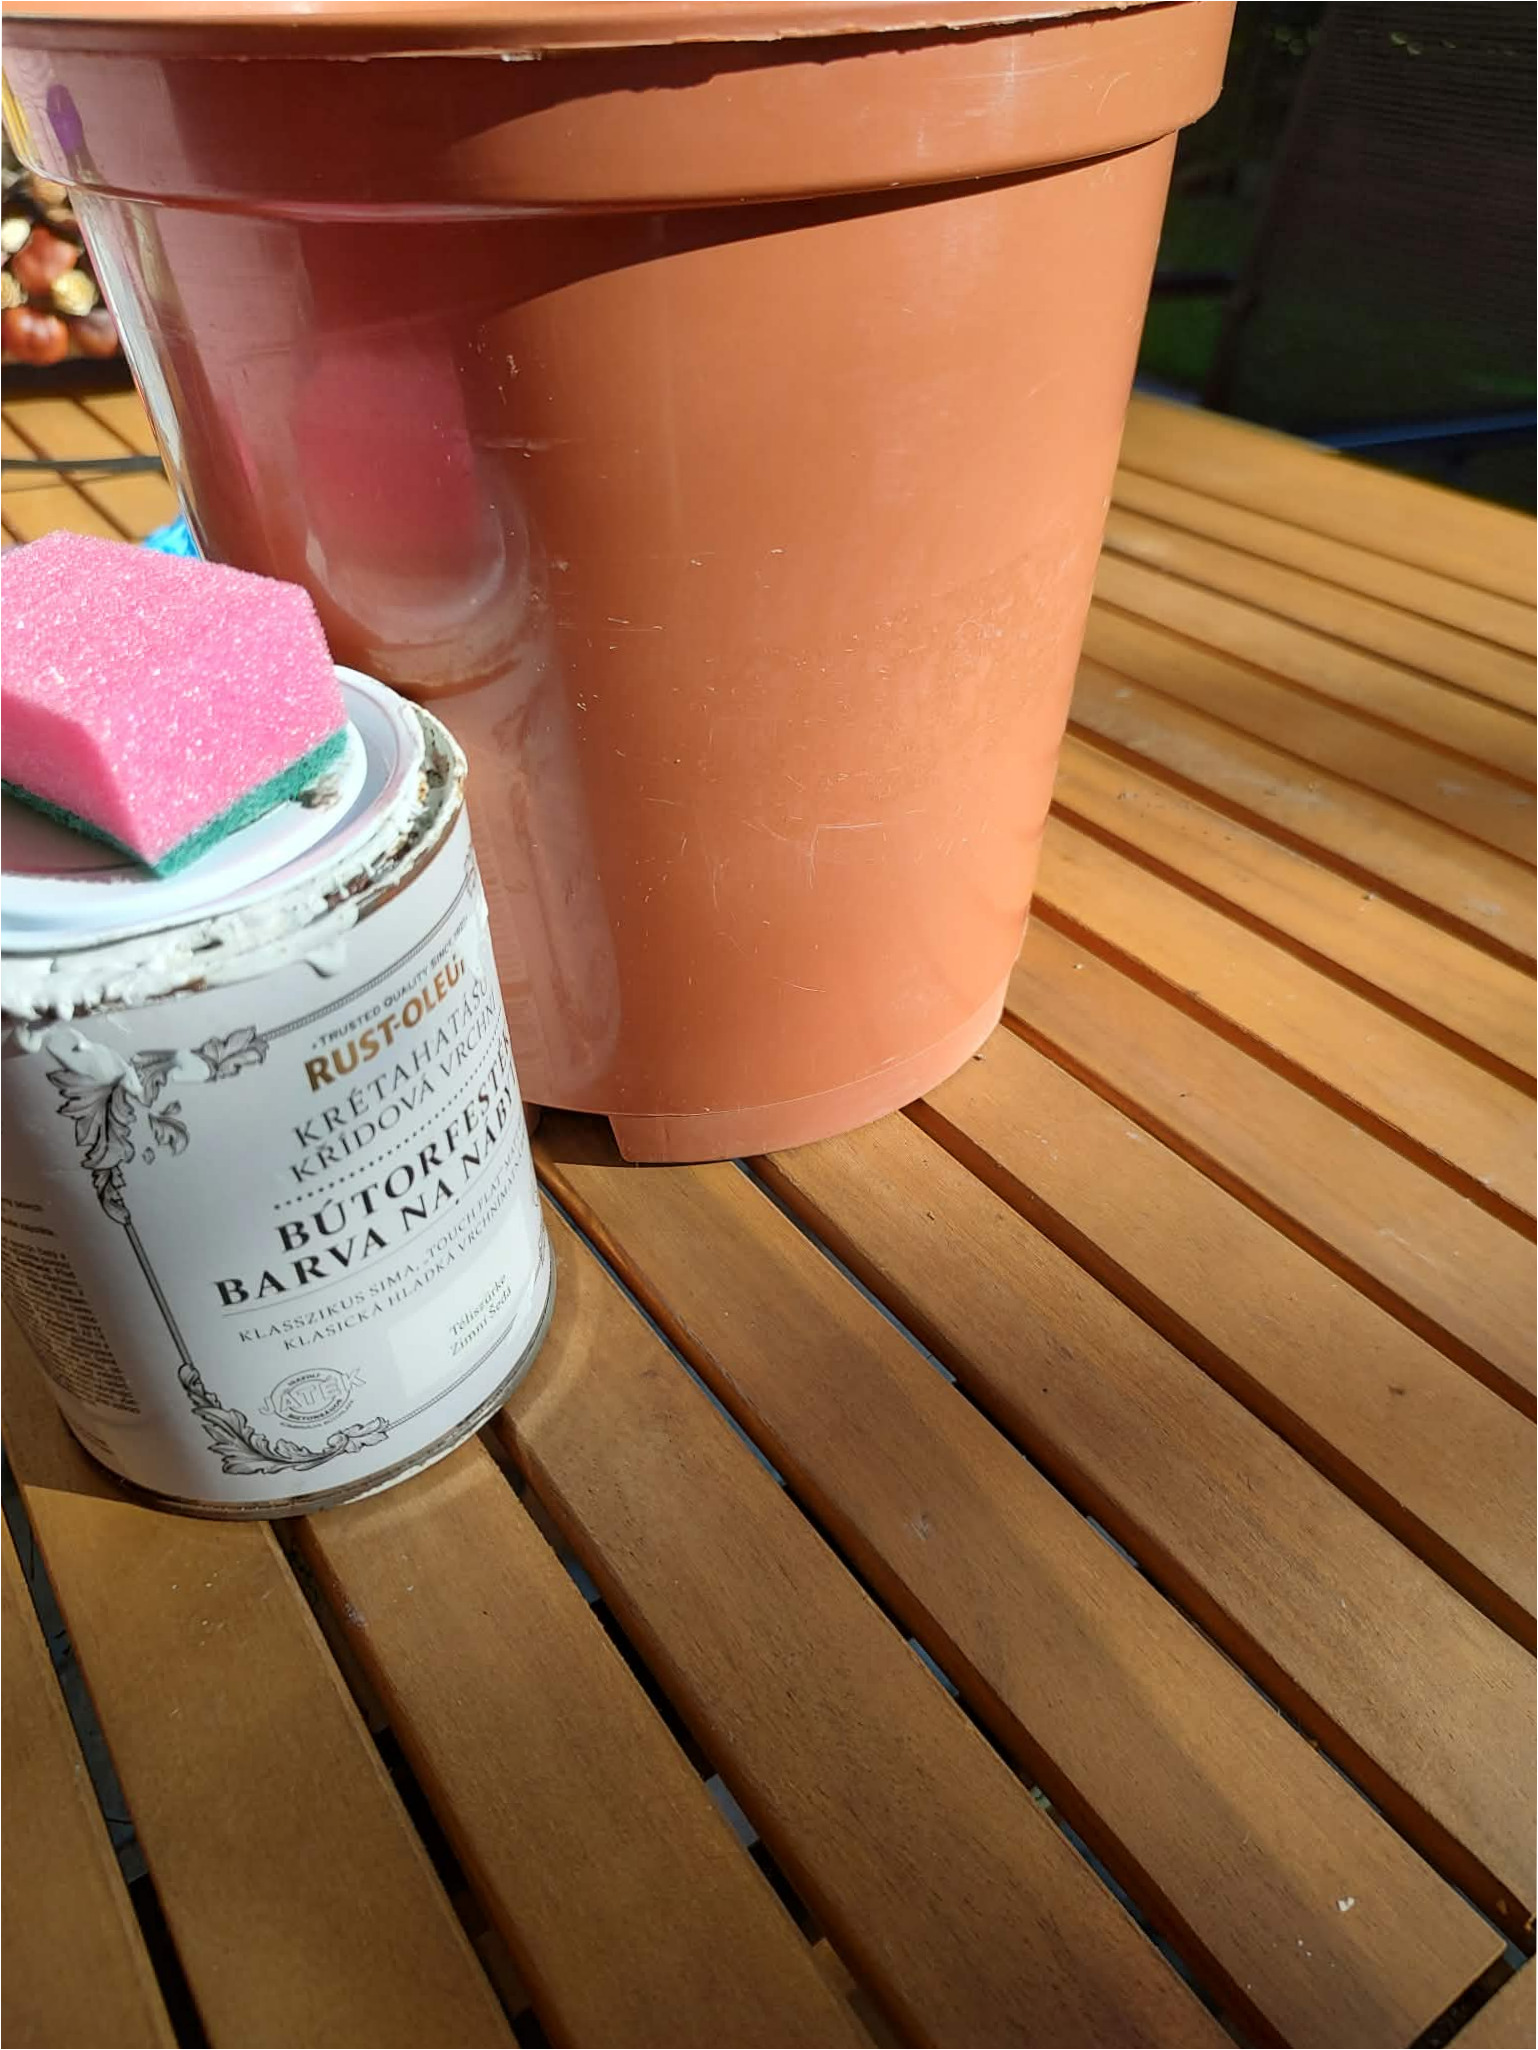
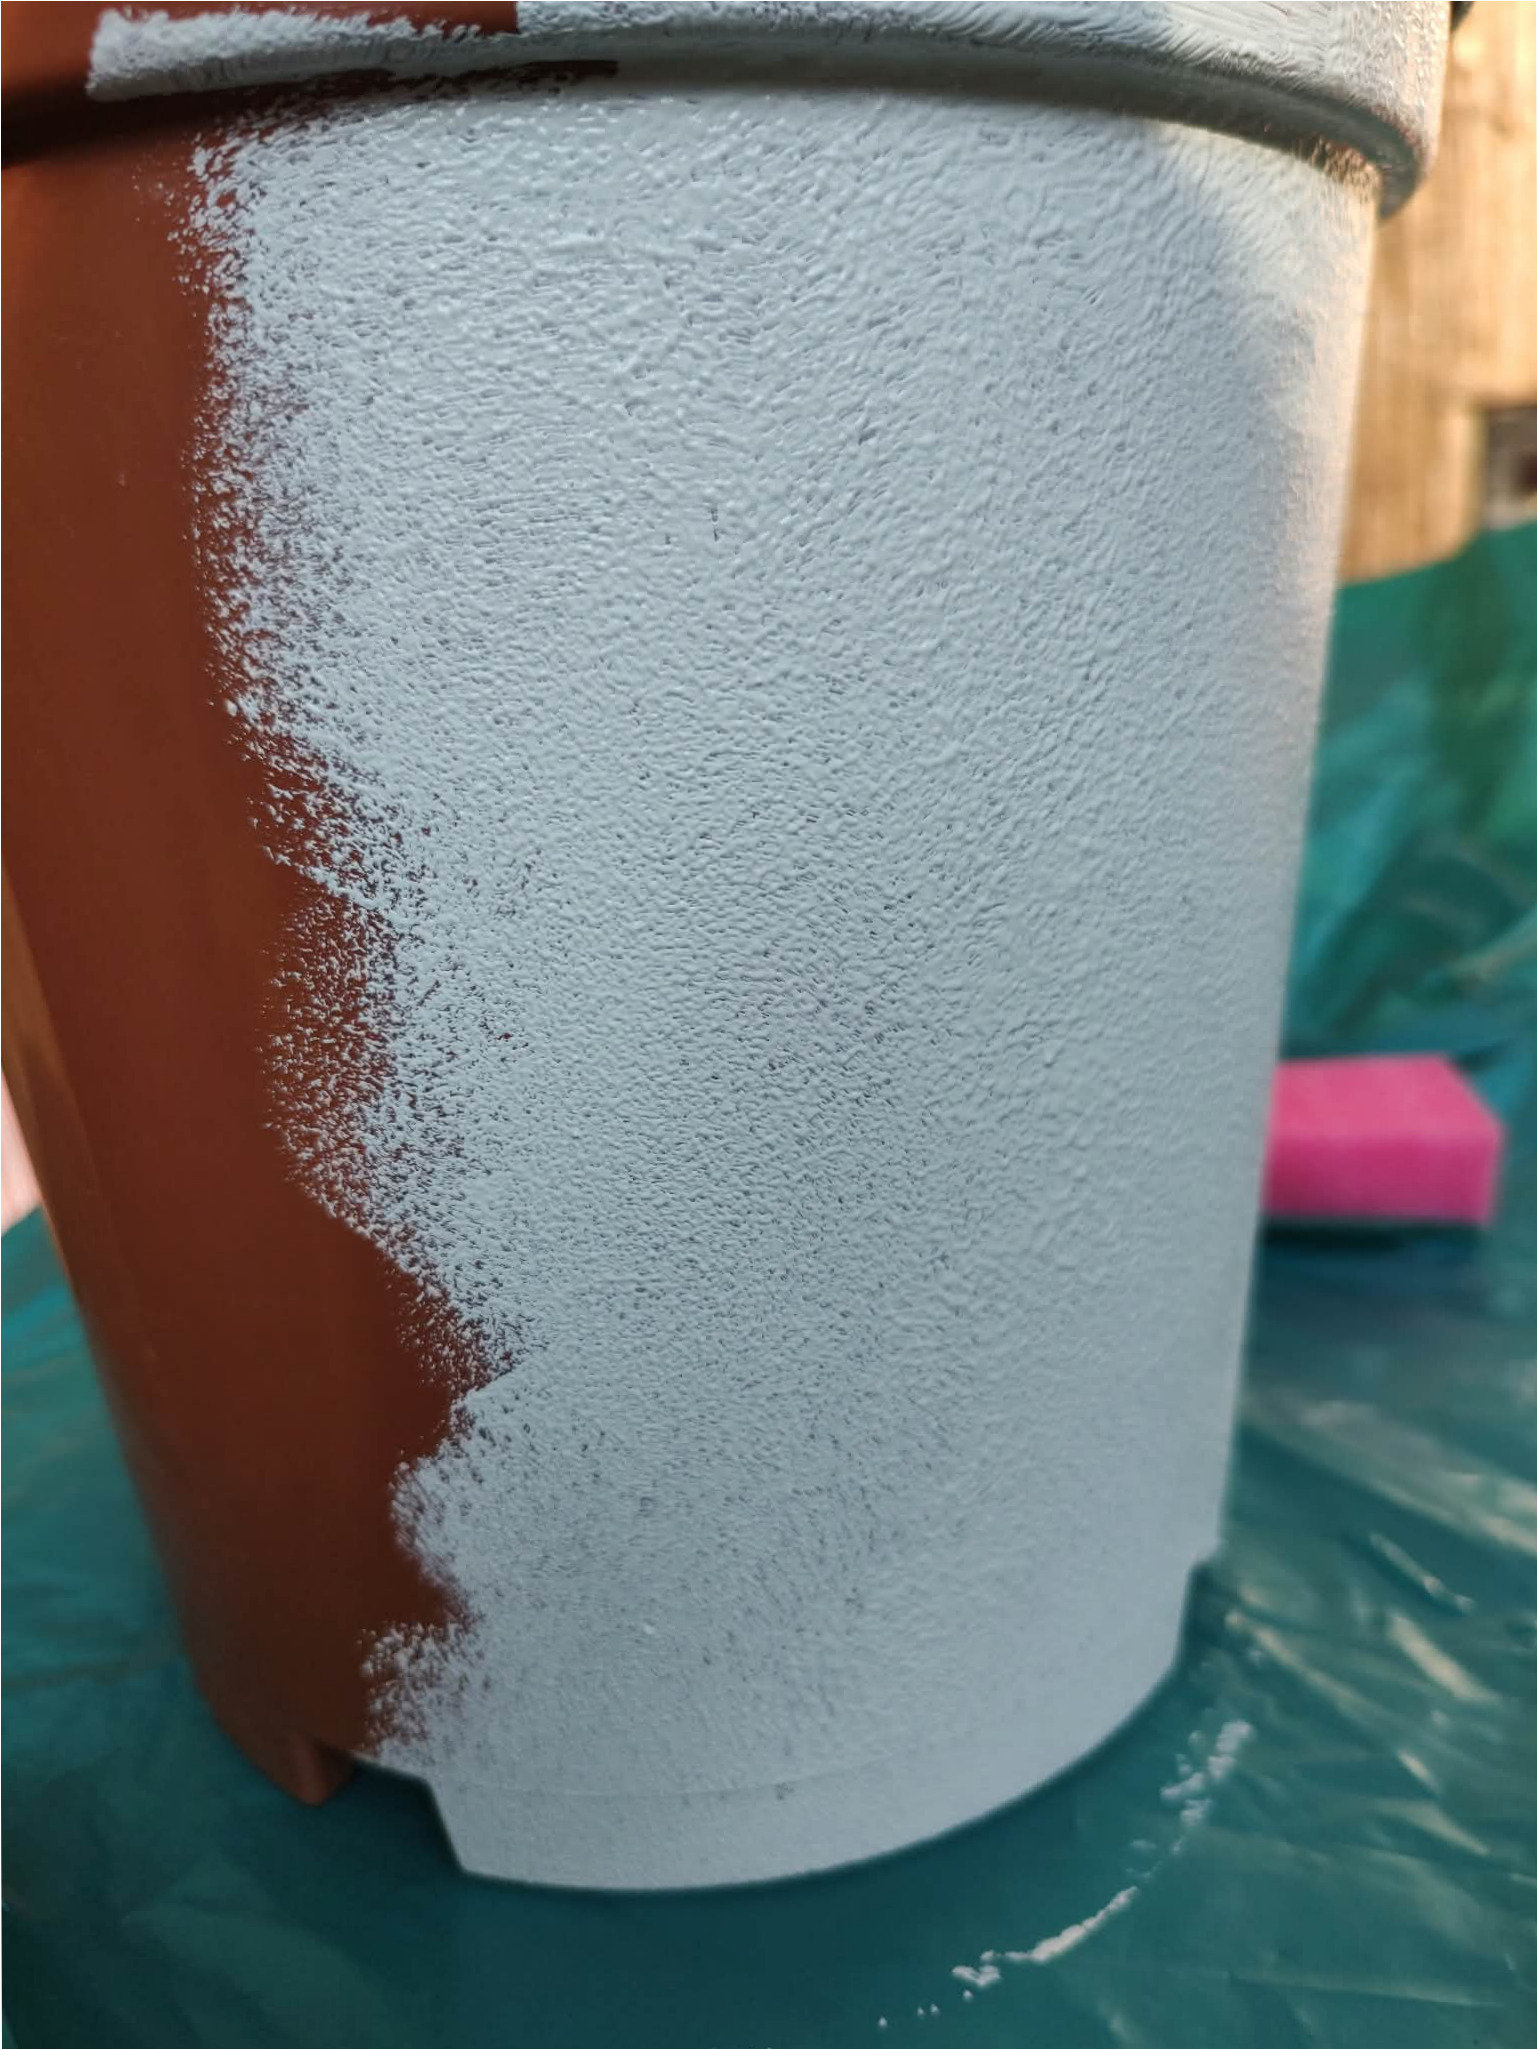
2. Apply the base coat: Use a sponge to gradually cover the outside of the flowerpot with light paint. Dabbing creates a gently textured surface and minimizes visible brush strokes. Depending on coverage, you may need several thin coats, allowing each to dry in between.
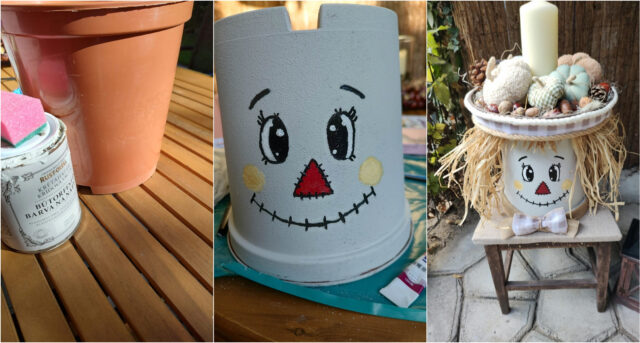
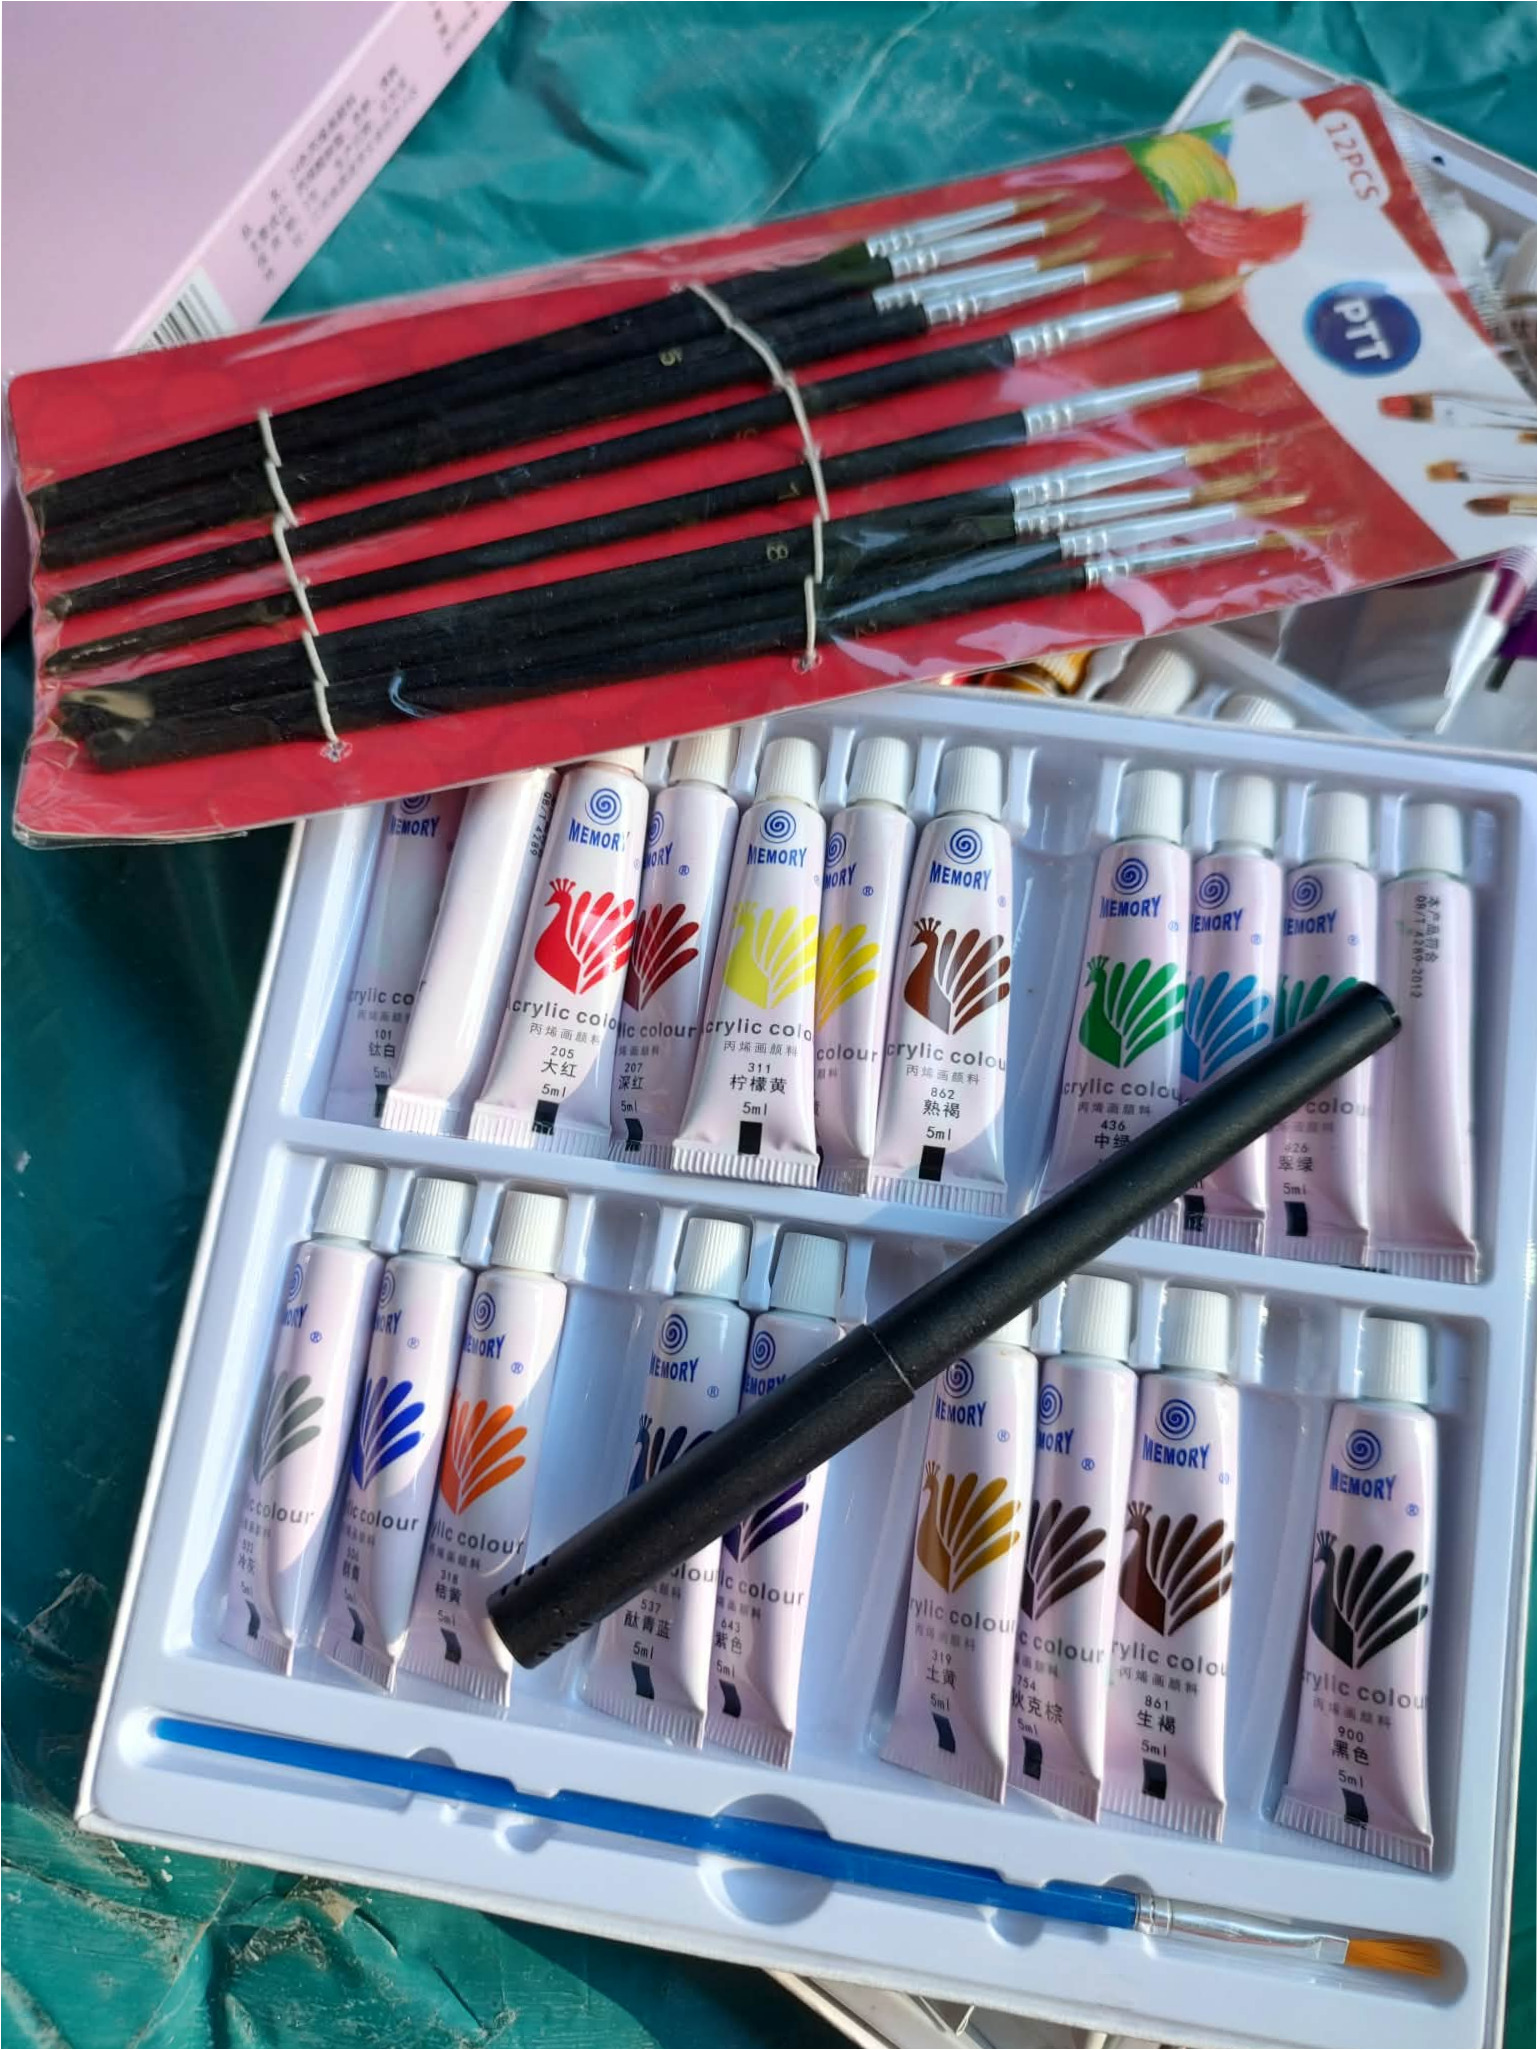
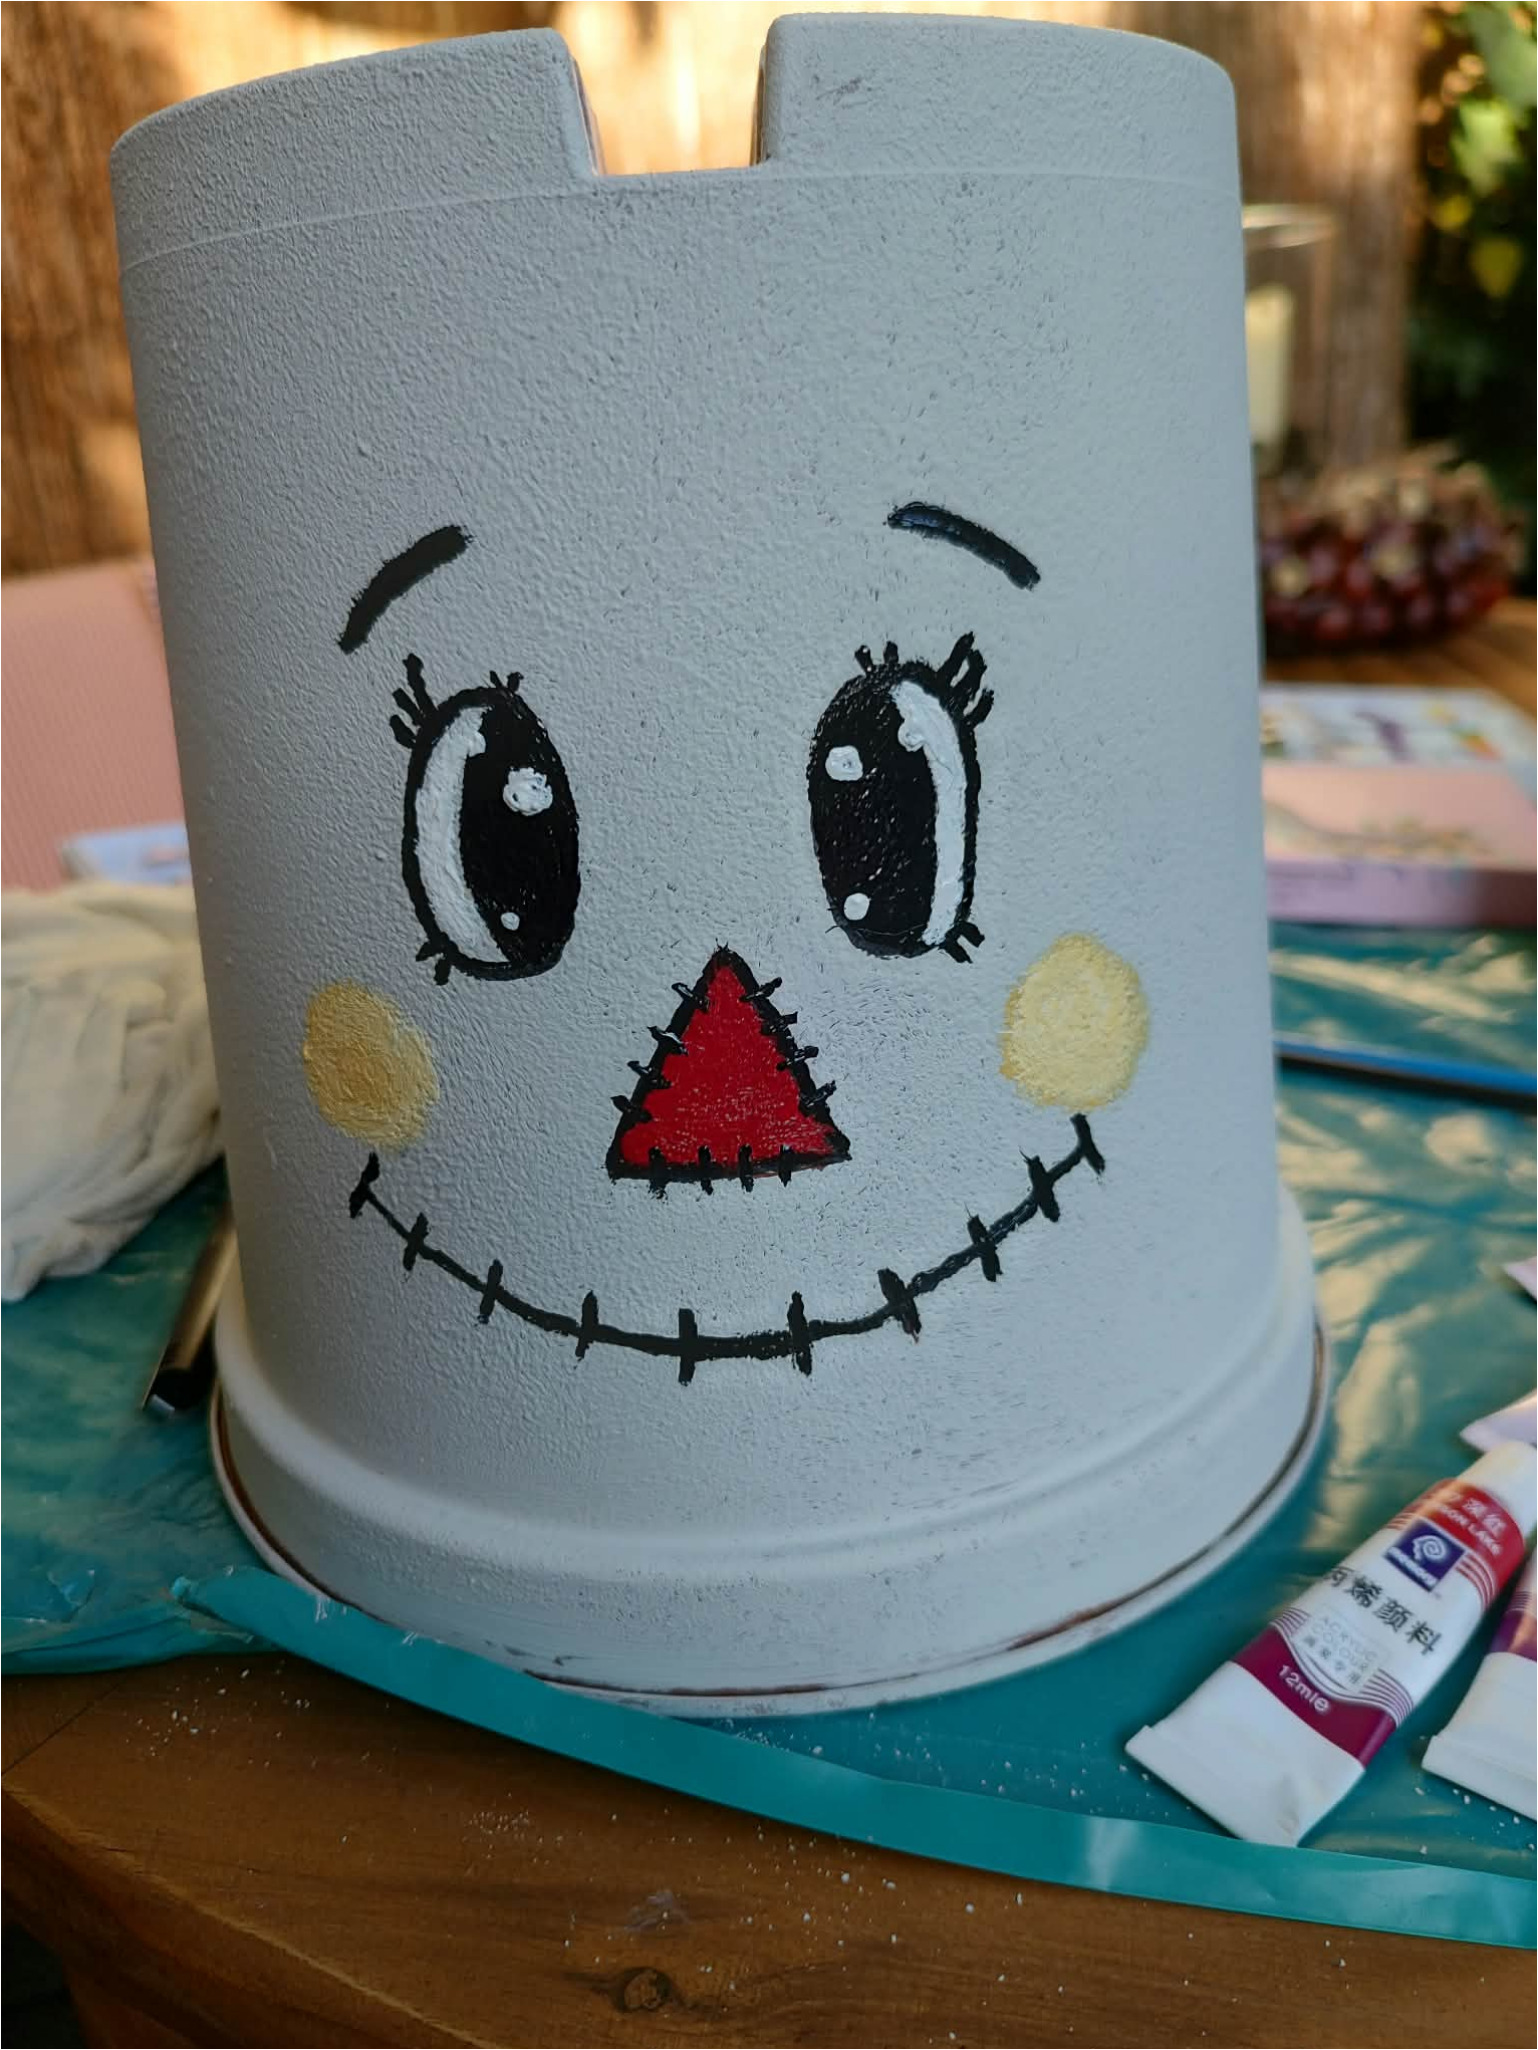
3. Prepare your painting supplies: For the face, get fine brushes and basic colors ready. Black is for outlines, white for eye highlights, red for the nose, and a light yellow or ochre shade for the cheeks.
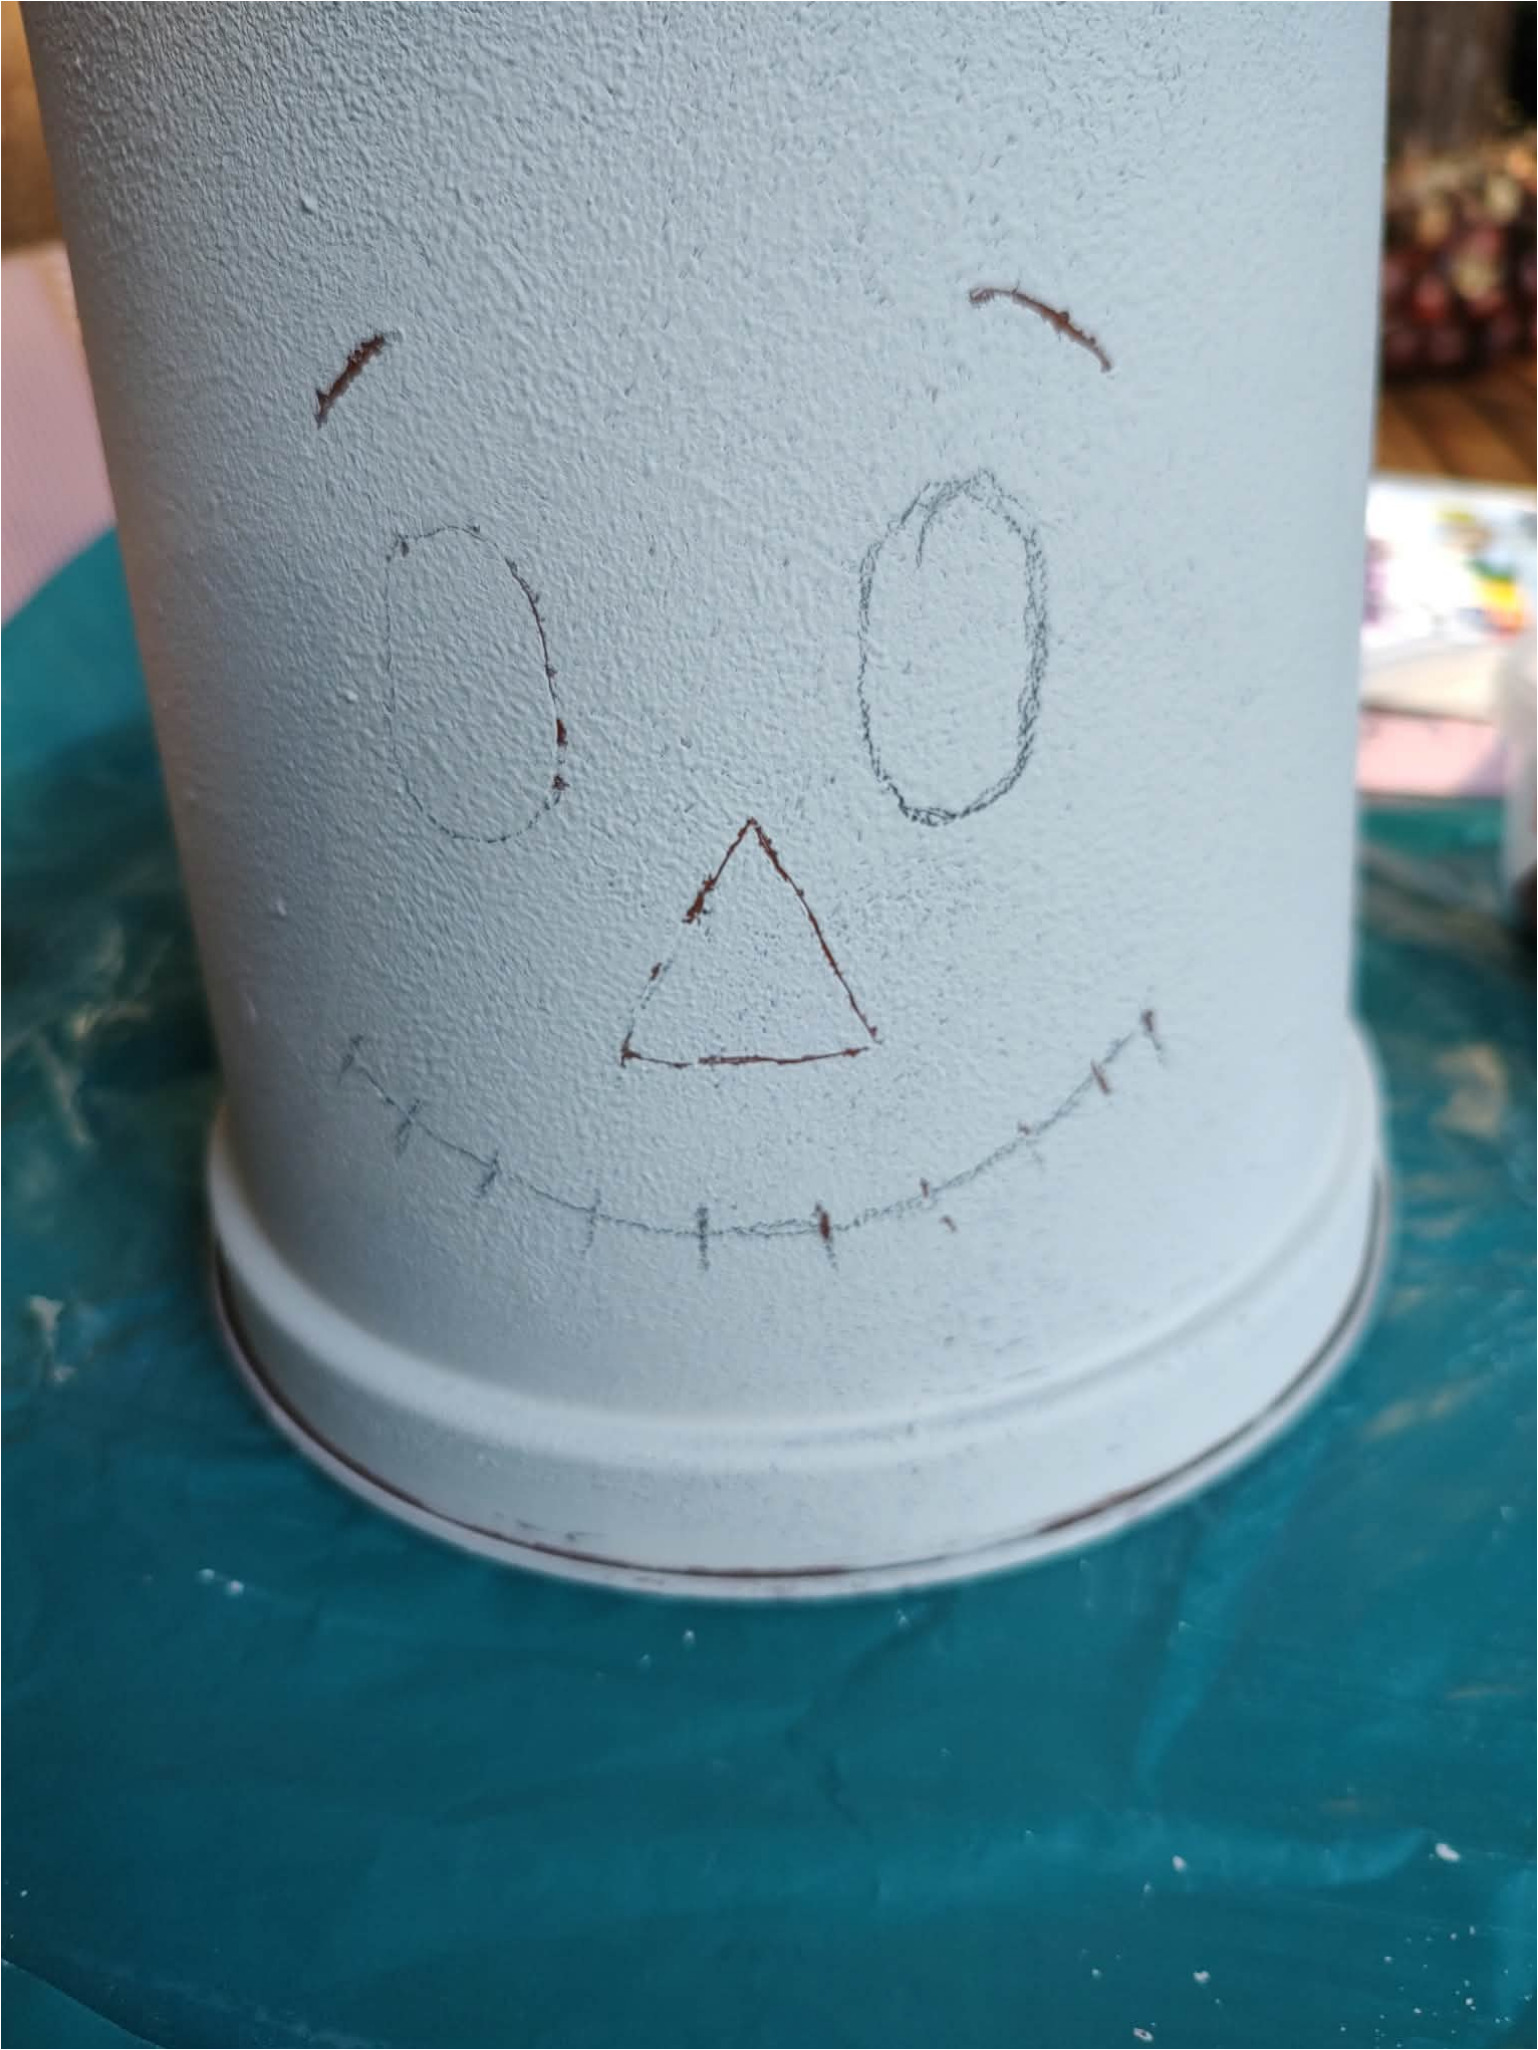
4. Sketch the face: Turn the flowerpot upside down and lightly sketch two eyes, eyebrows, a triangular nose, and a wide stitched smile. Draw the lines gently so the paint will cover them later.
5. Paint the face: Outline the eyes in black, add lashes, and leave white highlights. Fill in the nose with red and accentuate the edges with short black stitches. Finally, paint round cheeks and a smile with crosswise lines.
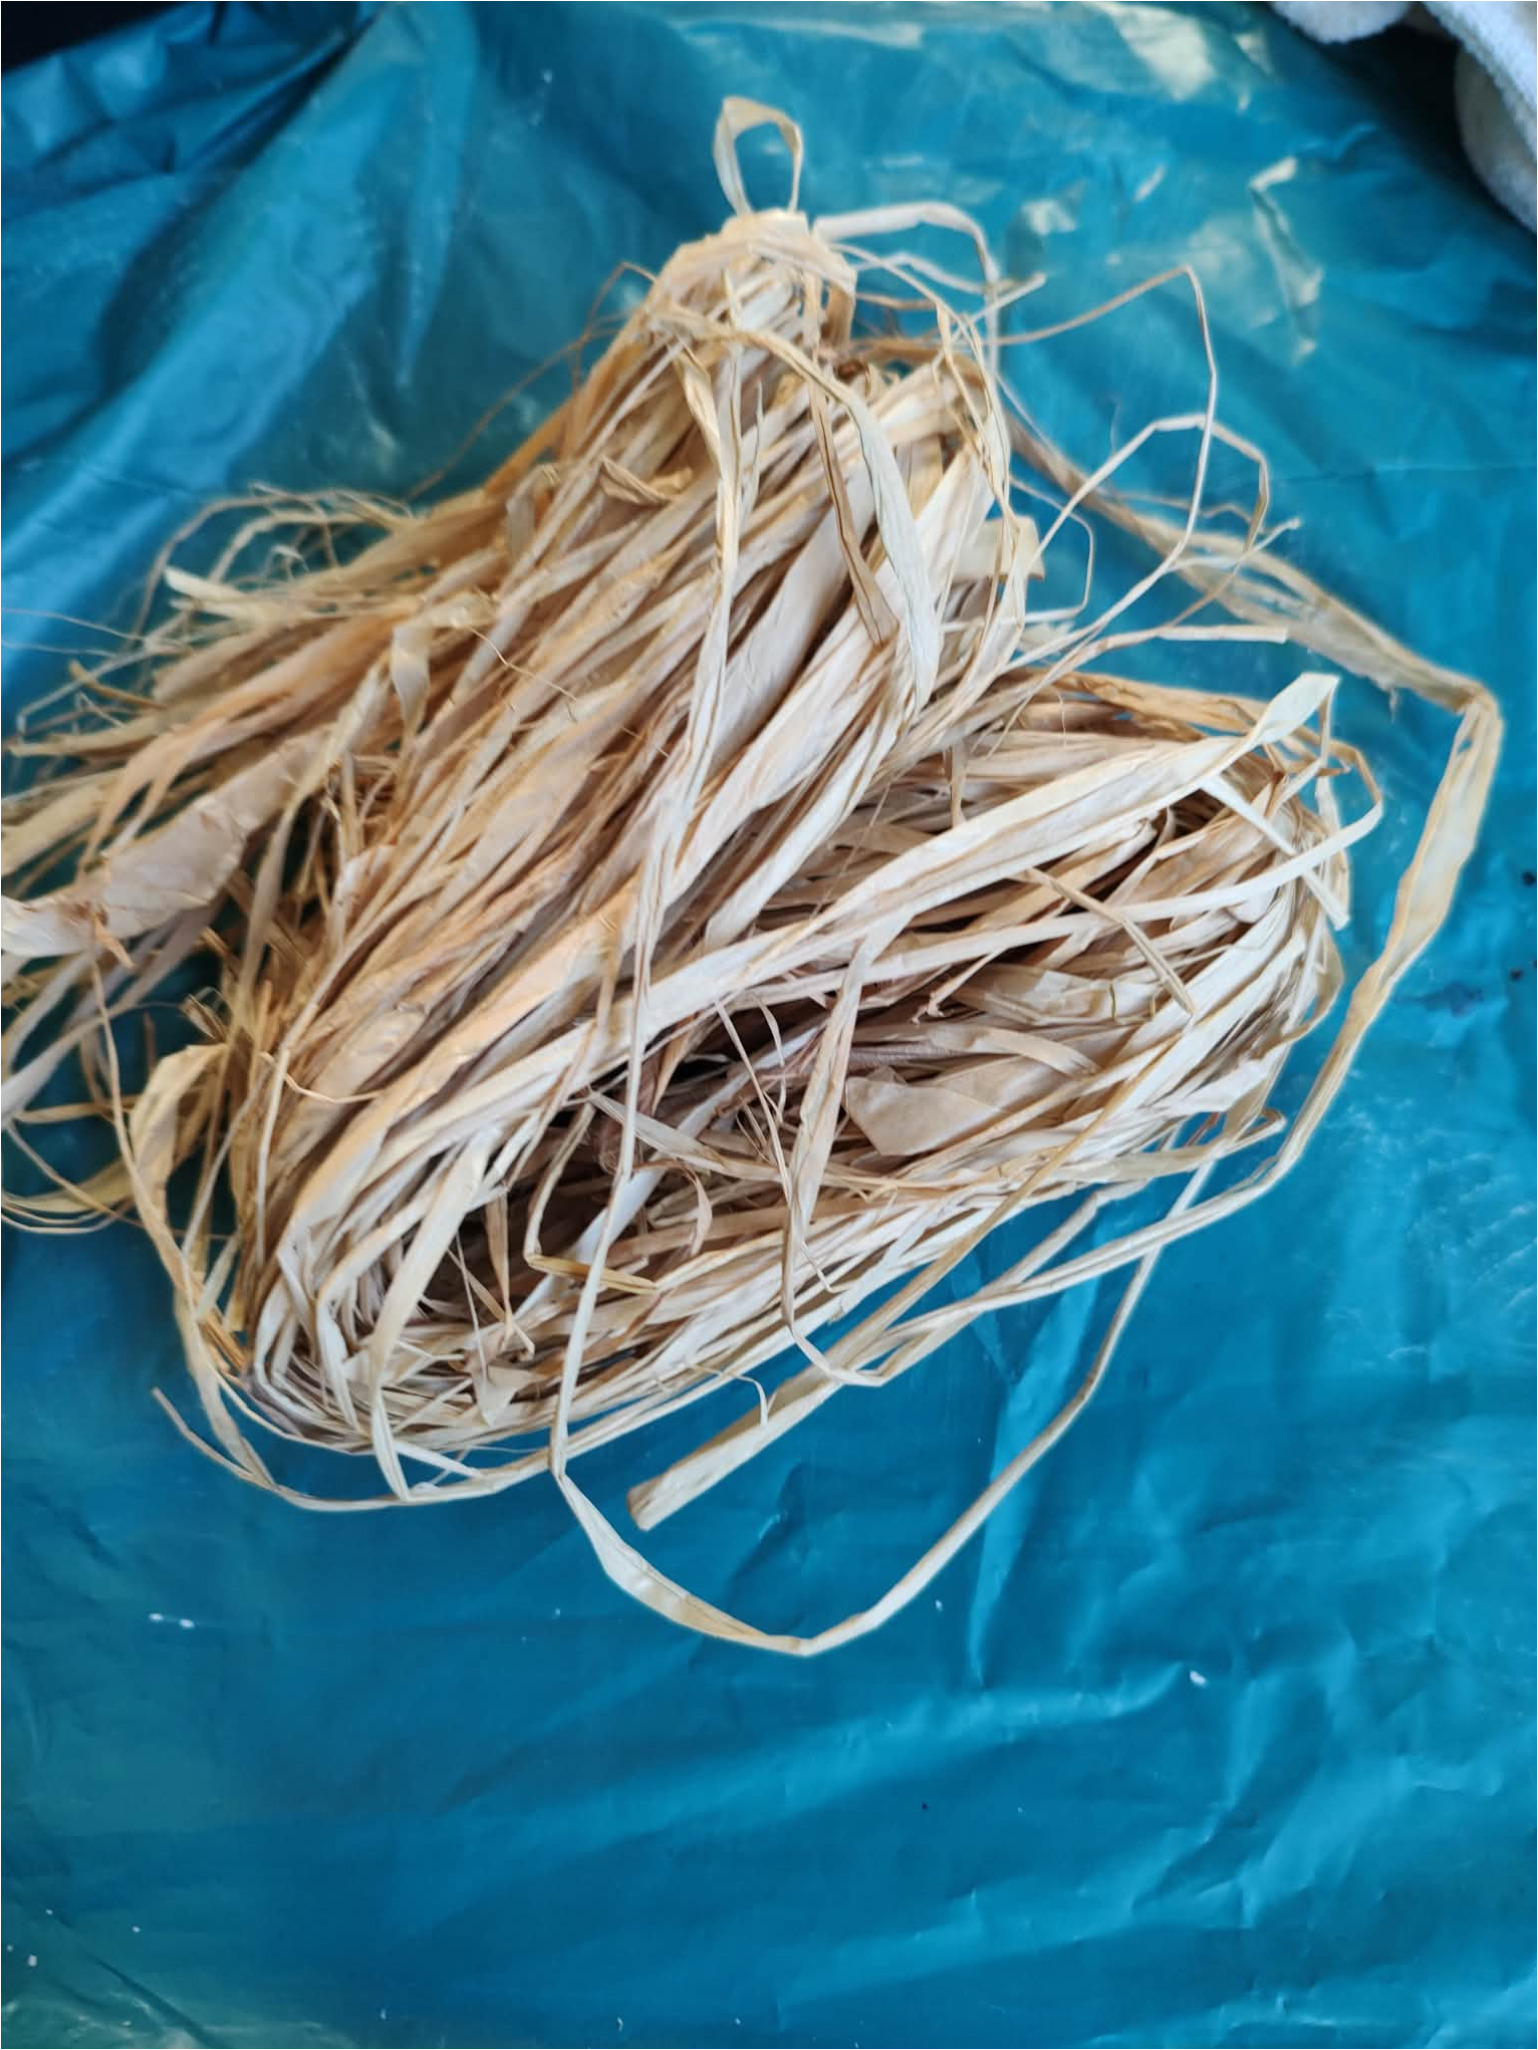
6. Prepare the hair: Make a sufficiently thick bundle from natural raffia. The strands don’t have to be the same length—the unevenness gives the scarecrow a natural, slightly tousled look.
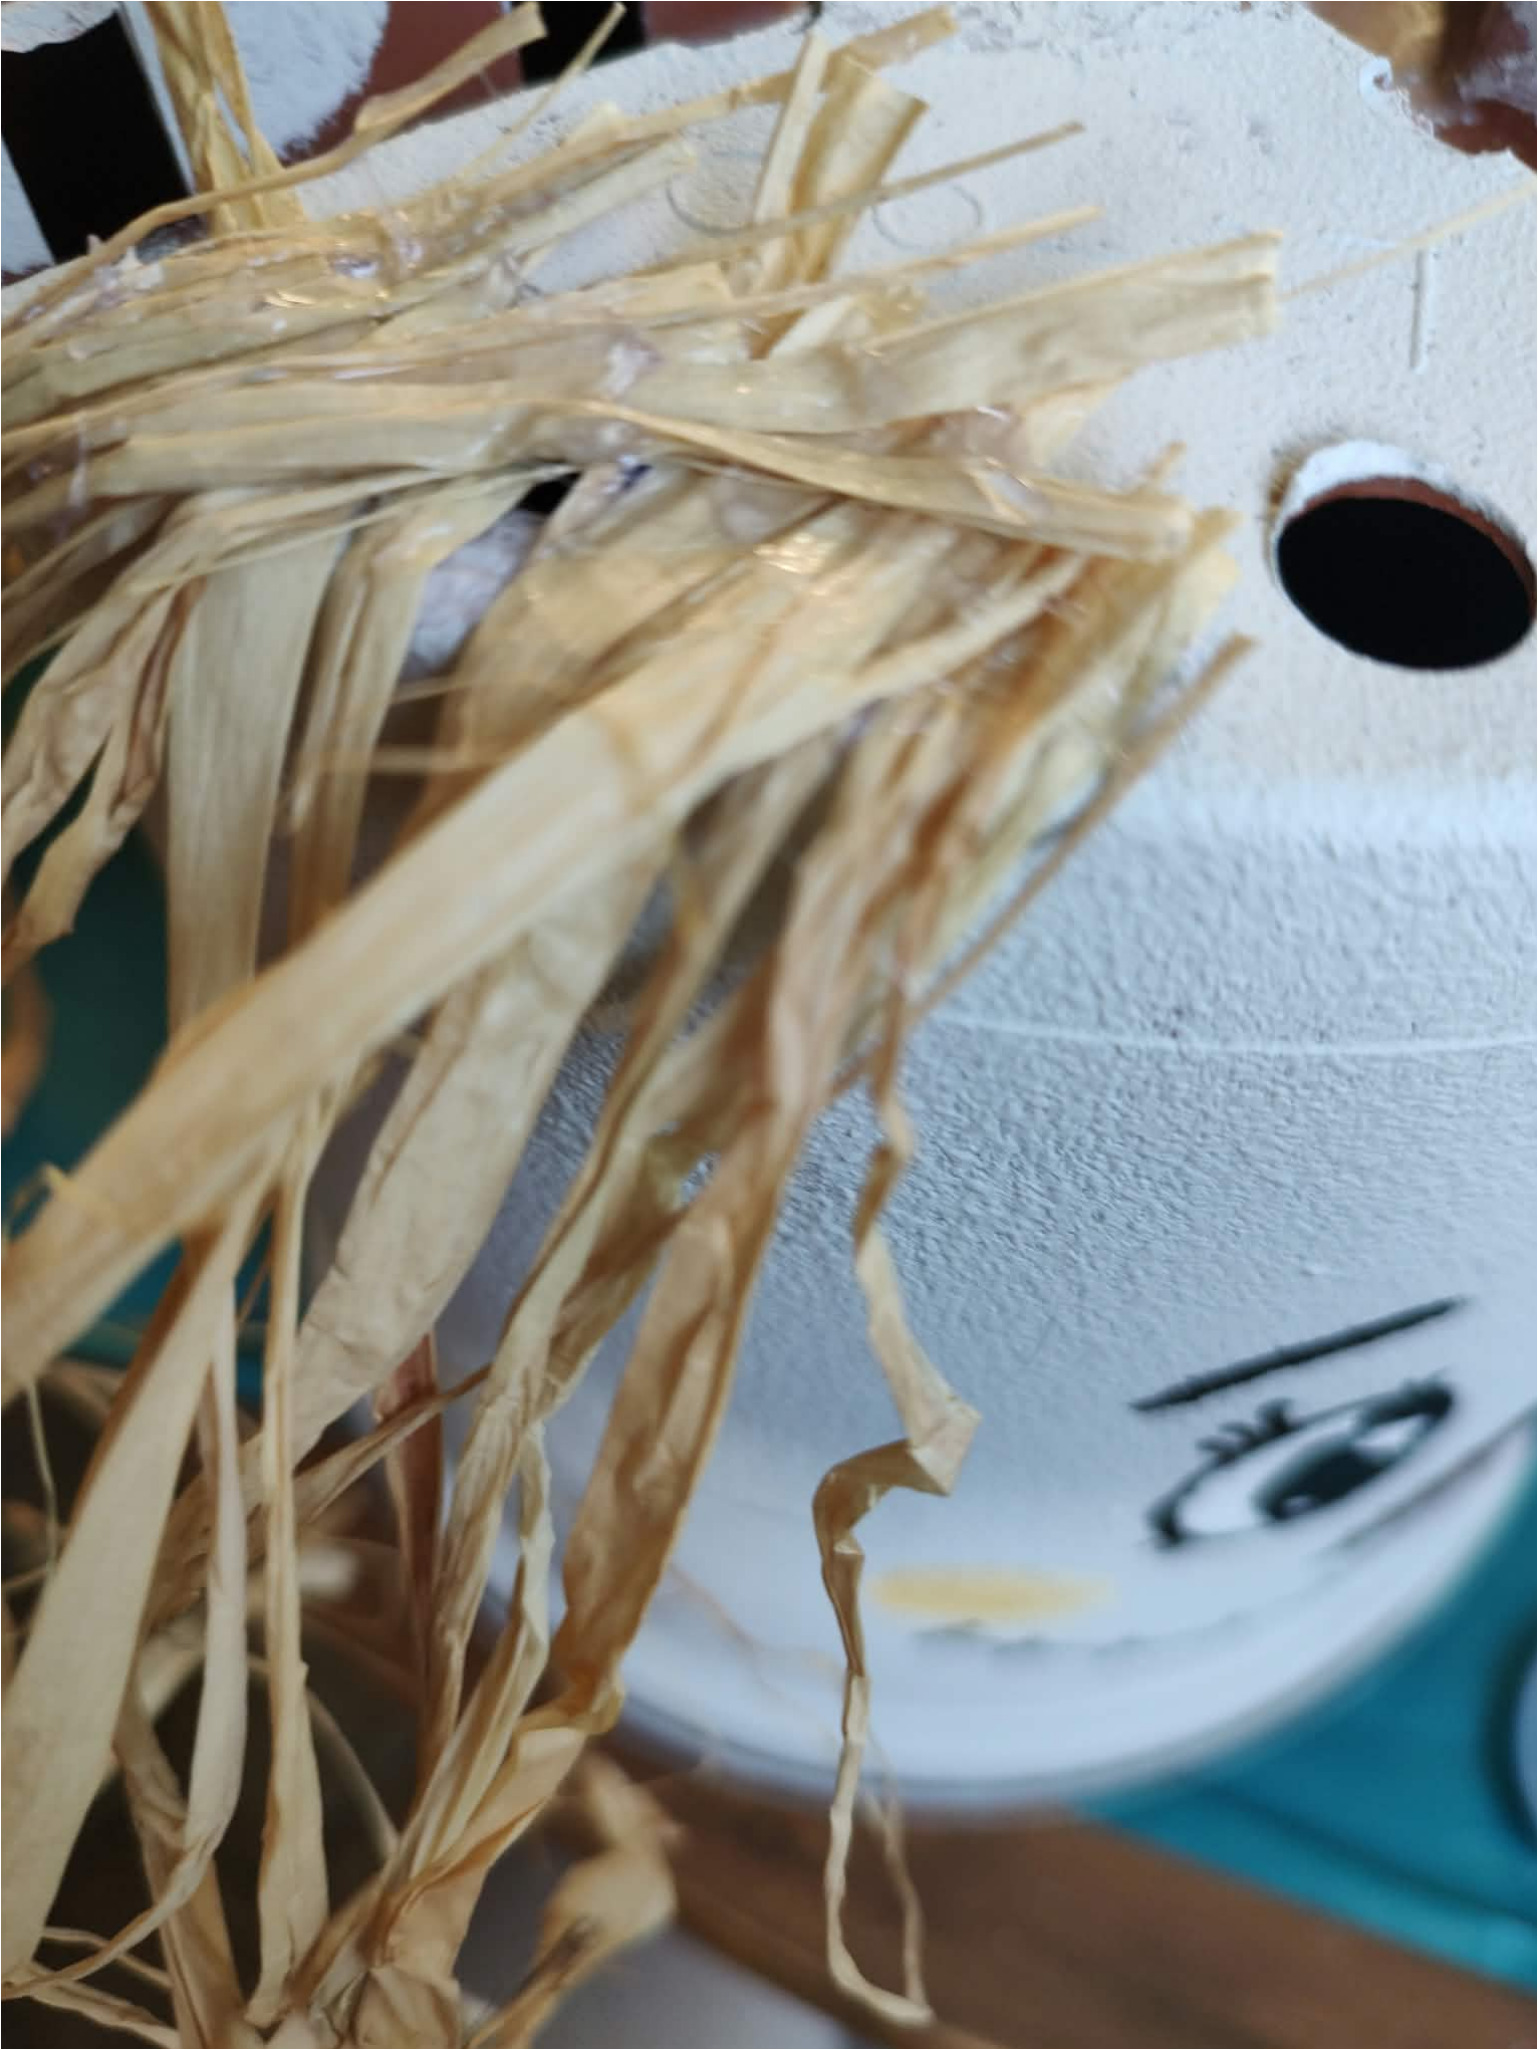
7. Start attaching the raffia: Turn the flowerpot upside down and attach the strands around its top edge. Arrange the raffia so it falls mainly along the sides of the face and doesn’t cover the painted eyes.
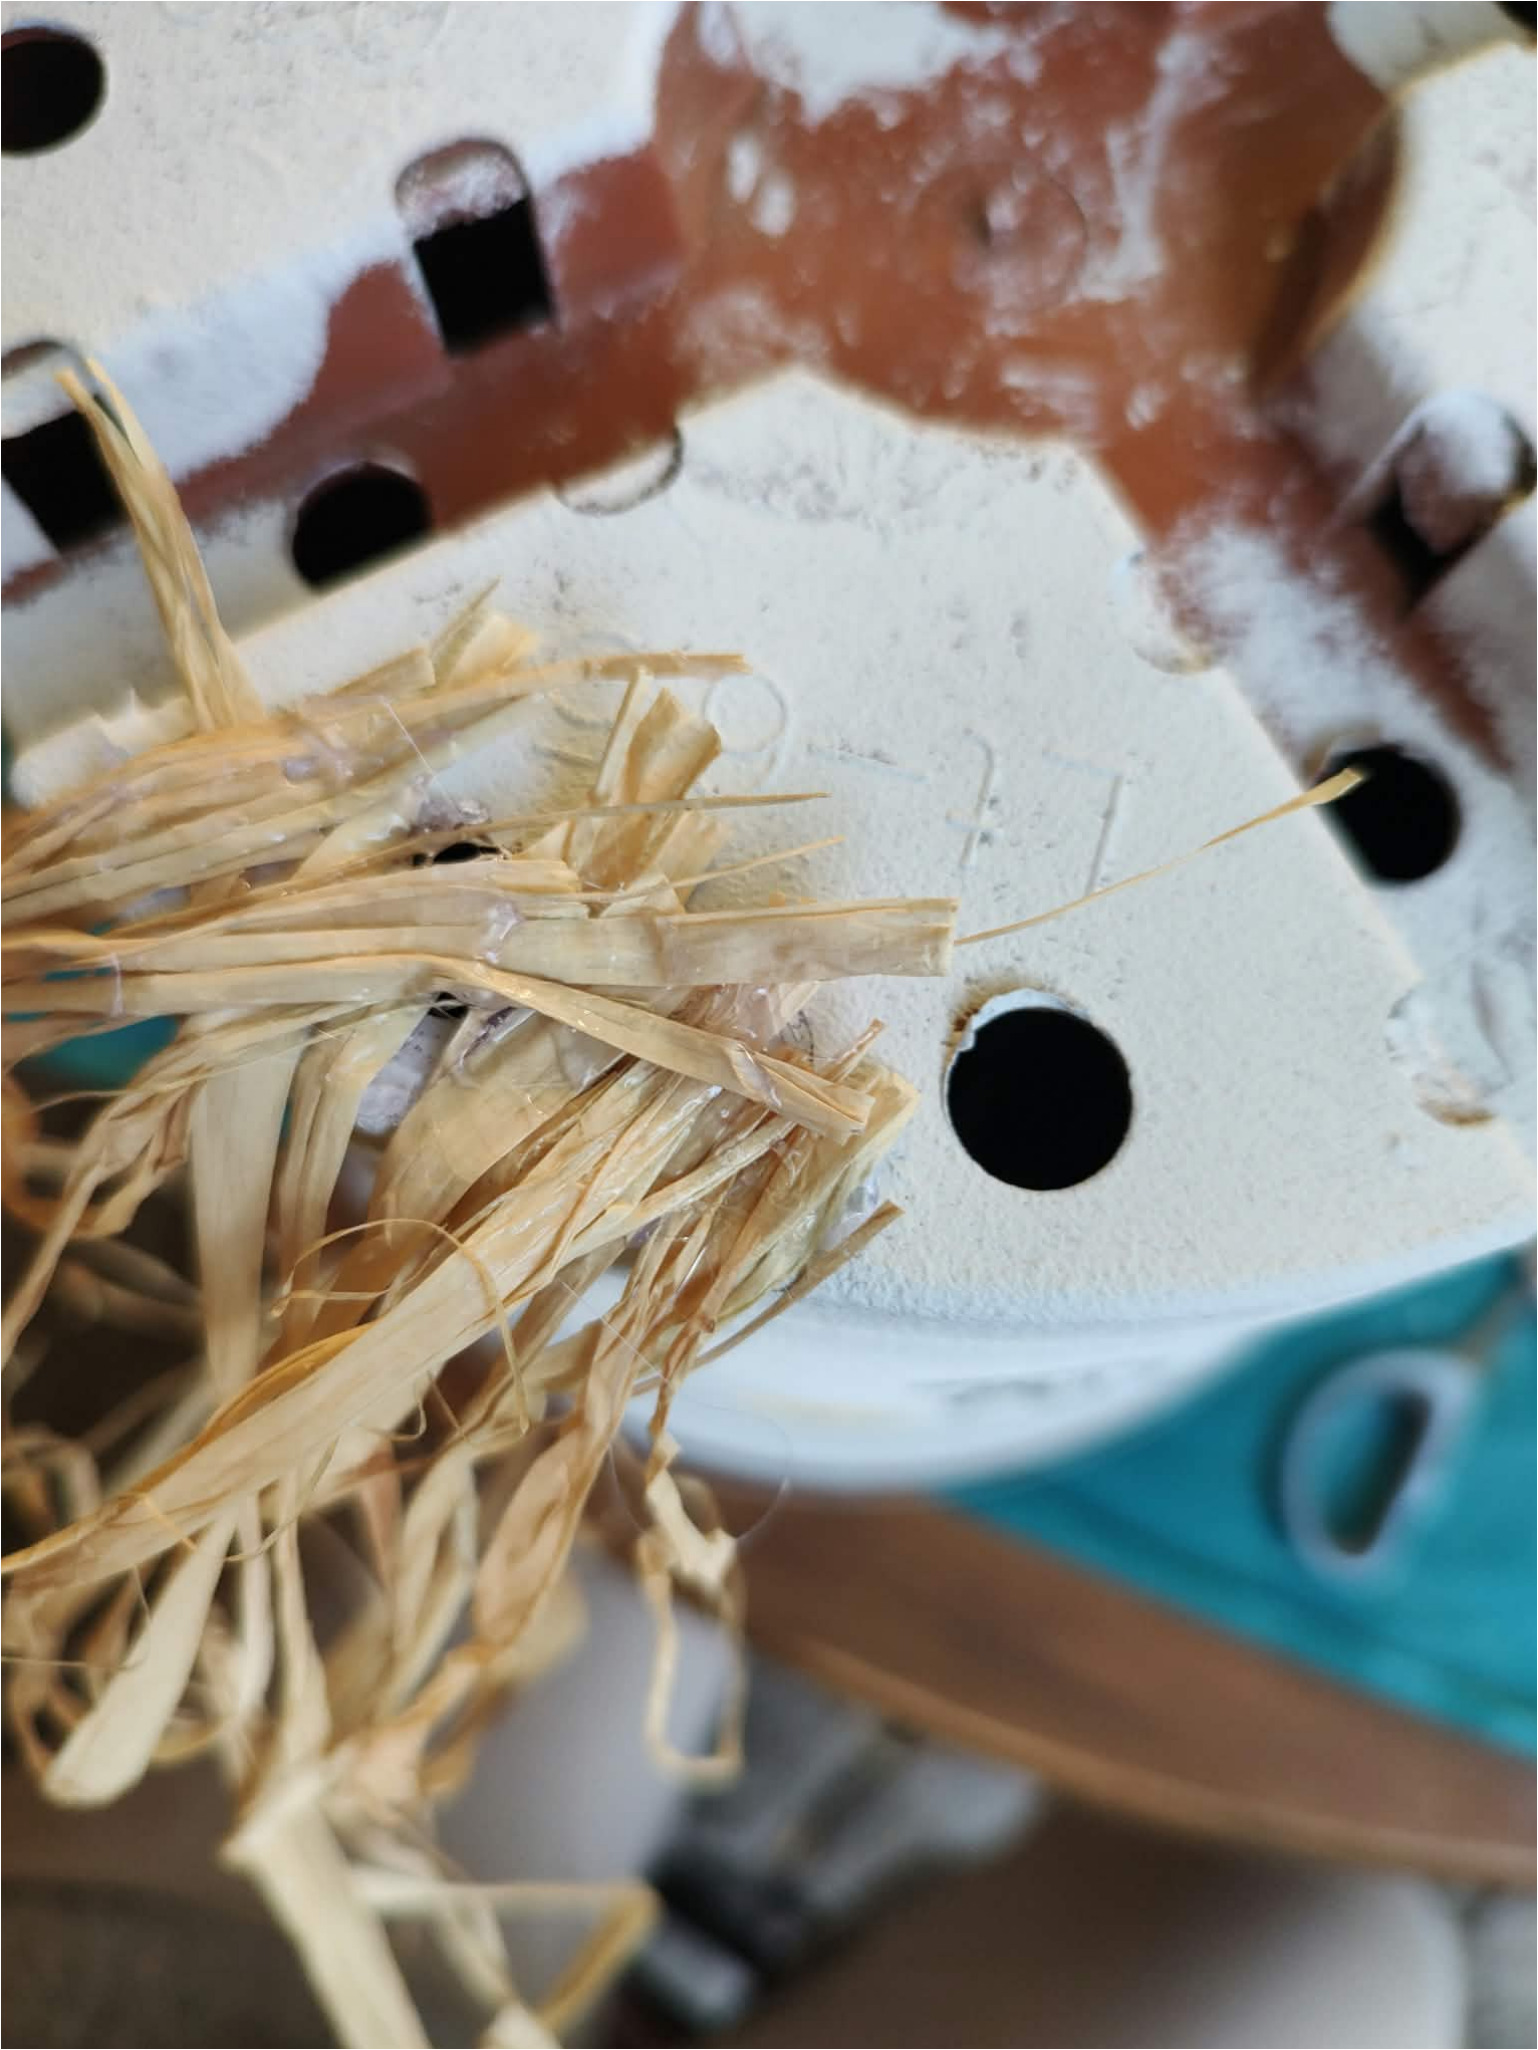
8. Secure the hair around the rim: Continue attaching smaller bundles around the bottom of the pot. Apply glue carefully and always hold the decoration in place for a moment until it bonds with the surface.
9. Adjust the final hairstyle: Stand the pot upright and fluff the raffia with your fingers. You can trim any strands that are too long or stick out, but let some hair fall freely to give the scarecrow its typical rustic character.
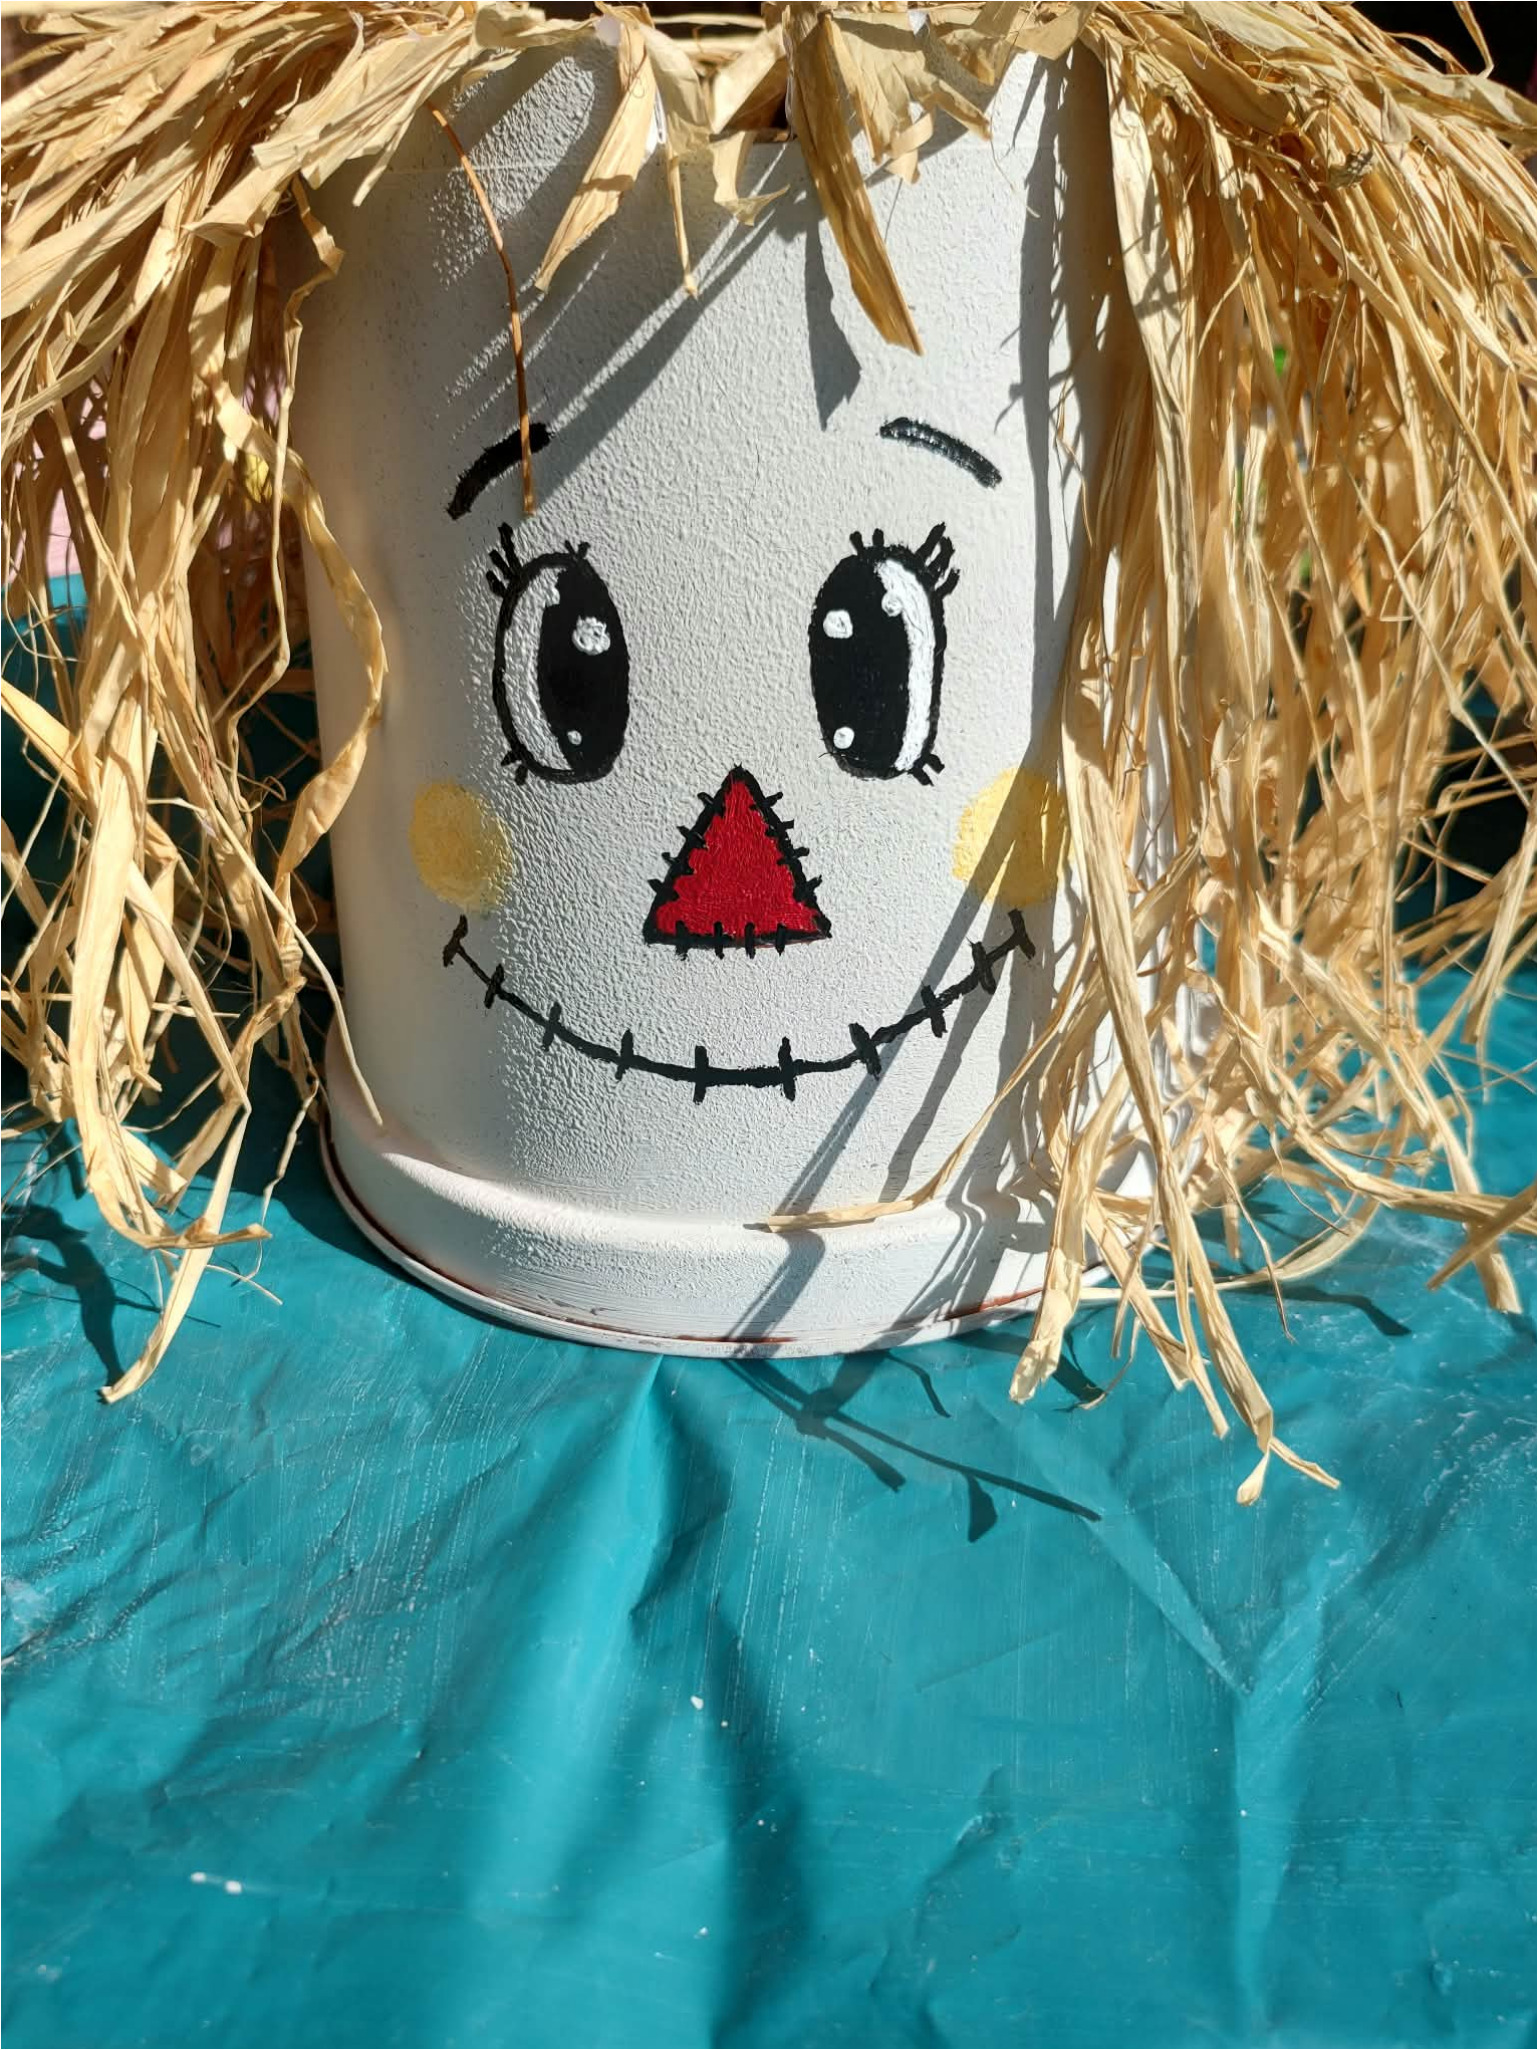
10. Prepare the saucer: The saucer will become a wide hat and serve as the base for your autumn arrangement. Clean it and make sure it sits securely on the upside-down flowerpot.
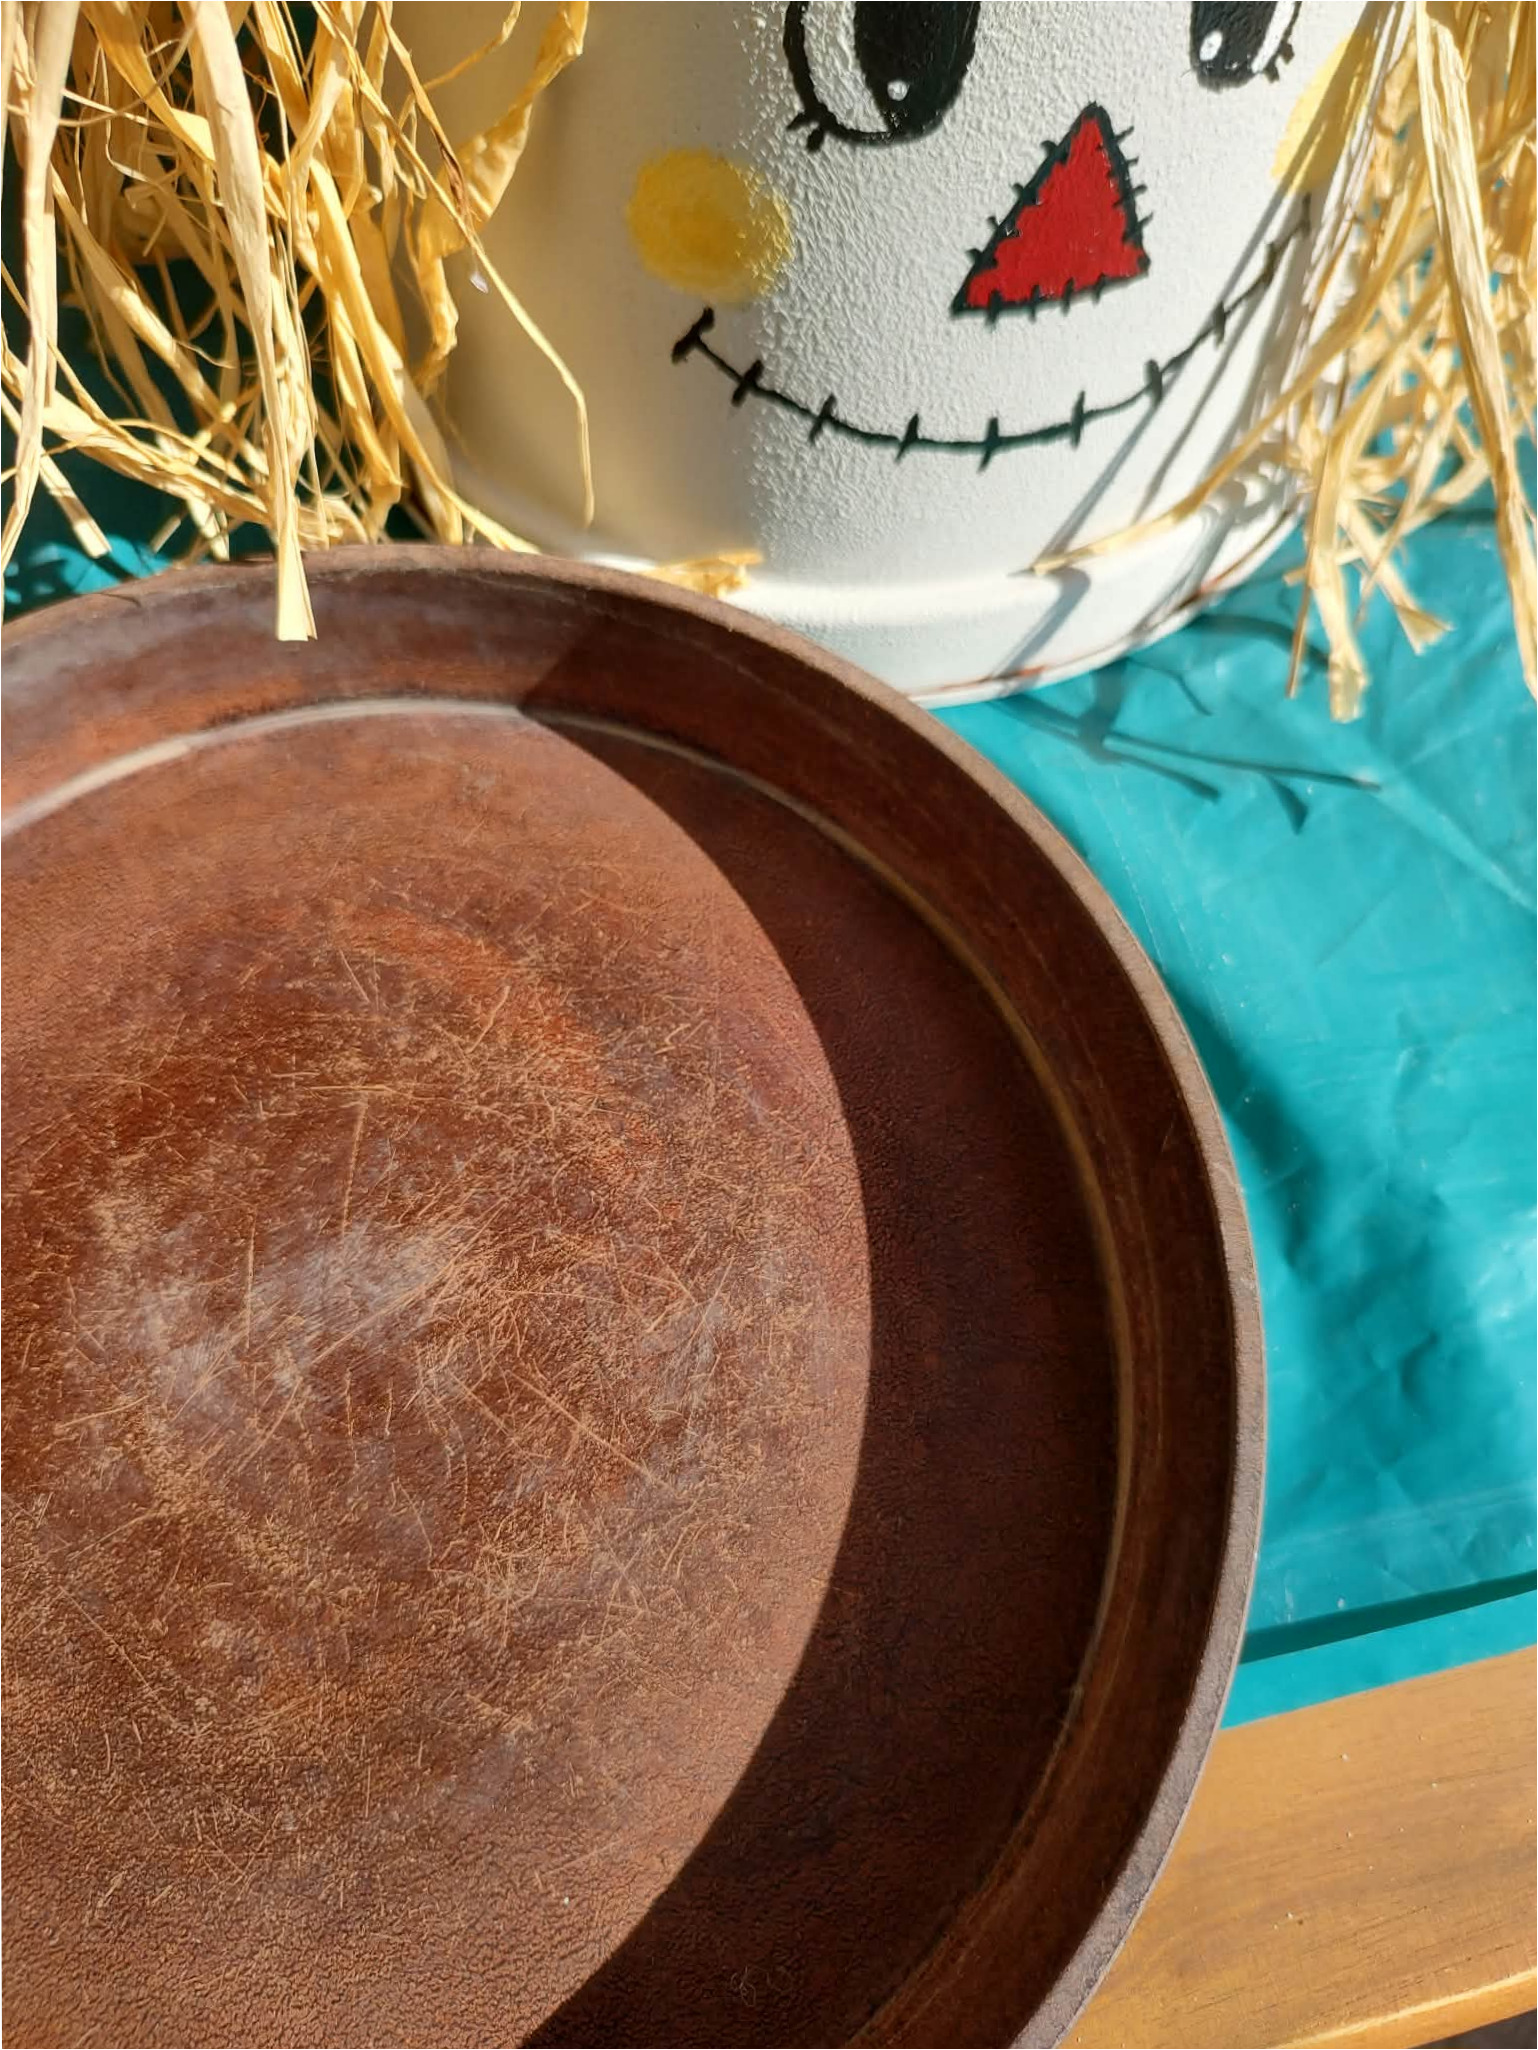
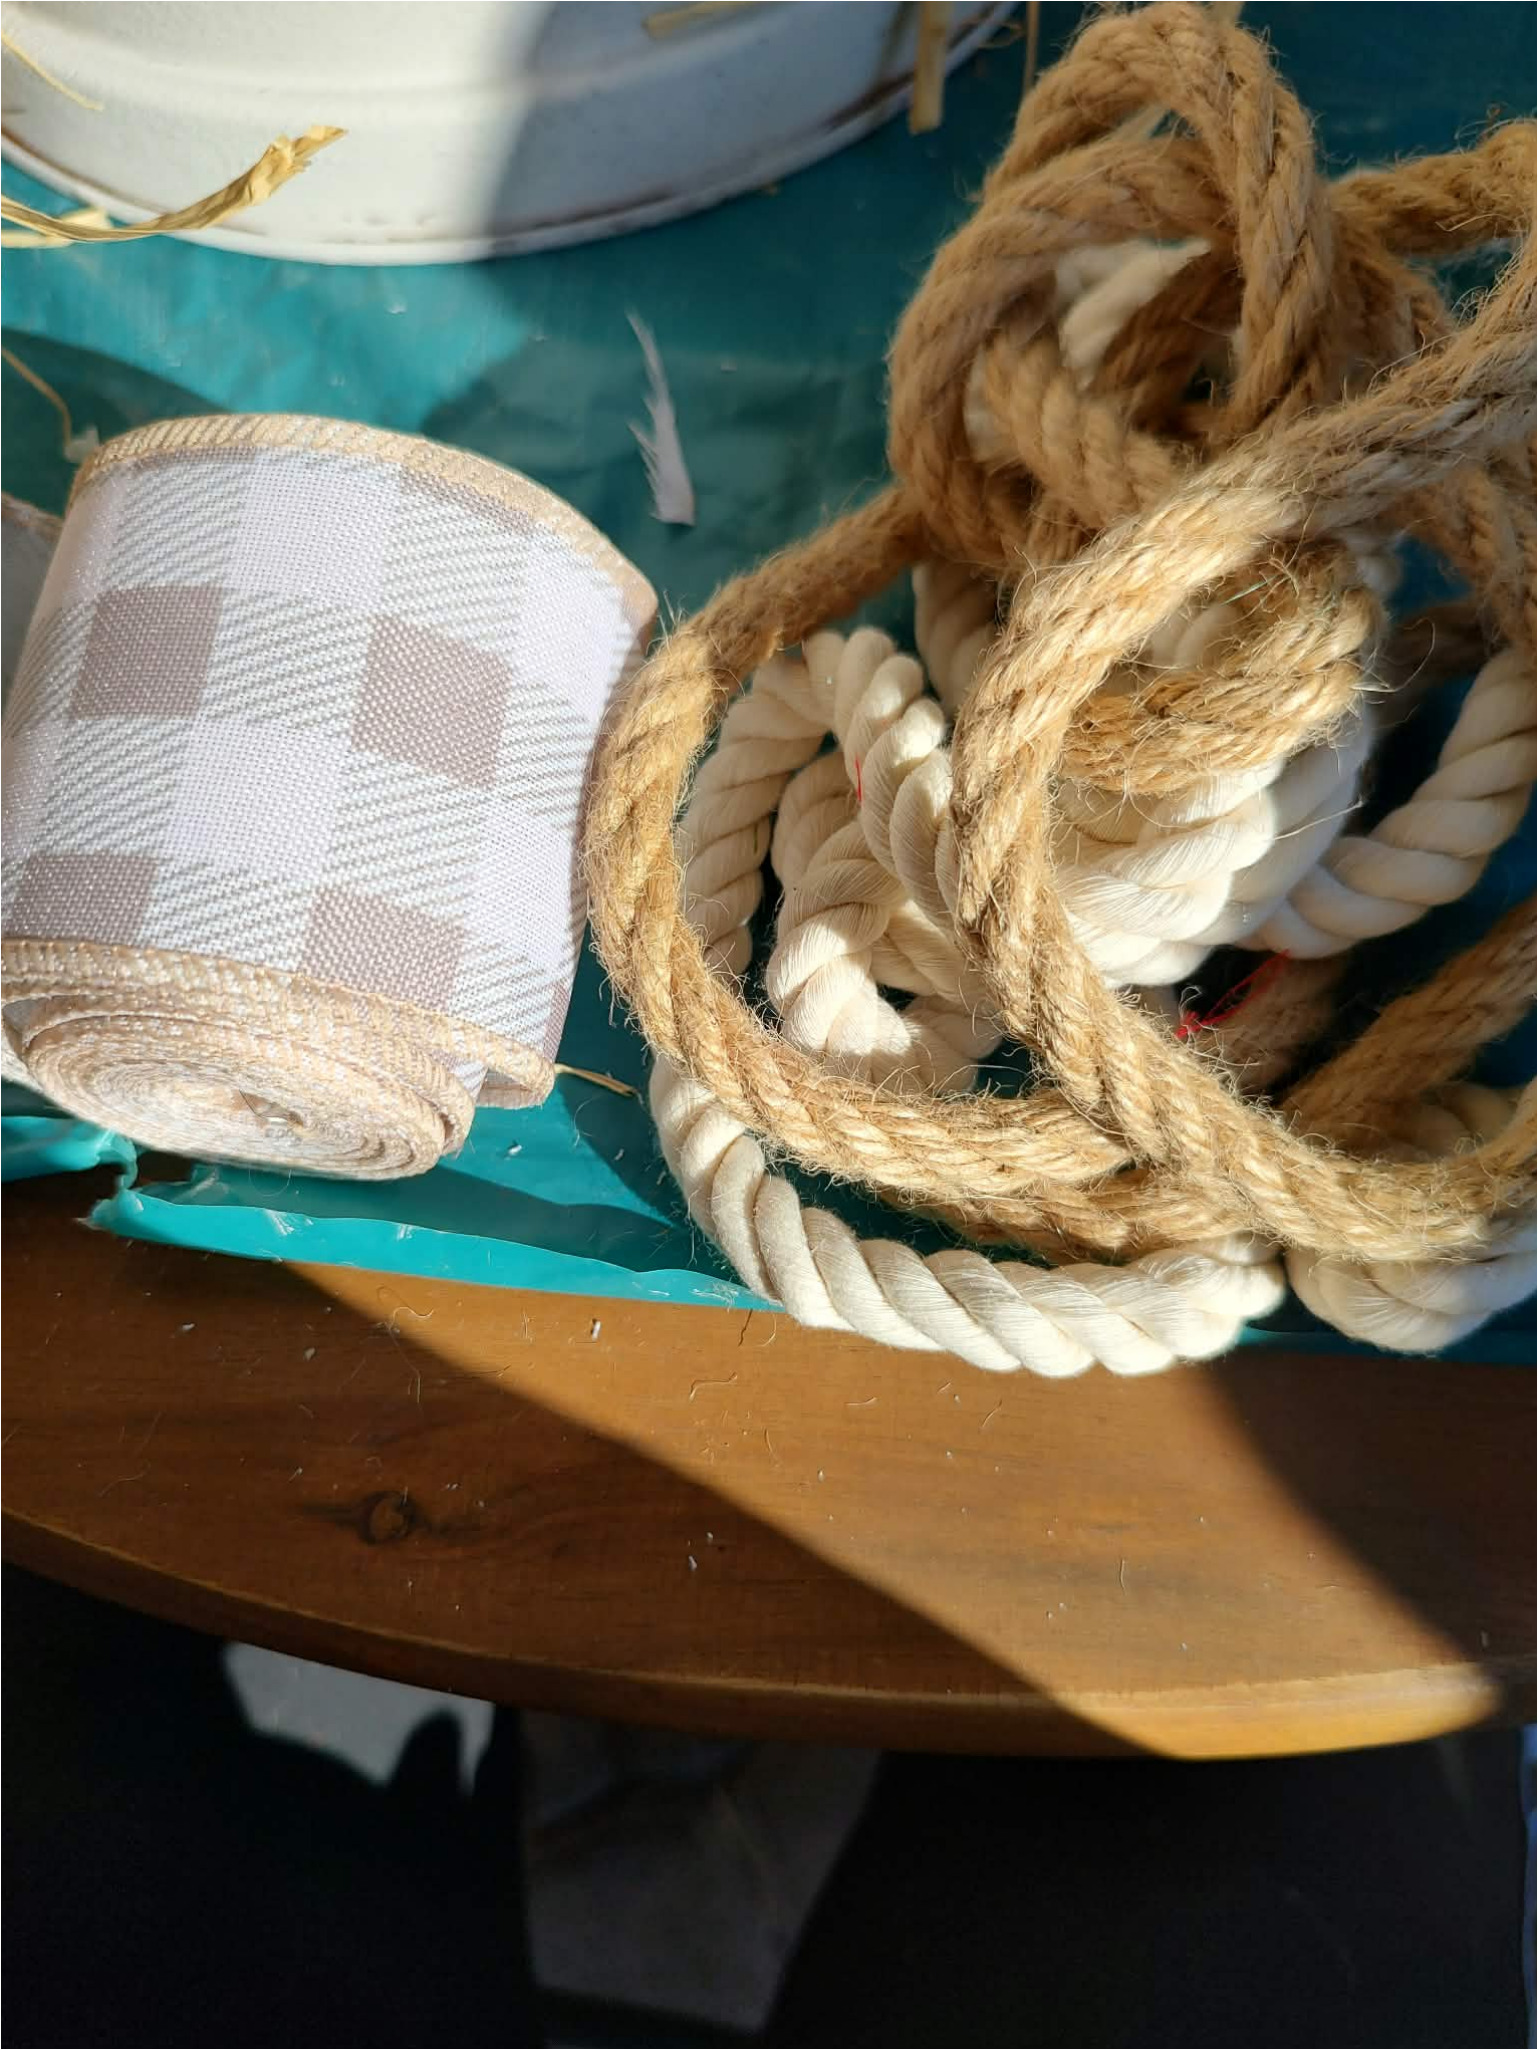
11. Choose decorative trims: Prepare a plaid ribbon, jute string, and a light twisted cord. Stick to natural beige and cream tones that match the raffia and autumn fruits.
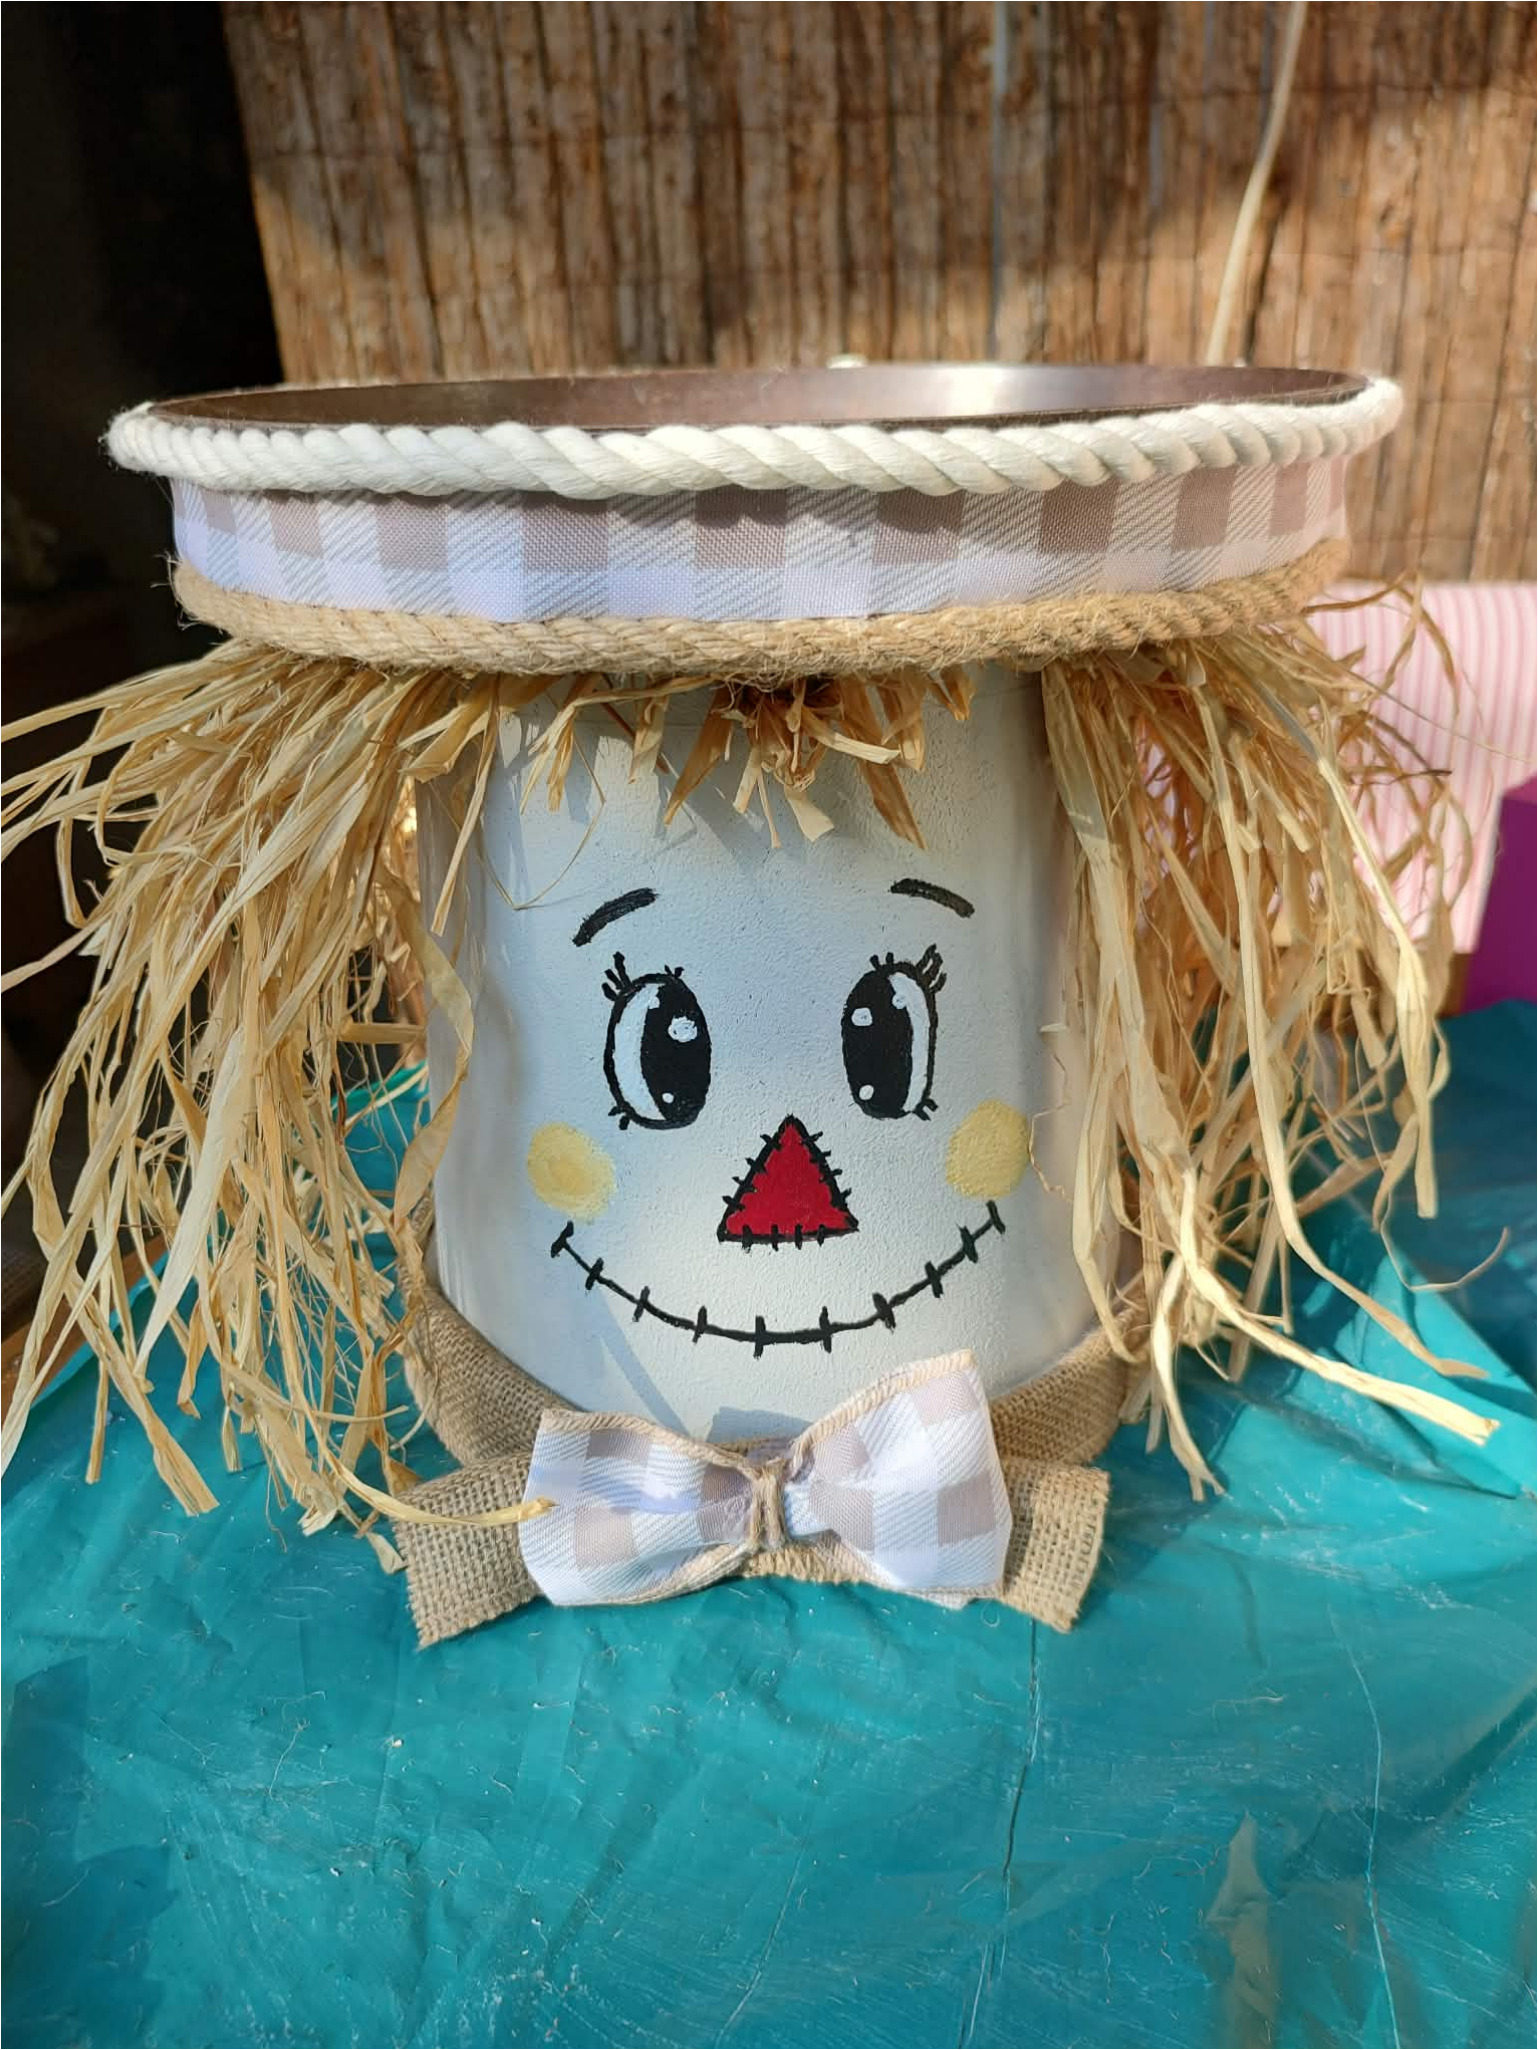
12. Finish the hat and bow tie: Wrap the edge of the saucer with plaid ribbon and add a rope trim. You can add a jute band under the hair and attach a bow in the center. This creates a collar with a bow tie that covers the bottom transition of the flowerpot.
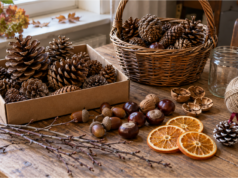
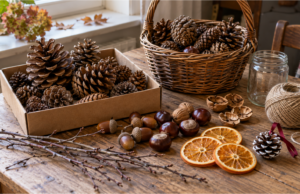
13. Sort your autumn decorations: Gather pinecones, chestnuts, acorns, shells, twigs, and small decorative gourds. You can also use other dried natural materials that fit the size of the saucer.
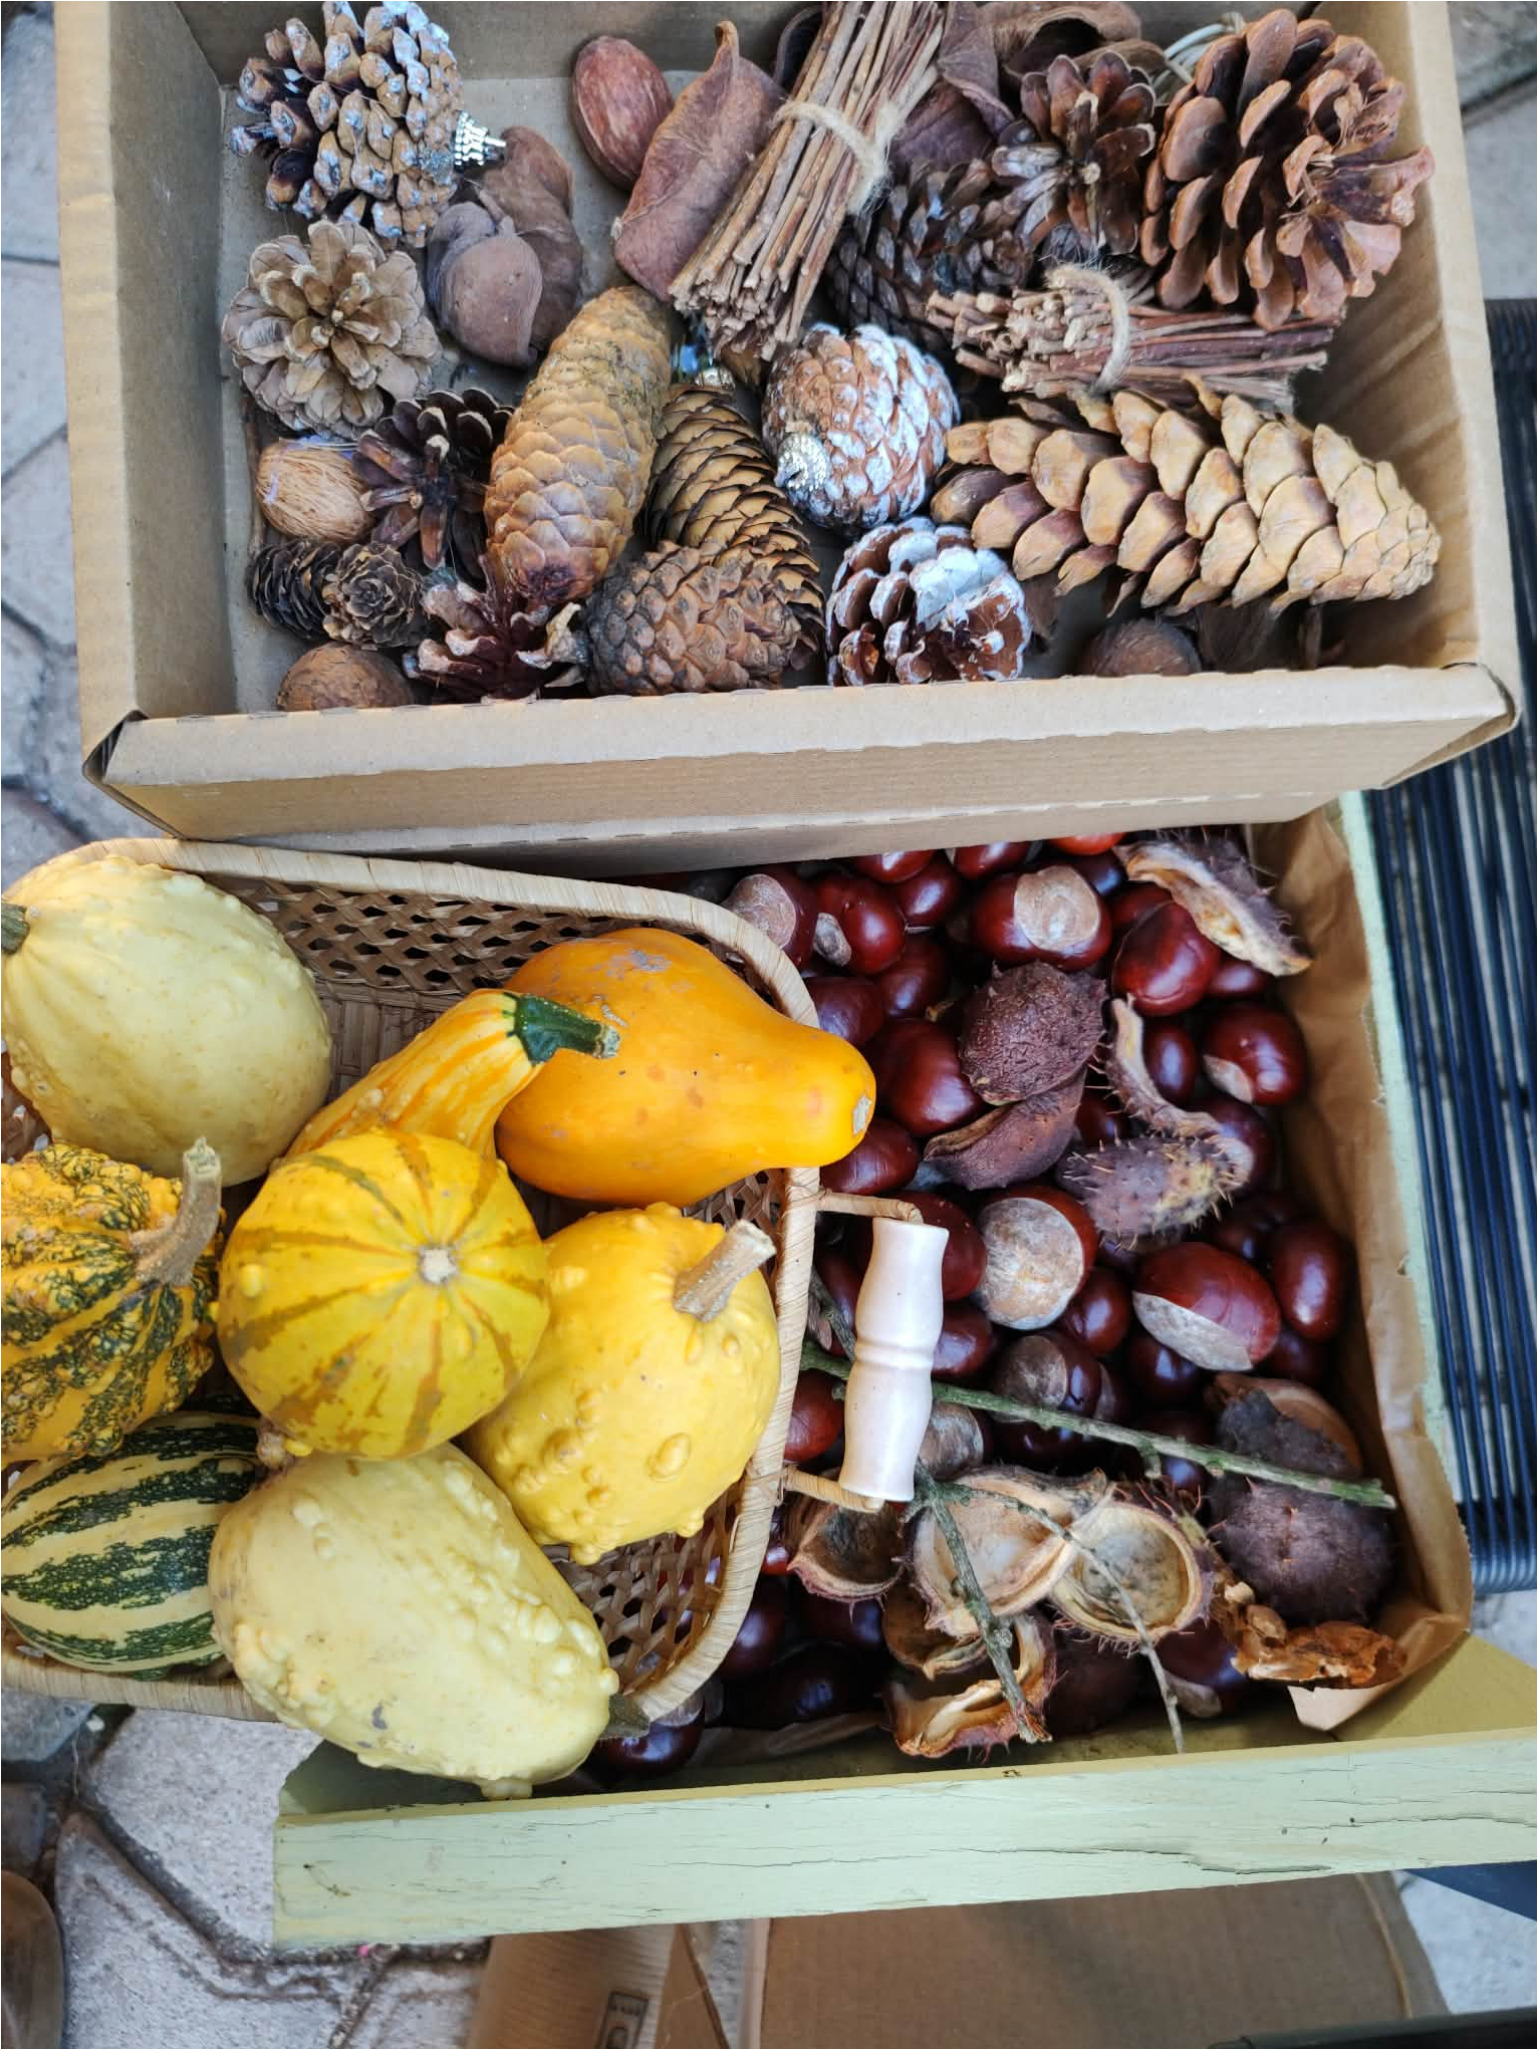
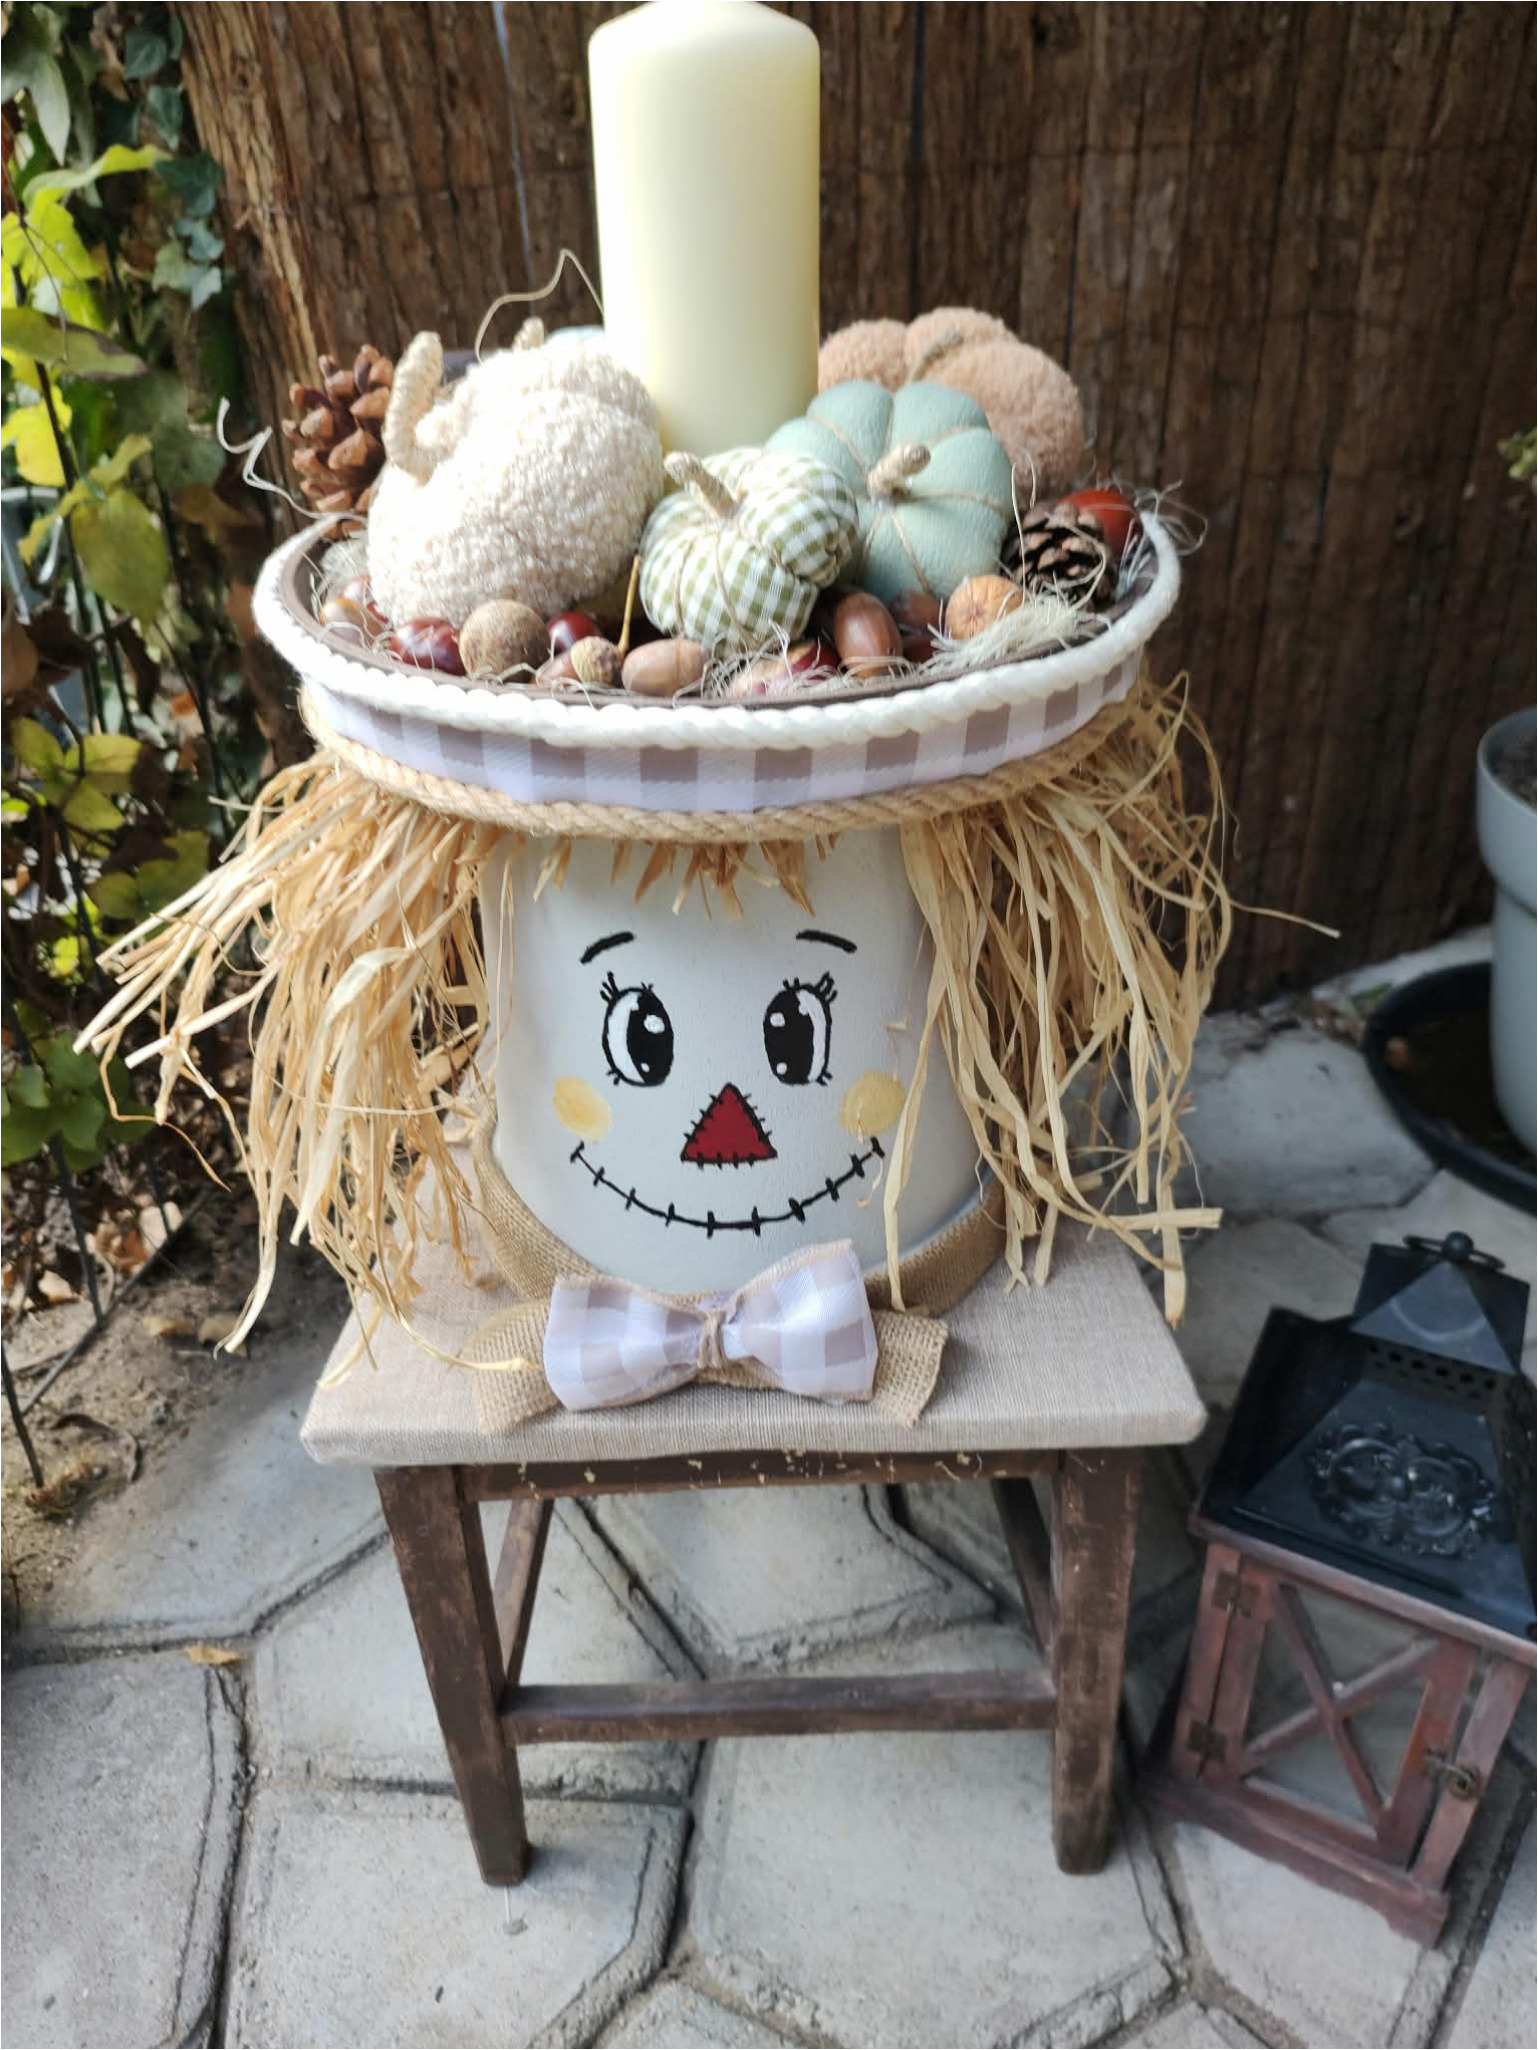
14. Arrange your first display: Place the scarecrow on a sturdy stool or other stable base. Arrange small gourds, pinecones, and fruits in the saucer, putting taller items at the back and smaller ones near the edge.
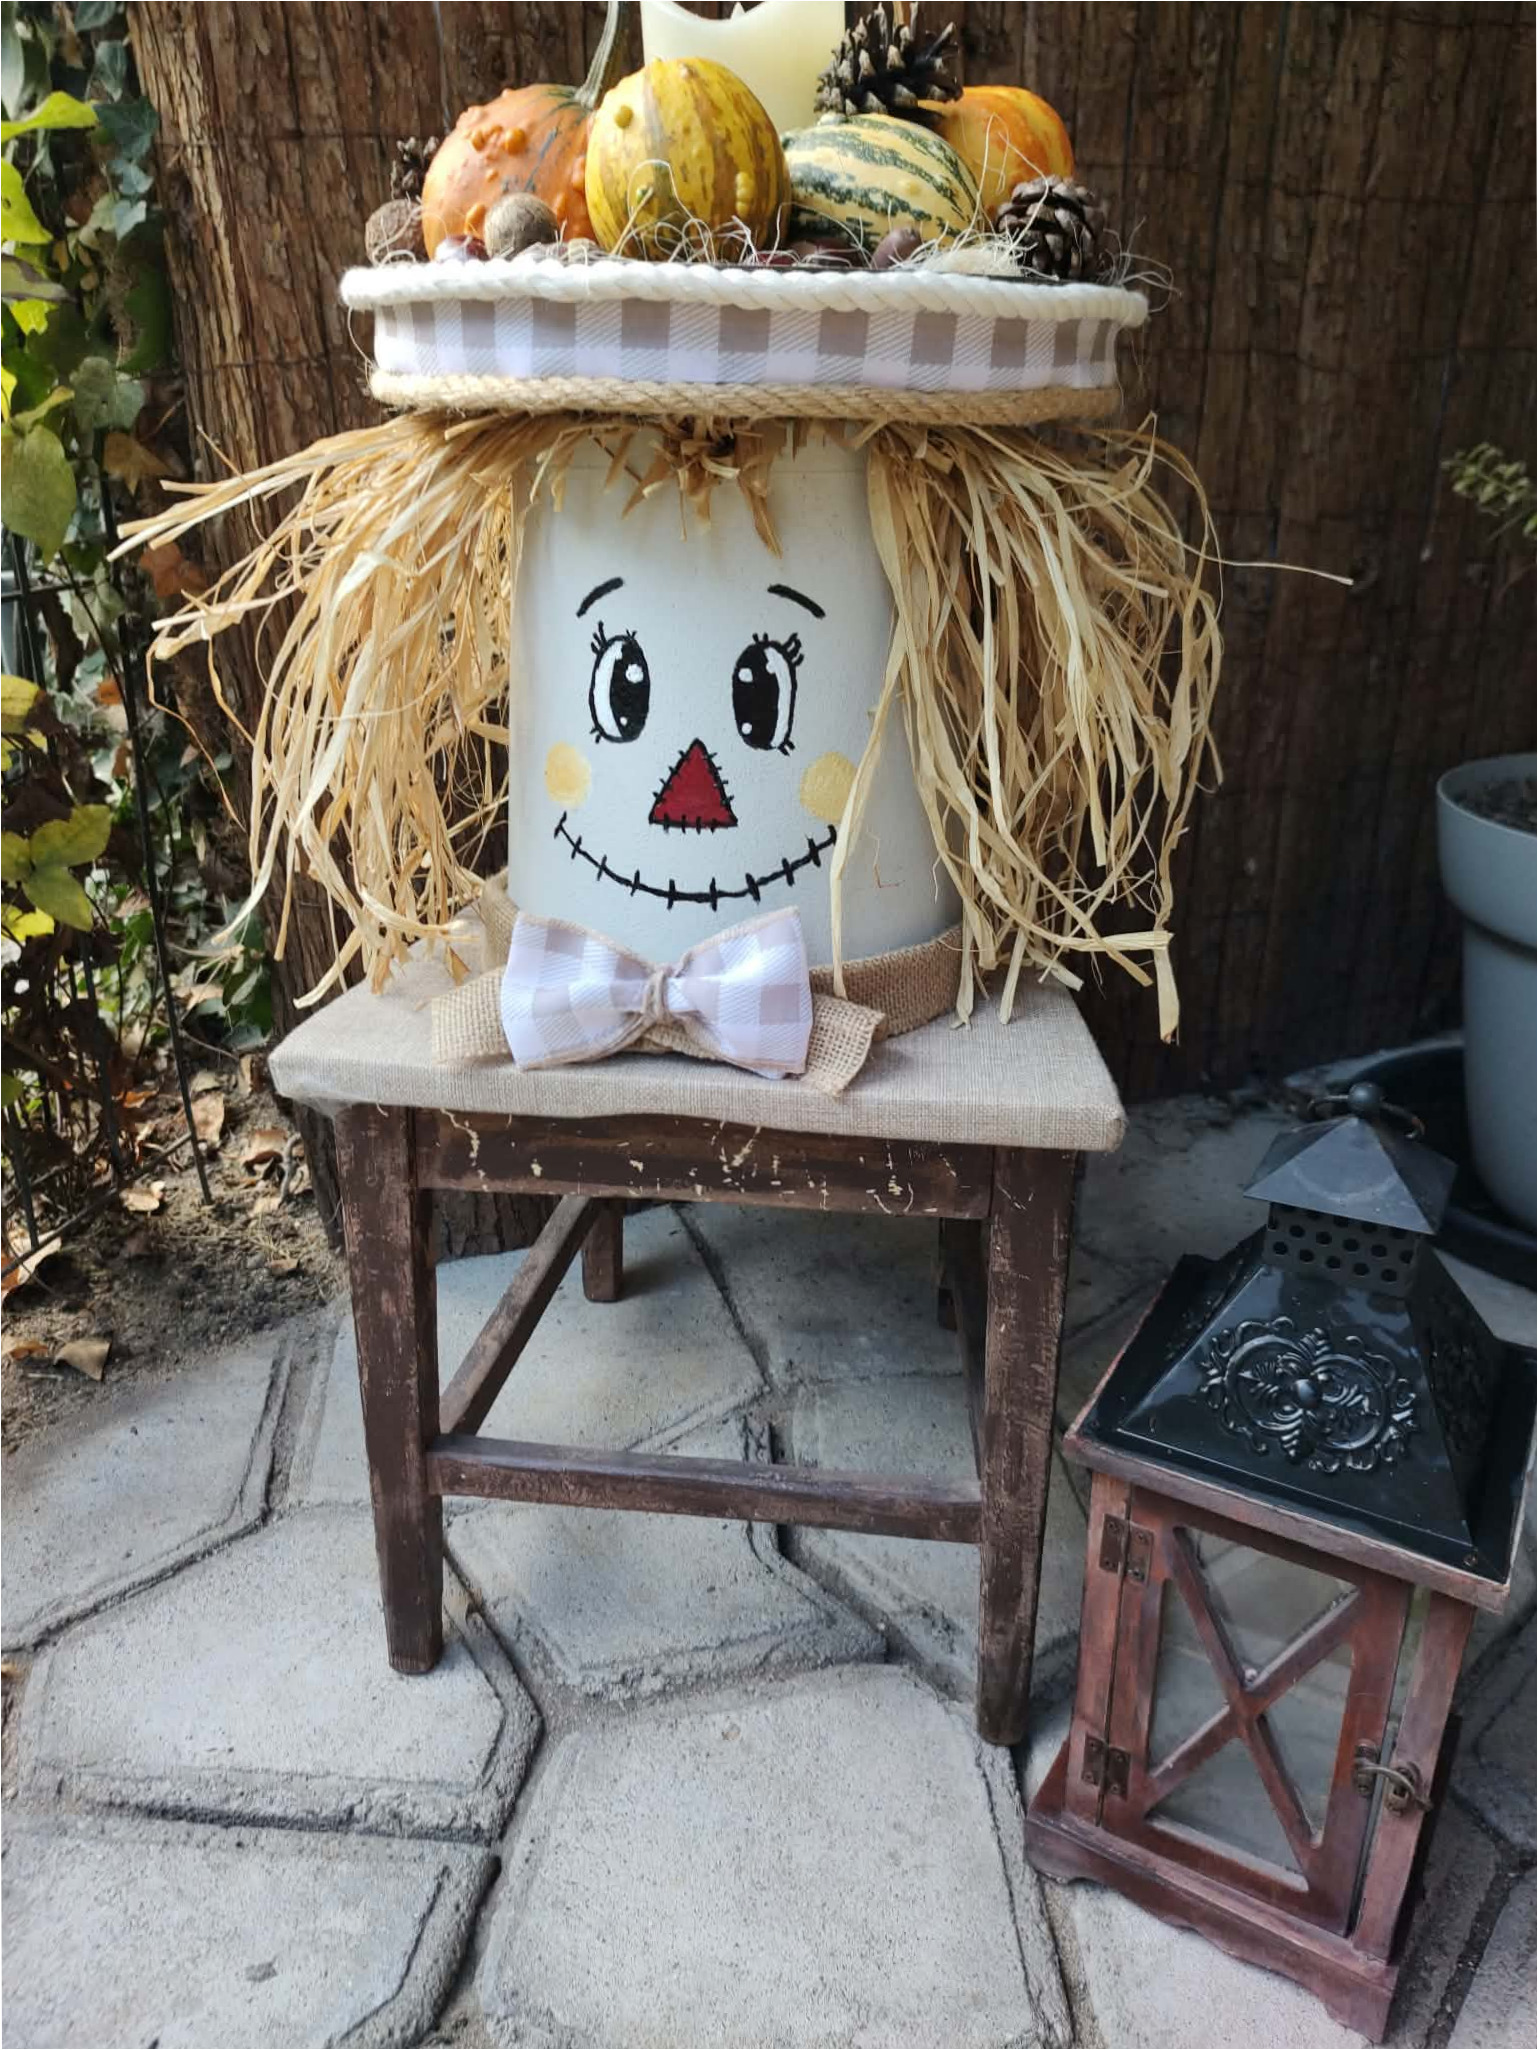
15. Balance the composition: Distribute the autumn decorations so the saucer isn’t weighed down on just one side. Fill empty spaces with chestnuts, acorns, and light fibers to visually connect the elements.
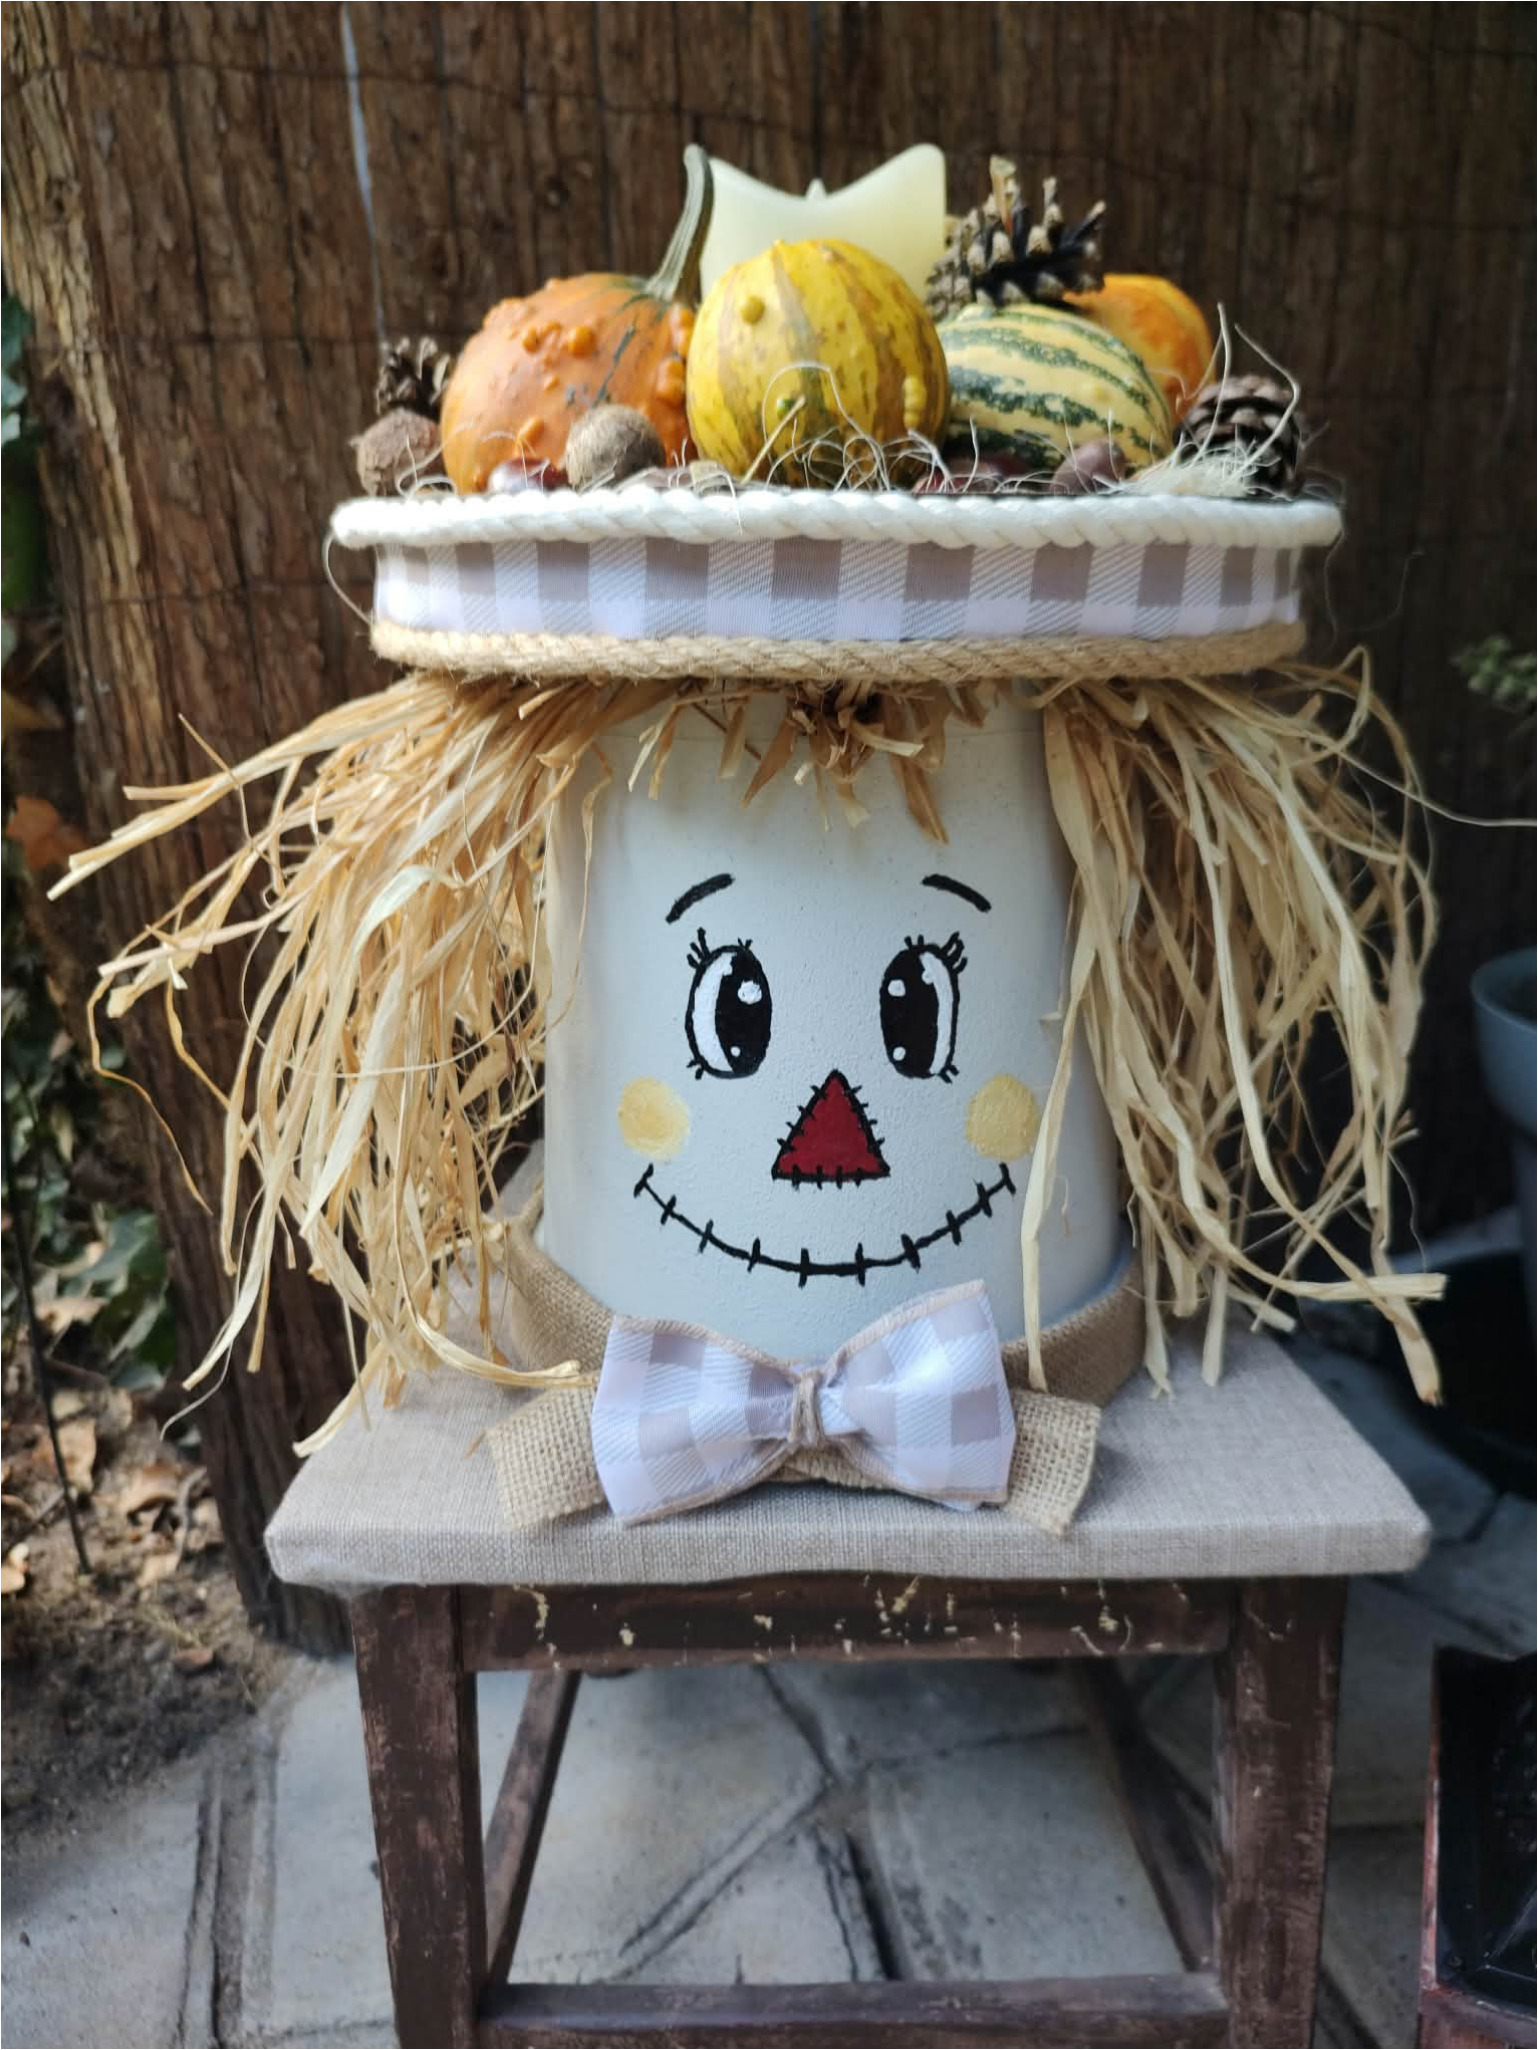
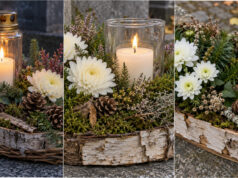
16. Add a candle: Place a light-colored candle in the center, surrounded by gourds and pinecones. If you won’t be supervising the decoration at all times, use an LED candle instead, as raffia and dried materials are highly flammable.
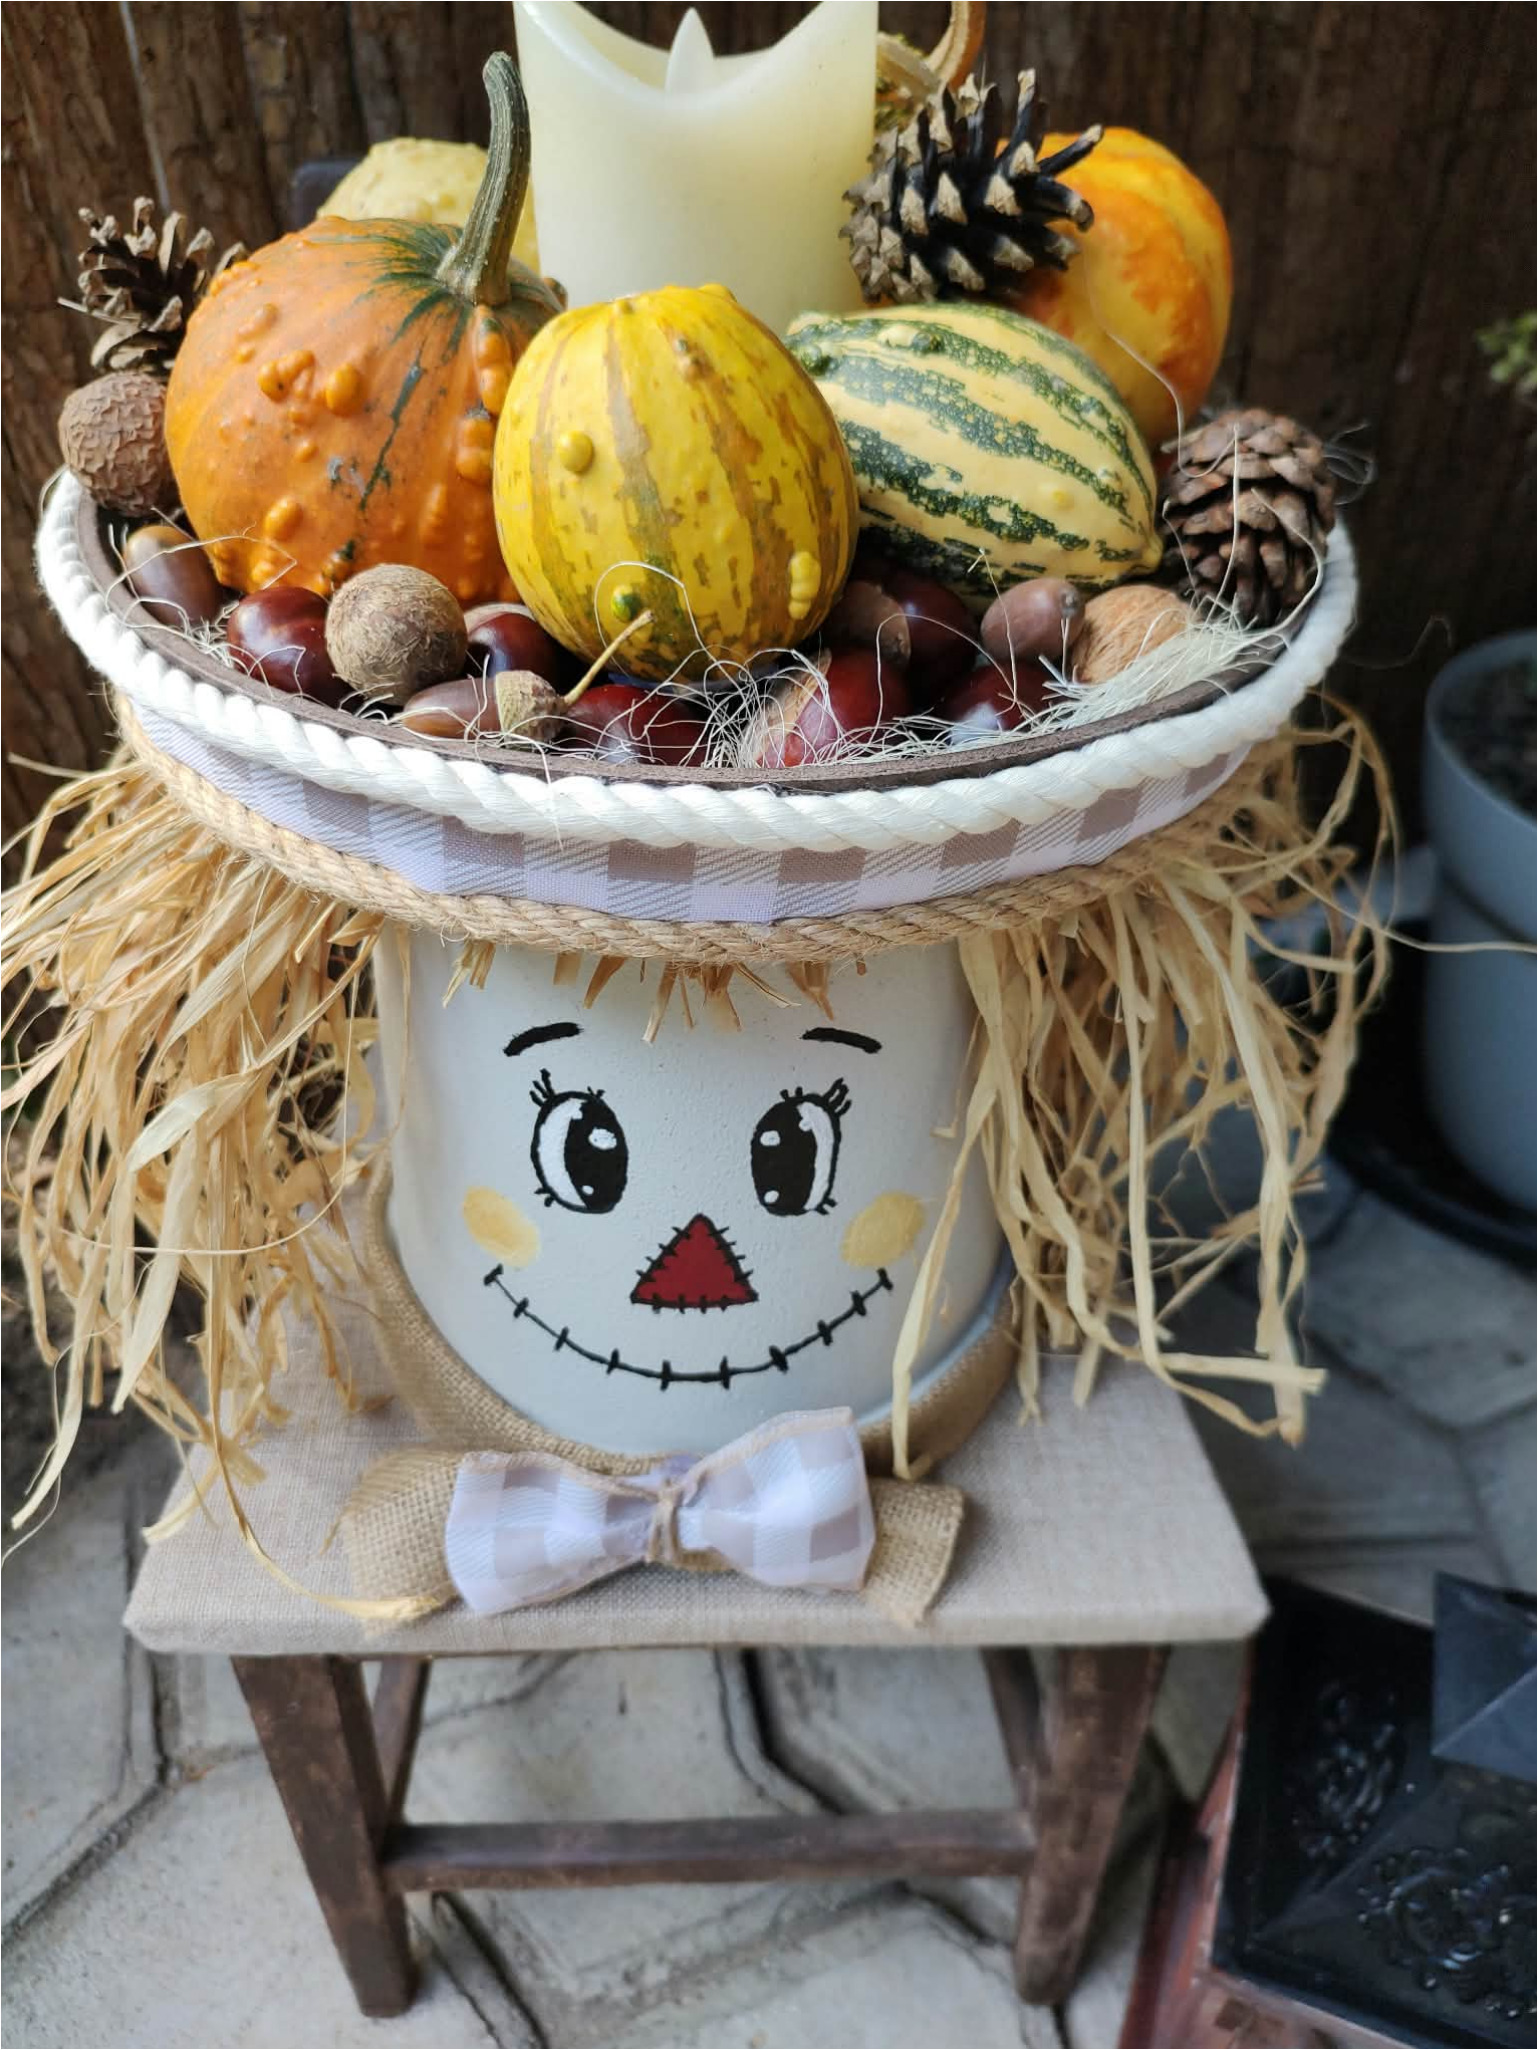
17. Try a softer version: You can decorate the hat with fabric pumpkins in muted colors, pinecones, and small fruits. This version has a softer look and is suitable for interiors or covered entryways.
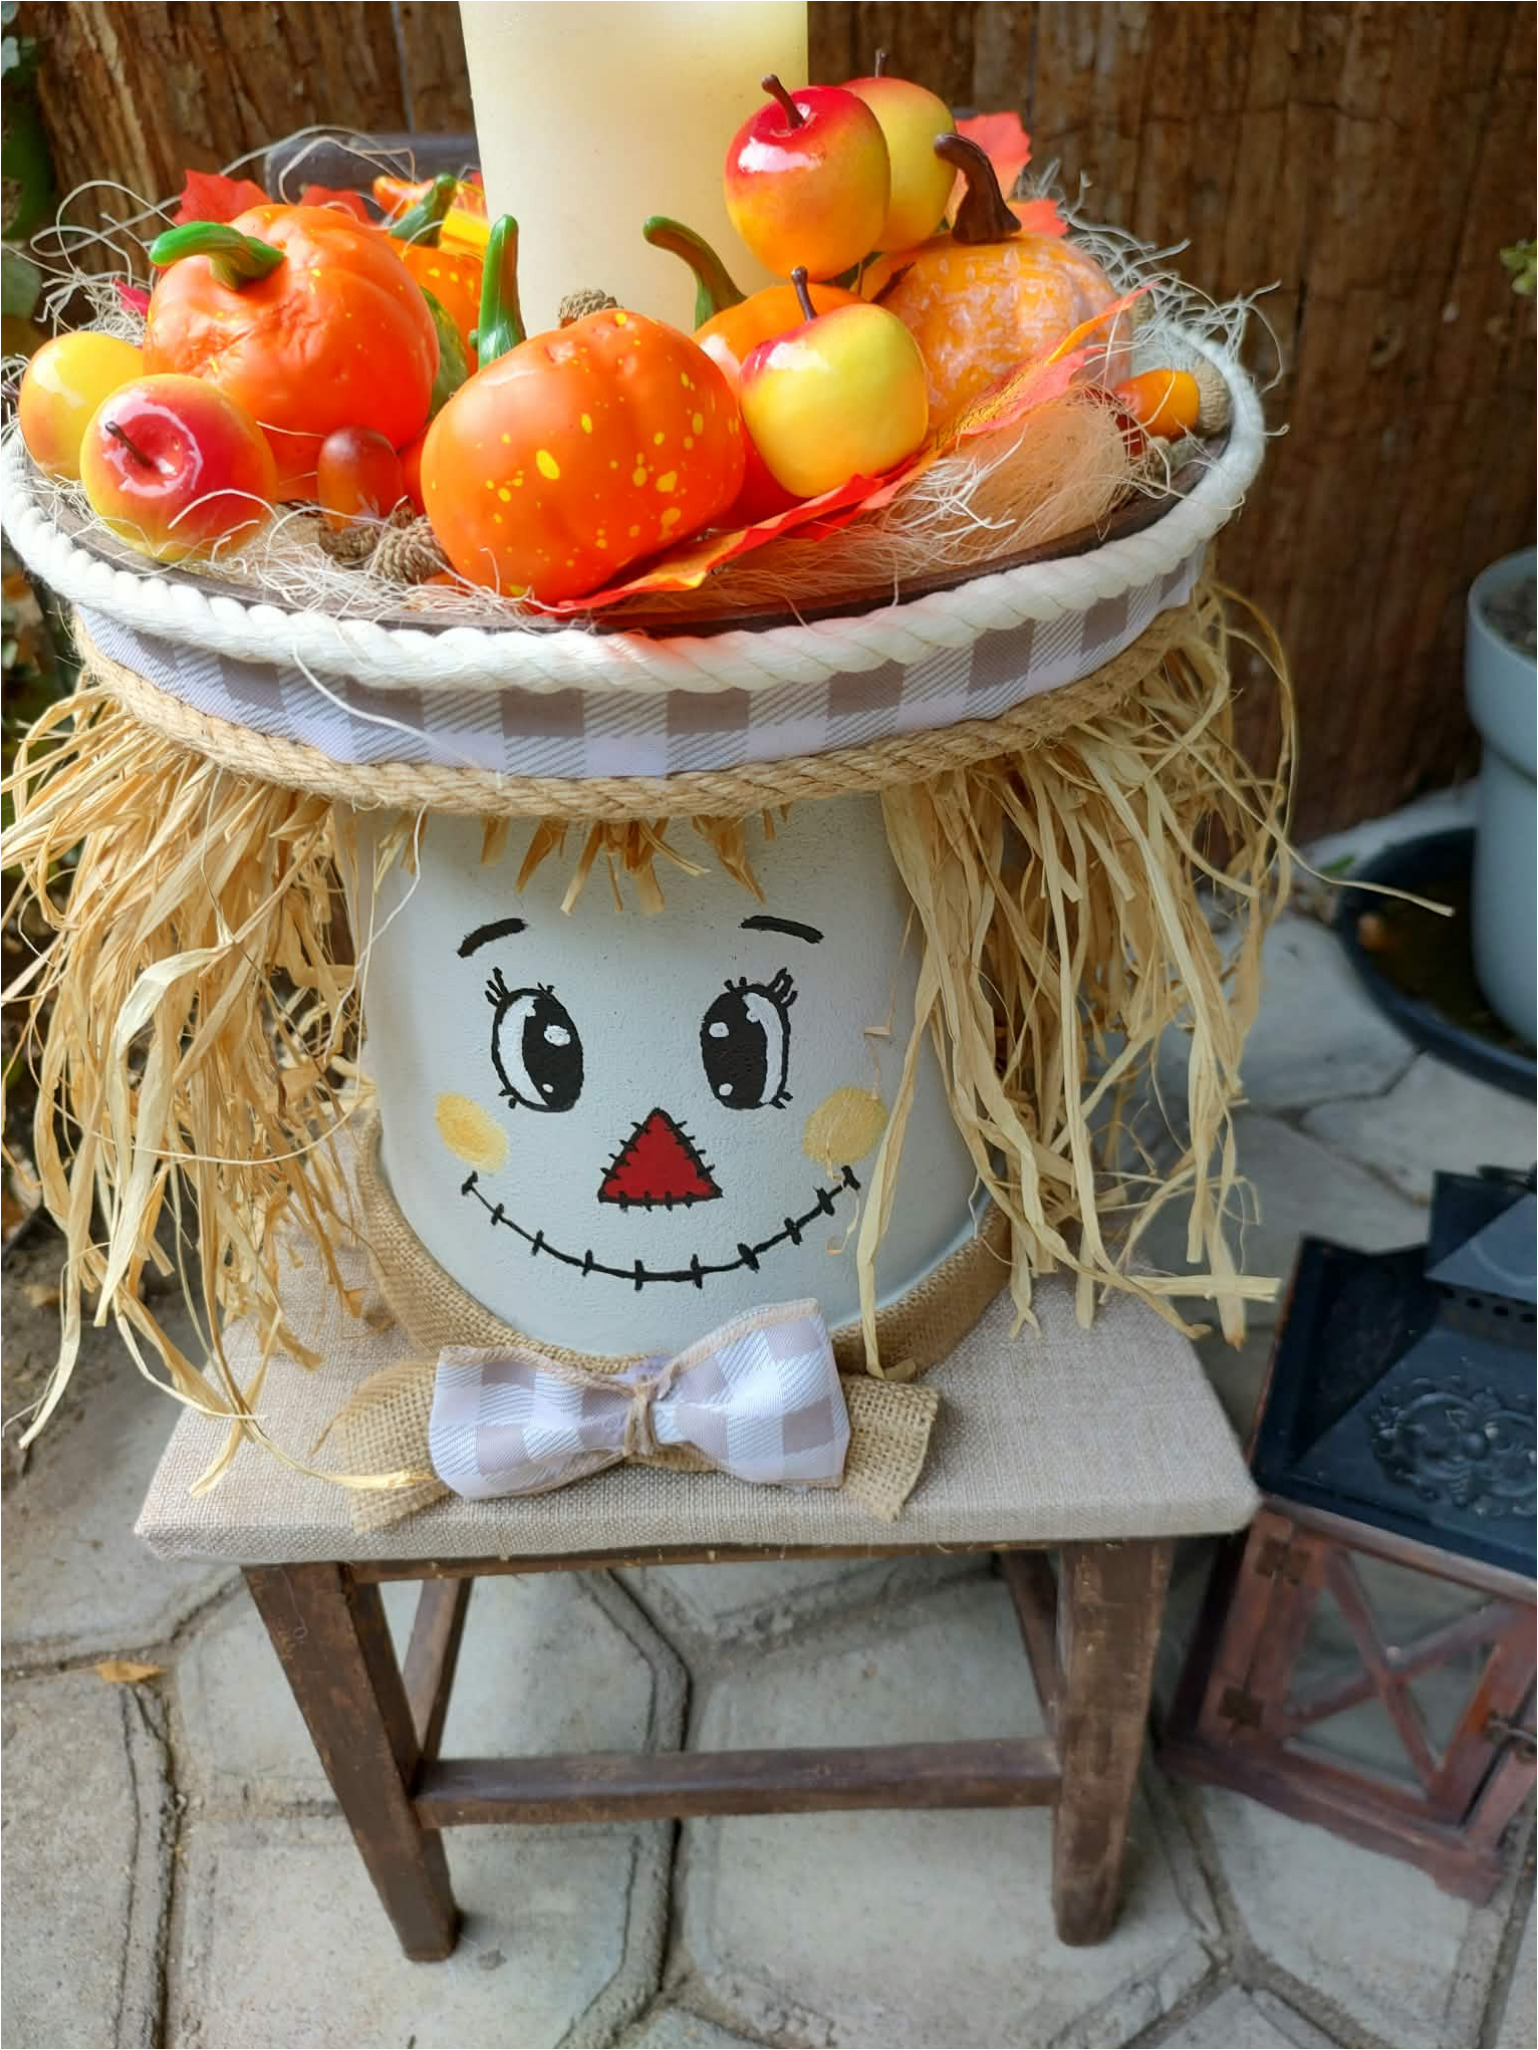
18. Create a more colorful variation: For a bolder result, use orange and red decorative fruits. Arrange the accents around the candle and leave the decorated edge of the saucer visible so the hat doesn’t look overcrowded.
Final Tip
Protect your finished scarecrow from rain, wind, and prolonged moisture. Don’t overload the saucer, and before moving the decoration, remove any loosely placed ornaments. You can easily change up the arrangement during the season depending on what natural materials or decorations you have on hand.