
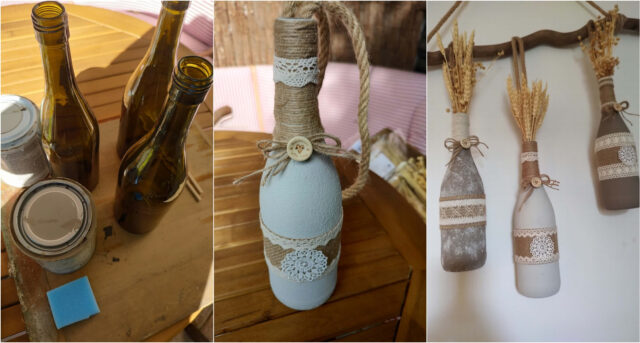
Empty glass bottles can serve as the base for an impressive wall decoration in a natural style. Simply paint them, decorate with string and lace, hang them on a cleaned branch, and finish with dried grasses.
What You’ll Need
- empty glass bottles of various shapes,
- paint in natural shades and a sponge,
- a branch,
- sanding material or a suitable tool to remove bark,
- a brush and wood finish,
- thicker rope and thin natural twine,
- lace ribbons and lace embellishments,
- decorative buttons,
- scissors,
- dried grasses or other dried plants.
1. Prepare the bottles: Select several empty glass bottles, remove the labels, and wash them thoroughly. The surface must be clean, degreased, and dry before painting. Cover your workspace, as you’ll be applying paint up to the neck.
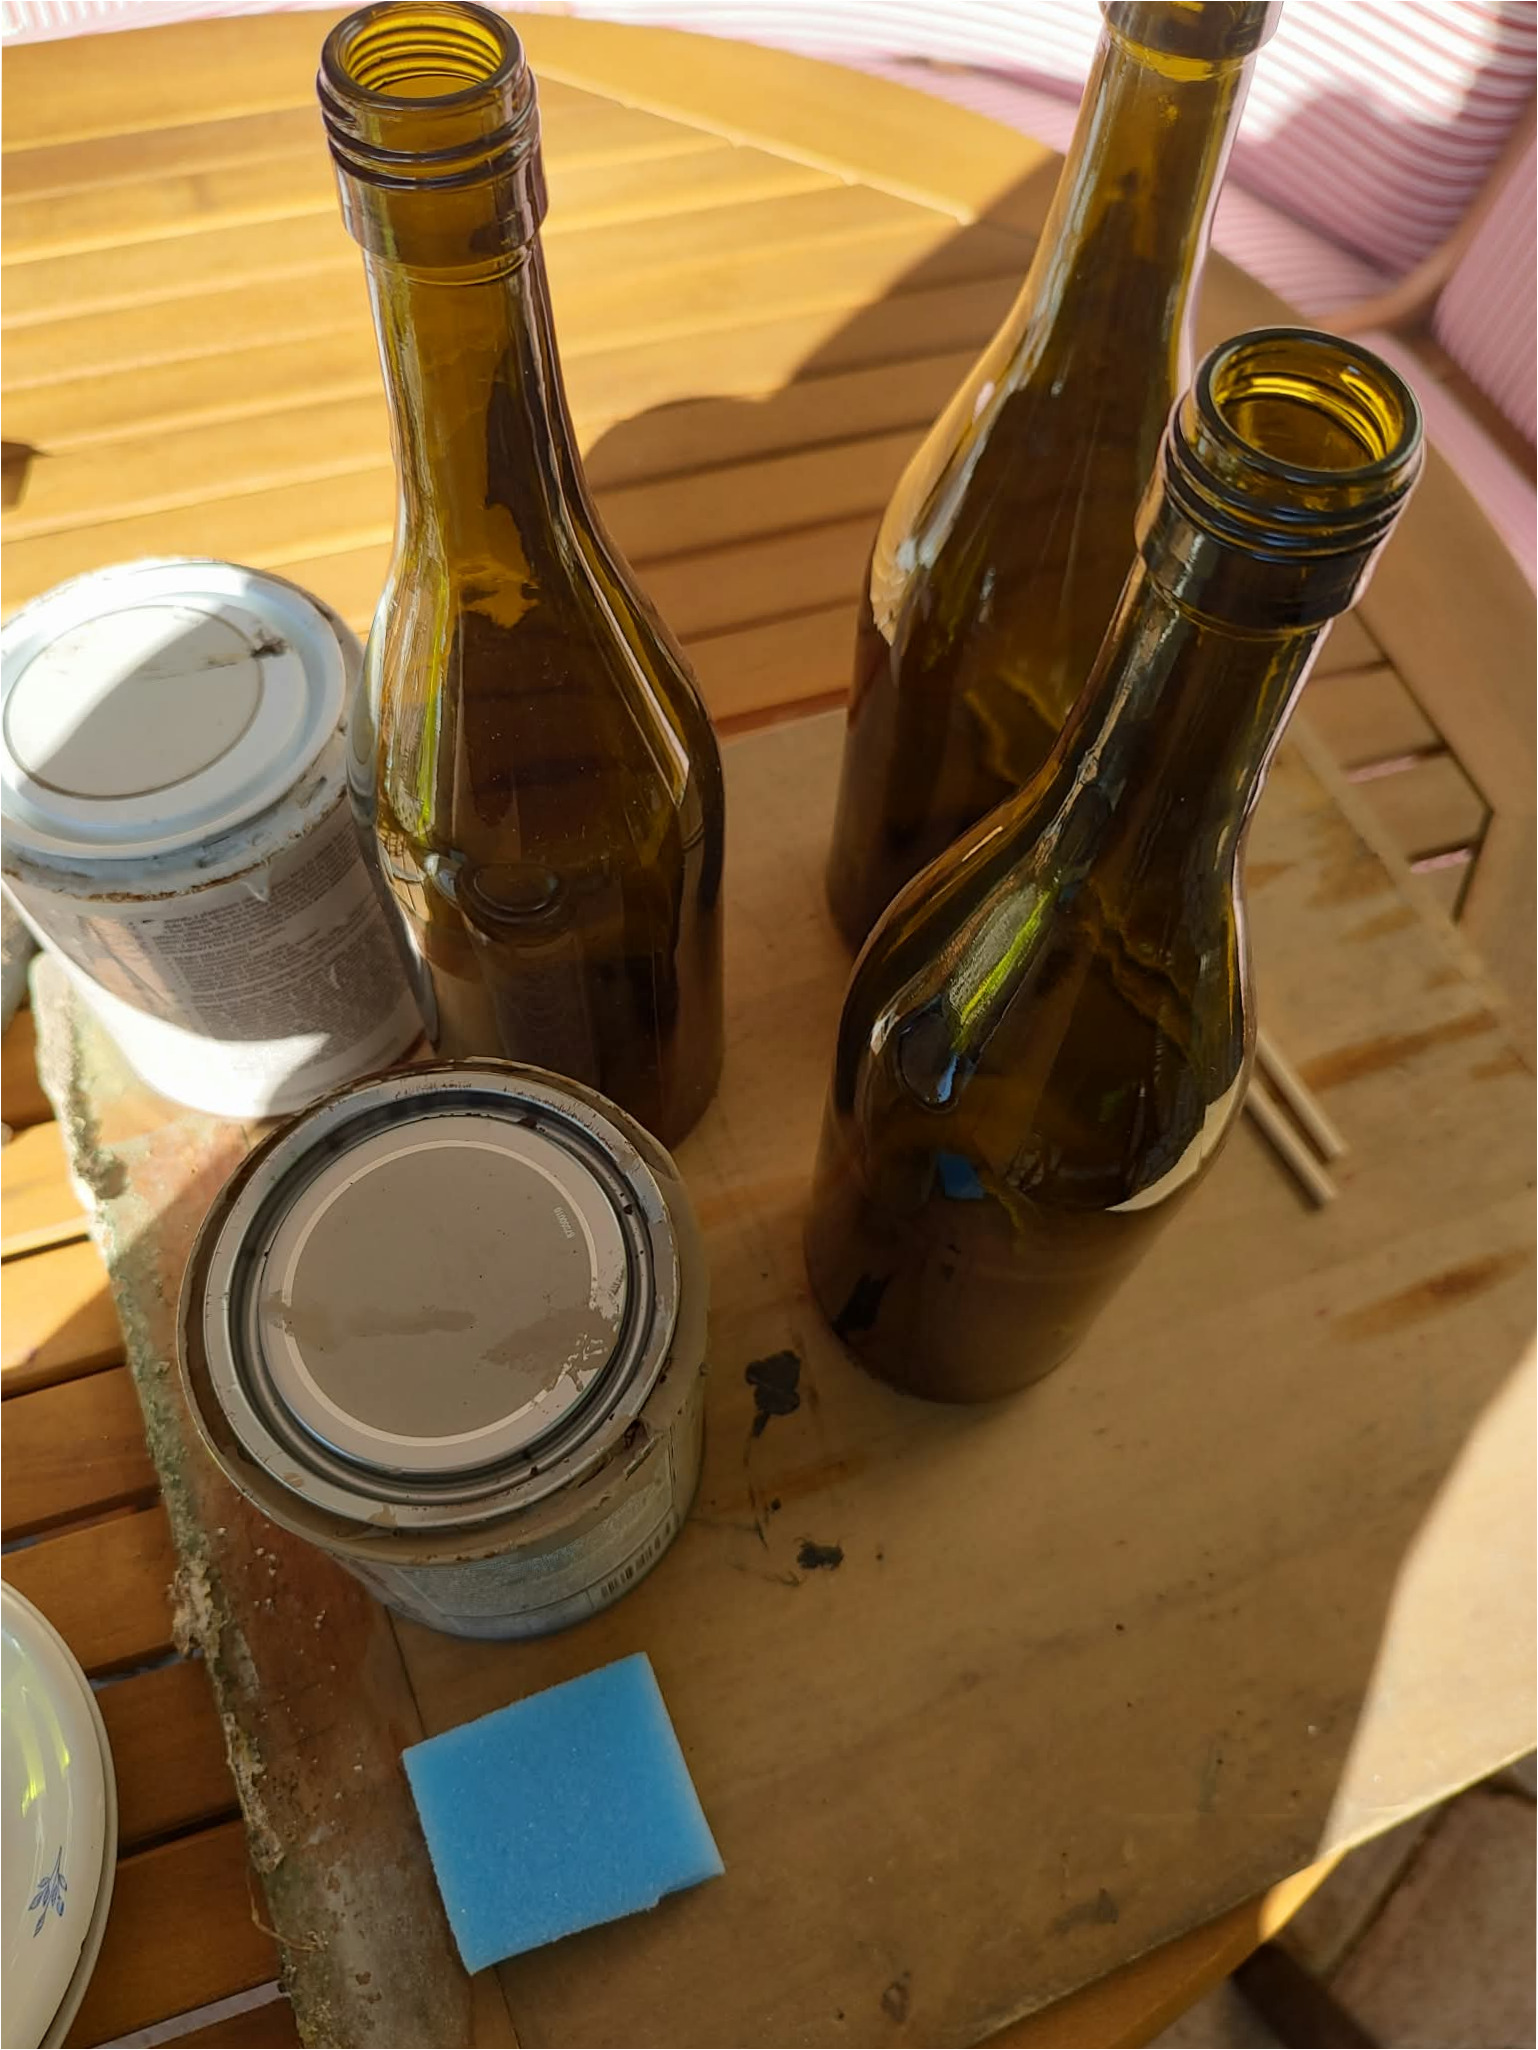
2. Apply paint with a sponge: Use a small sponge to dab paint onto the glass. Gentle tapping will create a slightly textured surface without visible brush strokes. Work in small sections and carefully rotate the bottle as you go.
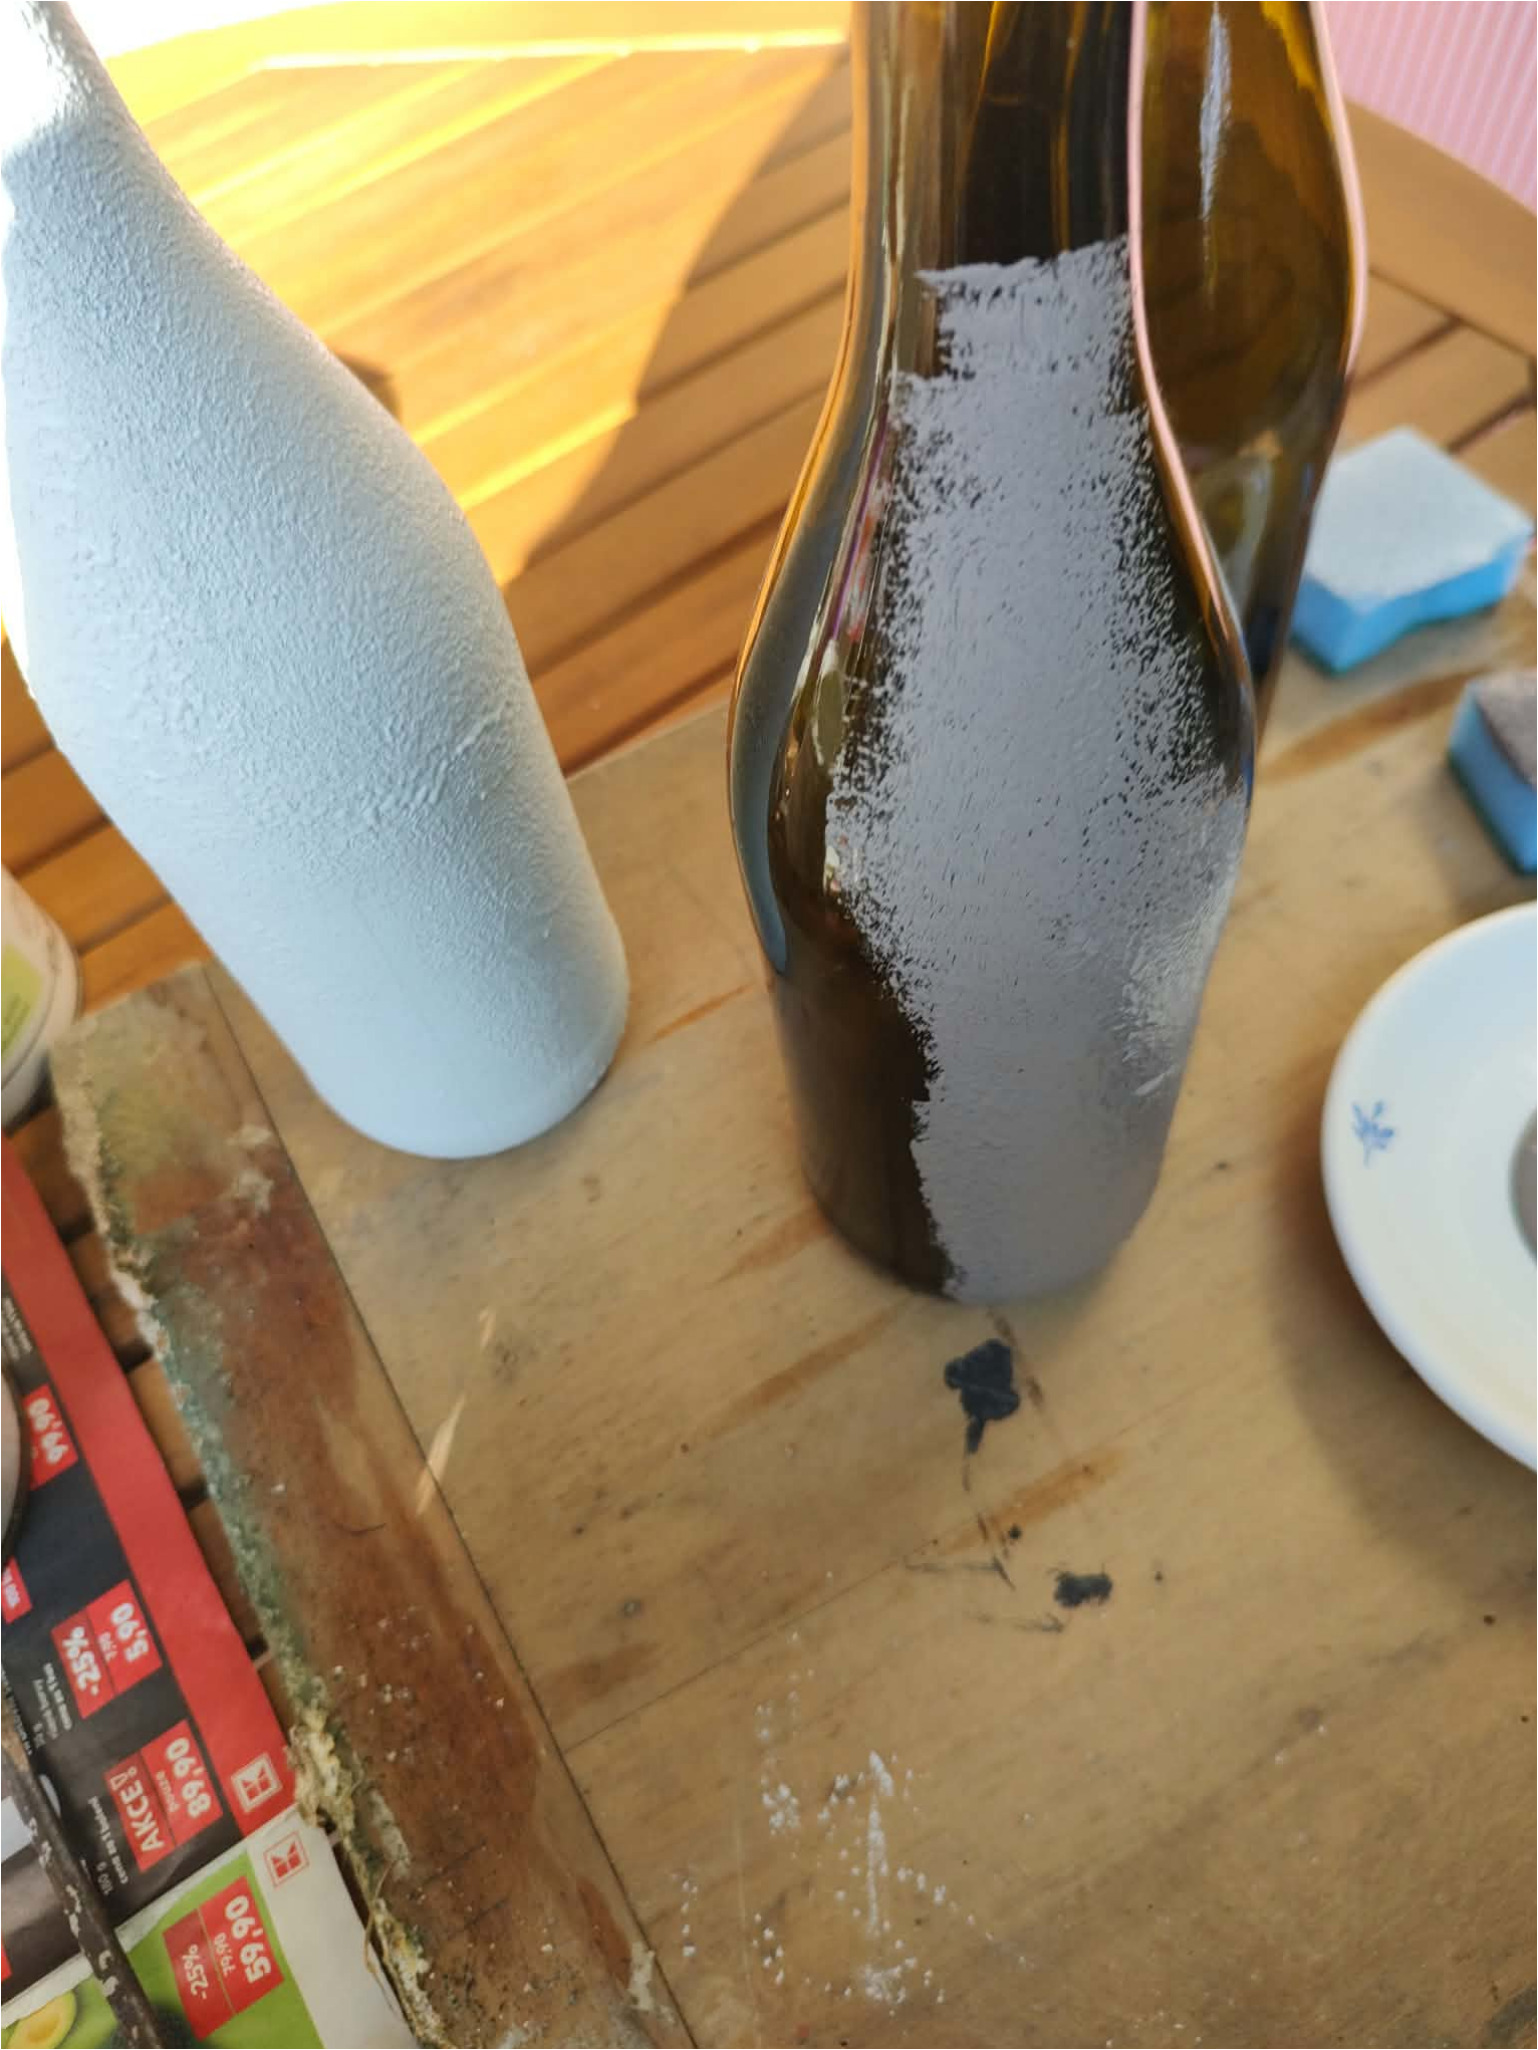
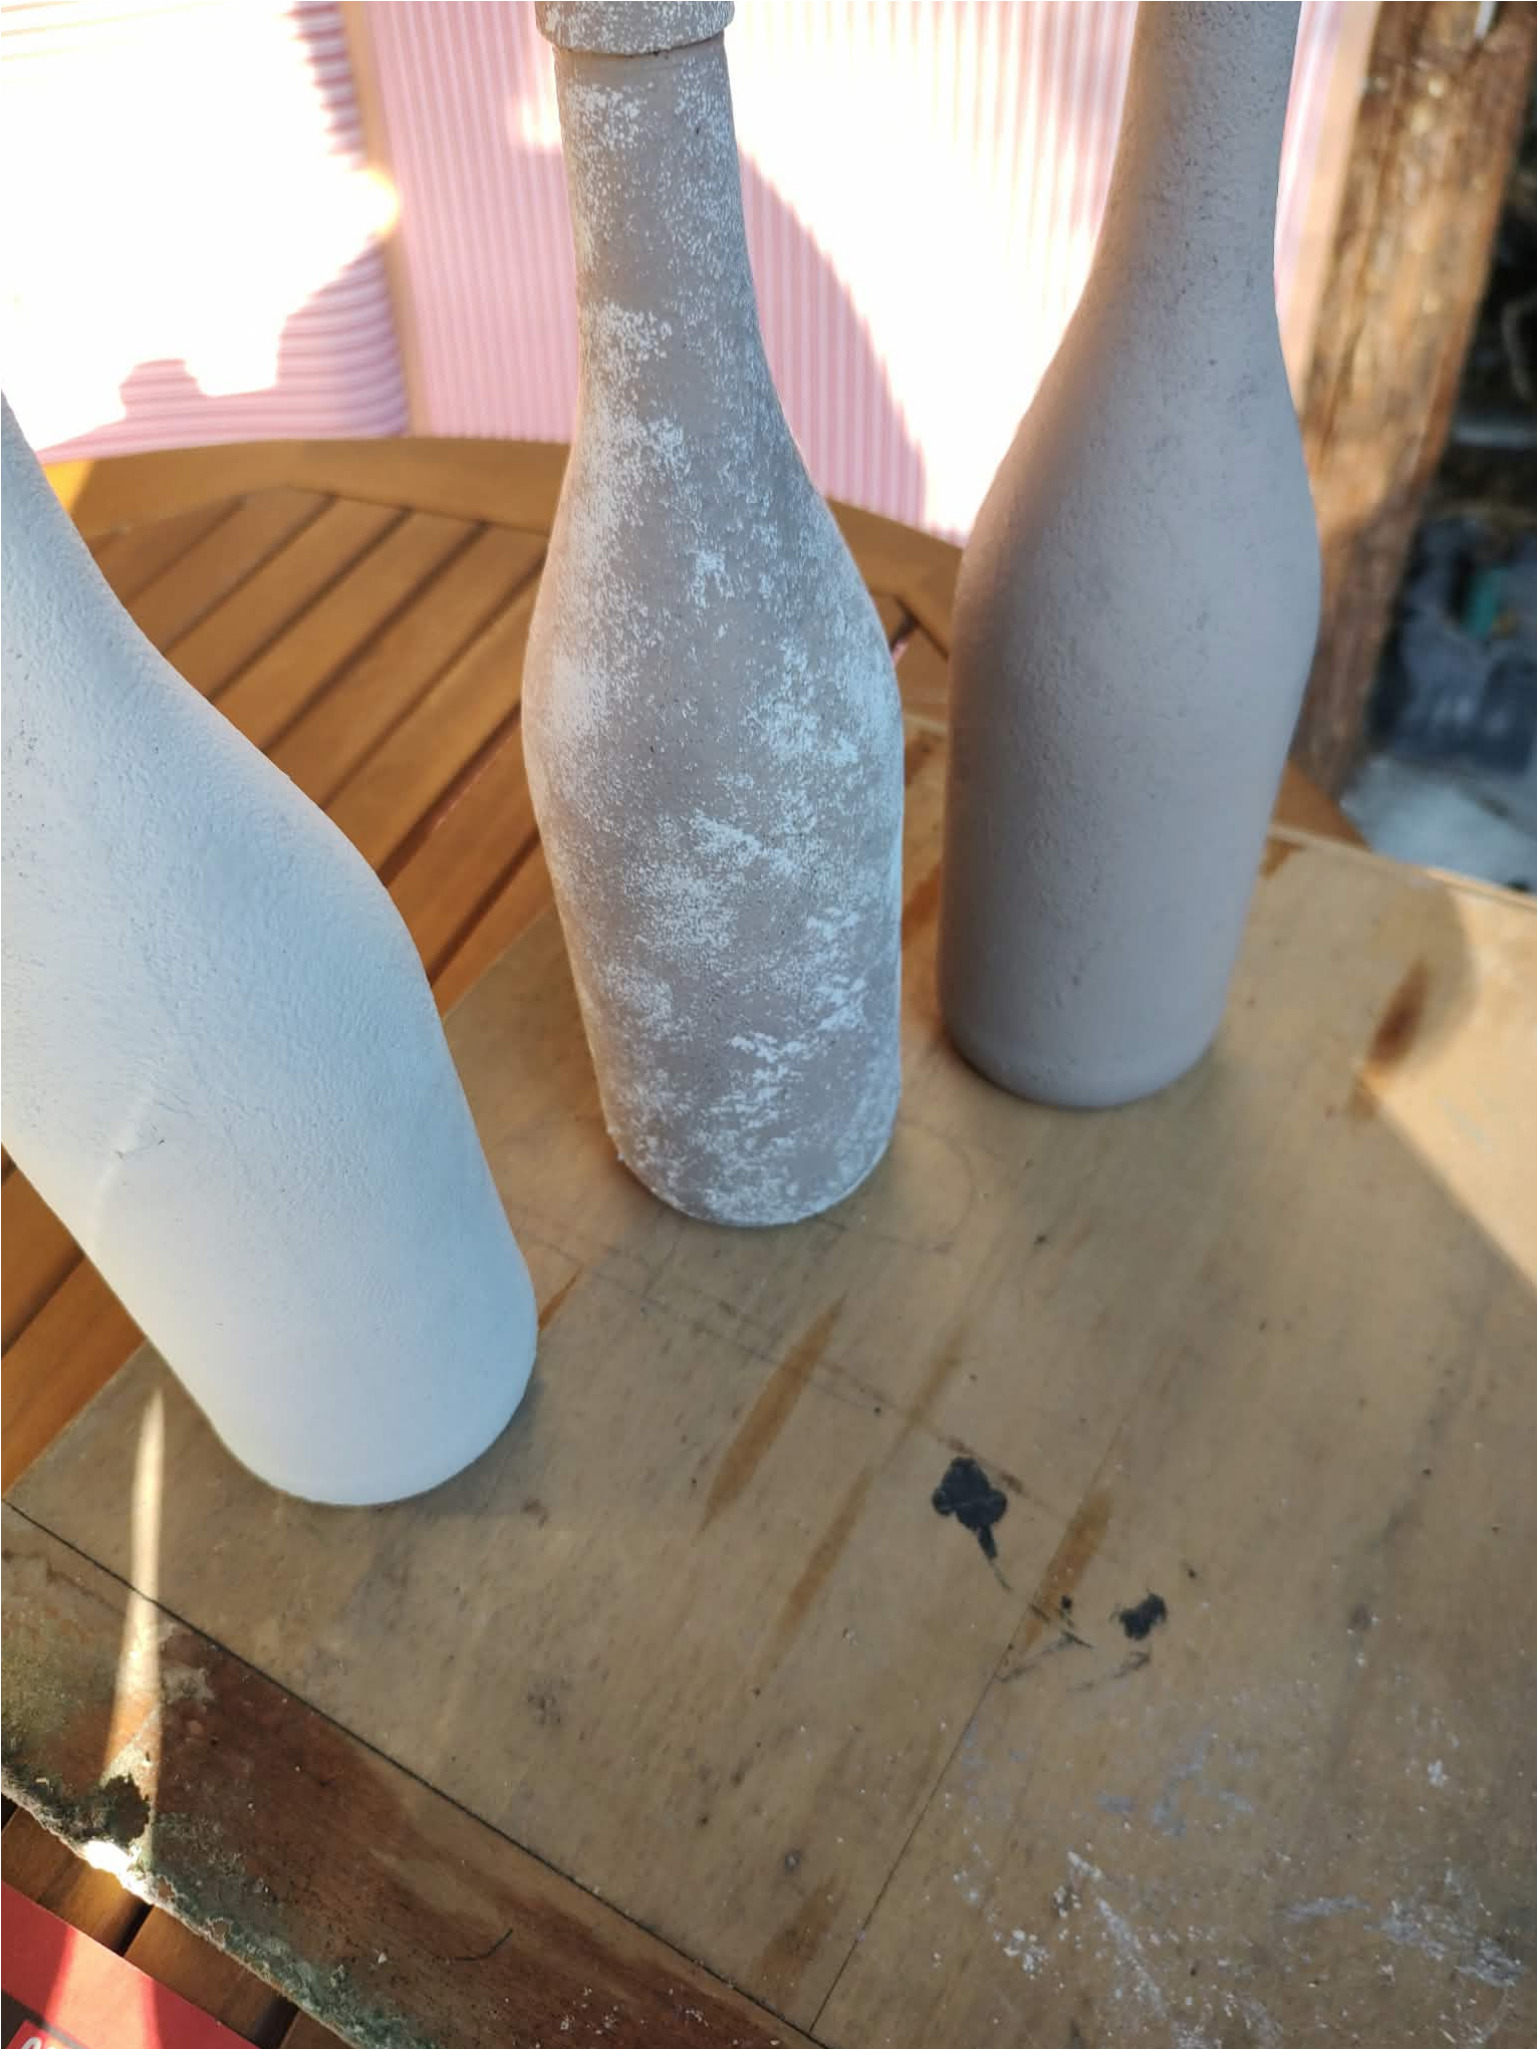
3. Create different surface finishes: Paint the bottles in white, grey, or other muted tones. On one, you can leave irregular lighter patches to create a patina effect. Let the paint dry completely before further decorating.
4. Choose a suitable branch: For hanging the bottles, use a sturdy, naturally curved branch. Check that it isn’t cracked, infested, or too thin. An irregular shape will give your finished decoration a unique character.
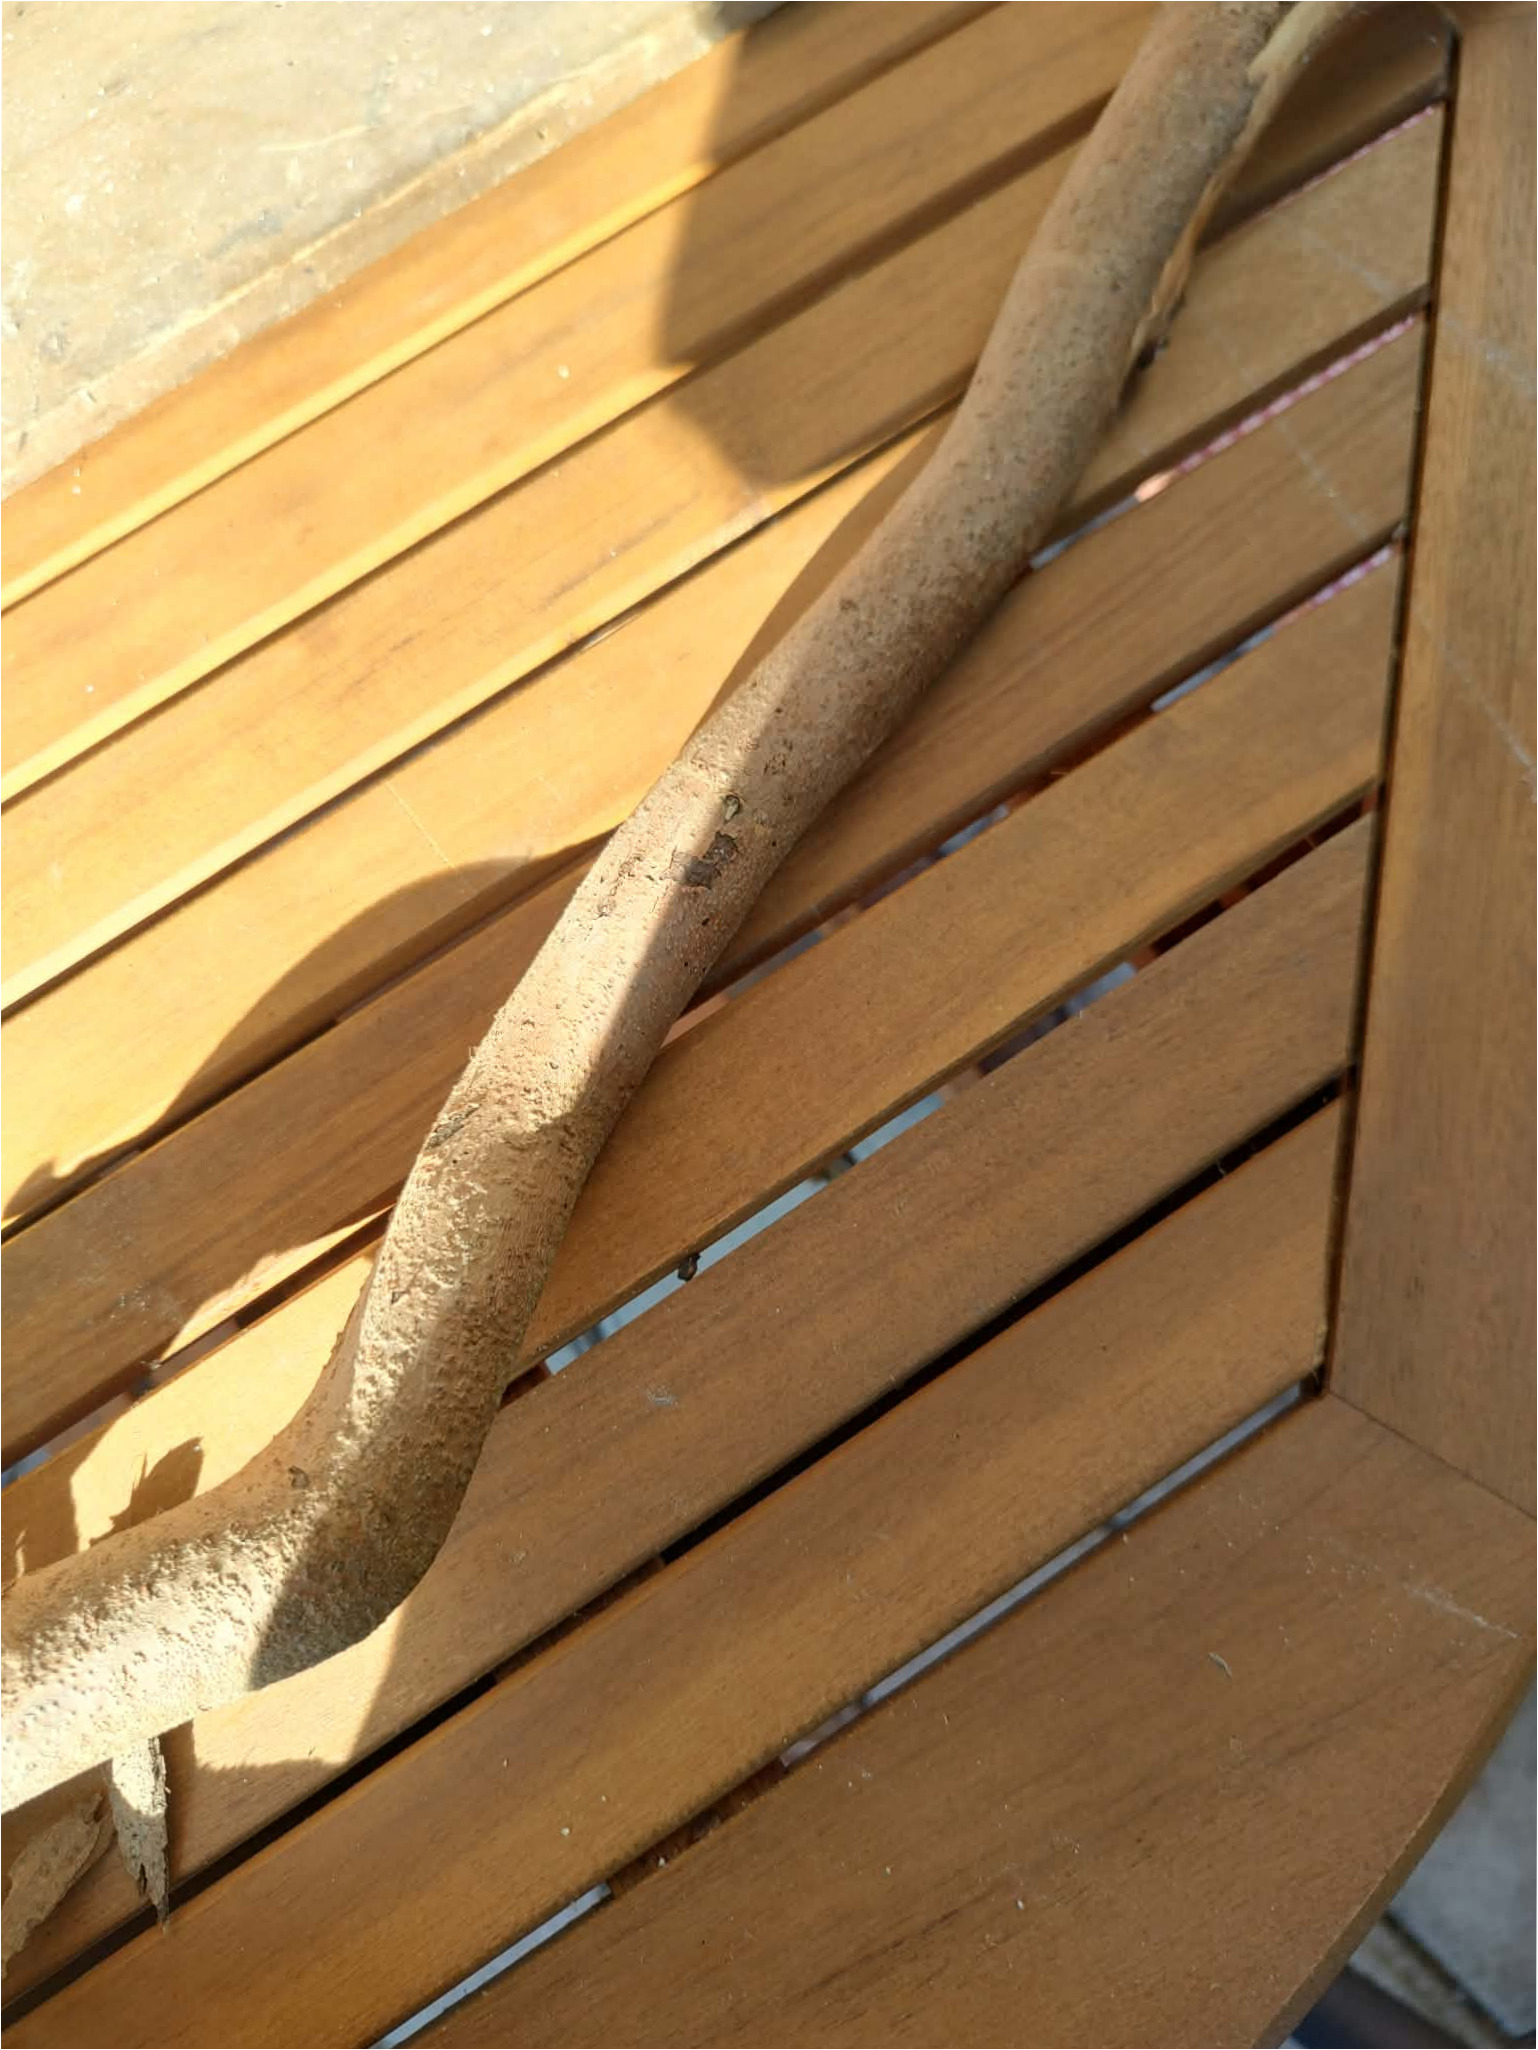
5. Remove the bark: Gradually peel off any loose bark and rough parts from the branch. Work carefully so there are no sharp protrusions left that could damage the string when weighted.
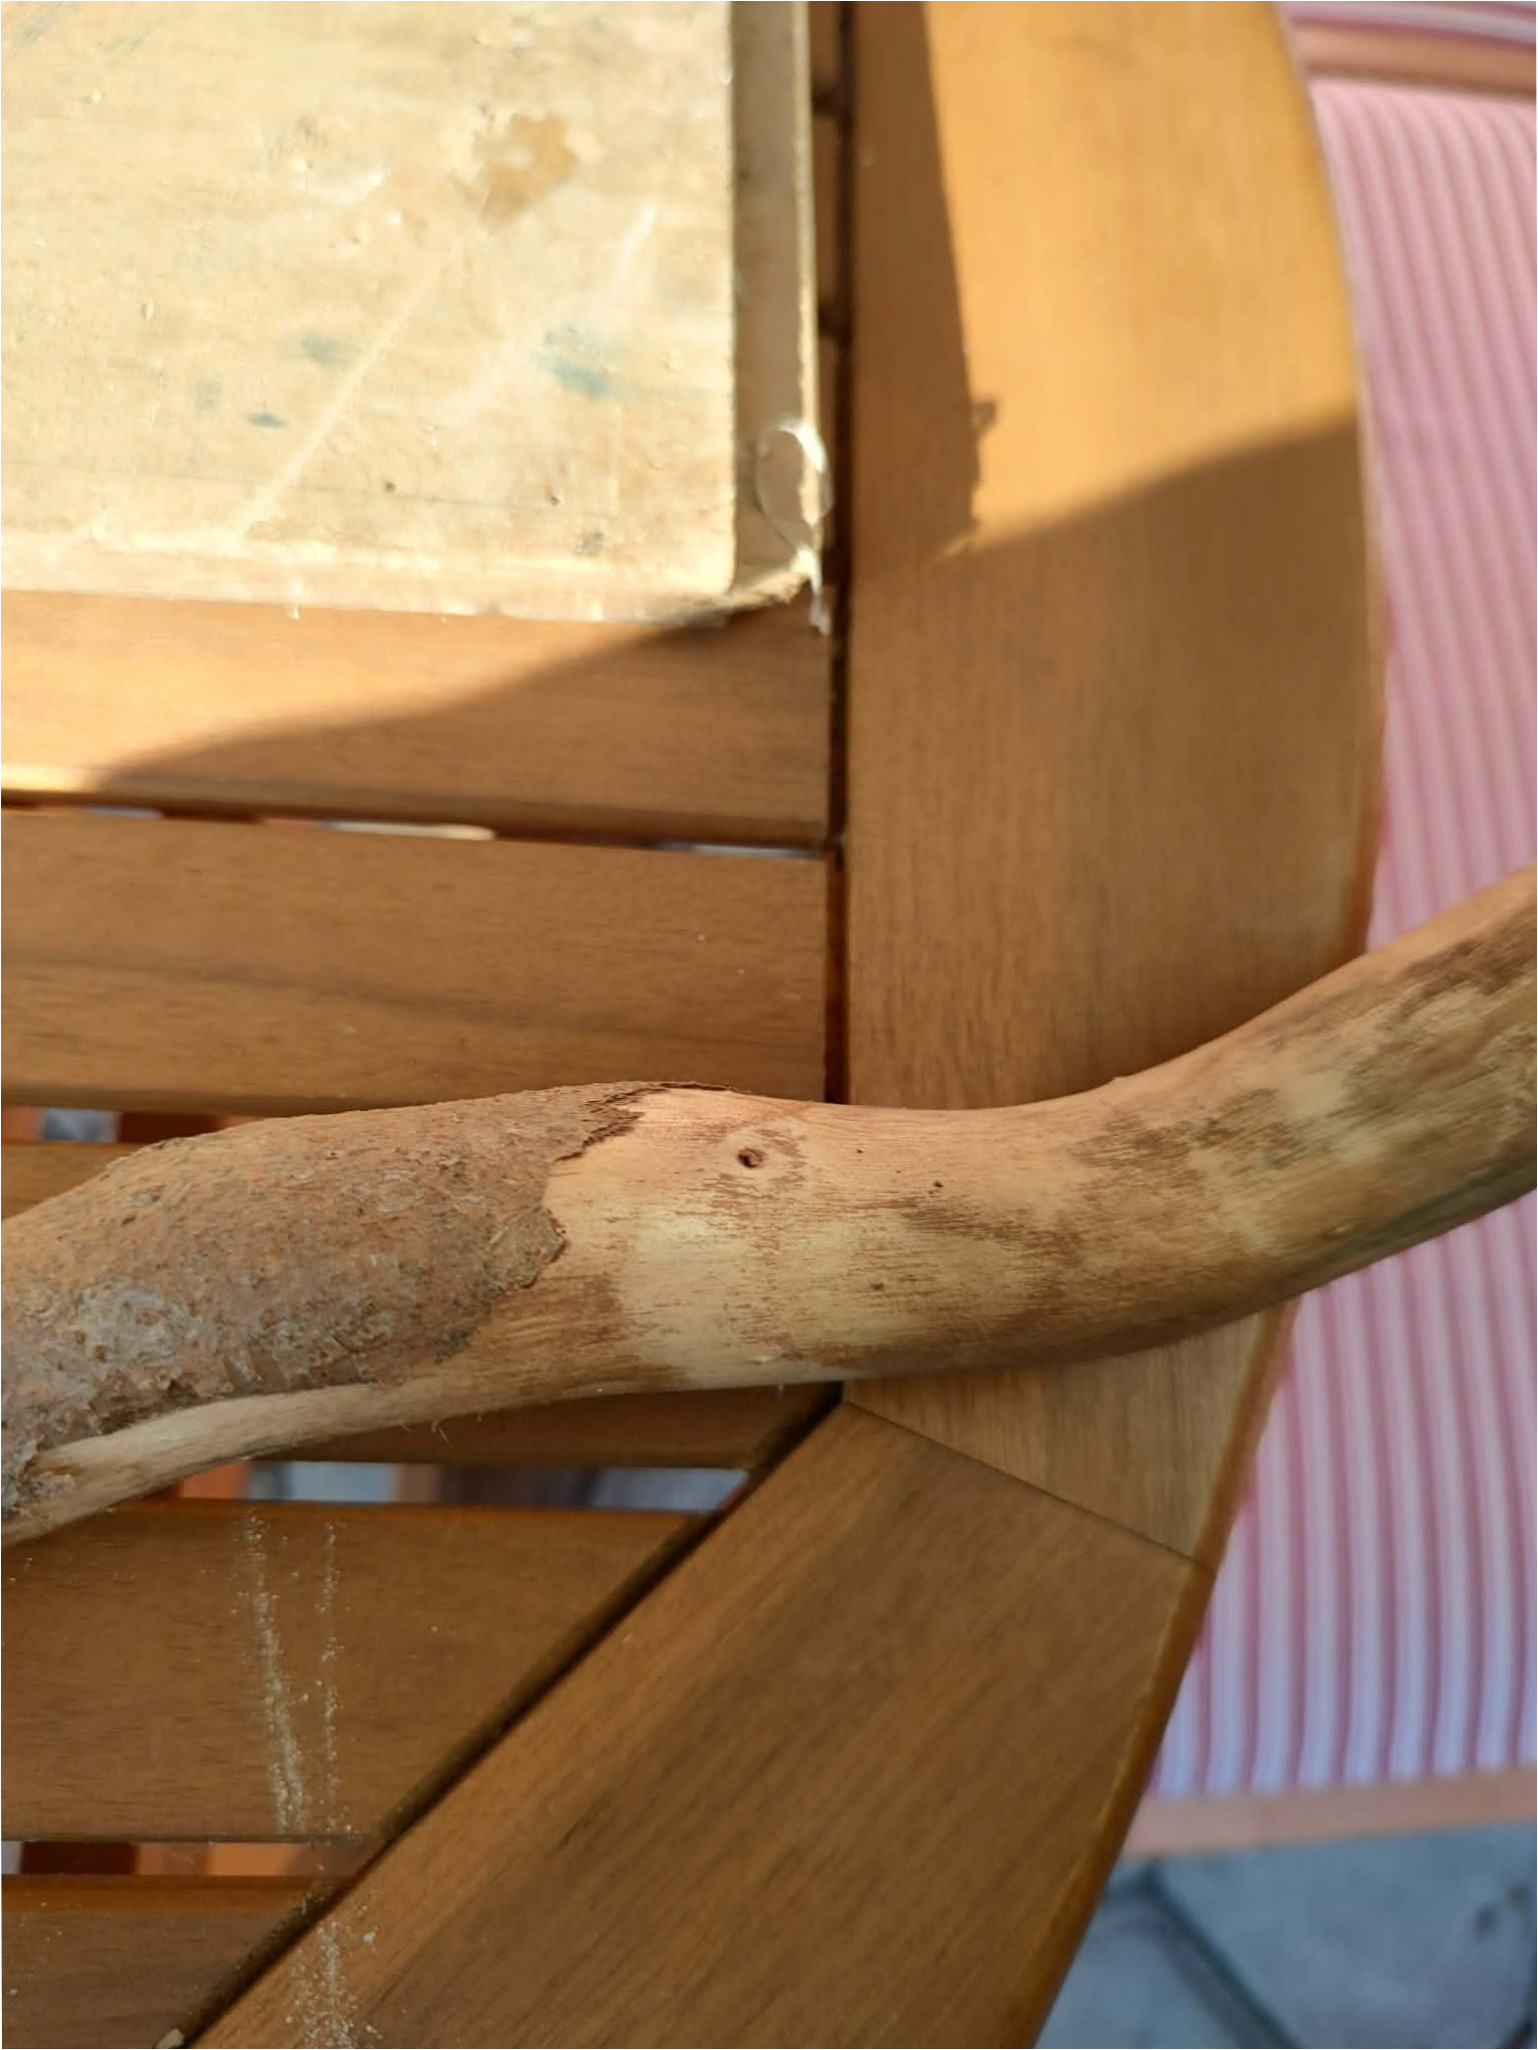
6. Smooth the wood: Sand the cleaned branch, focusing on knots, ends, and areas where bark was removed. Then wipe off any dust so the surface is ready for treatment.
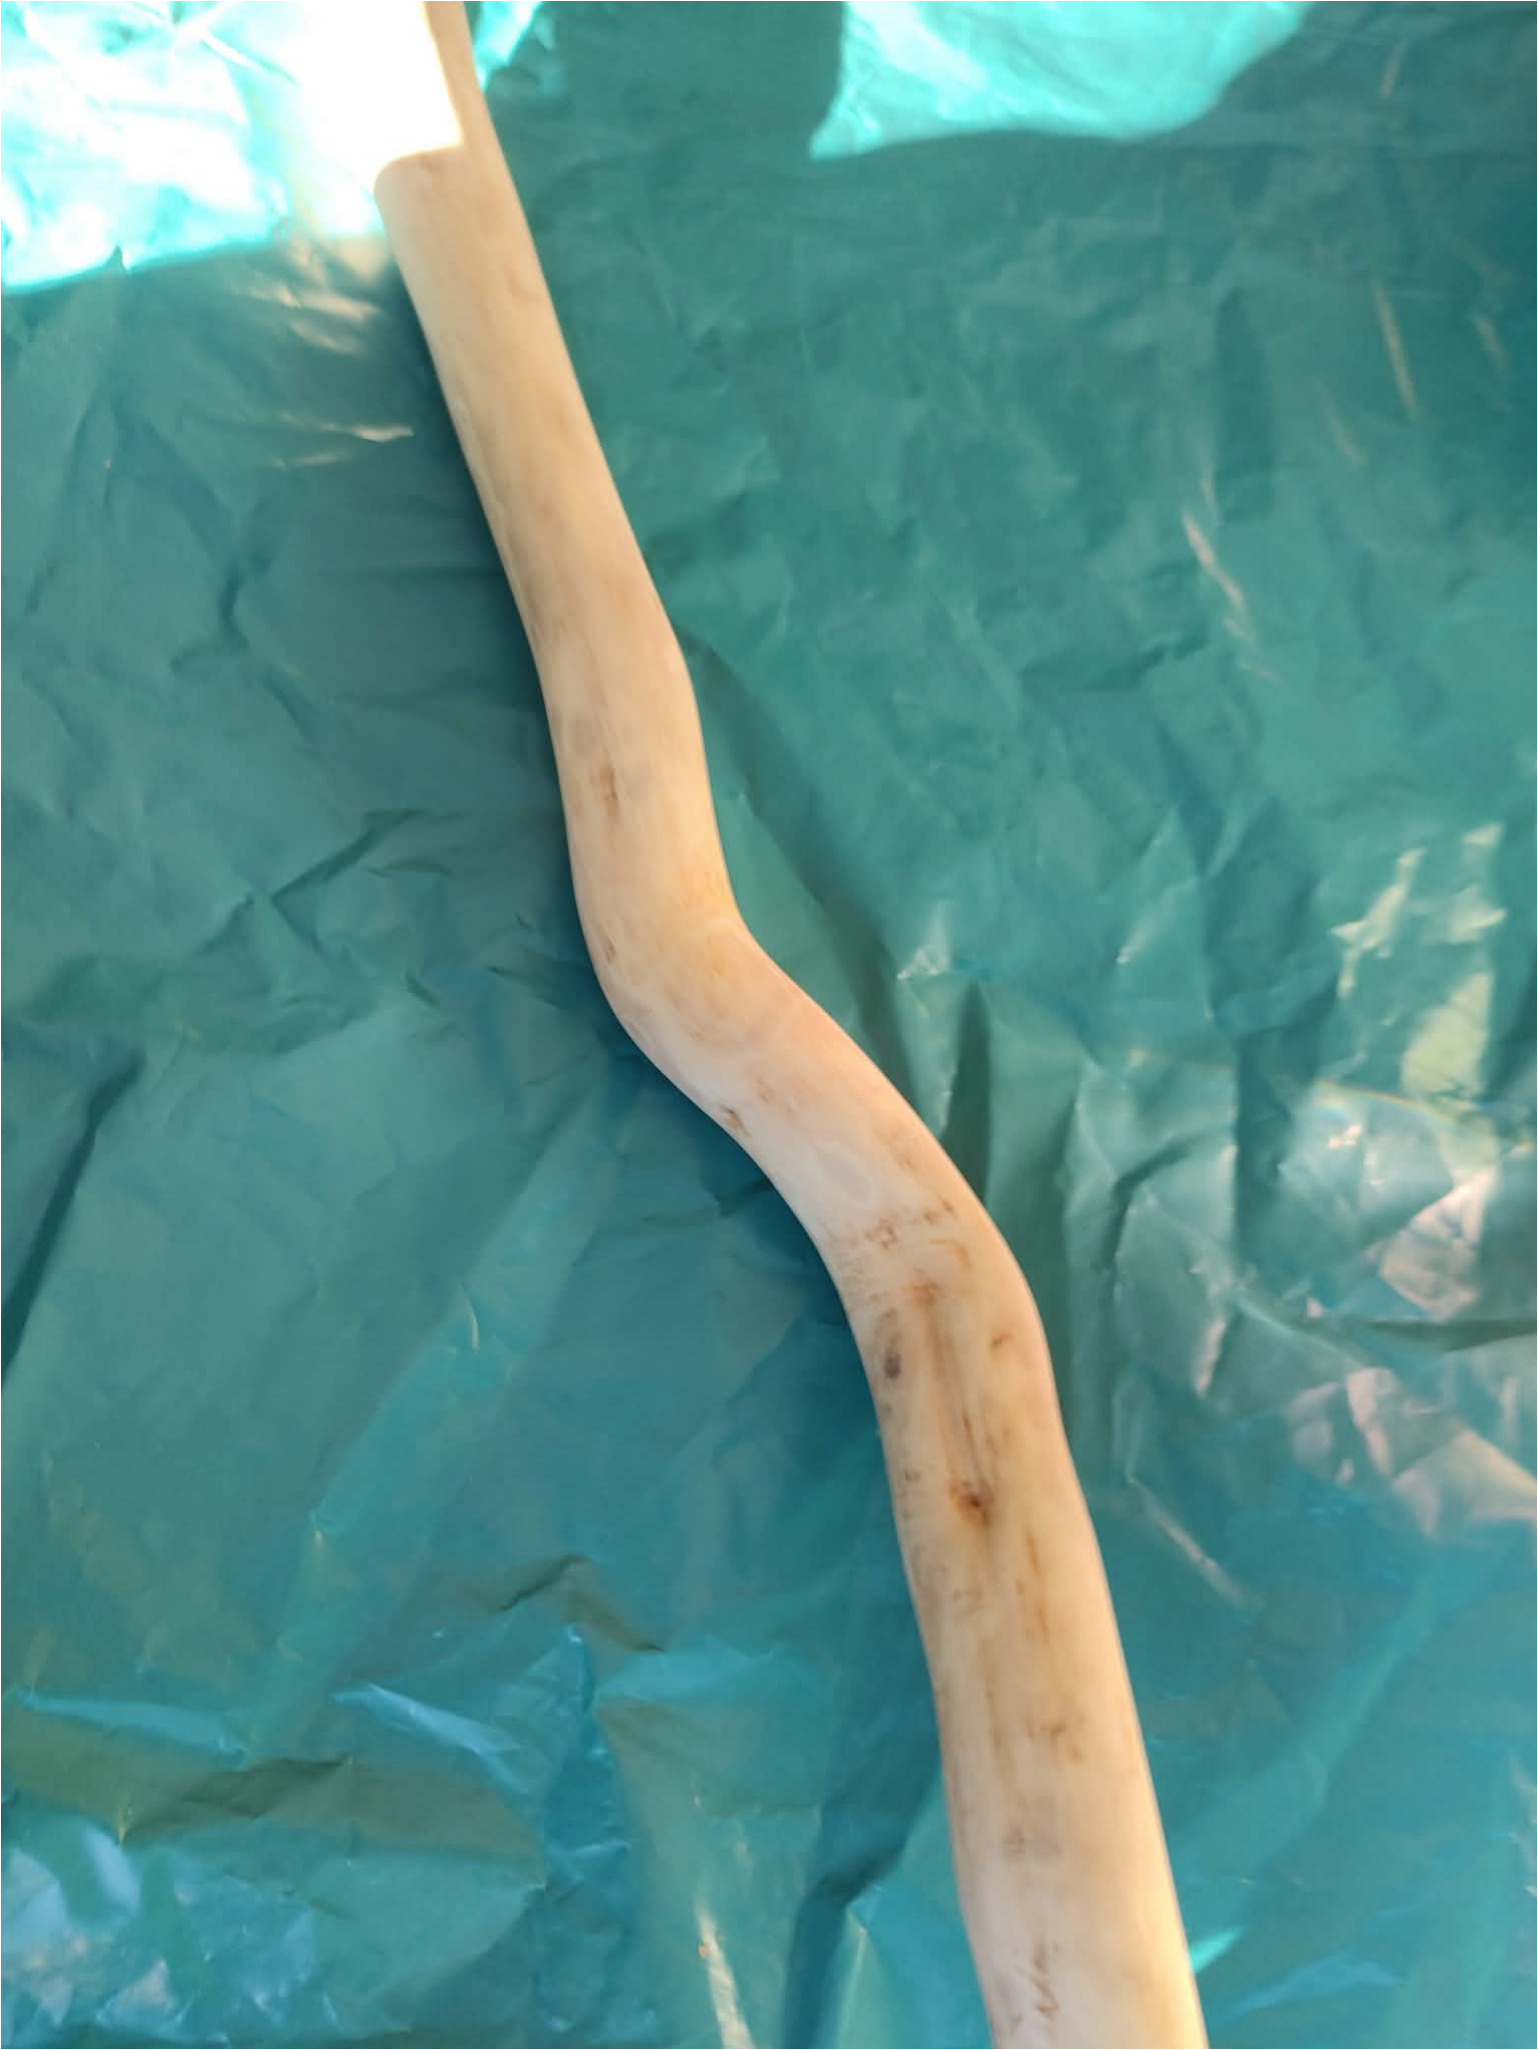
7. Treat the branch: Use a brush to apply a suitable protective finish to the wood. This will enhance the grain and unify the color of the branch. Follow the drying time recommended for your product, and work on a protected surface.
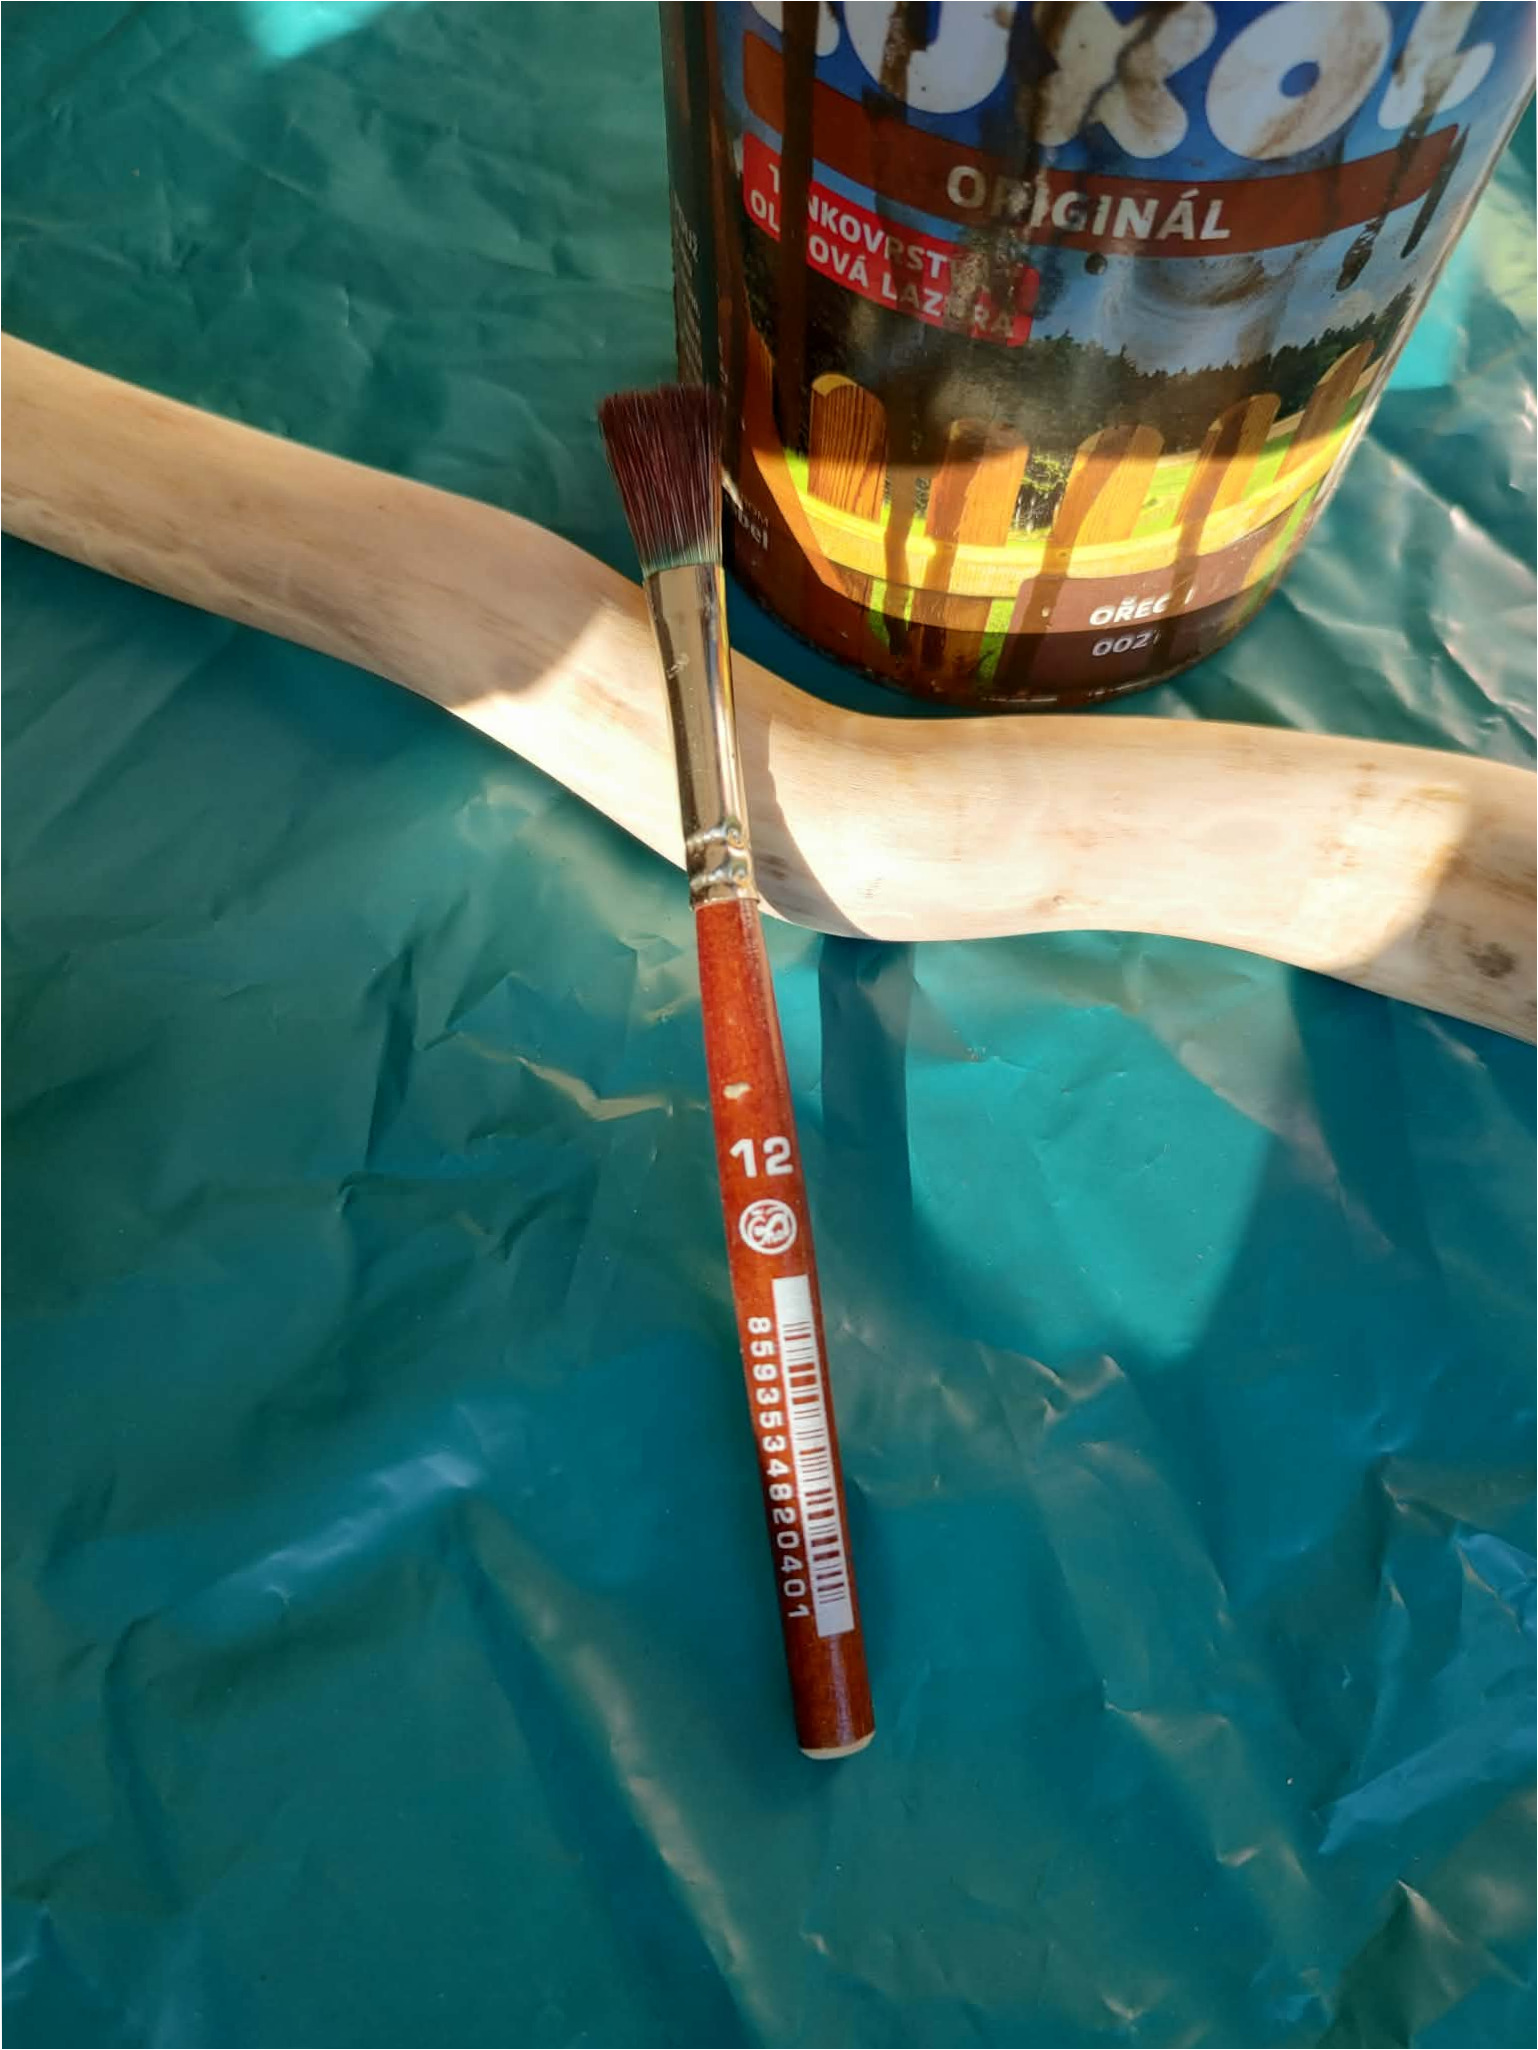
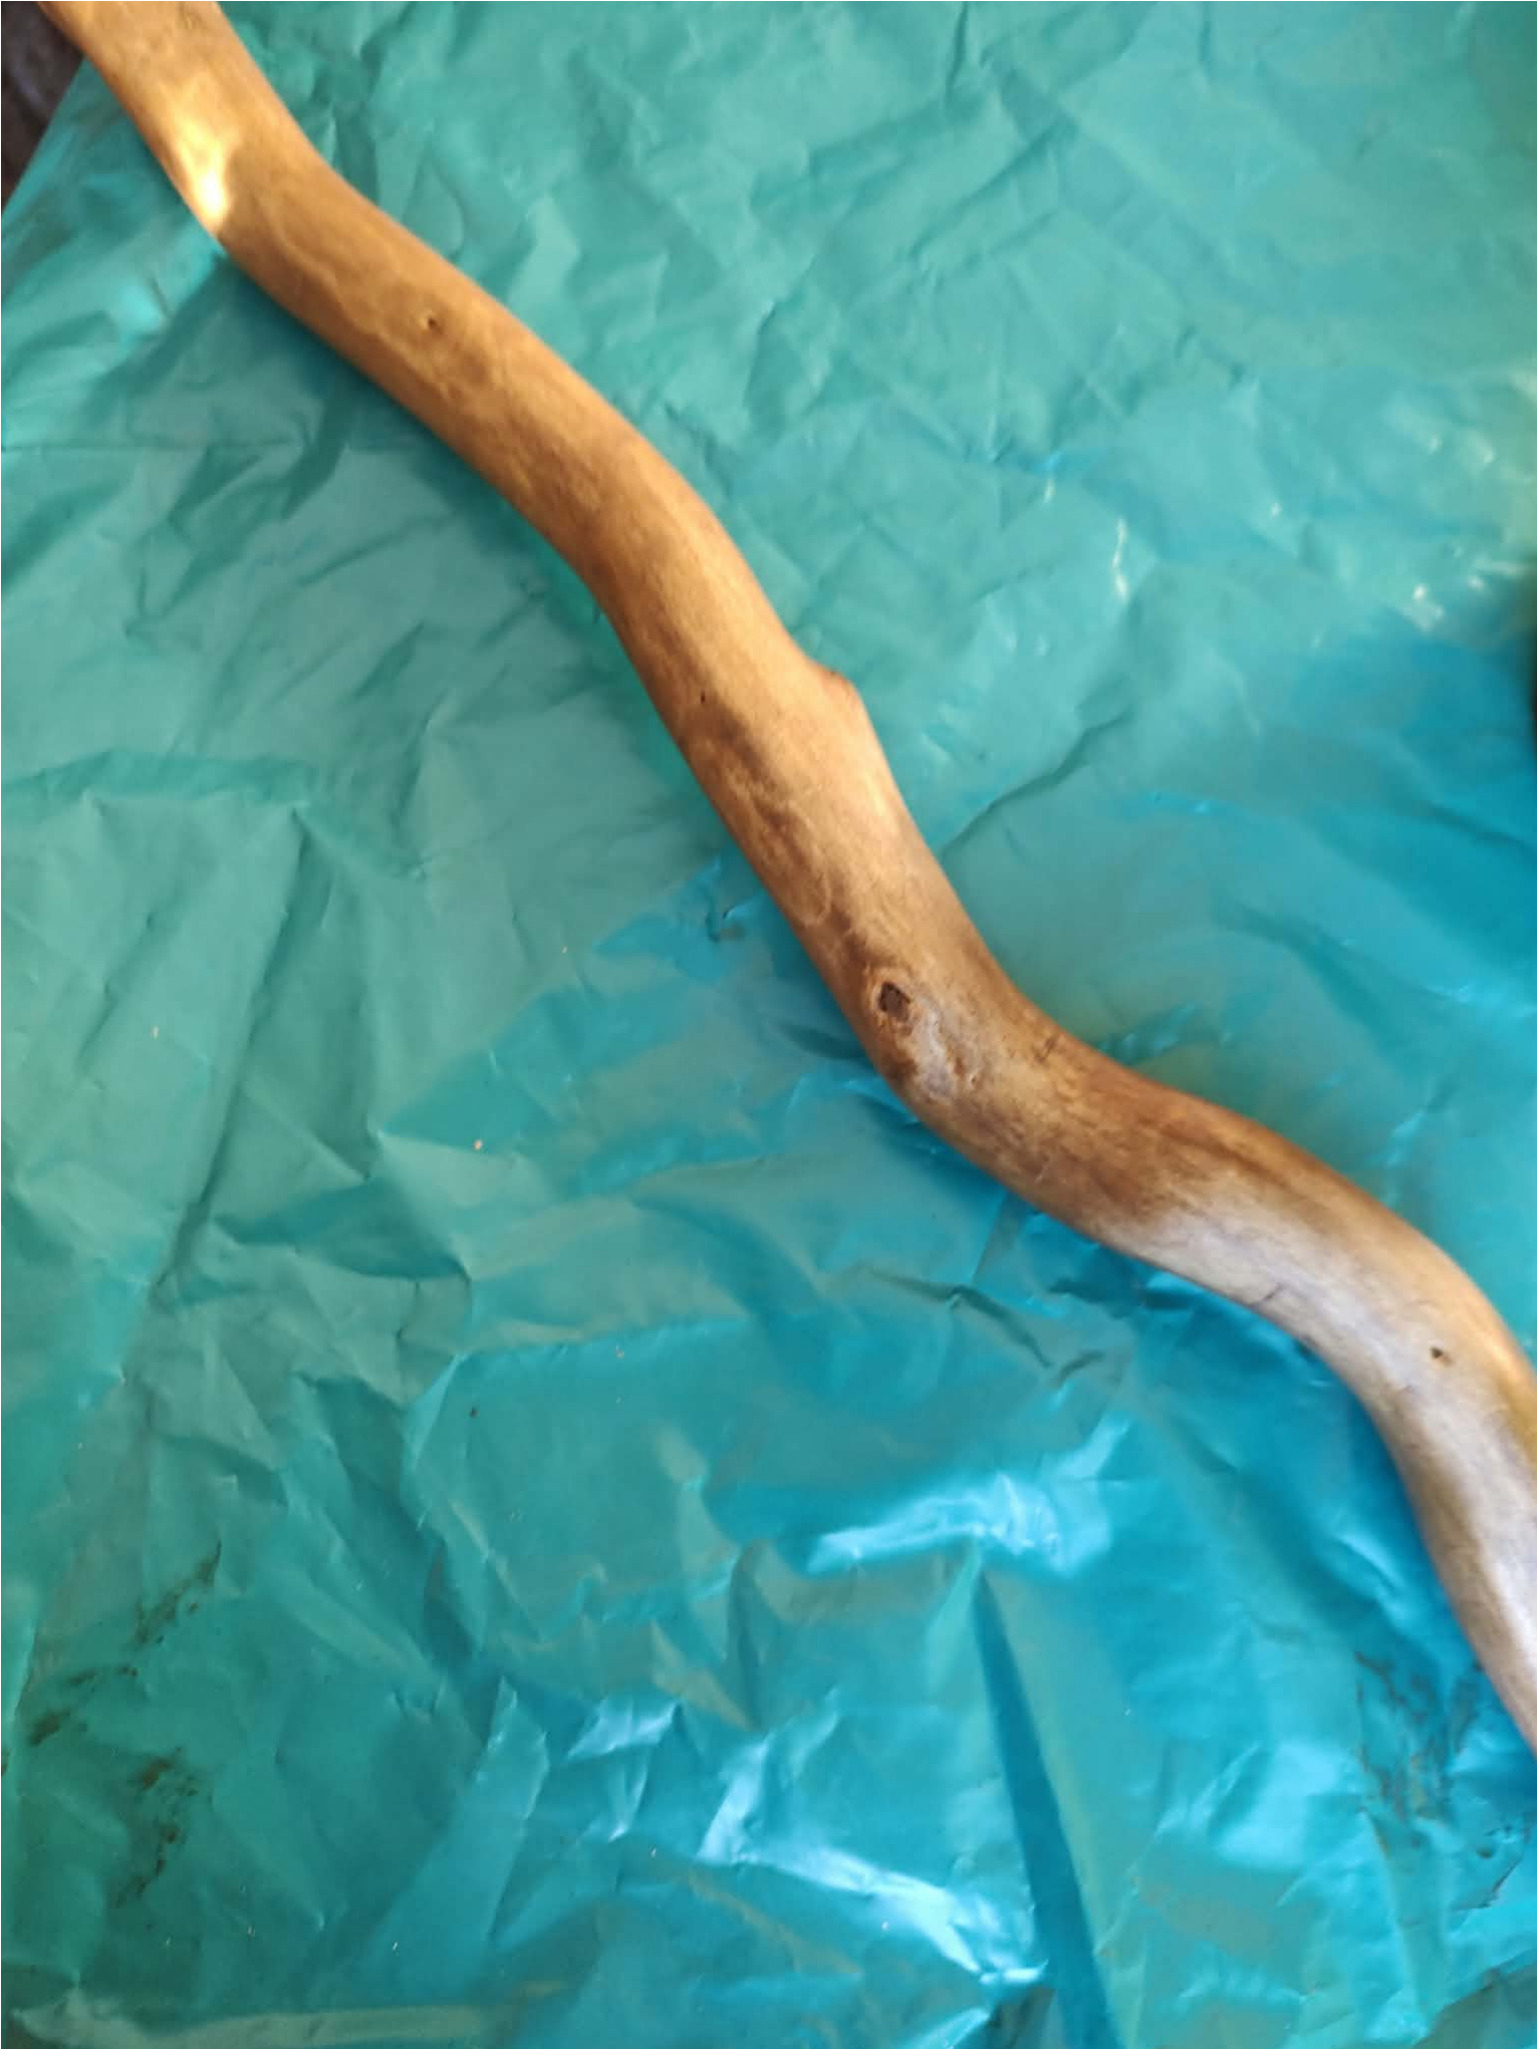
8. Let the finish dry: After treatment, lay the branch on a flat surface. Before assembling the decoration, make sure it is dry on all sides and not sticky anywhere.
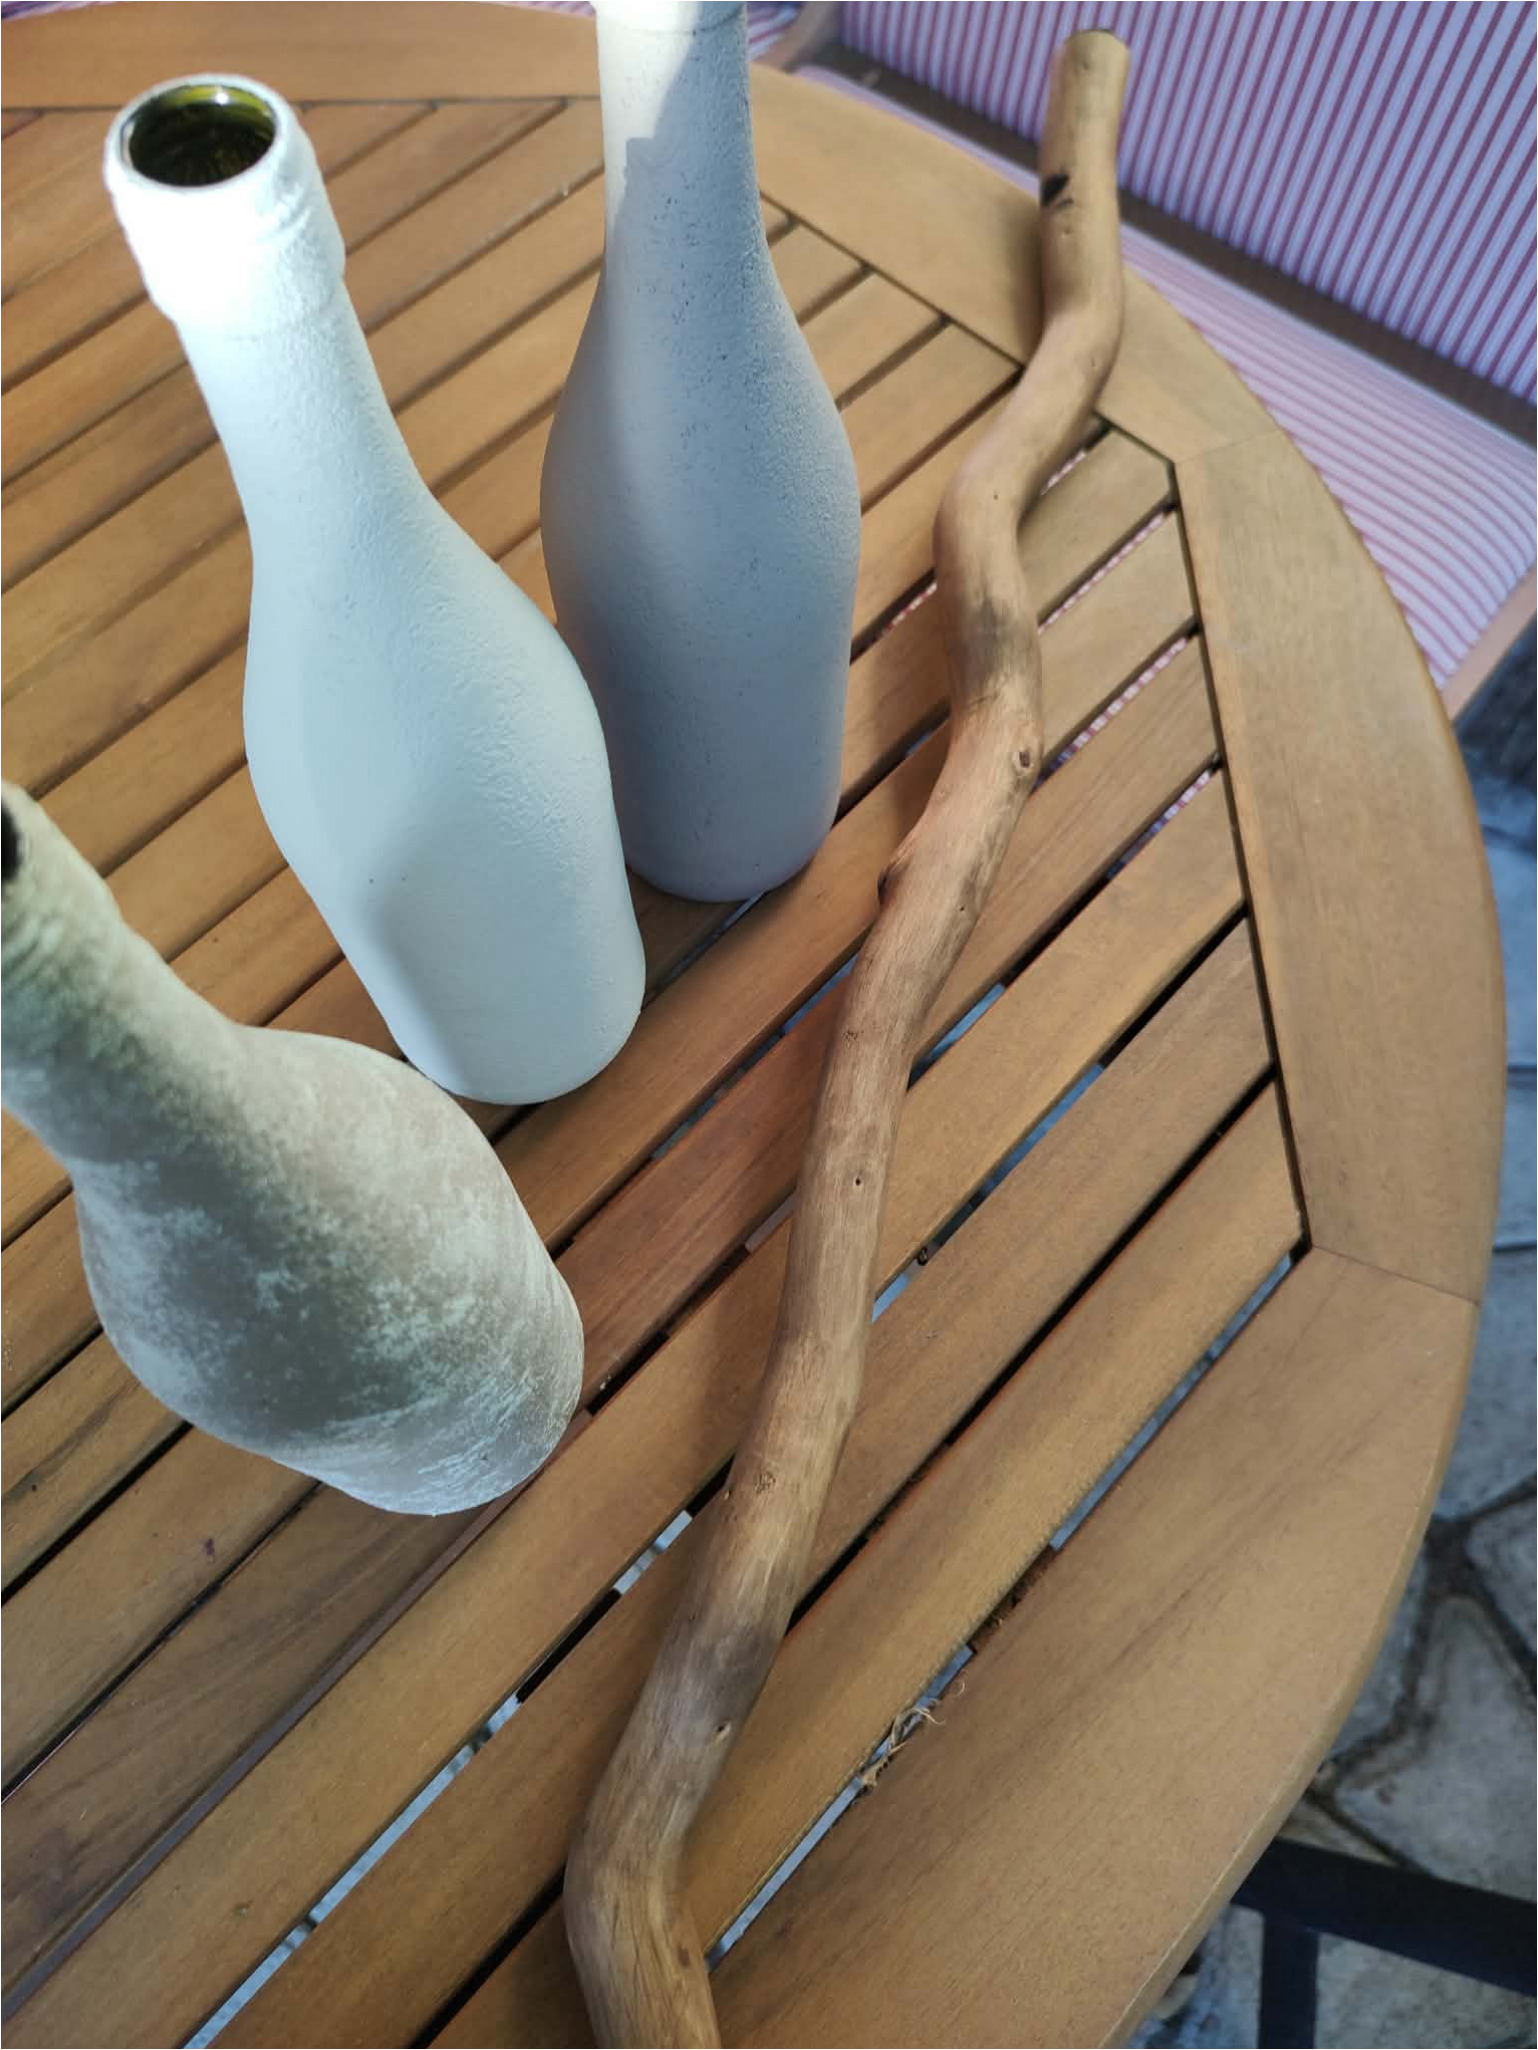
9. Prepare all parts: Lay out the painted bottles next to the dry branch. Now you can try out their order and plan how high each piece will hang.
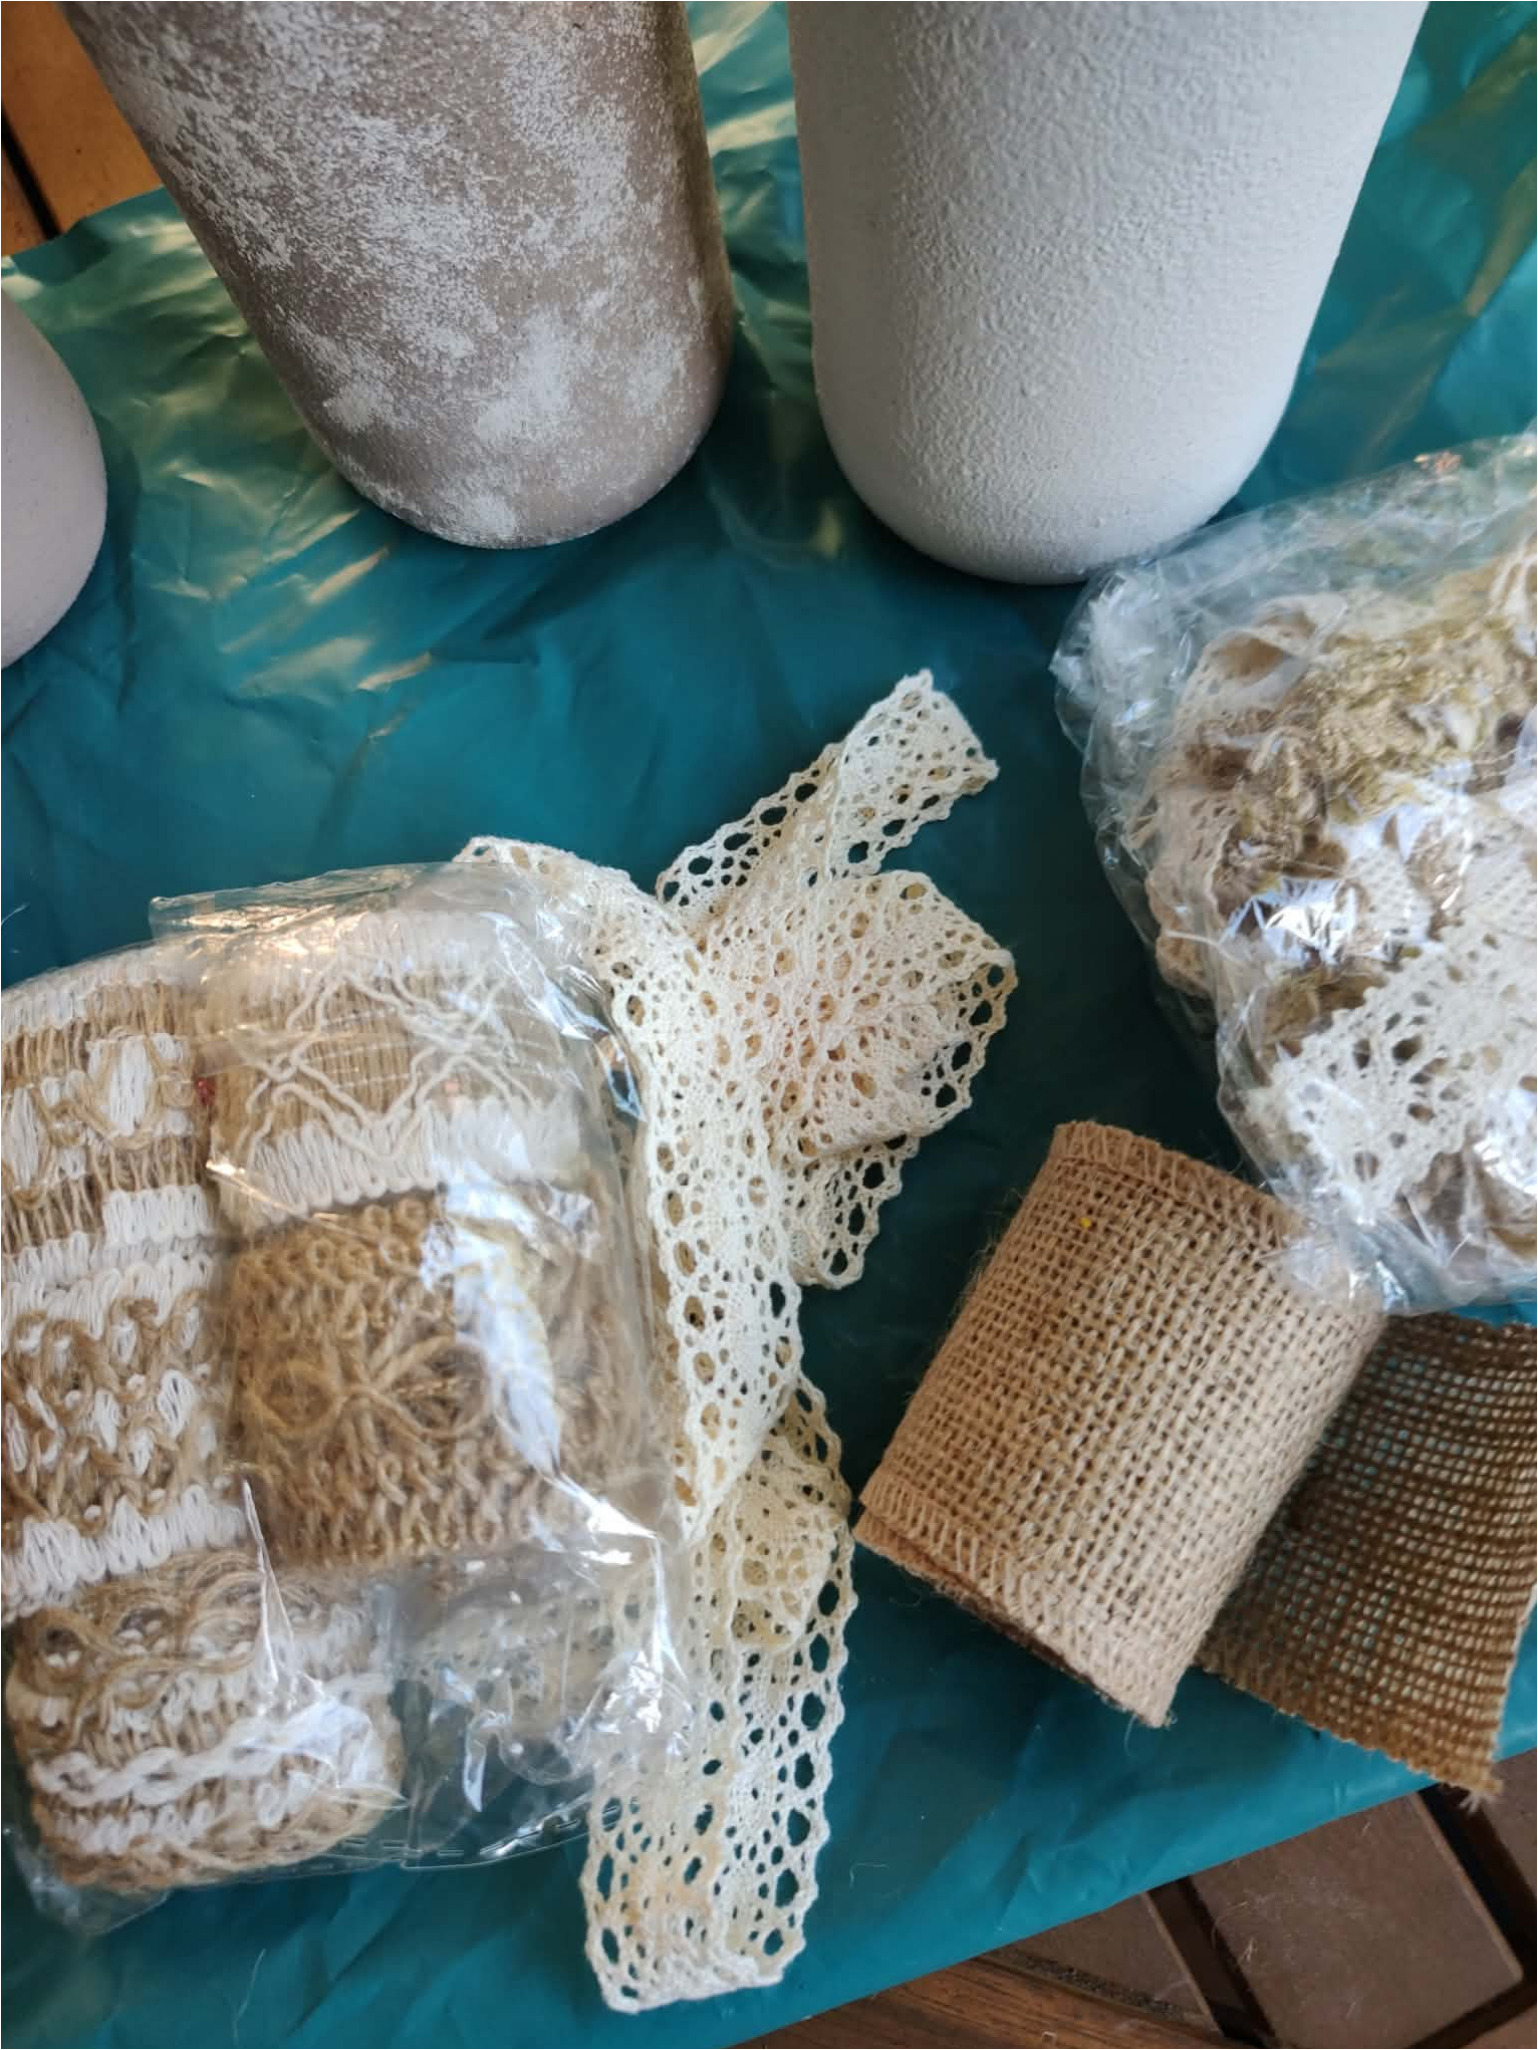
10. Choose lace and ribbons: Prepare lace ribbons, wider jute ribbons, and small fabric embellishments in natural tones. Combine different textures, but keep to similar colors so the whole looks harmonious.
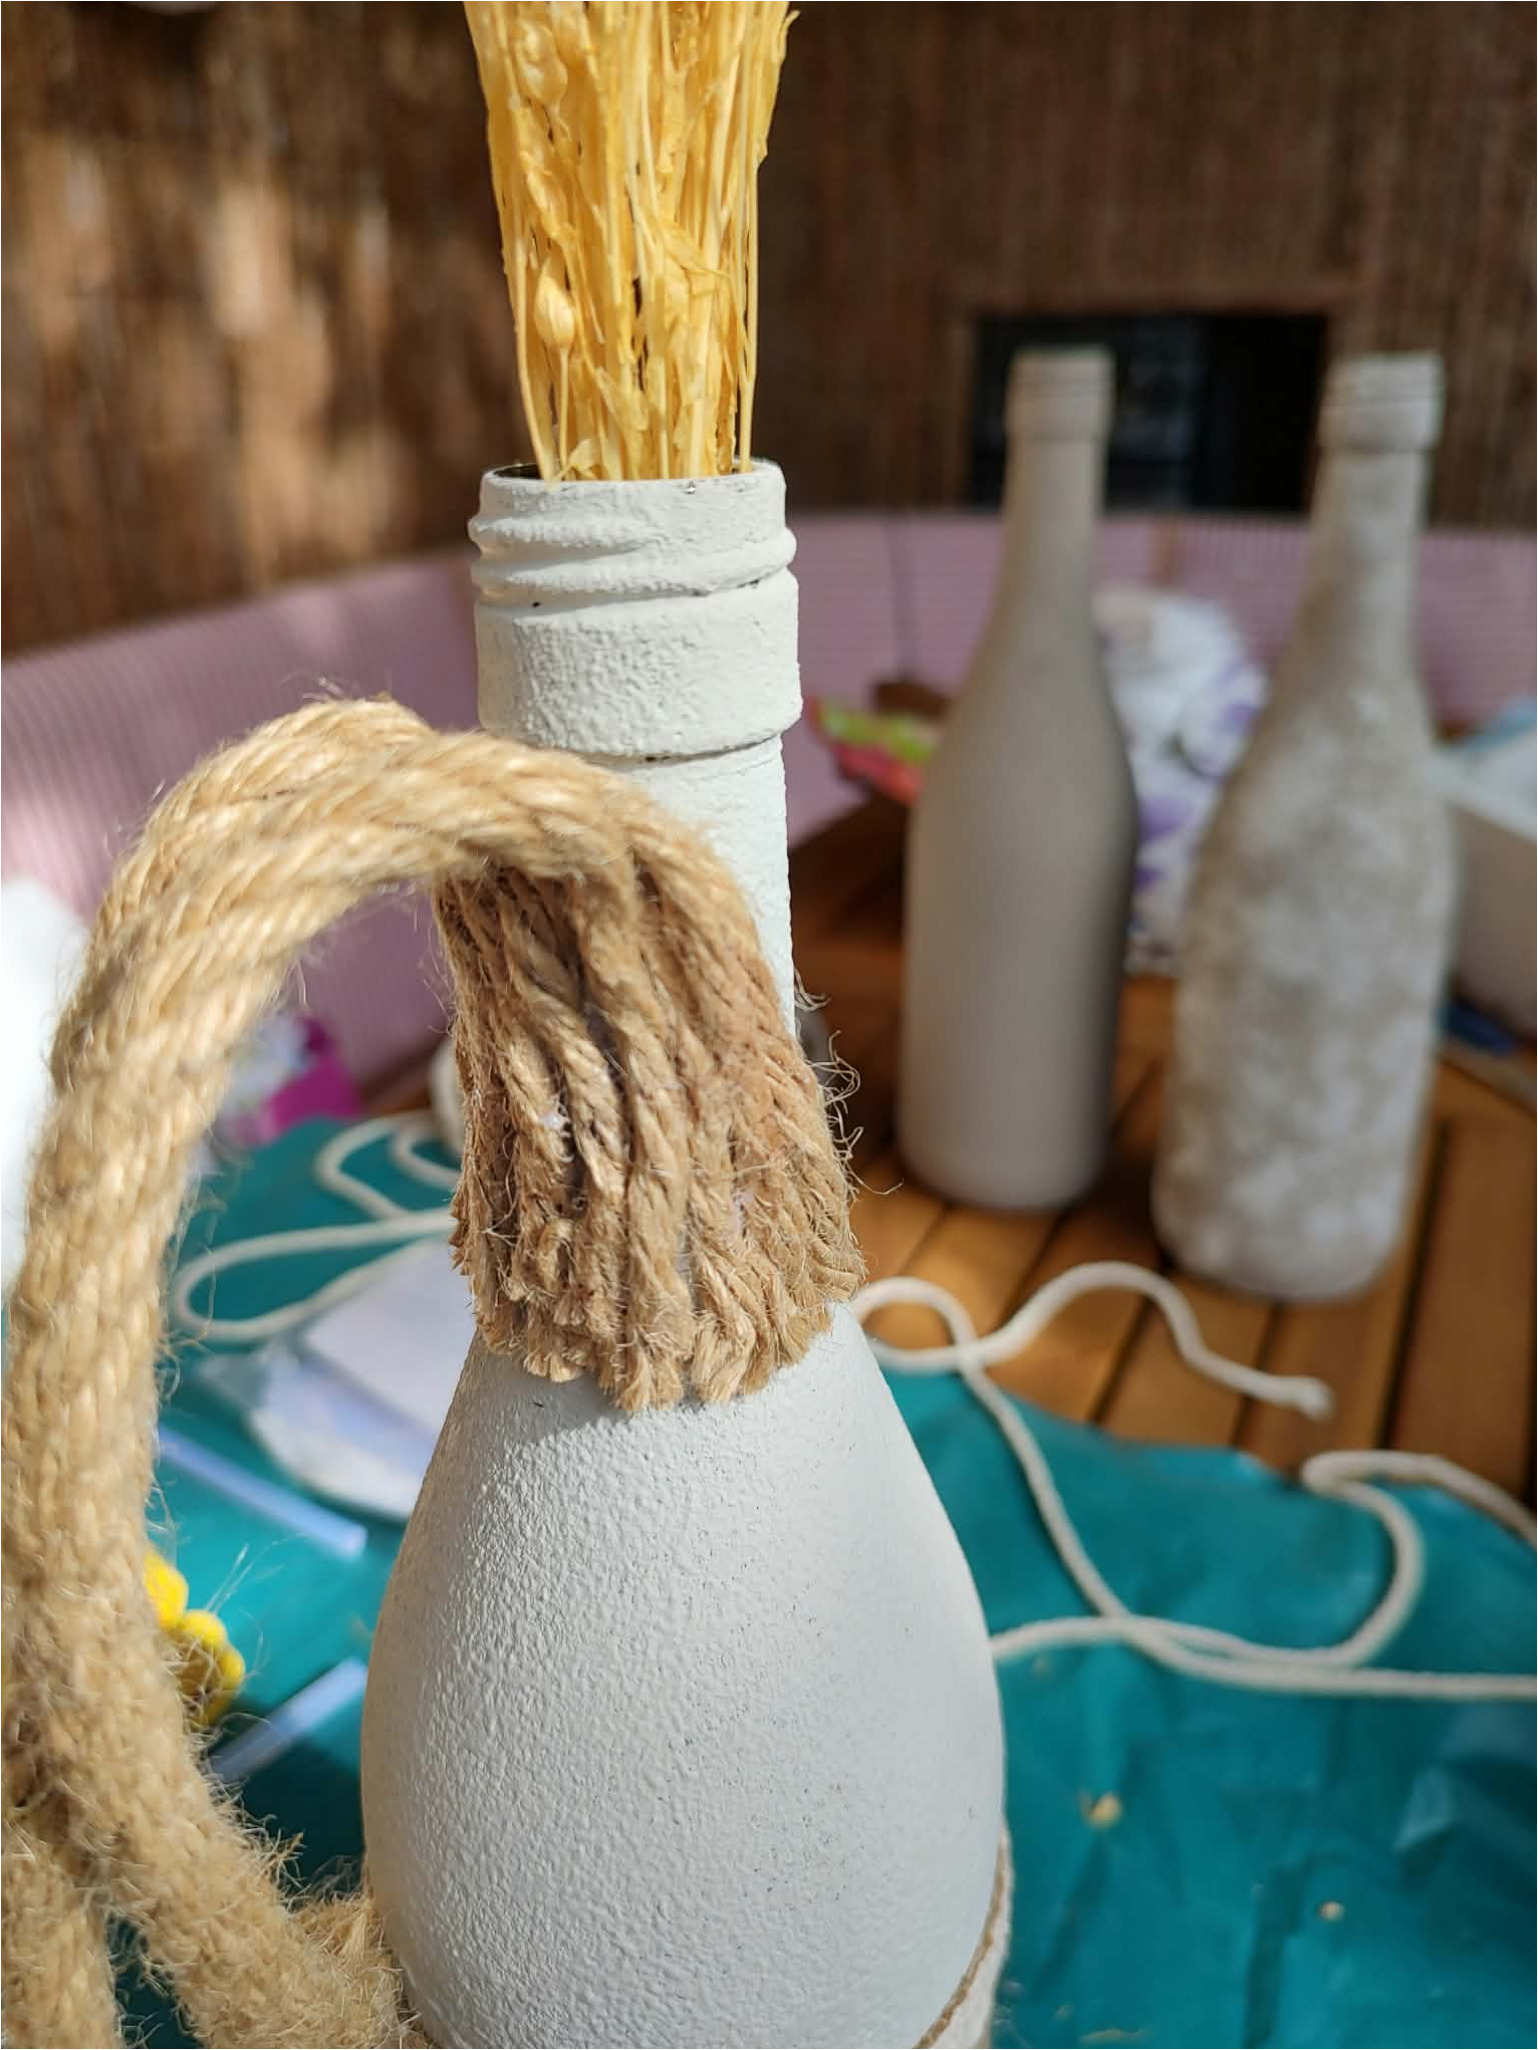
11. Attach the hanging rope: Fold a thicker rope into a loop and place its end at the bottle neck. This will create a long loop for hanging the finished vase on the branch. Try out the length first before securing.
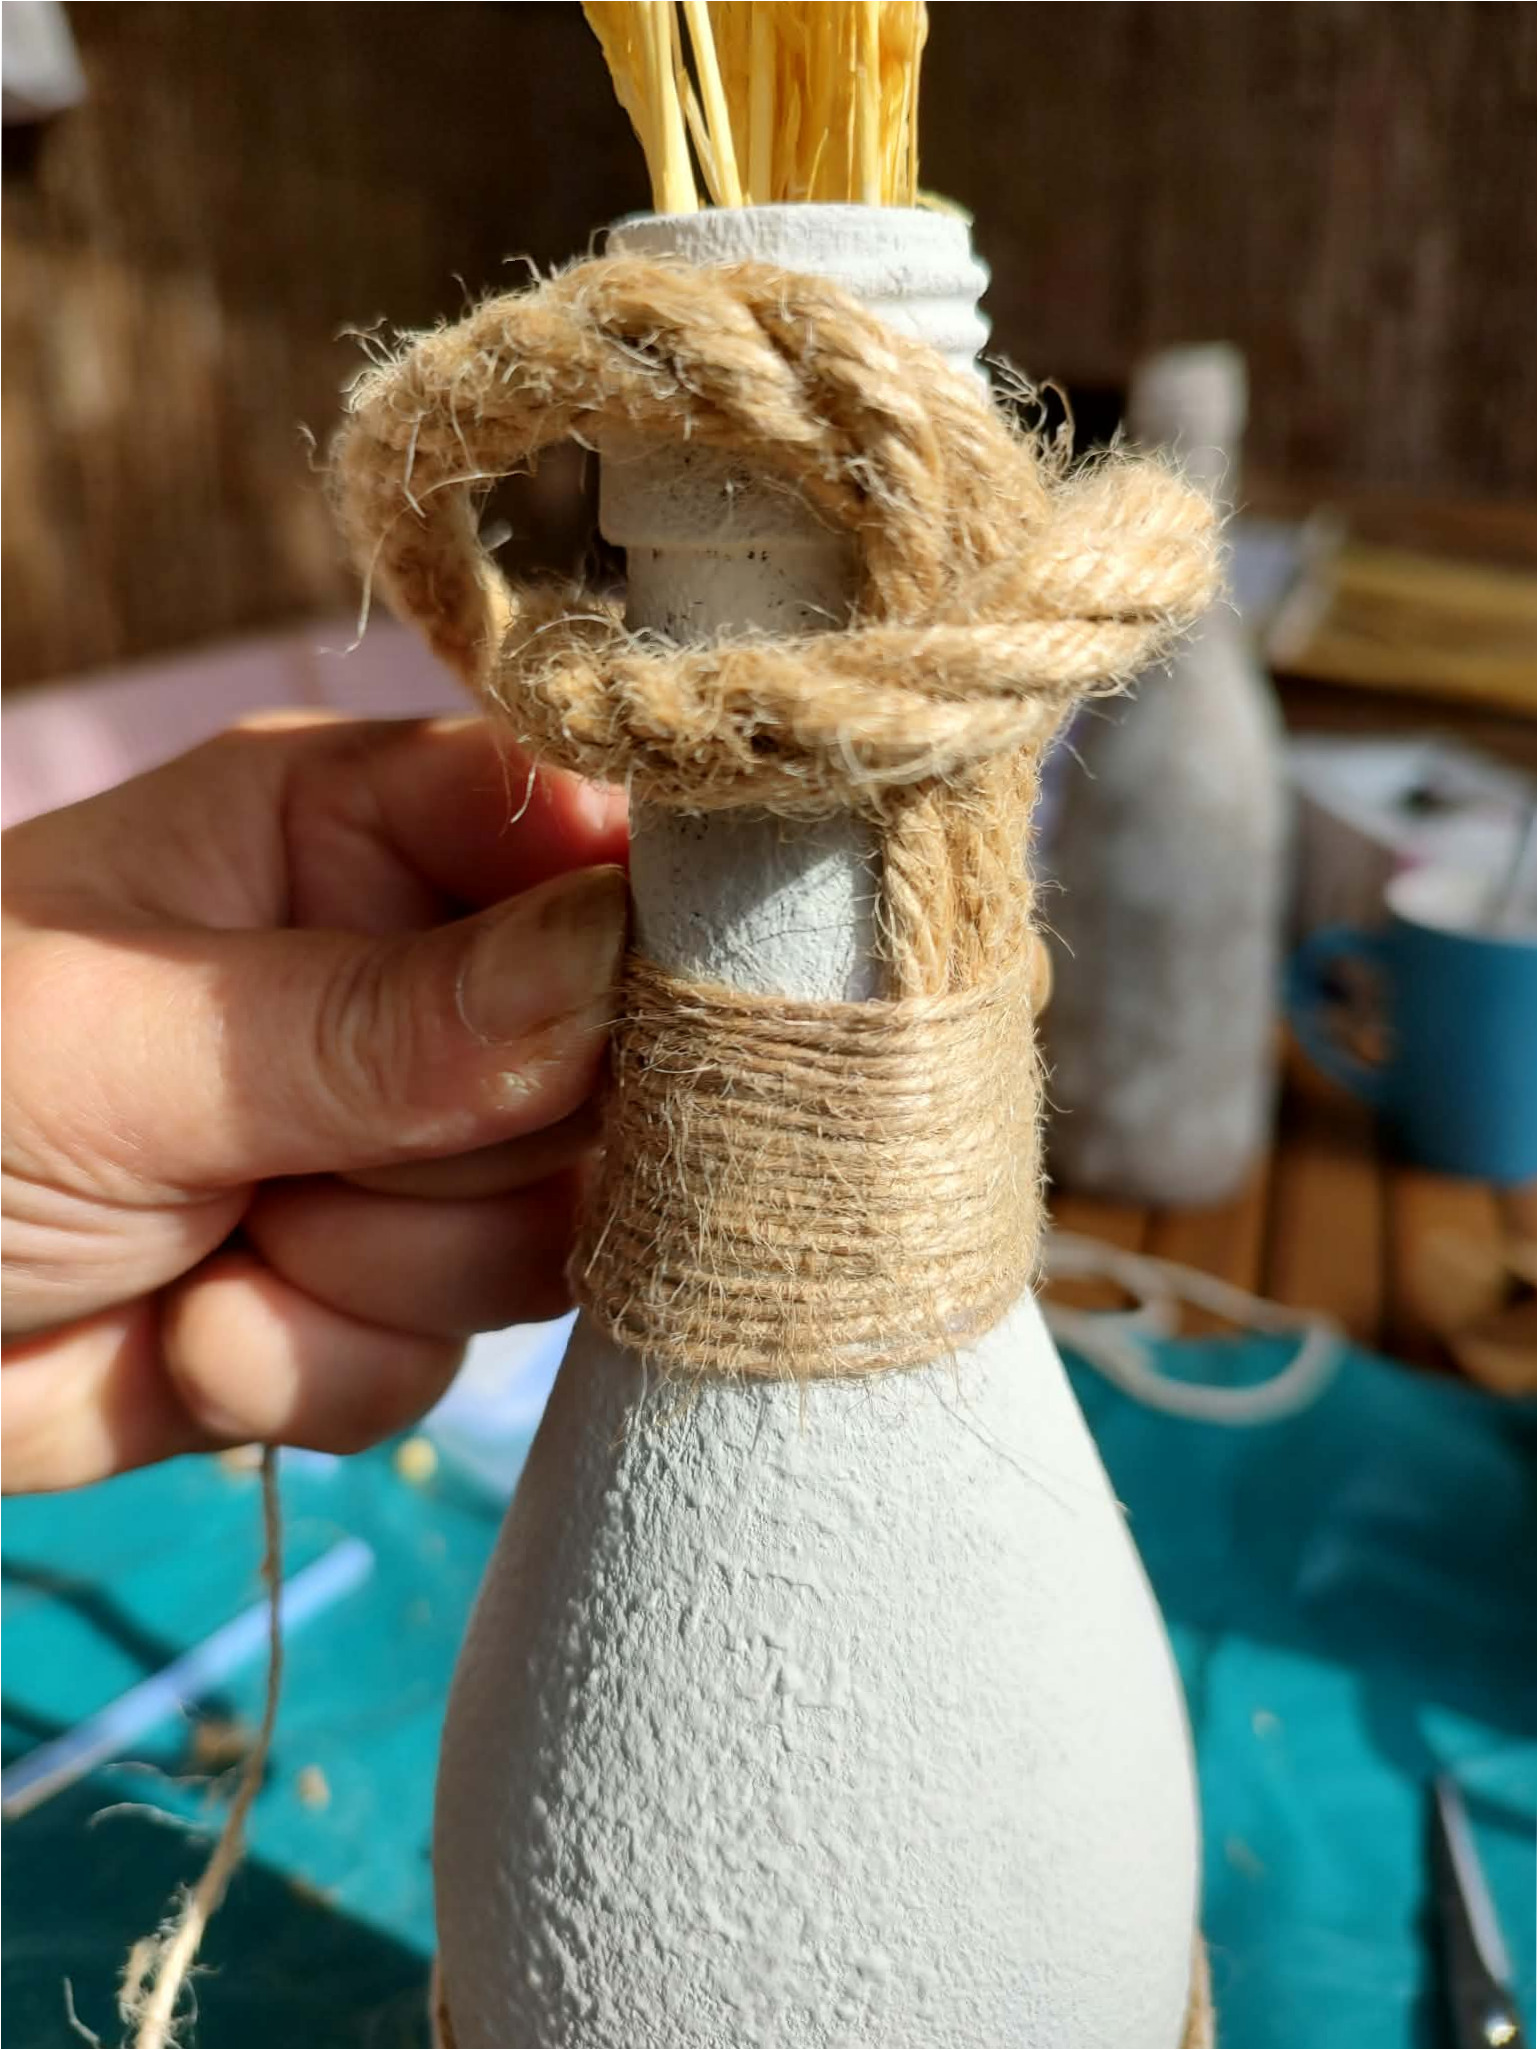
12. Secure the rope with twine: Hold the end of the thick rope firmly at the neck and wrap it several times with thin natural twine. Place the wraps close together and tie off securely.
13. Wrap the whole neck: Continue wrapping upwards until the twine covers the bottle neck. Leave the top edge open so you can insert grasses inside. Make sure the thick rope doesn’t shift as you work.
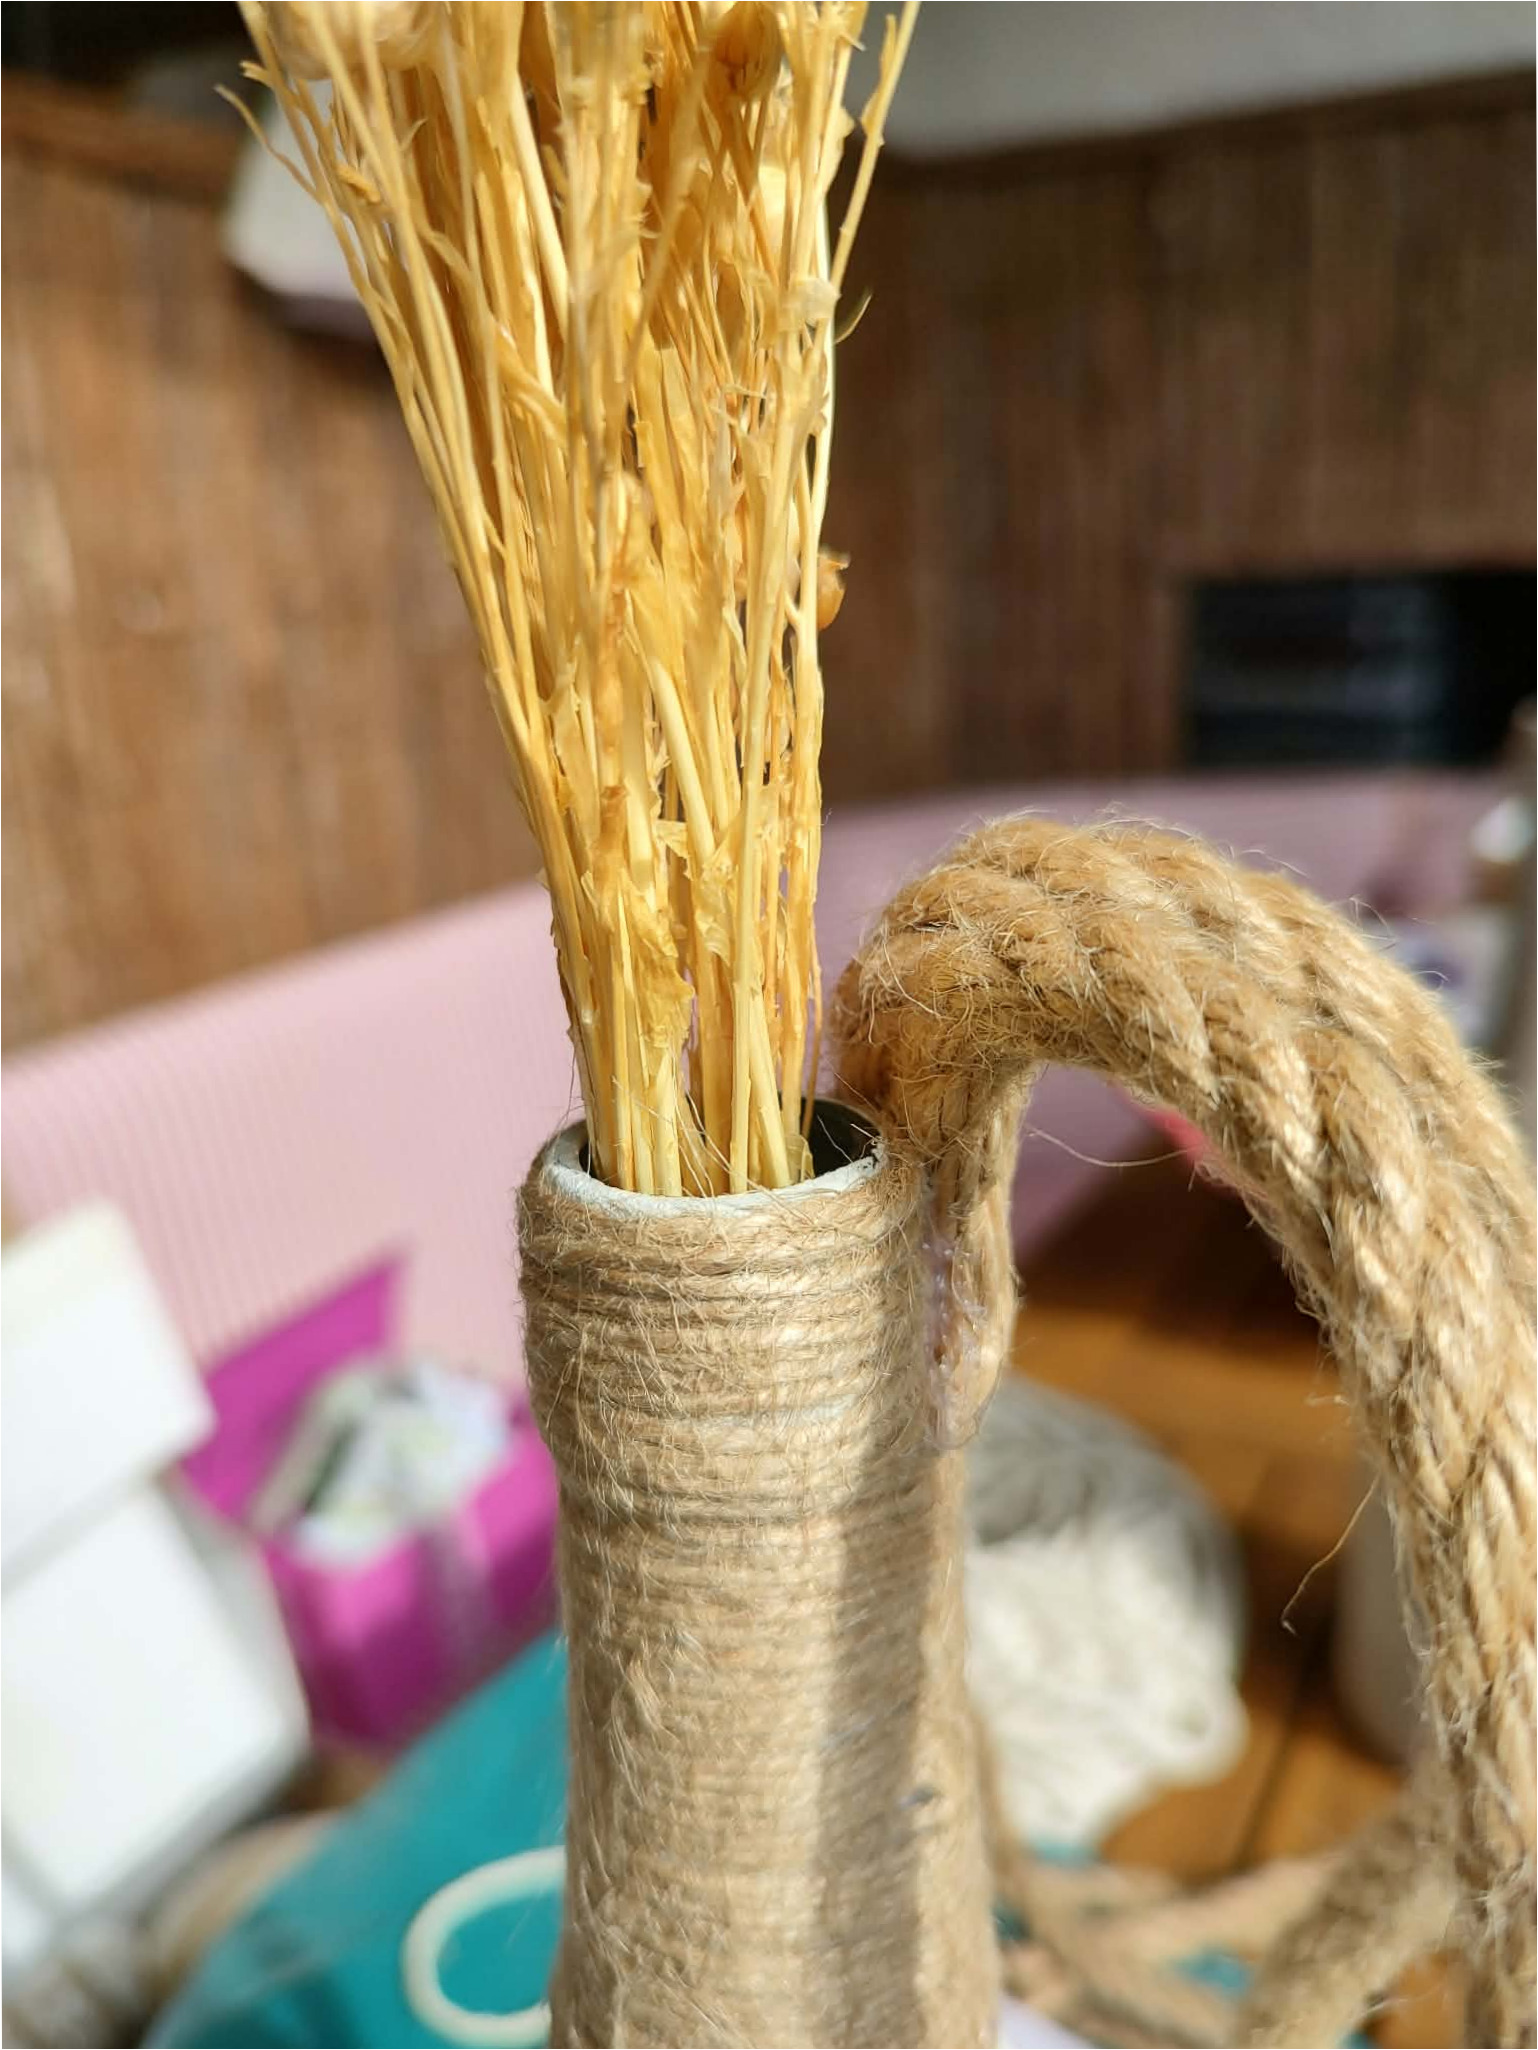
14. Finish the wrapping: The finished layer of twine should be even and tight. Tuck the loose end under the last wraps or tie it securely so the decoration doesn’t unravel when hung.
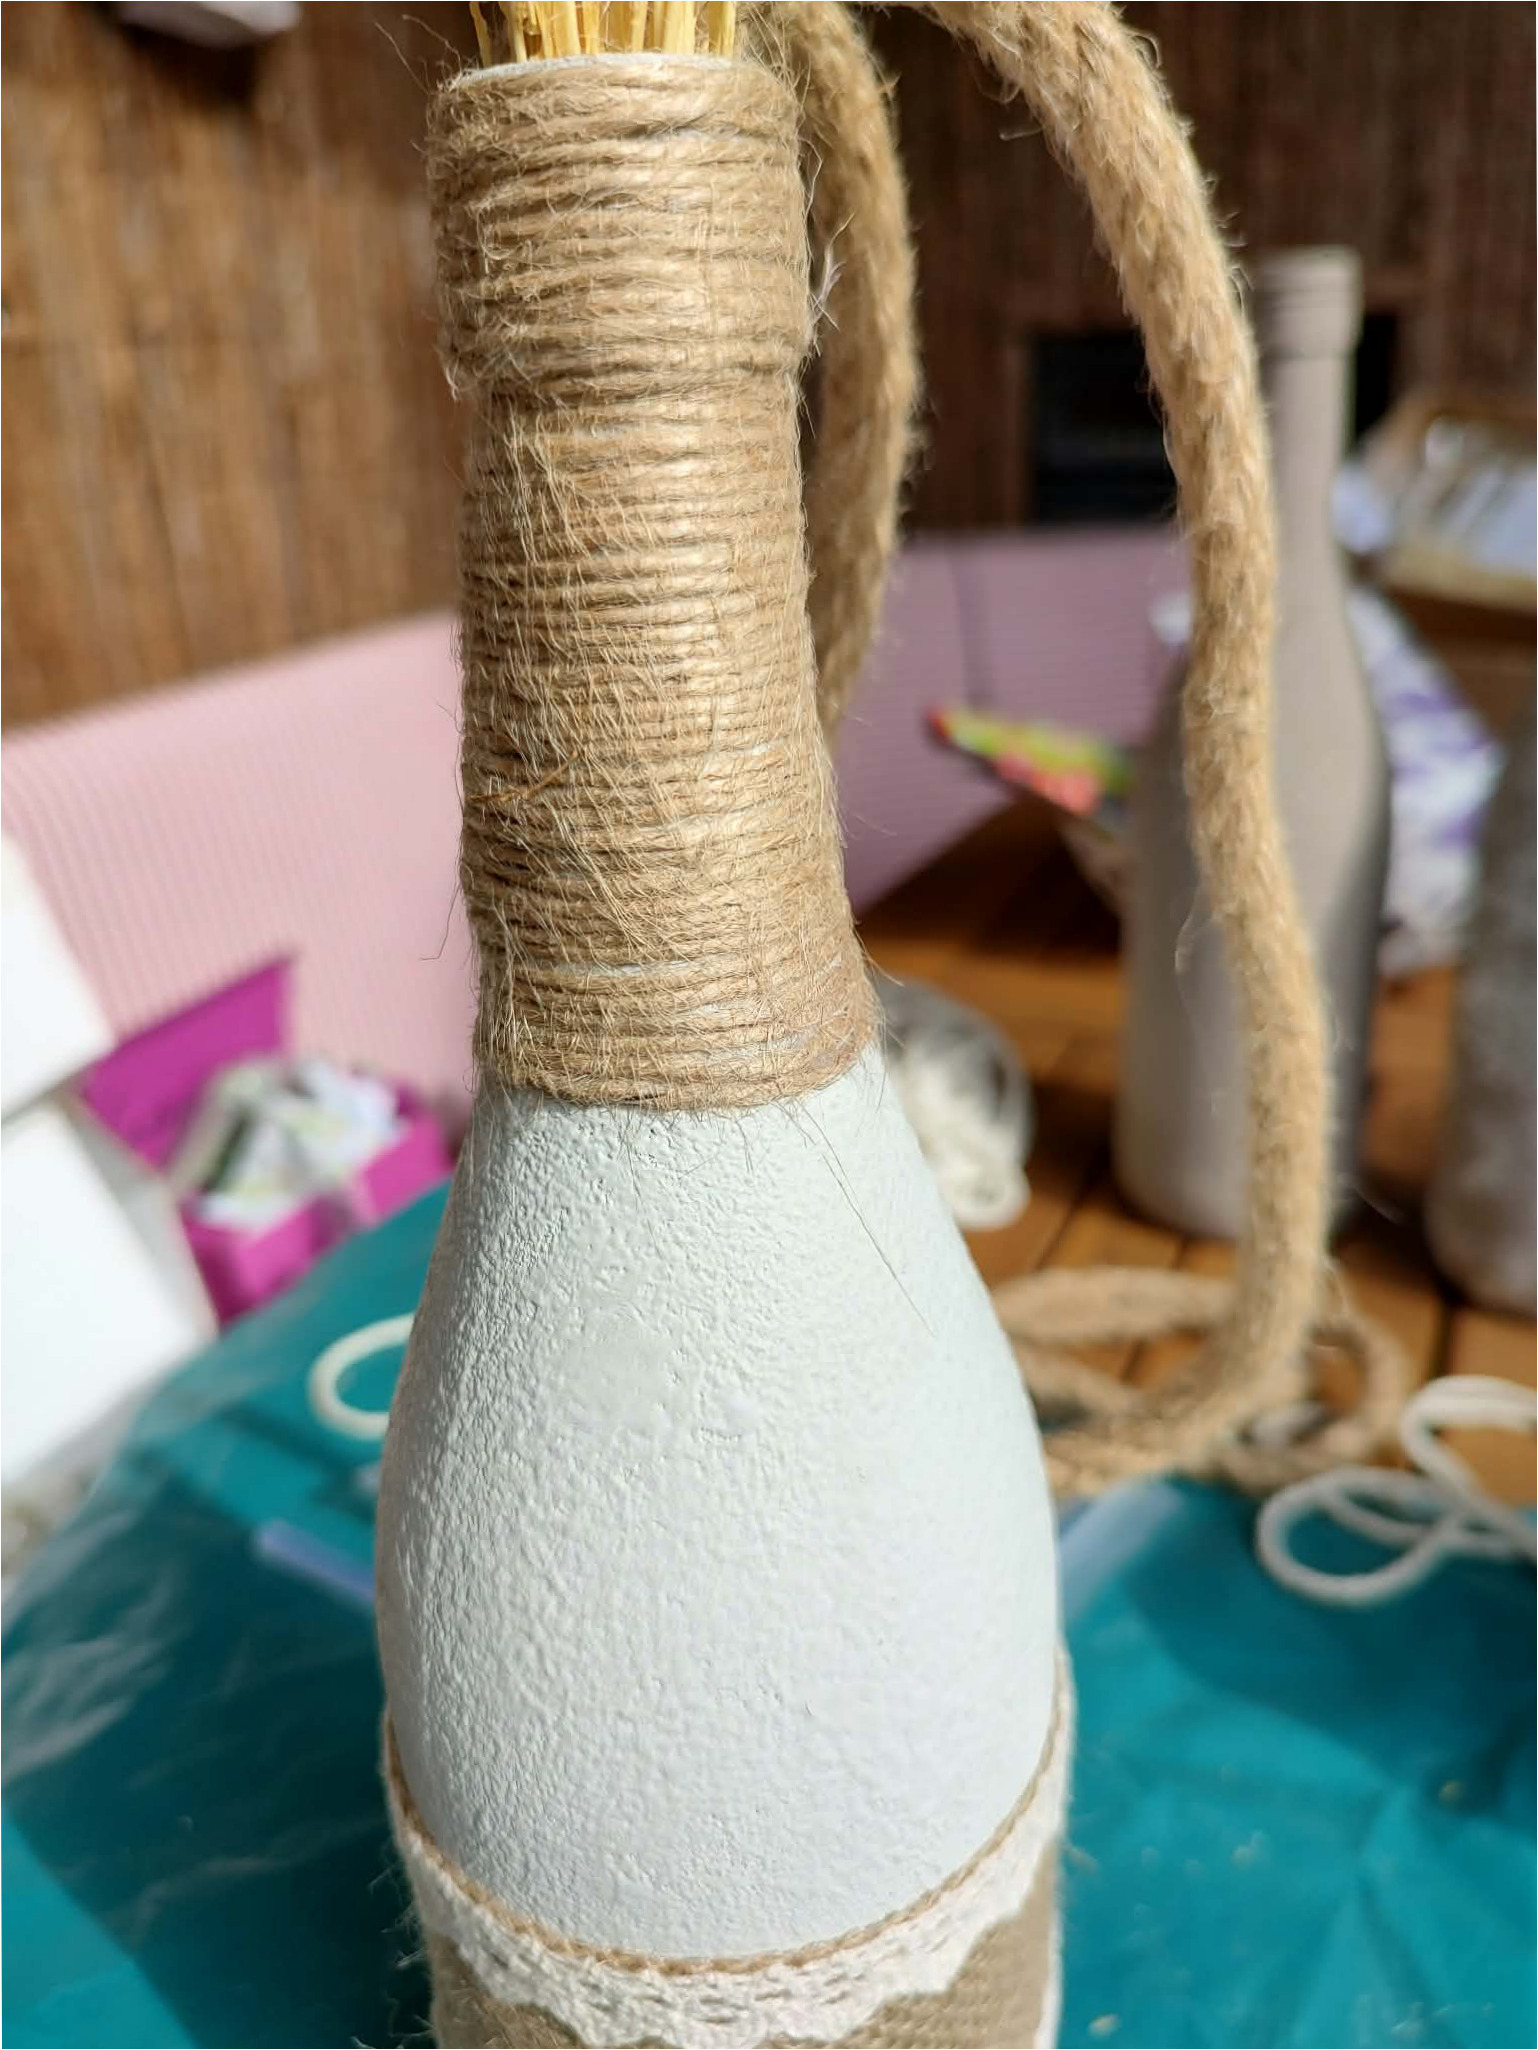
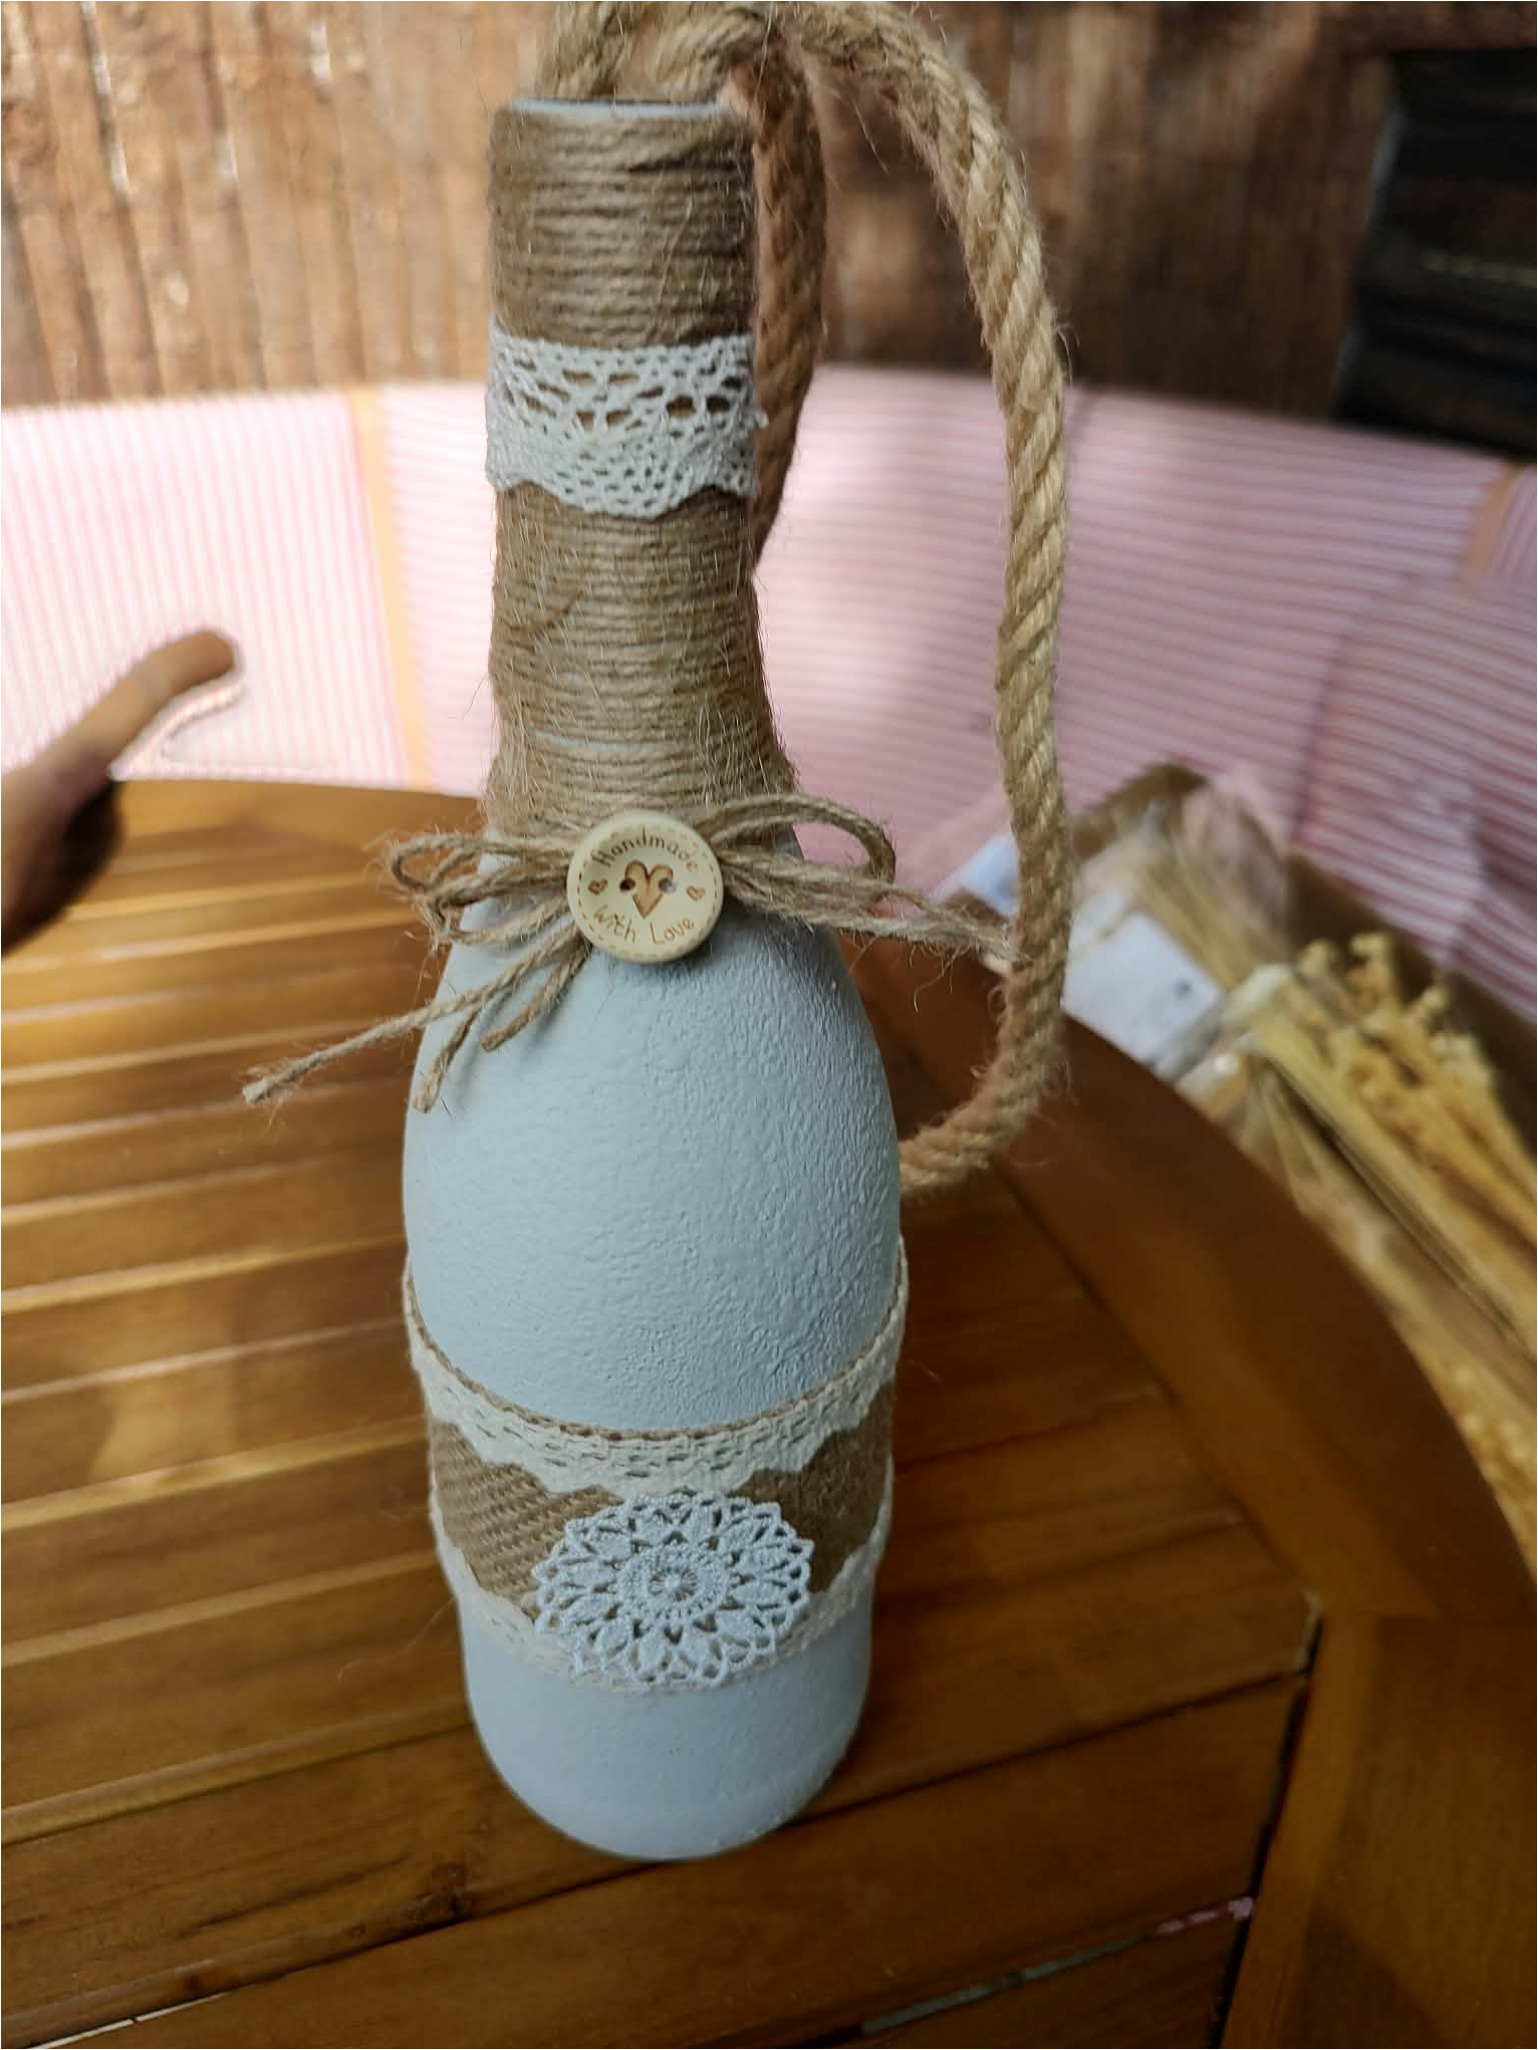
15. Decorate the bottle body: Add a lace ribbon around the bottle and place a round lace embellishment on the front. Tie a bow from thin twine under the neck and add a decorative button to its center.
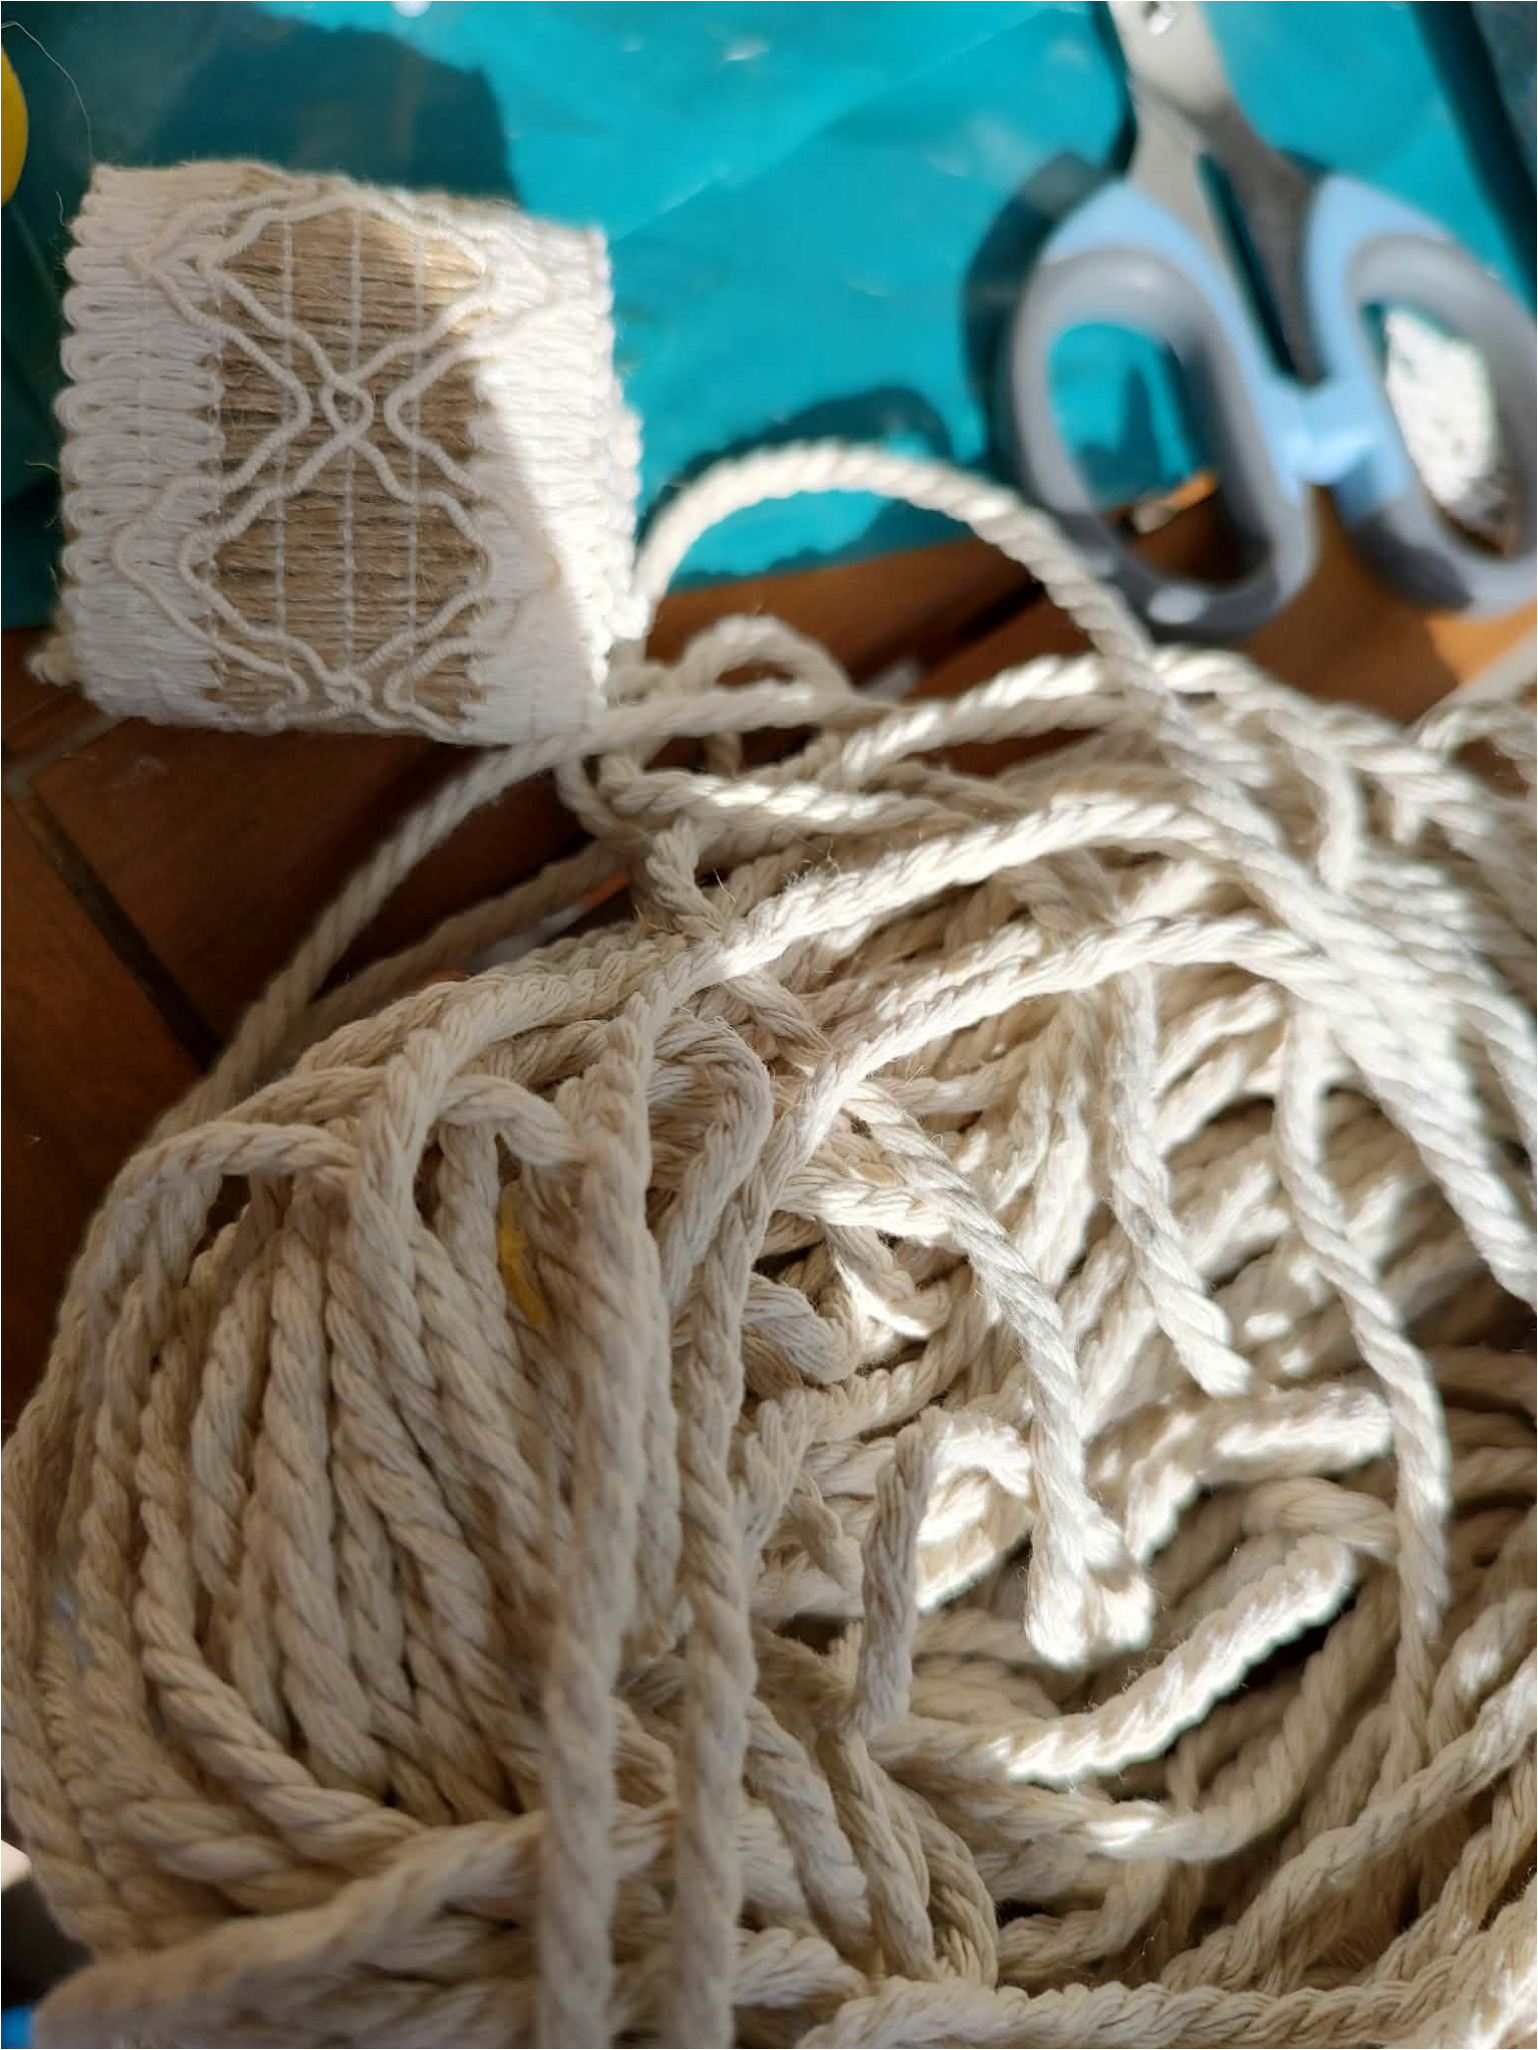
16. Cut more decorations: Prepare cotton cords, lace ribbons, and scissors. First wrap each piece around the bottle, then cut it to size. This way you’ll avoid pieces that are too short or too long.
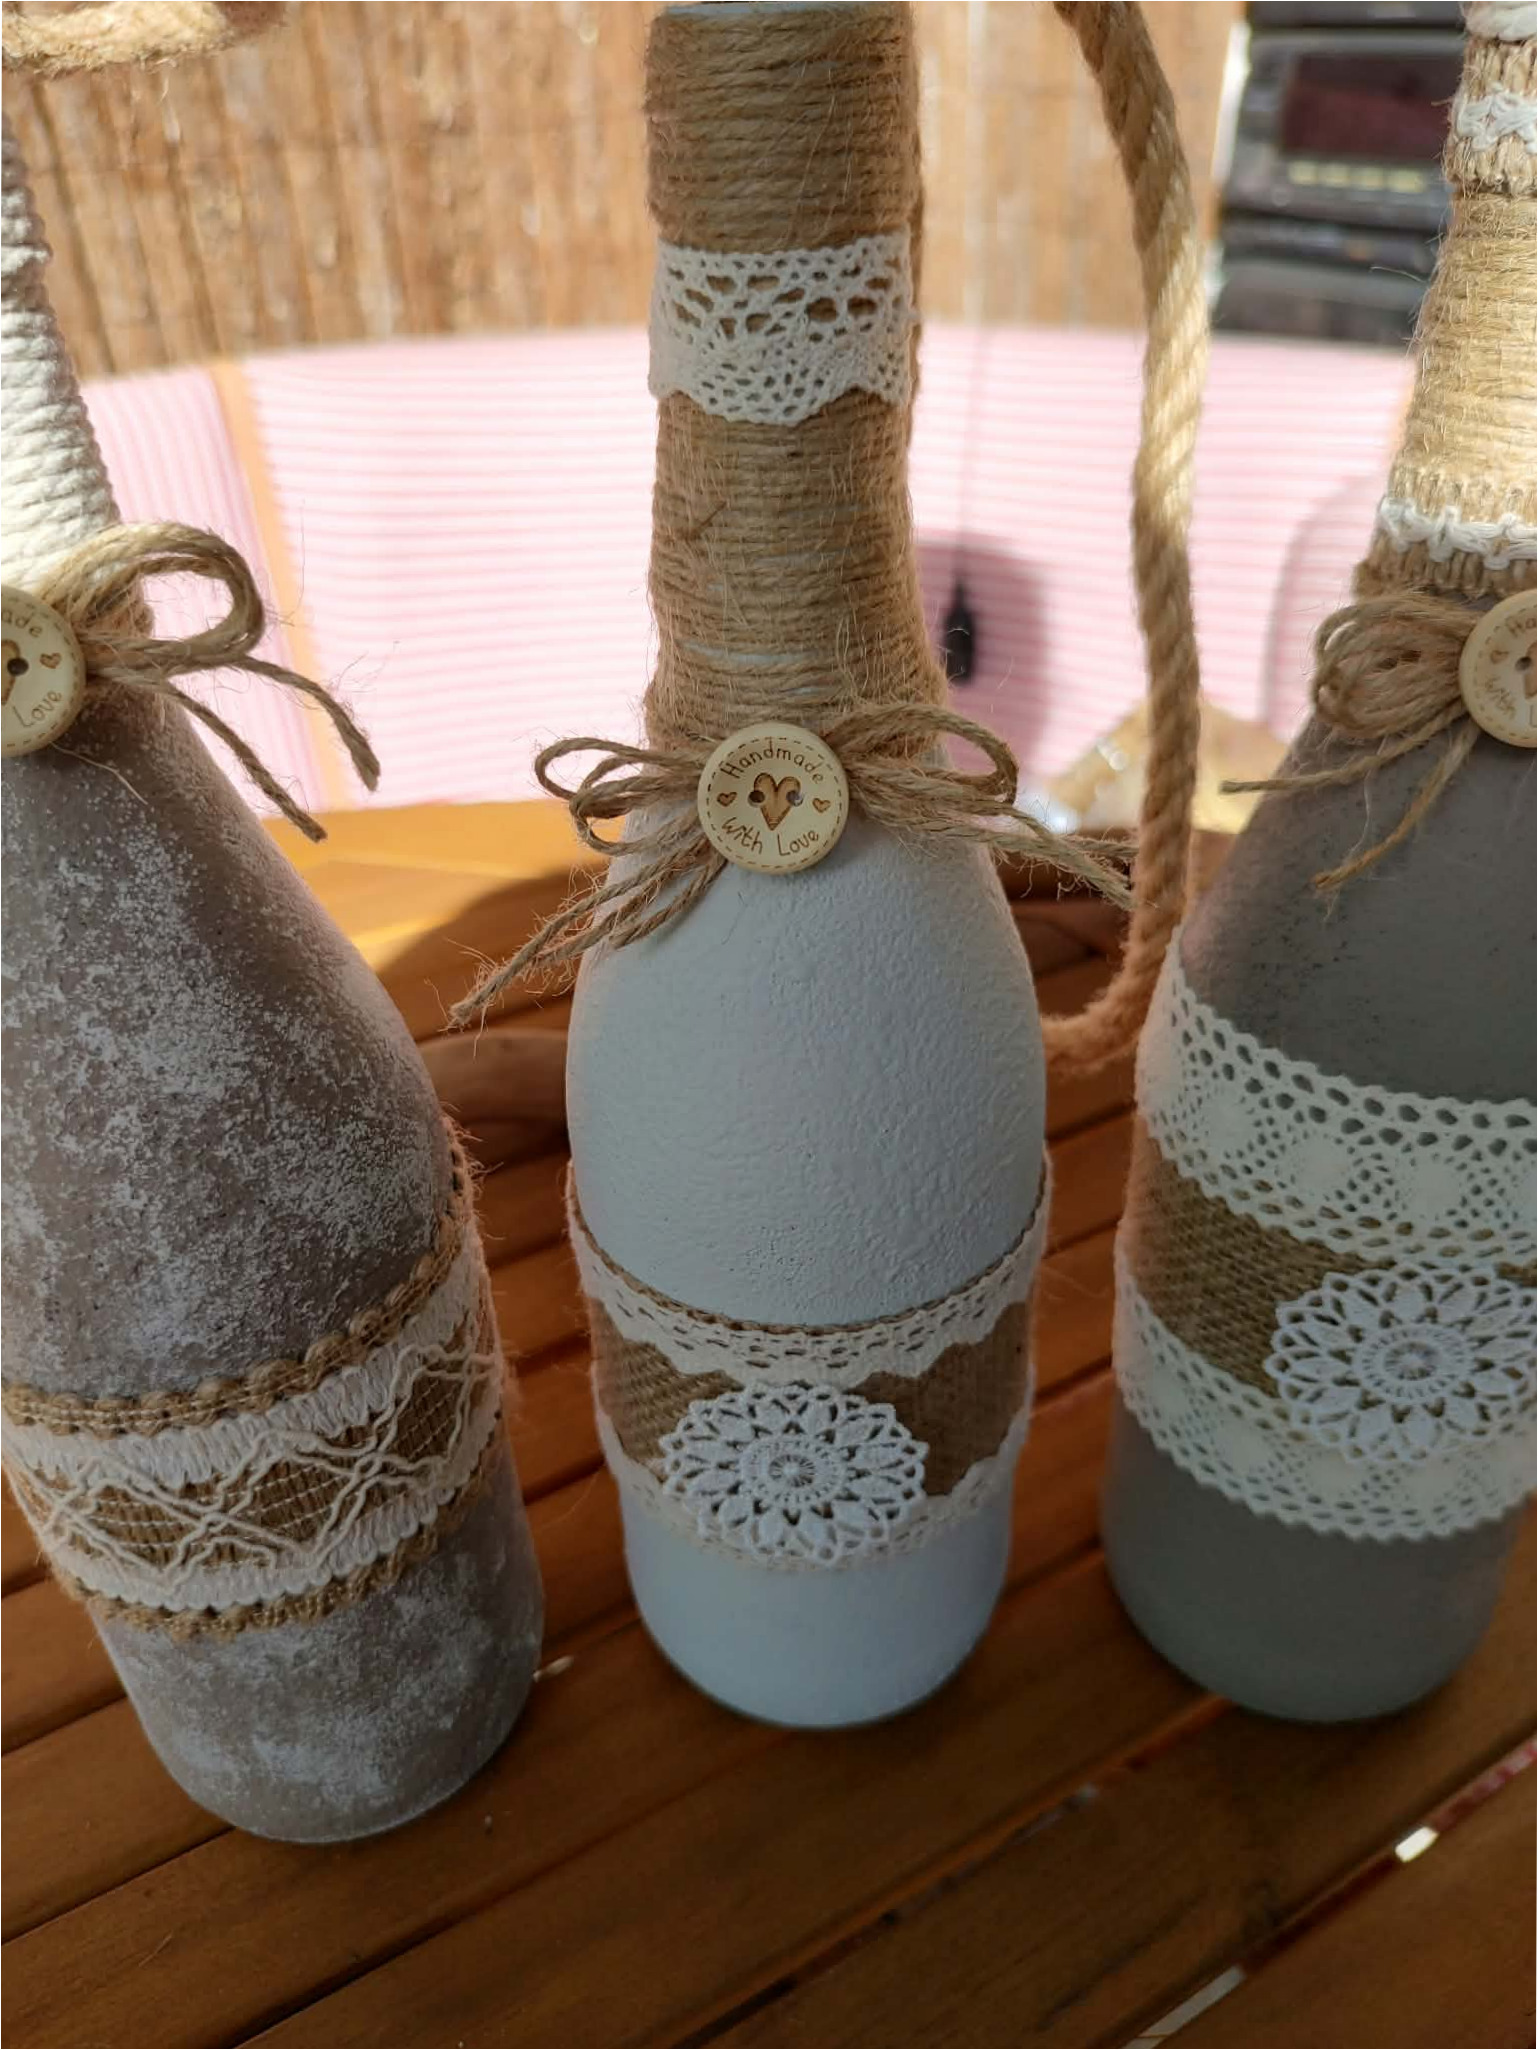
17. Decorate each bottle differently: Use a narrower lace on one bottle, a wider ribbon on another, and a mix of textures on the next. By repeating the use of twine, buttons, and light lace, you’ll visually connect all the pieces.
18. Hang the bottles on the branch: Insert dried grasses into the bottles and hang them on the branch using the prepared ropes. Arrange them at different heights so they don’t touch each other. Secure the branch to the wall according to its weight and the type of surface.
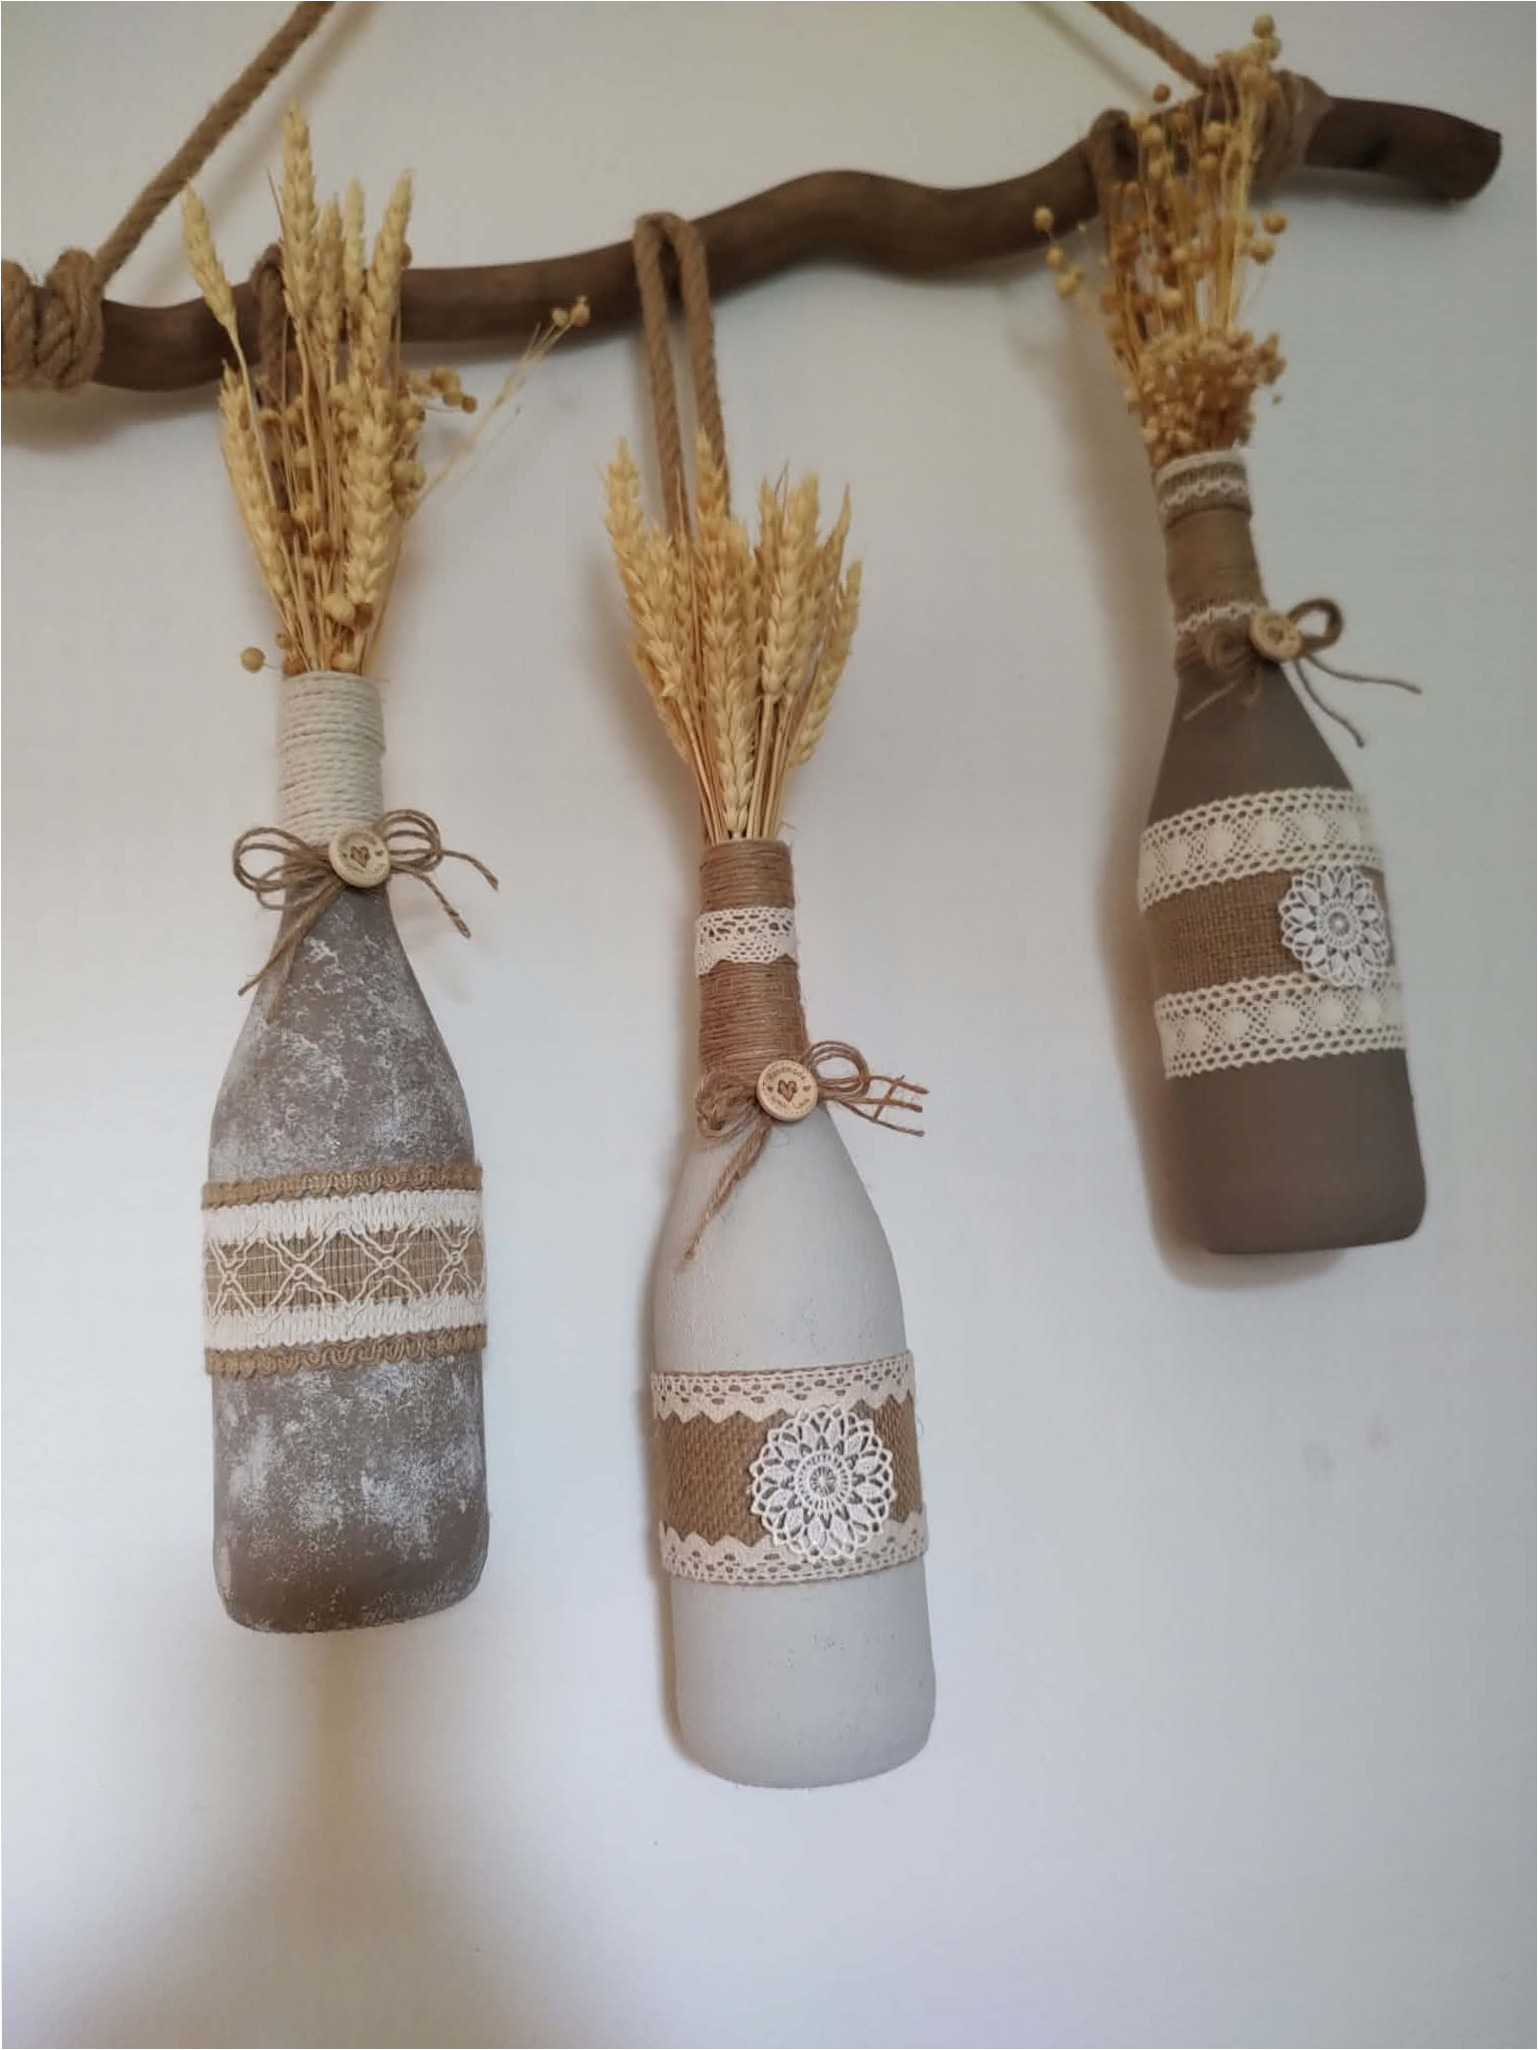
19. Check the final arrangement: Finally, adjust the length of each hanger, the orientation of the bottles, and the direction of the grasses. Place heavier pieces so the branch remains balanced and the decoration doesn’t tilt when hung.
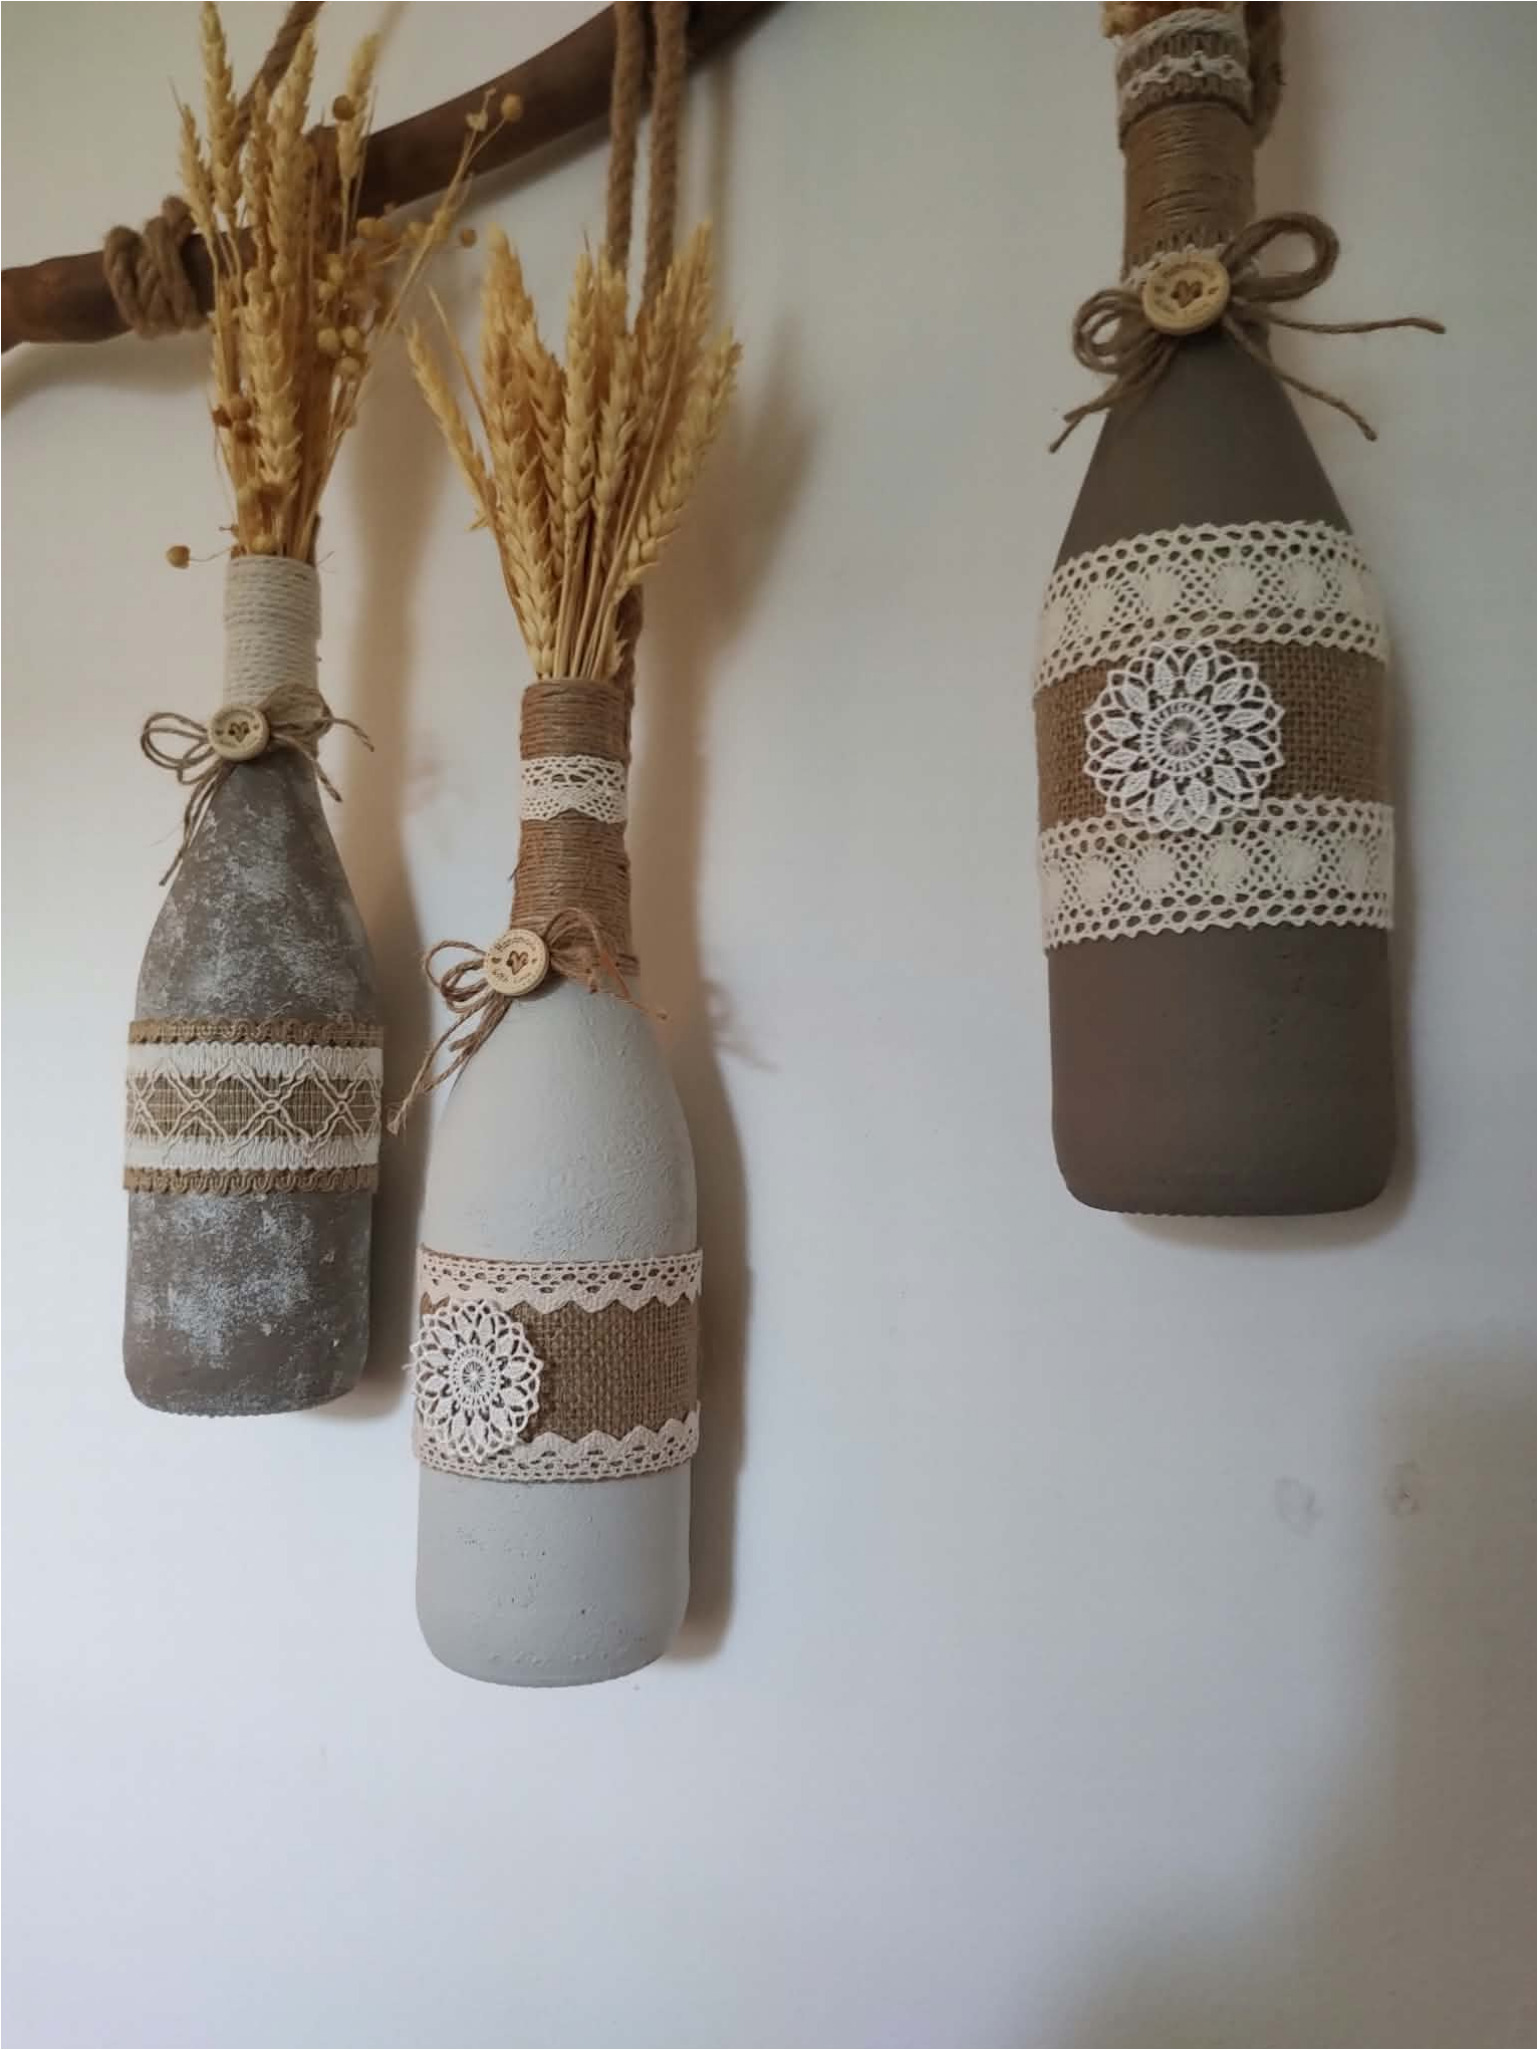
Final Tip
Because glass bottles are heavier, regularly check the knots, wrappings, and how the branch is attached to the wall. Do not hang the decoration above a bed, sofa, or any place where a fall could injure someone. To refresh the look, simply swap out the dried plants or add a different lace detail.