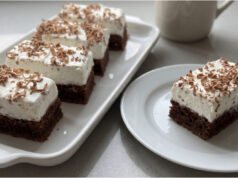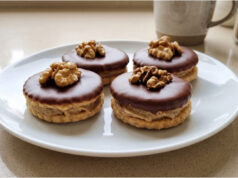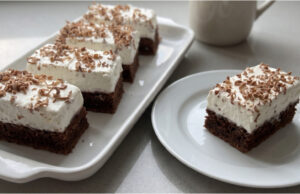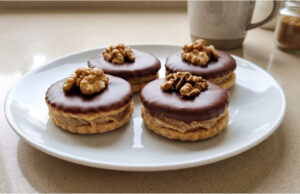

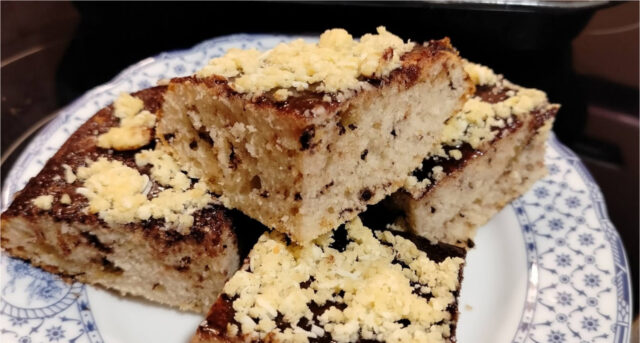
Fragrant batter with grated Margot bars, a cocoa glaze, and a crunchy nut topping create a simple cake that’s perfect with afternoon coffee. Thanks to cup measurements, you don’t need a scale and can make the batter from common ingredients.
This dessert is baked on a baking sheet greased with butter and dusted with flour. Once cooled, it’s topped with a homemade cocoa glaze and sprinkled with ground nuts, pistachios, or grated white Margot bar to taste.
What You’ll Need
For the batter:
- 2 cups semi-coarse flour,
- 3/4 cup powdered sugar,
- 2 eggs,
- 1 packet baking powder,
- 1 packet vanilla sugar,
- 1 whipping cream,
- 1/2 cup milk,
- 1/2 cup oil,
- 2 Margot bars,
- butter for greasing the baking sheet,
- coarse flour for dusting the baking sheet.
For the chocolate glaze:
- 4 tablespoons cocoa powder,
- 12 tablespoons powdered sugar,
- 4 tablespoons butter or vegetable shortening,
- 6 tablespoons water.
For finishing:
- ground nuts or pistachios to taste,
- optionally, a white Margot bar for grating.
Step-by-Step Preparation:
1. Prepare the baking sheet: Thoroughly grease the baking sheet with butter and dust it with coarse flour. Preheat the oven to 180°C so it’s ready when the batter is finished.
2. Beat the eggs: Place the whole eggs in a bowl, add the powdered and vanilla sugar, and beat together until frothy. Proper beating helps create a lighter cake base.
3. Add the liquid ingredients: Gradually add the whipping cream, milk, and oil to the egg foam, mixing continuously so the liquids combine evenly with the sweet egg base.
4. Finish the batter: Add the semi-coarse flour mixed with baking powder and mix the batter. Work gradually to avoid dry flour lumps and achieve a smooth mixture.
5. Add the Margot bars: Grate both Margot bars on a coarse grater. Gently fold the grated chocolate into the prepared batter so it’s distributed throughout the mixture.
6. Fill the baking sheet: Pour the finished batter onto the buttered and floured baking sheet. Smooth the surface as needed so the cake bakes evenly across the whole sheet.
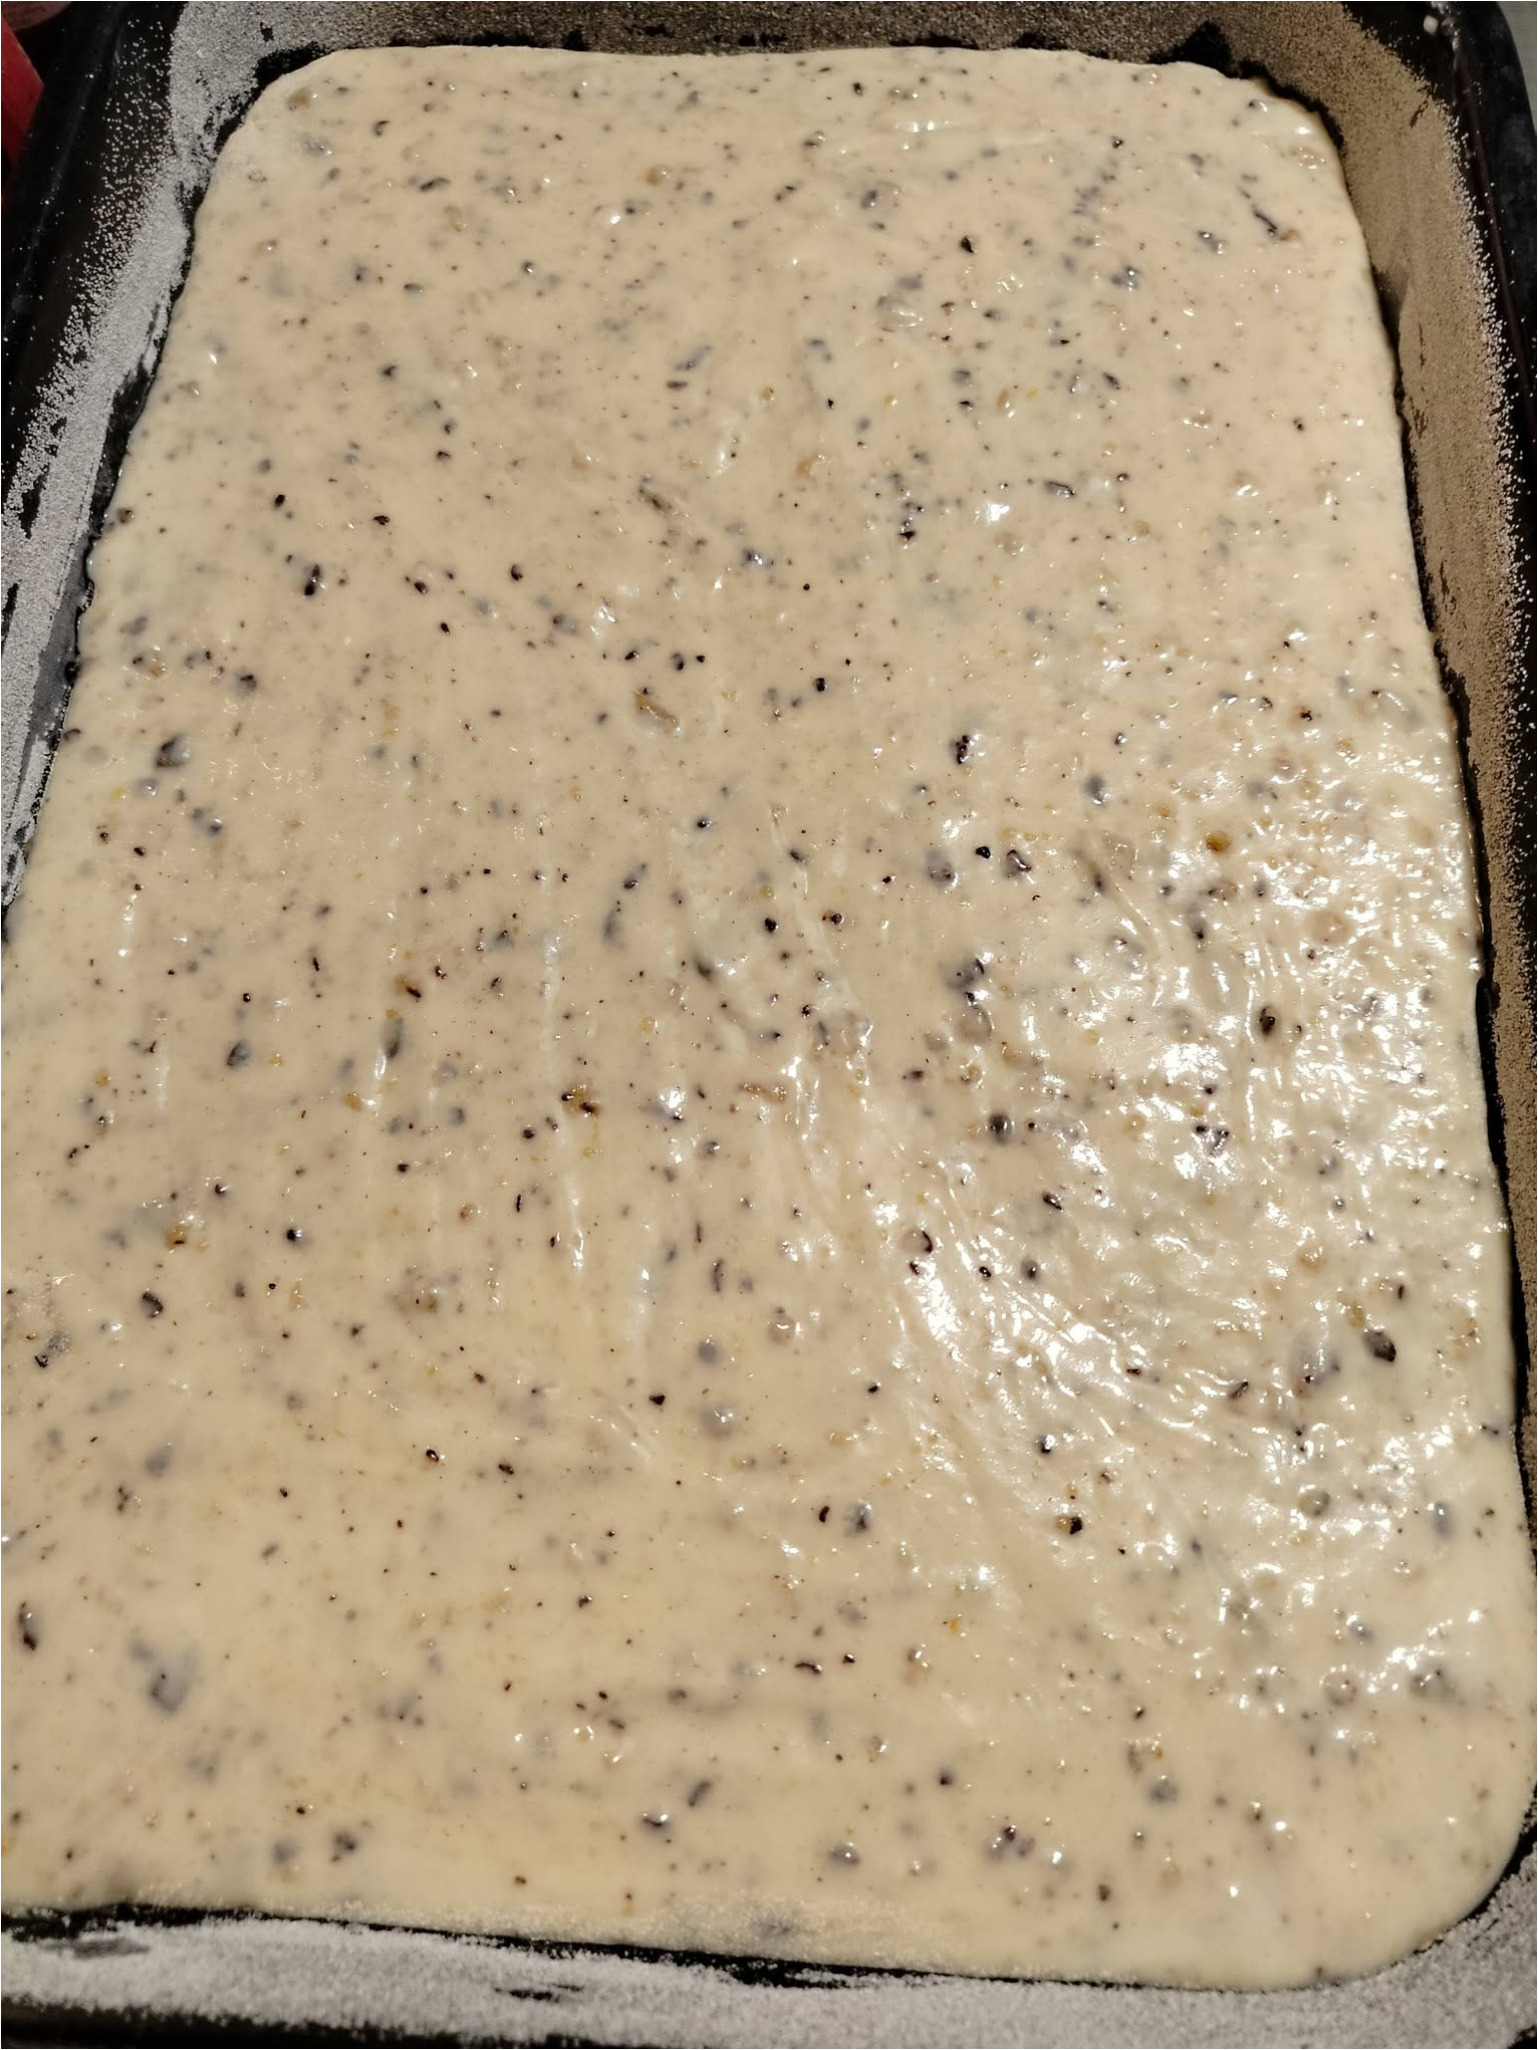
7. Bake: Place the cake in the oven preheated to 180°C and bake for about 20 minutes. The exact time may vary depending on your oven, so check the cake towards the end of baking.
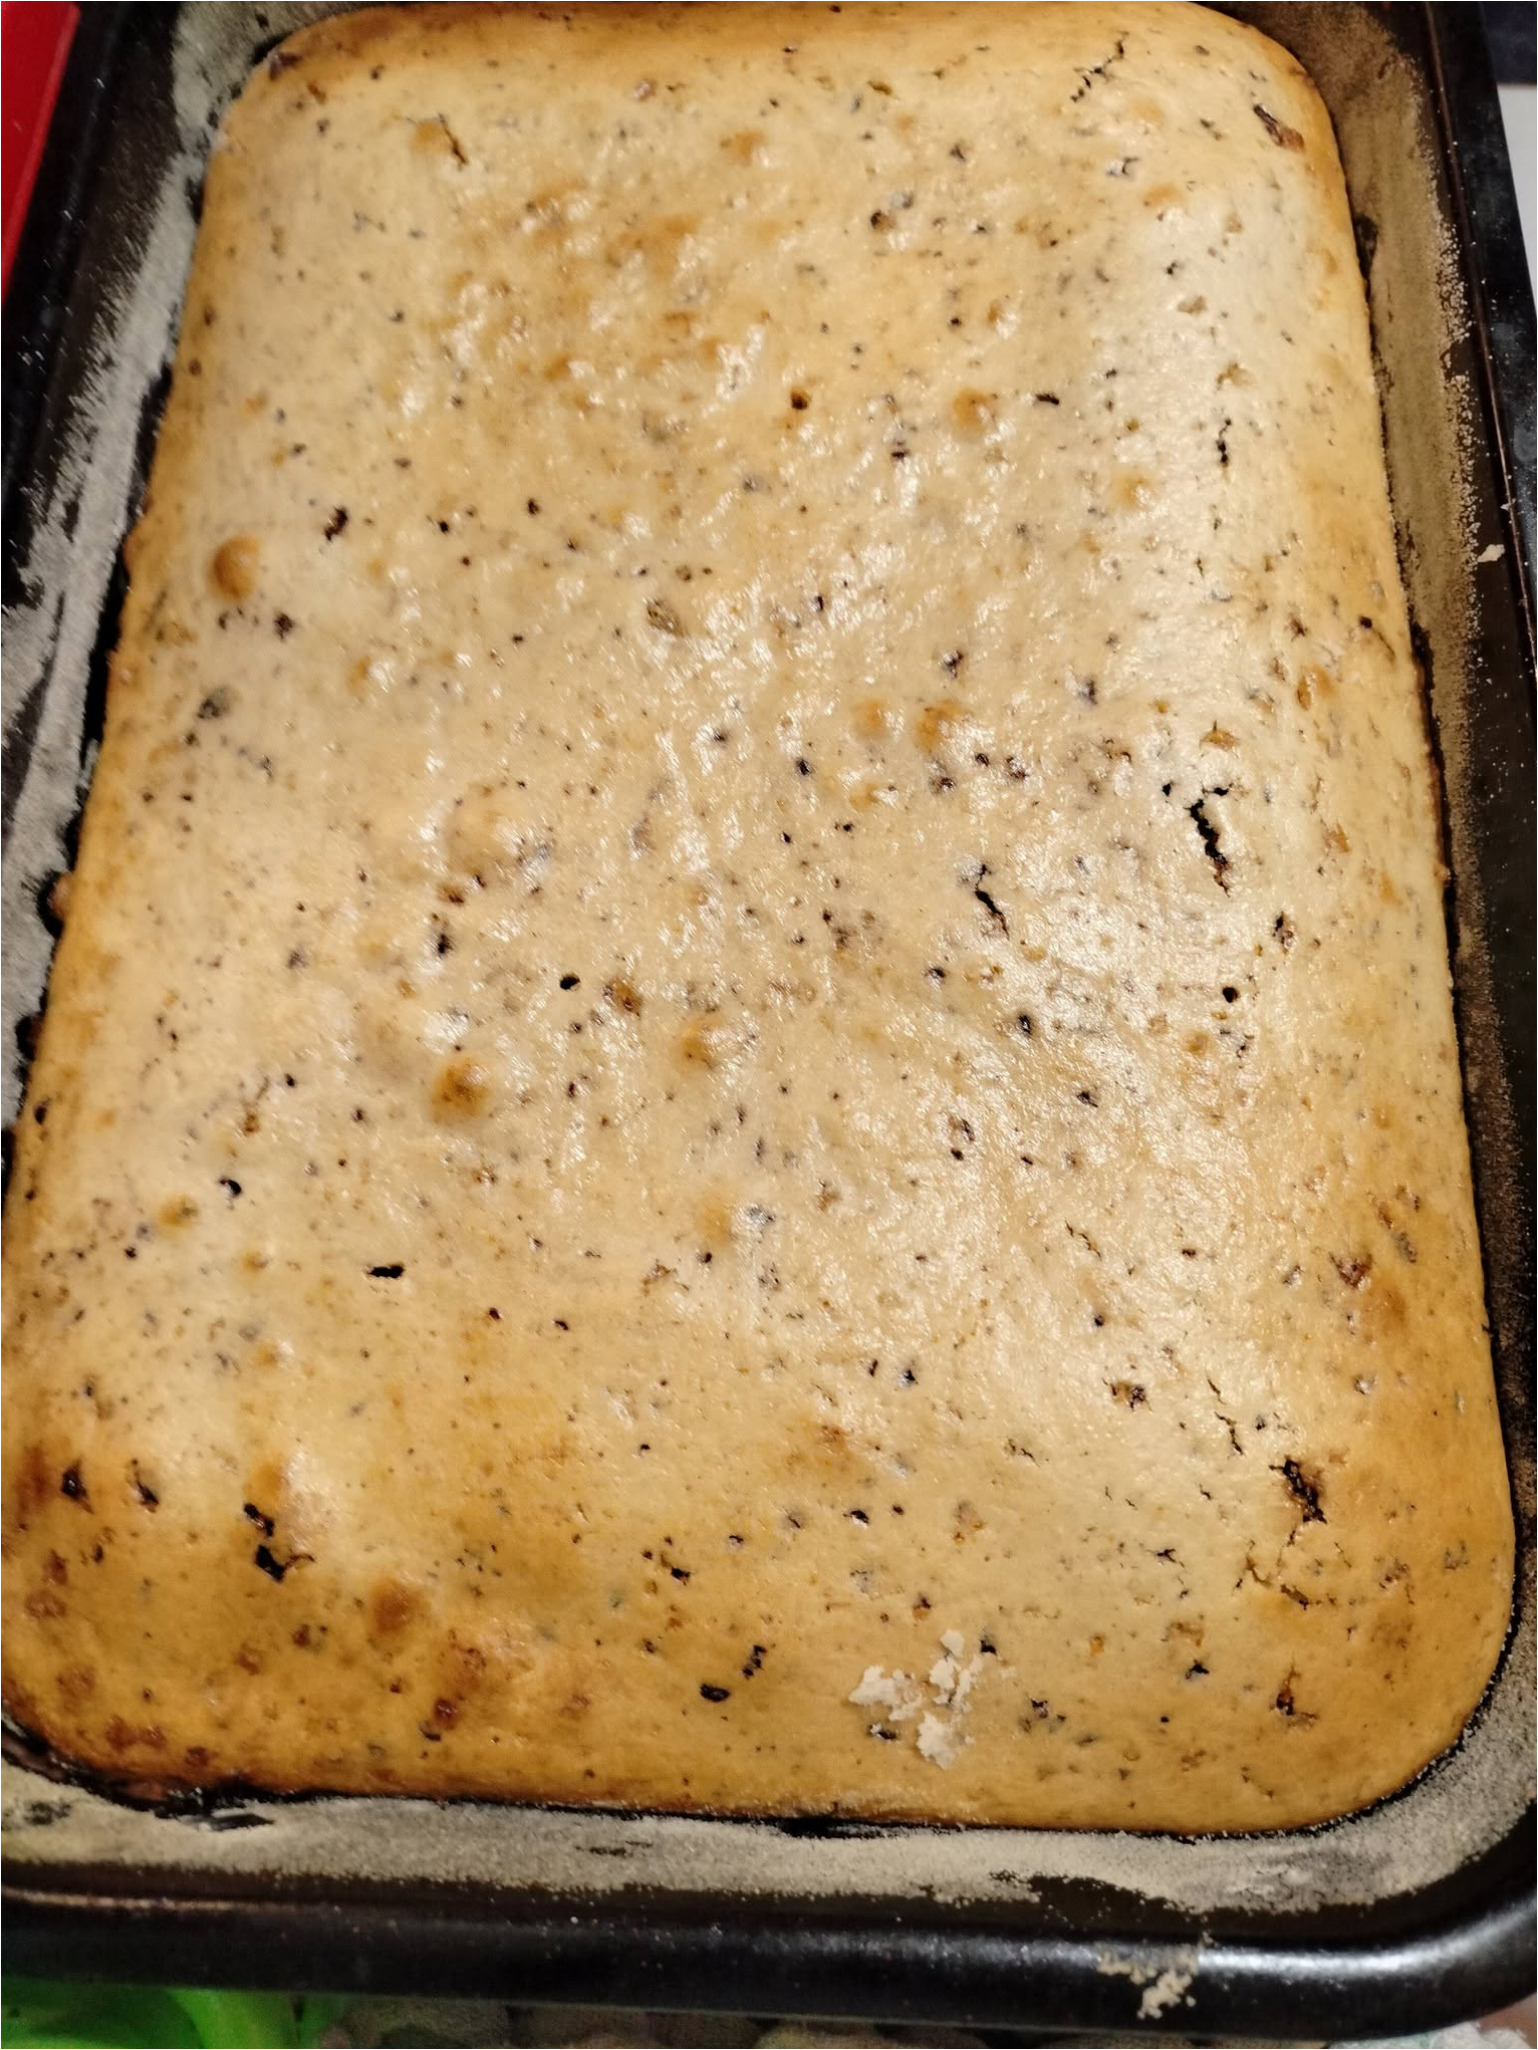
8. Cool: Remove the baked cake from the oven and let it cool. Only apply the glaze to a cooled cake so it stays on top and doesn’t soak into the hot cake.
9. Prepare the glaze: Place the cocoa, powdered sugar, butter or shortening, and water in a bowl suitable for a water bath. Heat the mixture, stirring constantly, until the butter melts completely and all ingredients combine into a smooth glaze.
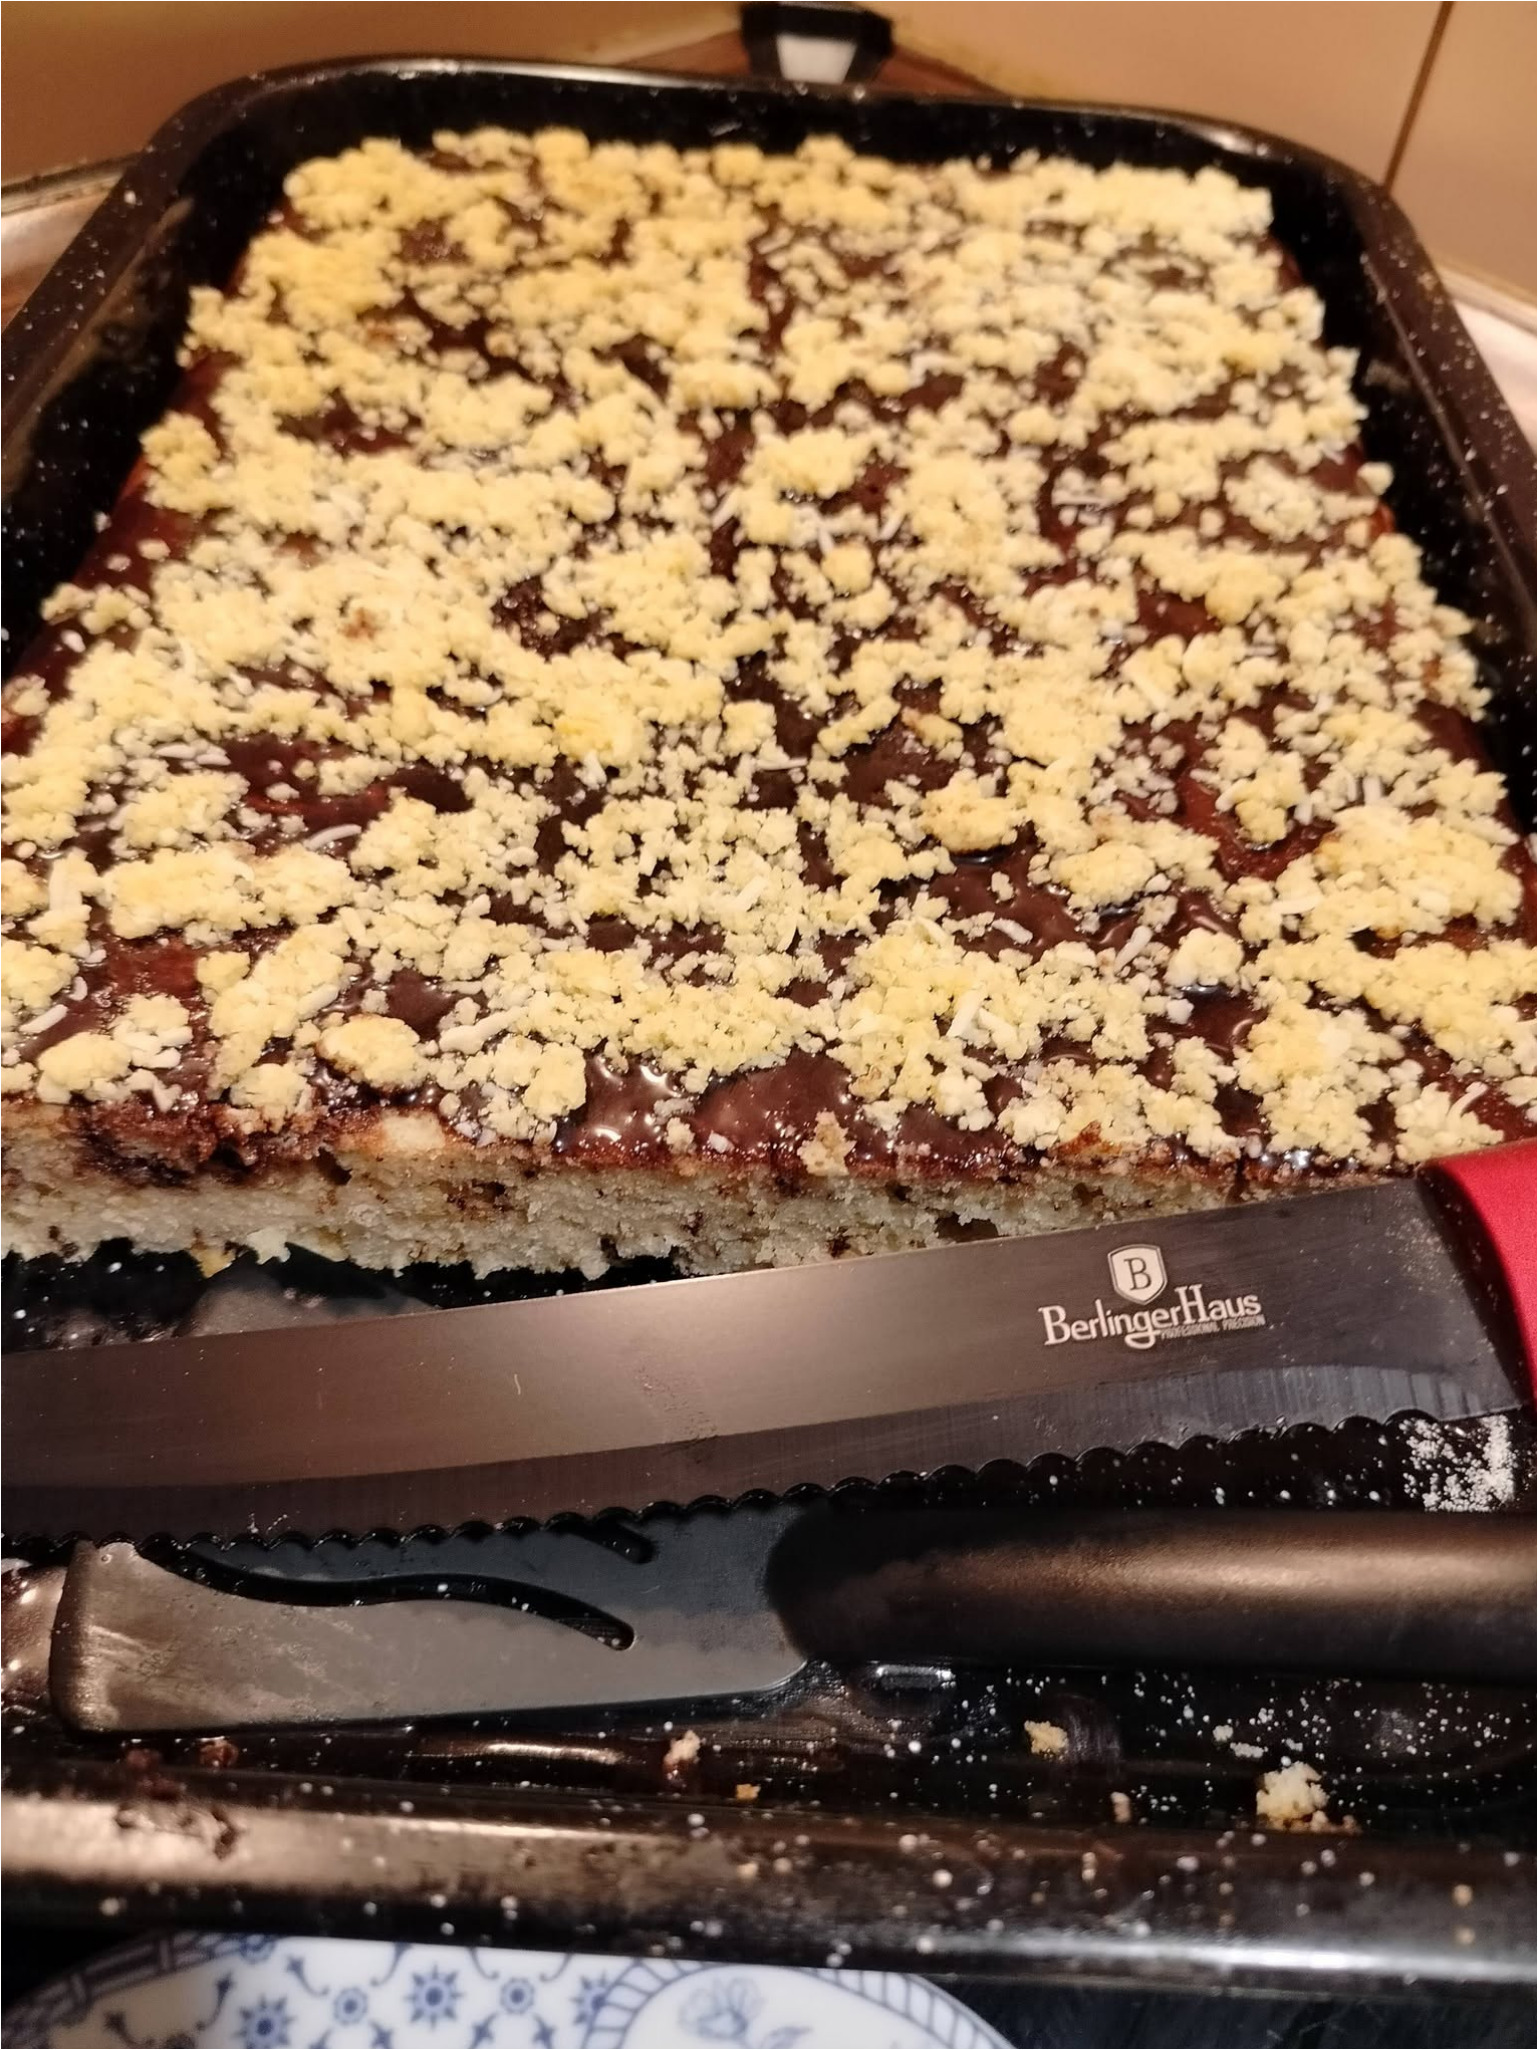
10. Finish: Pour the chocolate glaze over the cooled cake and sprinkle with ground nuts or pistachios. For the original version, you can also finish the top with grated white Margot bar.
How to Make a Smooth Chocolate Glaze
Heat the glaze in a water bath, stirring regularly until the butter melts. This method provides gentle heat, helping the cocoa, sugar, fat, and water combine into a smooth mixture.
Spread the finished glaze over the cooled cake. Add nuts, pistachios, or grated white Margot bar on top at the end so they stick well to the glaze.
How to Finish the Cake to Your Taste
The original recipe offers several topping options. You can use regular ground nuts, more distinctive pistachios, or grated white Margot bar. The amount isn’t specified, so just add a layer that nicely complements the chocolate glaze.
Final Tip
Always let the cake cool before glazing. When baking, follow not only the suggested 20 minutes but also your oven’s characteristics, since the original recipe notes that the time may vary slightly depending on your oven.