


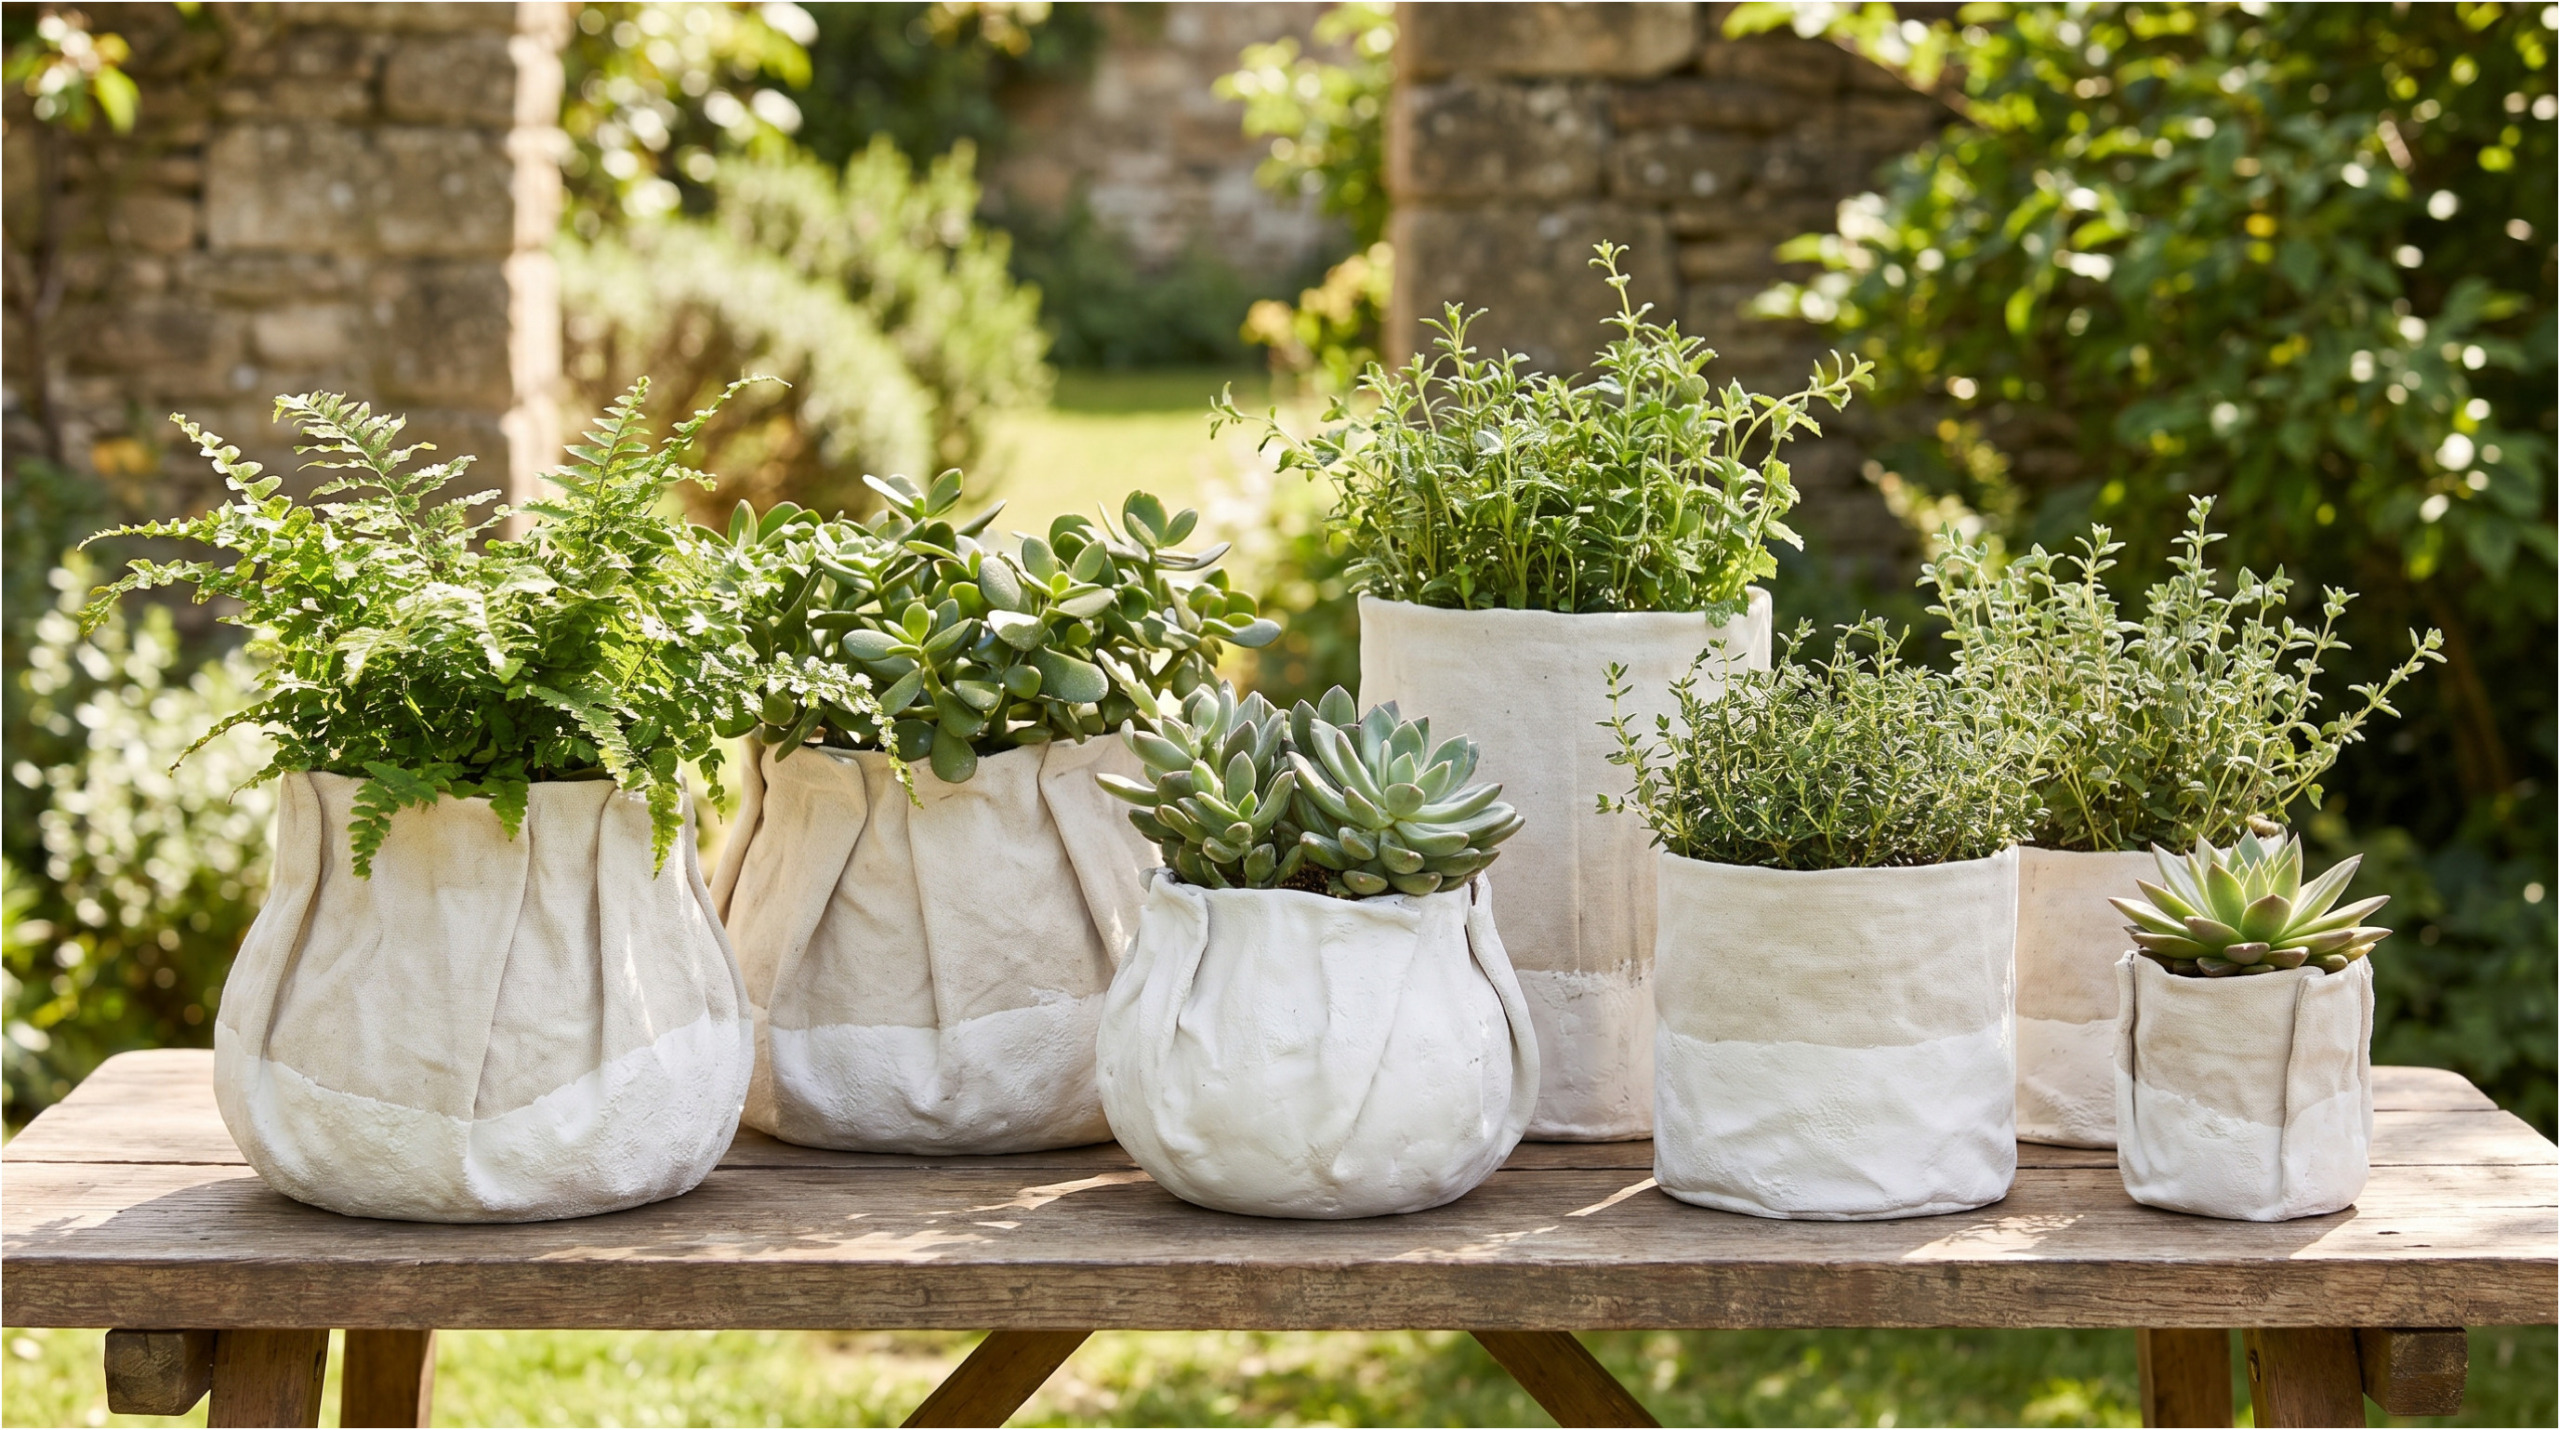
Designer planters and plant covers can cost several hundred crowns in stores. Yet you can achieve a very similar effect at home for a fraction of the price. All you need is ordinary plaster, an old towel, a suitable container as a mold, and a bit of patience. The result is original plant pot covers that look like they came from a modern garden studio.
This simple DIY method is perfect for anyone who loves natural decorations, a concrete look, and handmade accessories for the garden, terrace, or balcony. Each piece will be unique, and that’s exactly where its greatest charm lies.
Why use plaster and an old towel?
Plaster is cheap, easily available, and easy to work with. When you soak an old towel or a sturdier fabric in it, it forms a solid shape with beautifully wavy edges once dry. These edges give the cover a luxurious and irregular look, reminiscent of handmade ceramics or modern concrete decorations.
Plus, you don’t have to throw away your old towel. Instead, you give it a new purpose and turn it into a decoration that can brighten up your garden all summer long.
What you’ll need
To make your own plant pot cover, prepare:
- plaster,
- water,
- an old towel, dishcloth or absorbent fabric,
- a bucket or bowl for mixing,
- a plastic container, plant pot, or bucket to use as a mold,
- gloves,
- plastic sheeting or newspapers to cover your work area,
- sandpaper,
- paint, varnish, or sealant as needed.
The mold will determine the final shape of your cover. You can use an upside-down plastic plant pot, bucket, bowl, or any other container. The important thing is that the finished cover can be easily removed once dry.
How to make a plant pot cover from plaster and a towel
First, prepare your workspace. Plaster sets quickly and can be messy, so it’s a good idea to lay down plastic sheeting, old newspapers, or cardboard. Ideally, work outside, in the garage, or in a well-ventilated room.
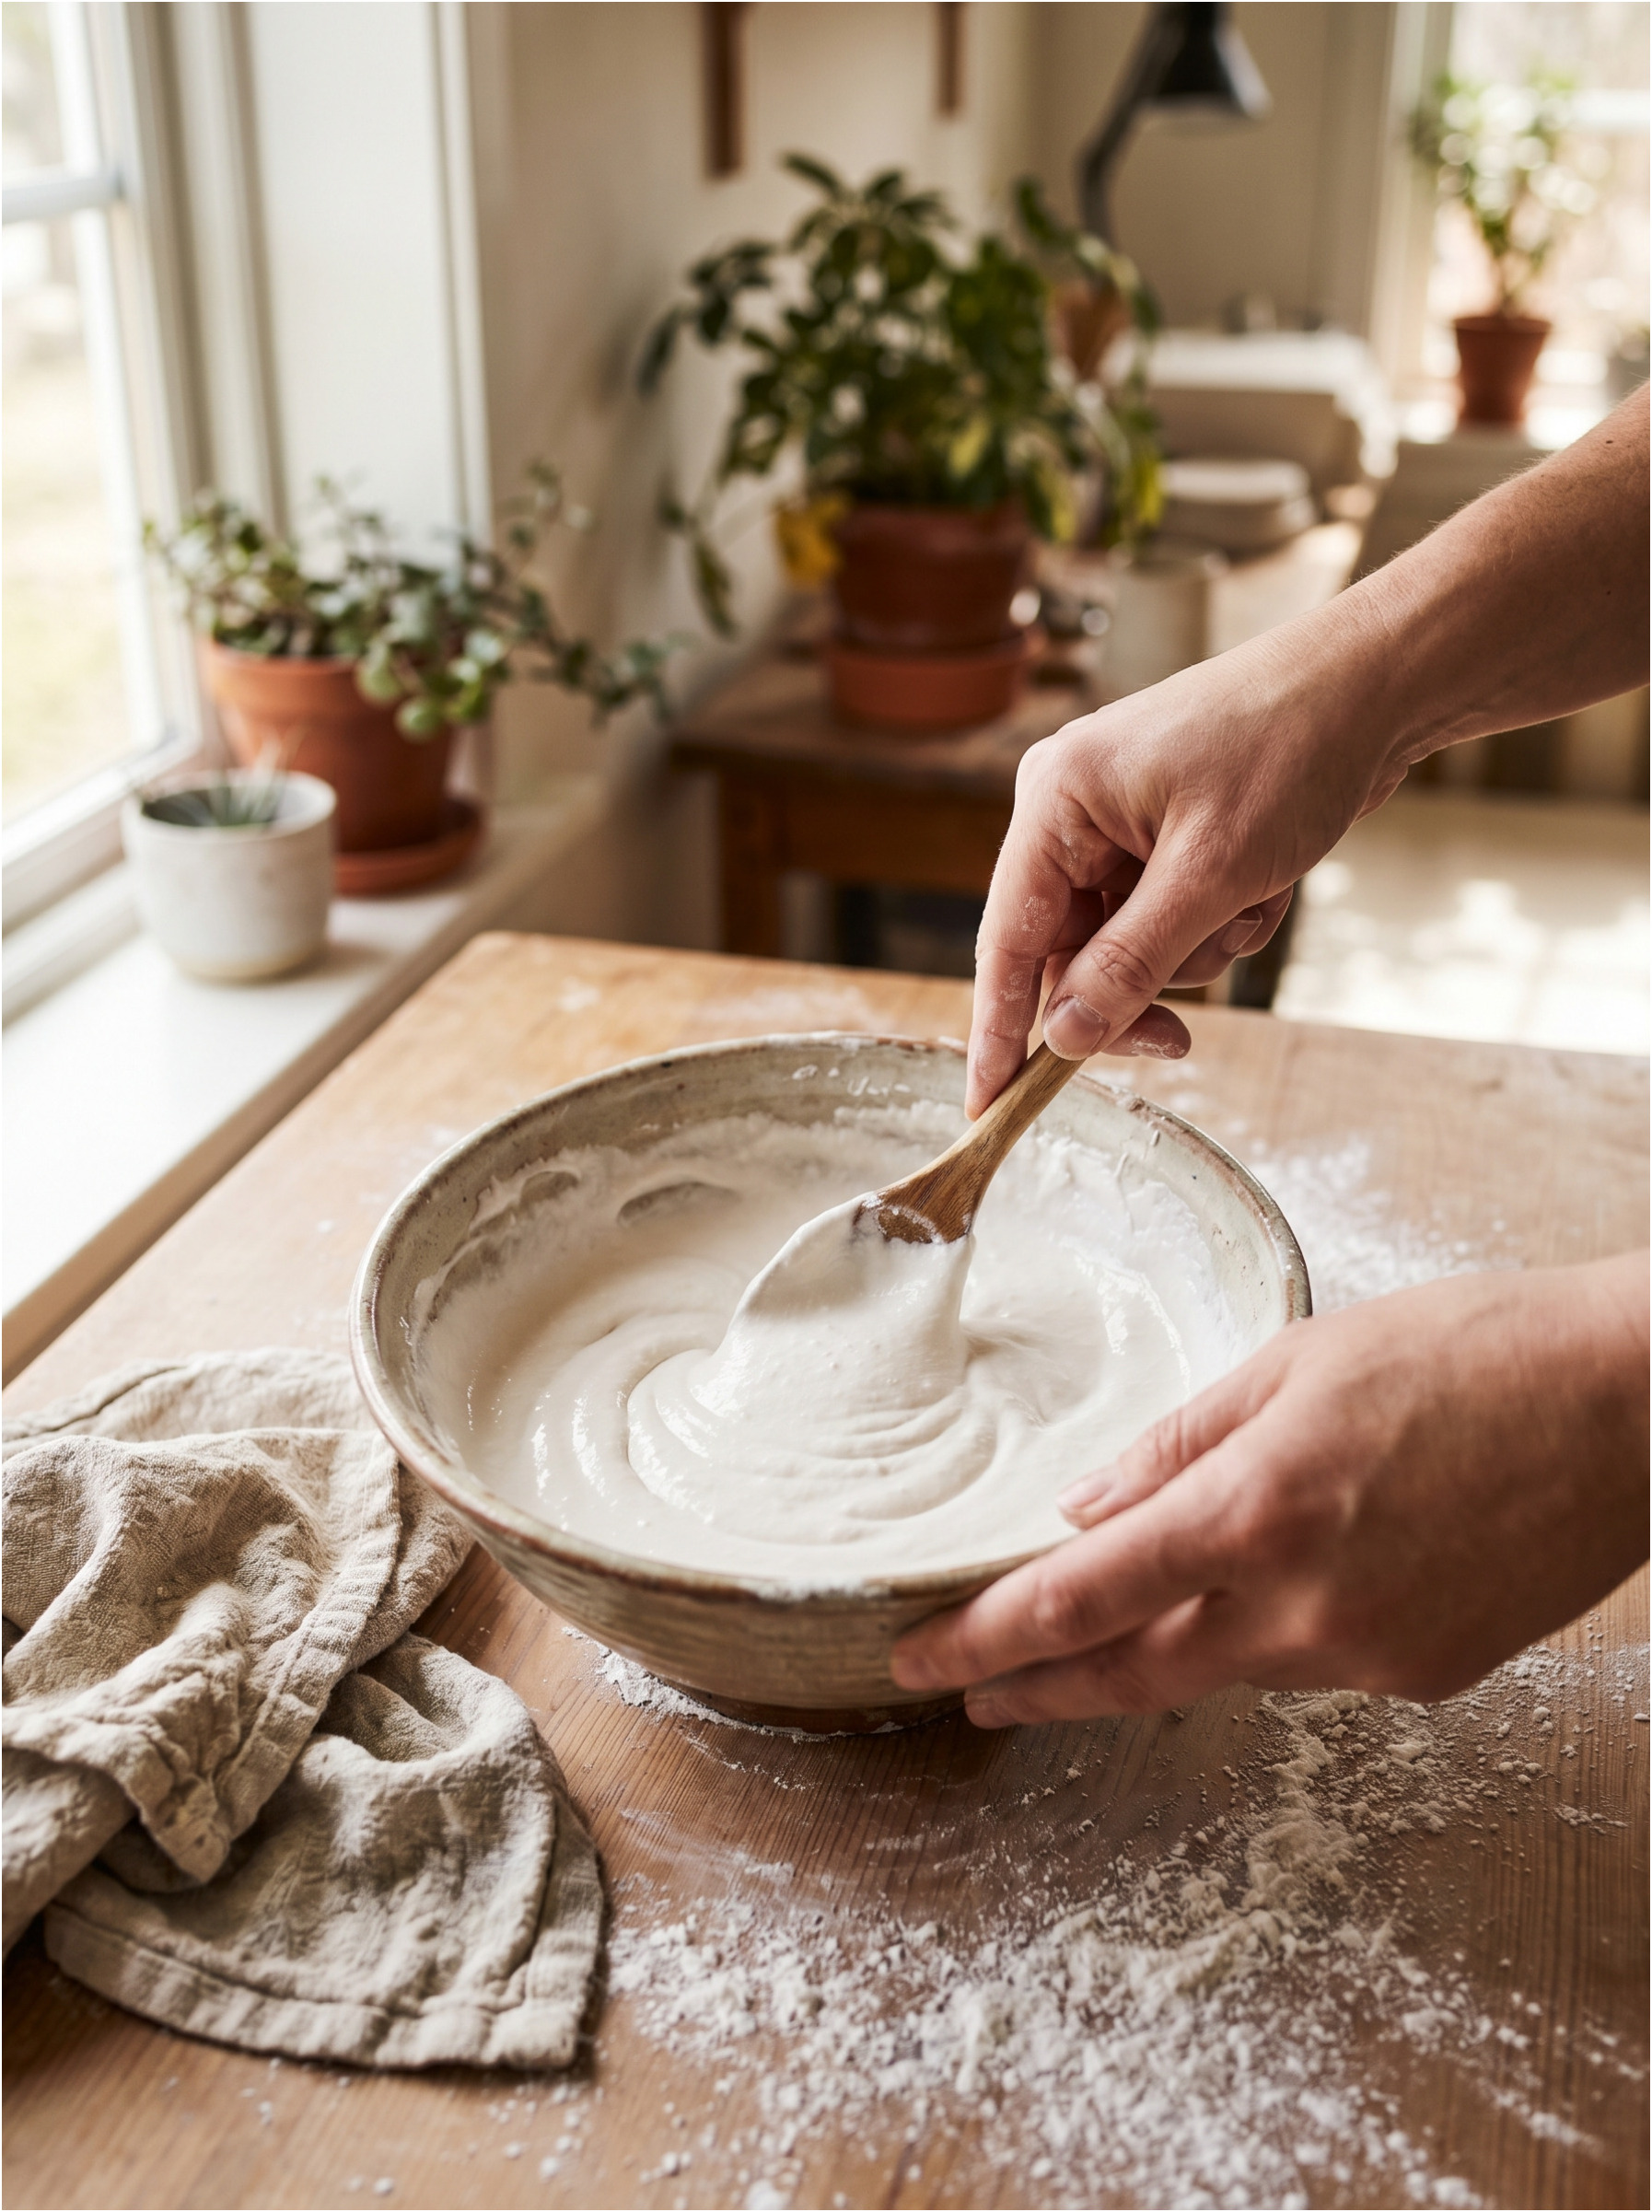
Pour plaster into a container and gradually add water. The mixture should be thick but still liquid enough to soak the towel well. The consistency should resemble thick yogurt or a runny batter.
Place the old towel into the plaster mixture and knead it thoroughly so the plaster soaks into the entire fabric. There should be no dry spots, otherwise the finished cover may not be sturdy.

Then carefully lift out the towel and drape it over the prepared upside-down mold. Spread the fabric so it drapes evenly down the sides. This is the stage where you can play with the shape of the edges. Waves, folds, and irregularities will create a decorative effect once dry.
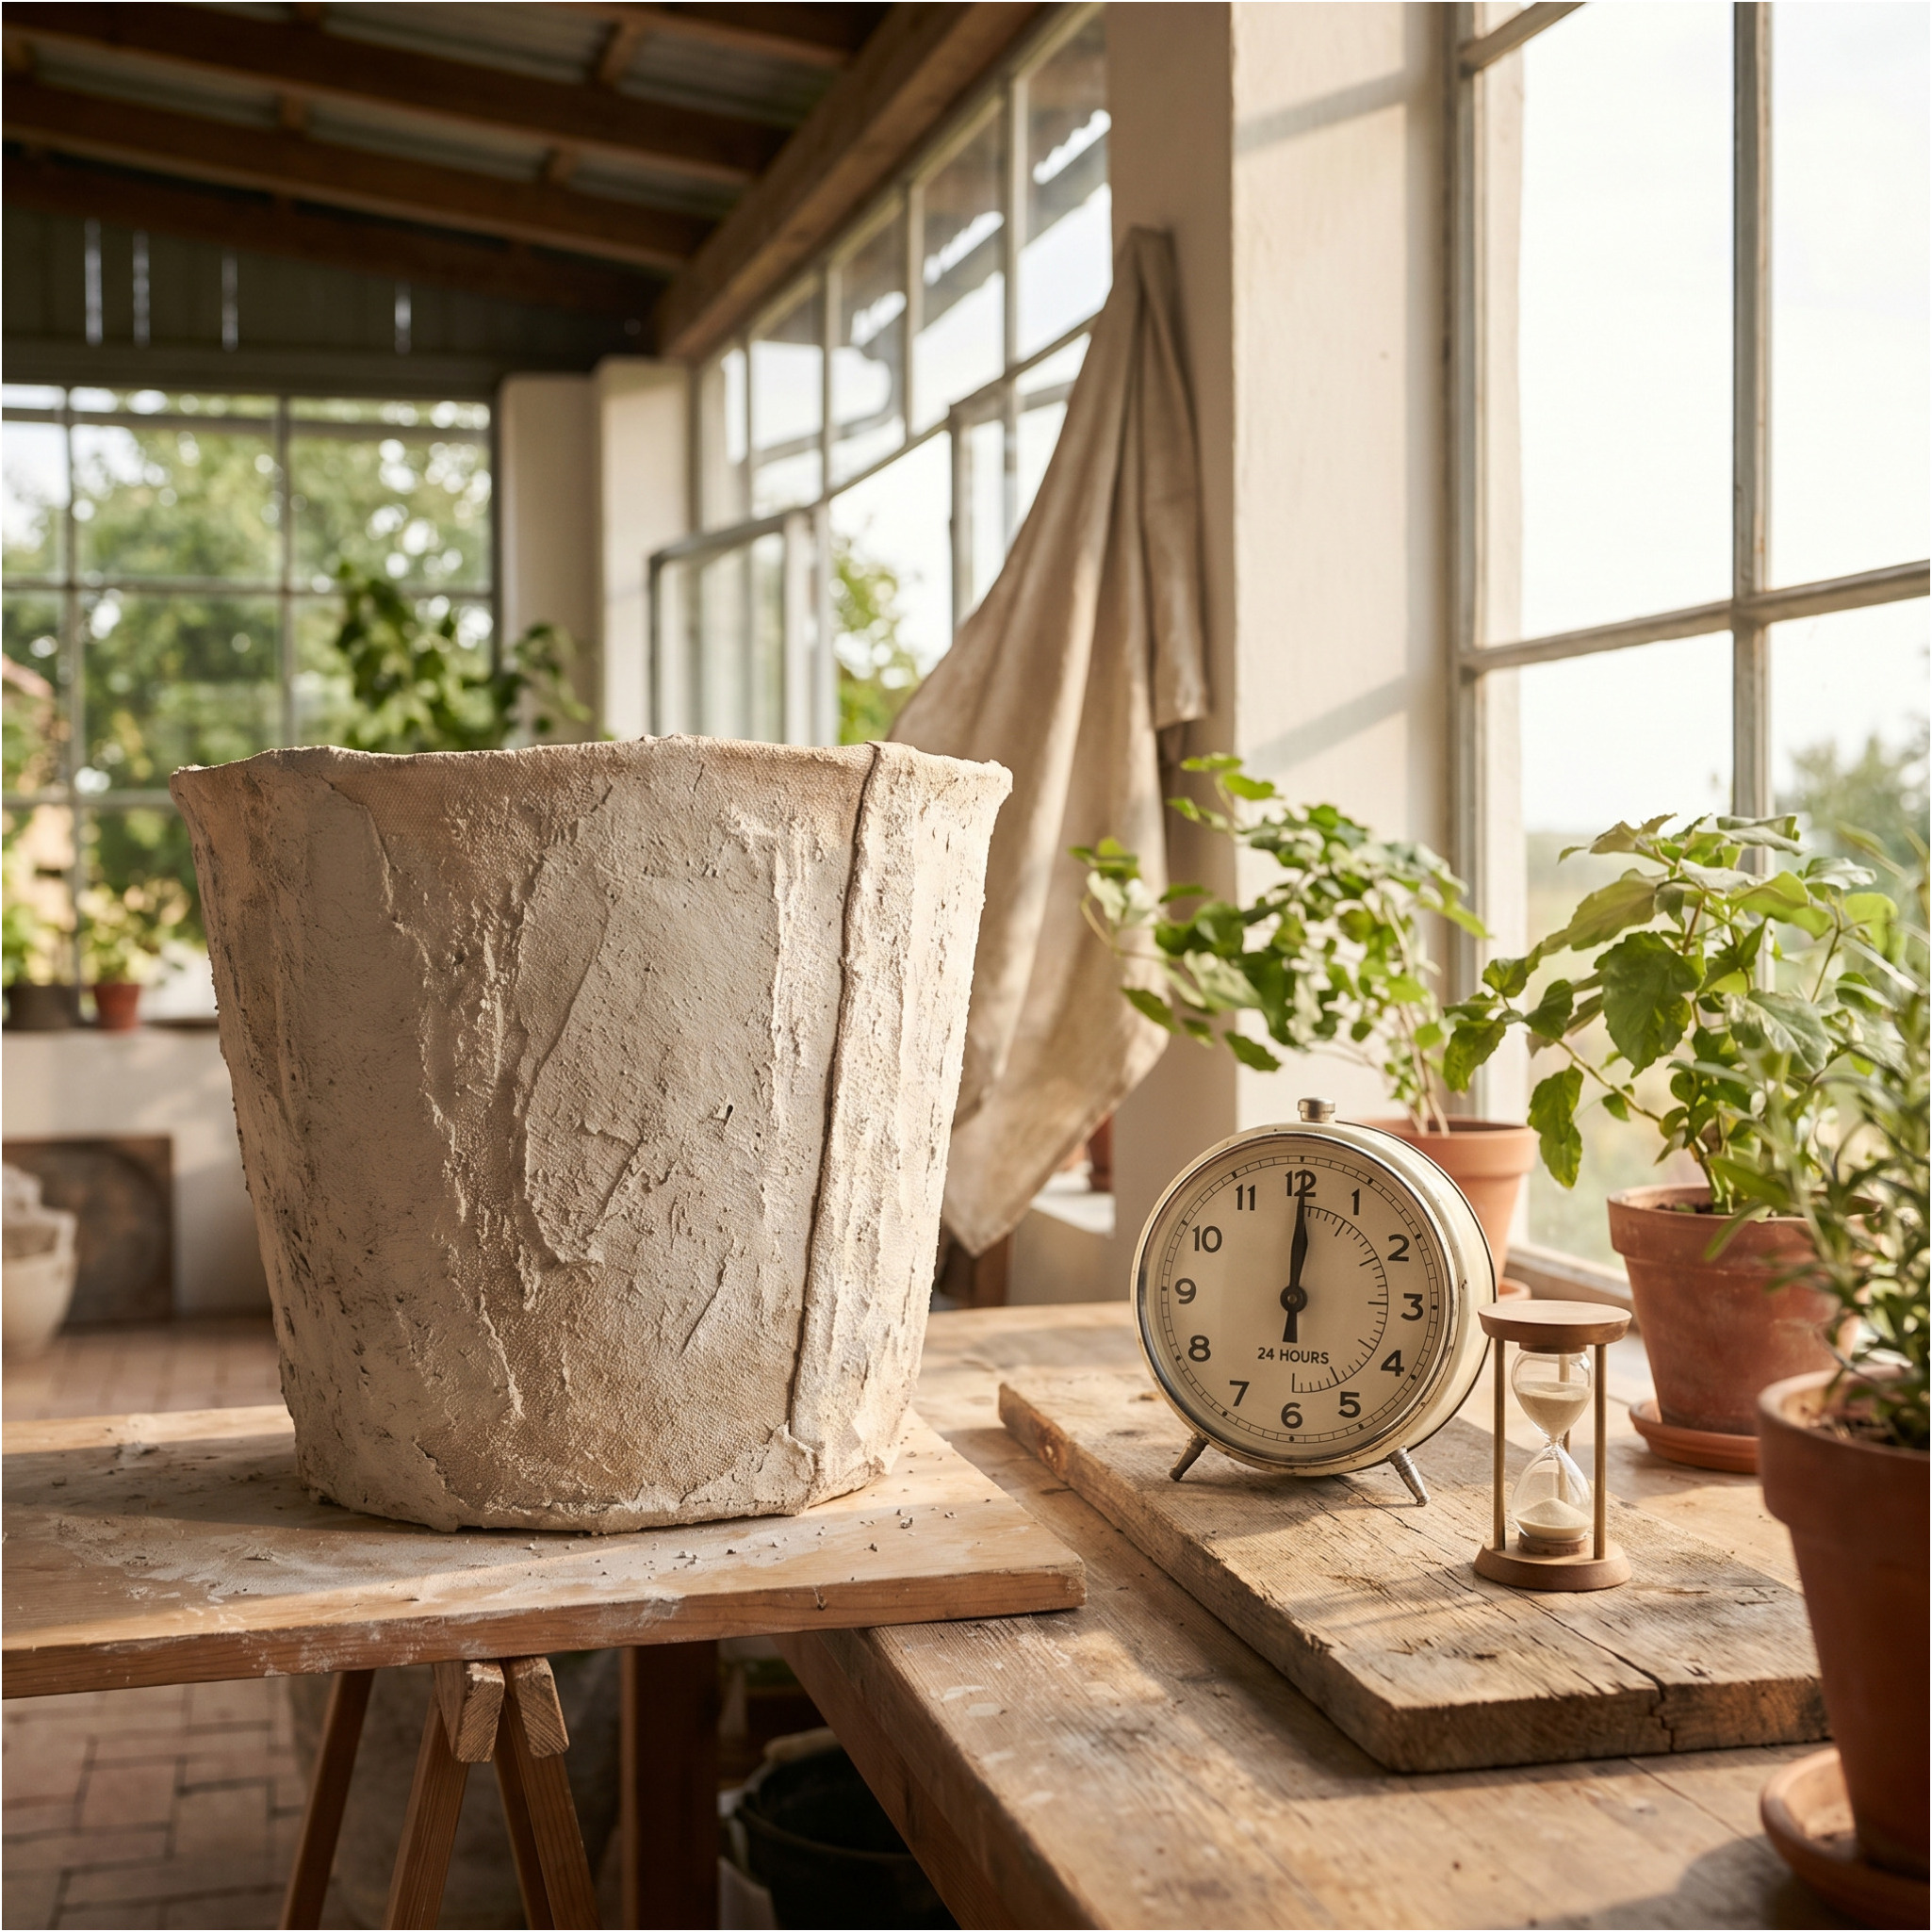
Let the cover dry thoroughly
Let the plaster cover dry for at least 24 hours. For thicker fabric or larger items, it may take even longer. Don’t rush. If you remove the cover too soon, it could deform or crack.
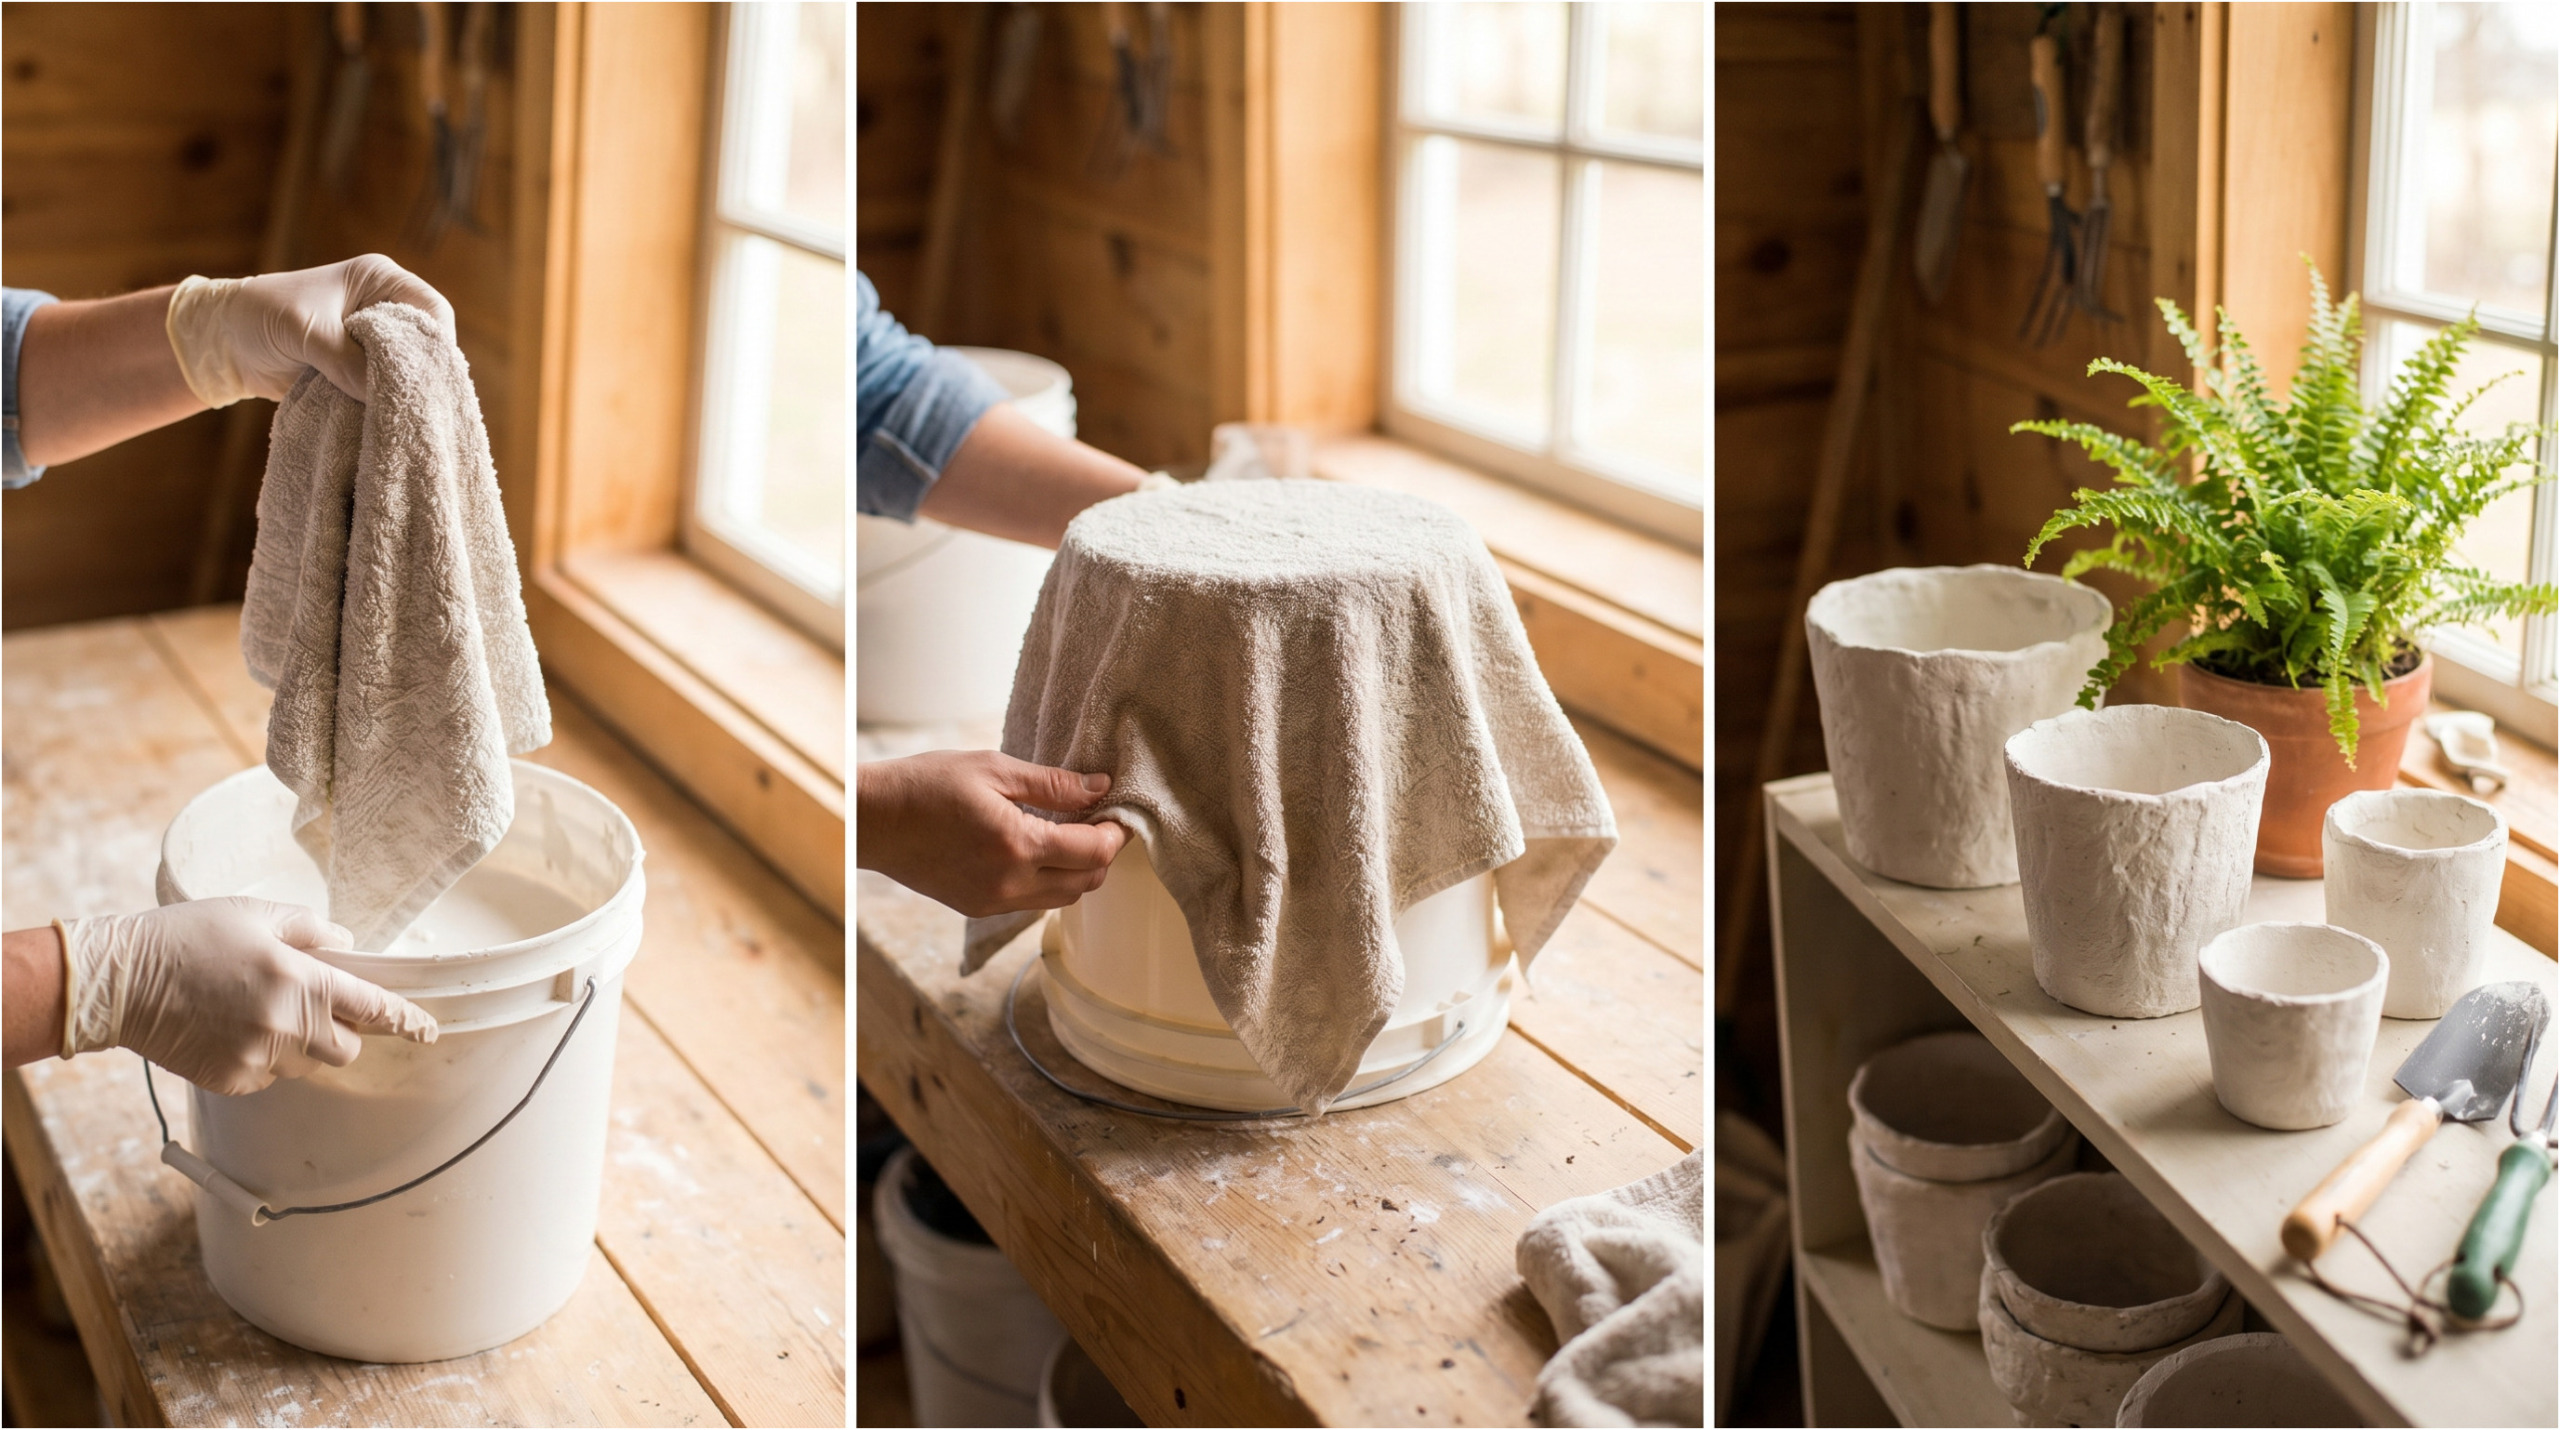
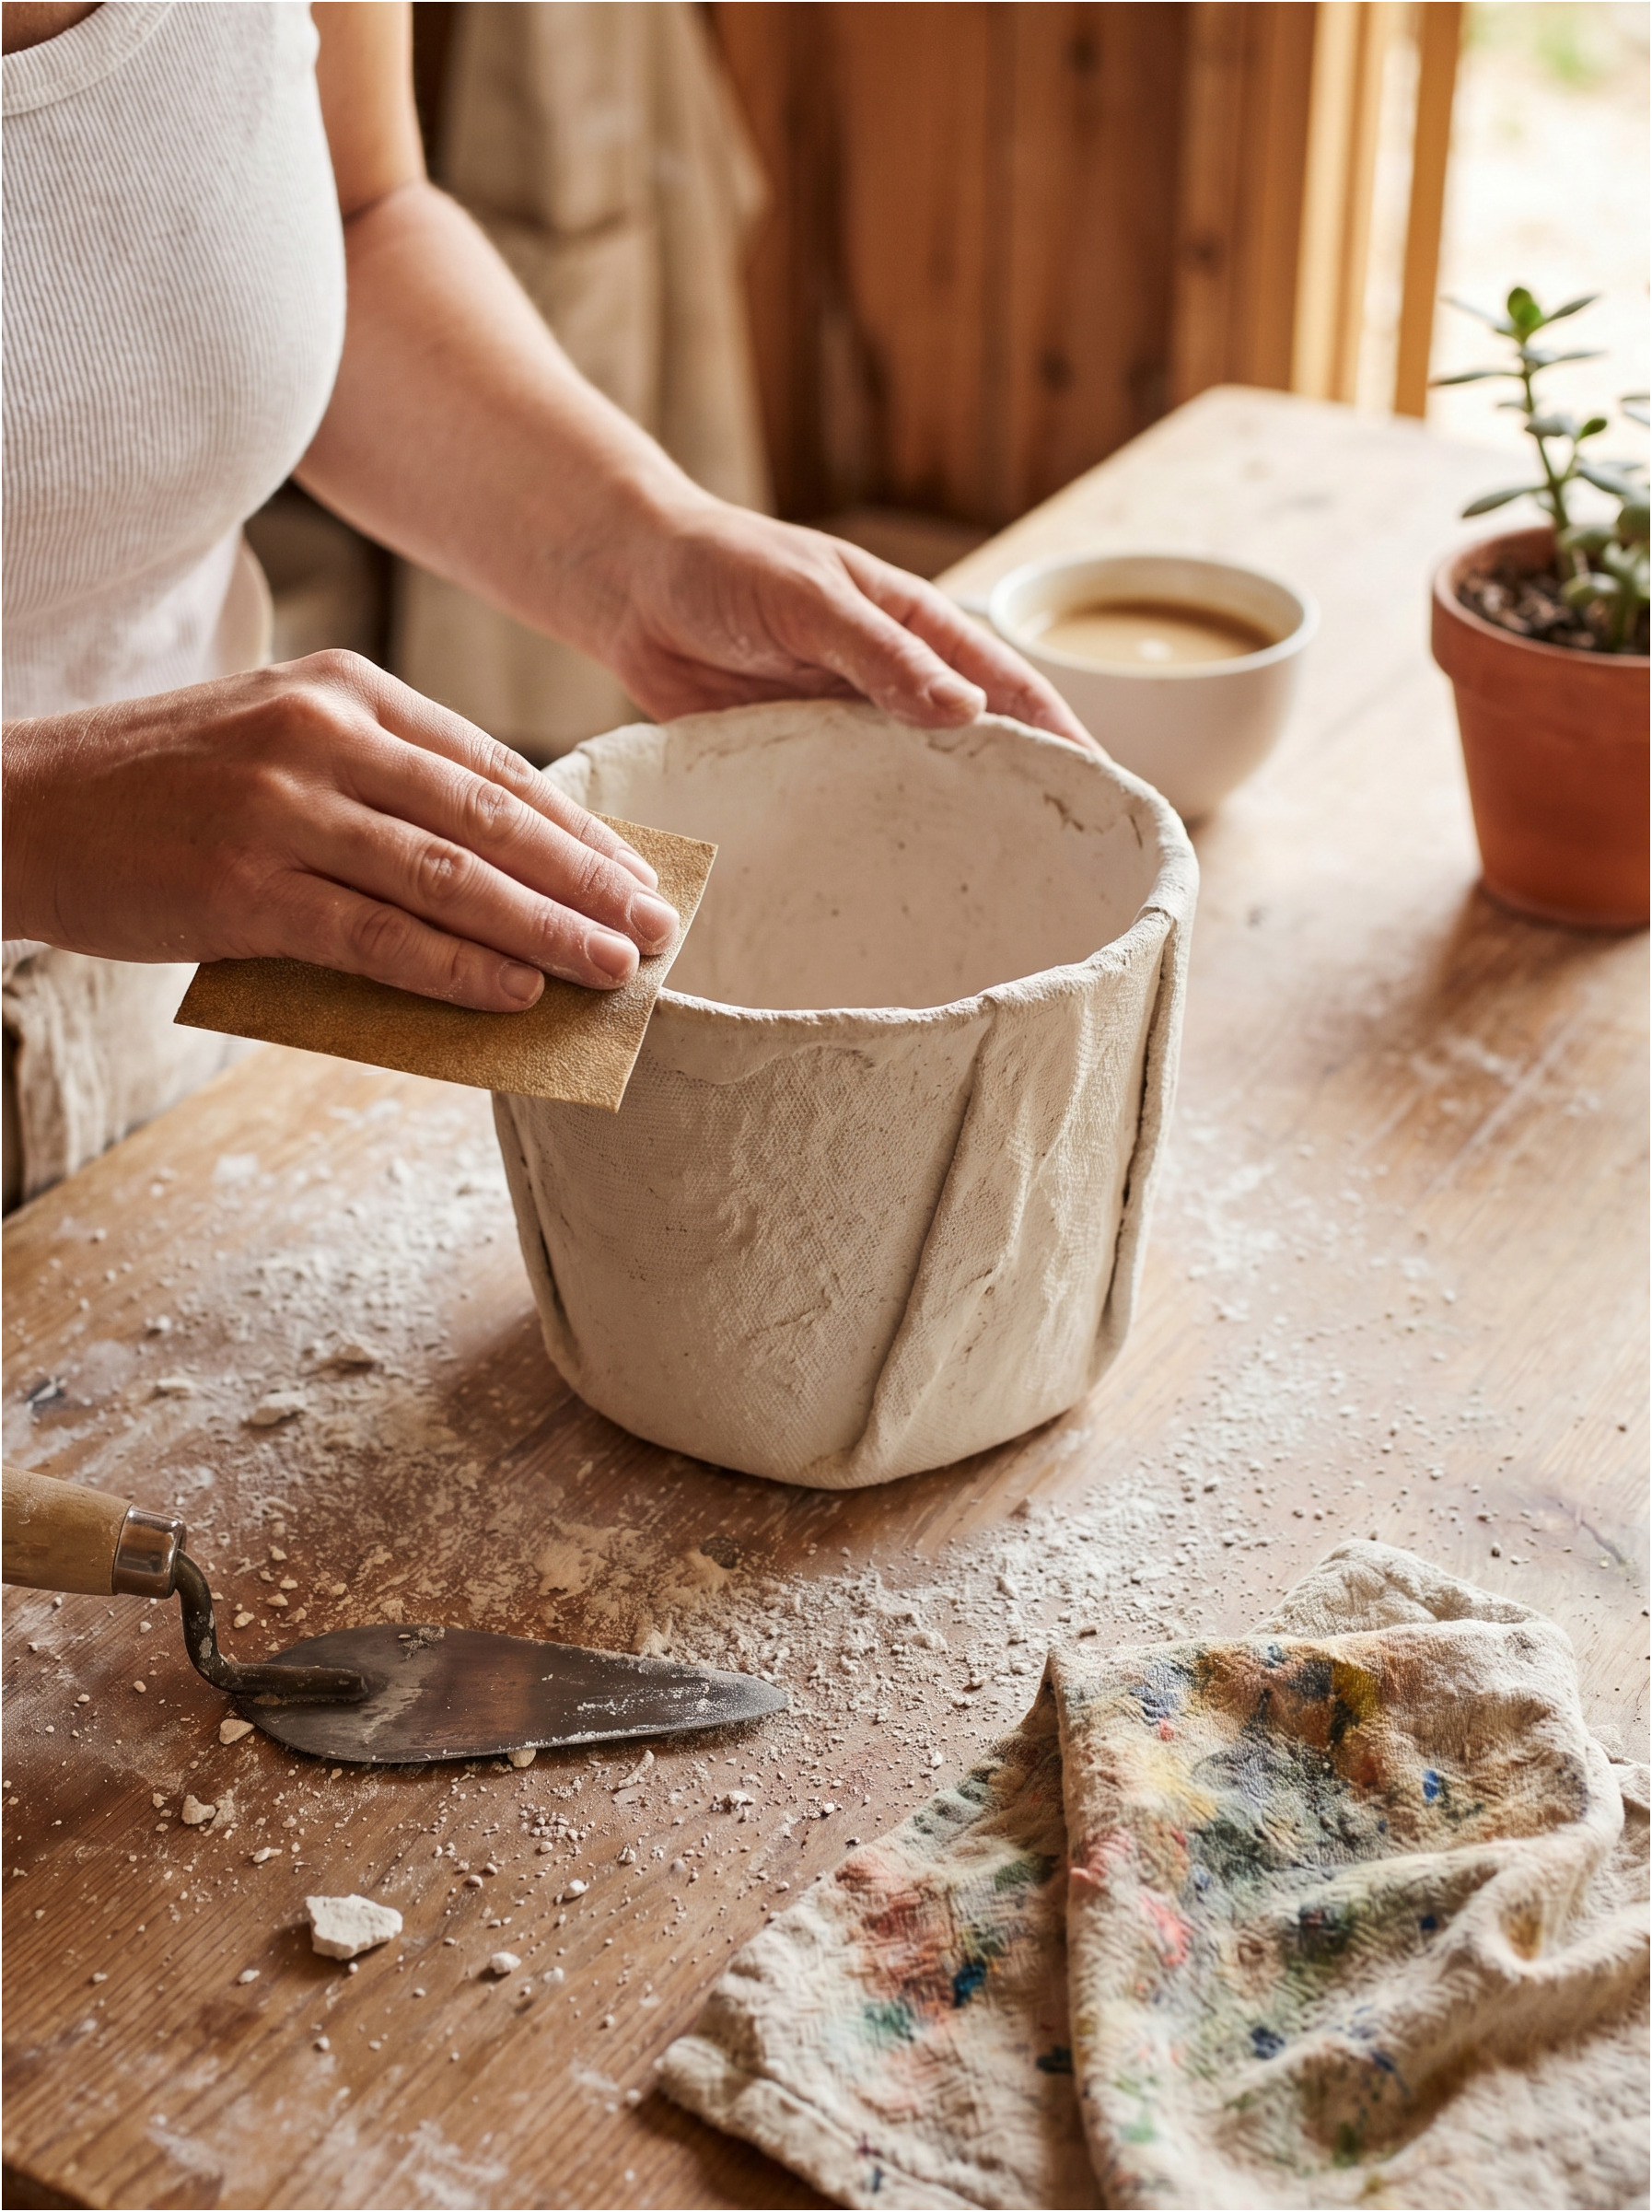
Once the item is firm and dry to the touch, gently remove it from the mold. You can smooth sharp or uneven edges with sandpaper.
If you want to use the cover outdoors, it’s recommended to coat it with a suitable varnish, sealant, or outdoor paint. Plaster itself isn’t ideal for long-term exposure to rain and moisture, so a protective coating will significantly extend its lifespan.
How to decorate the cover
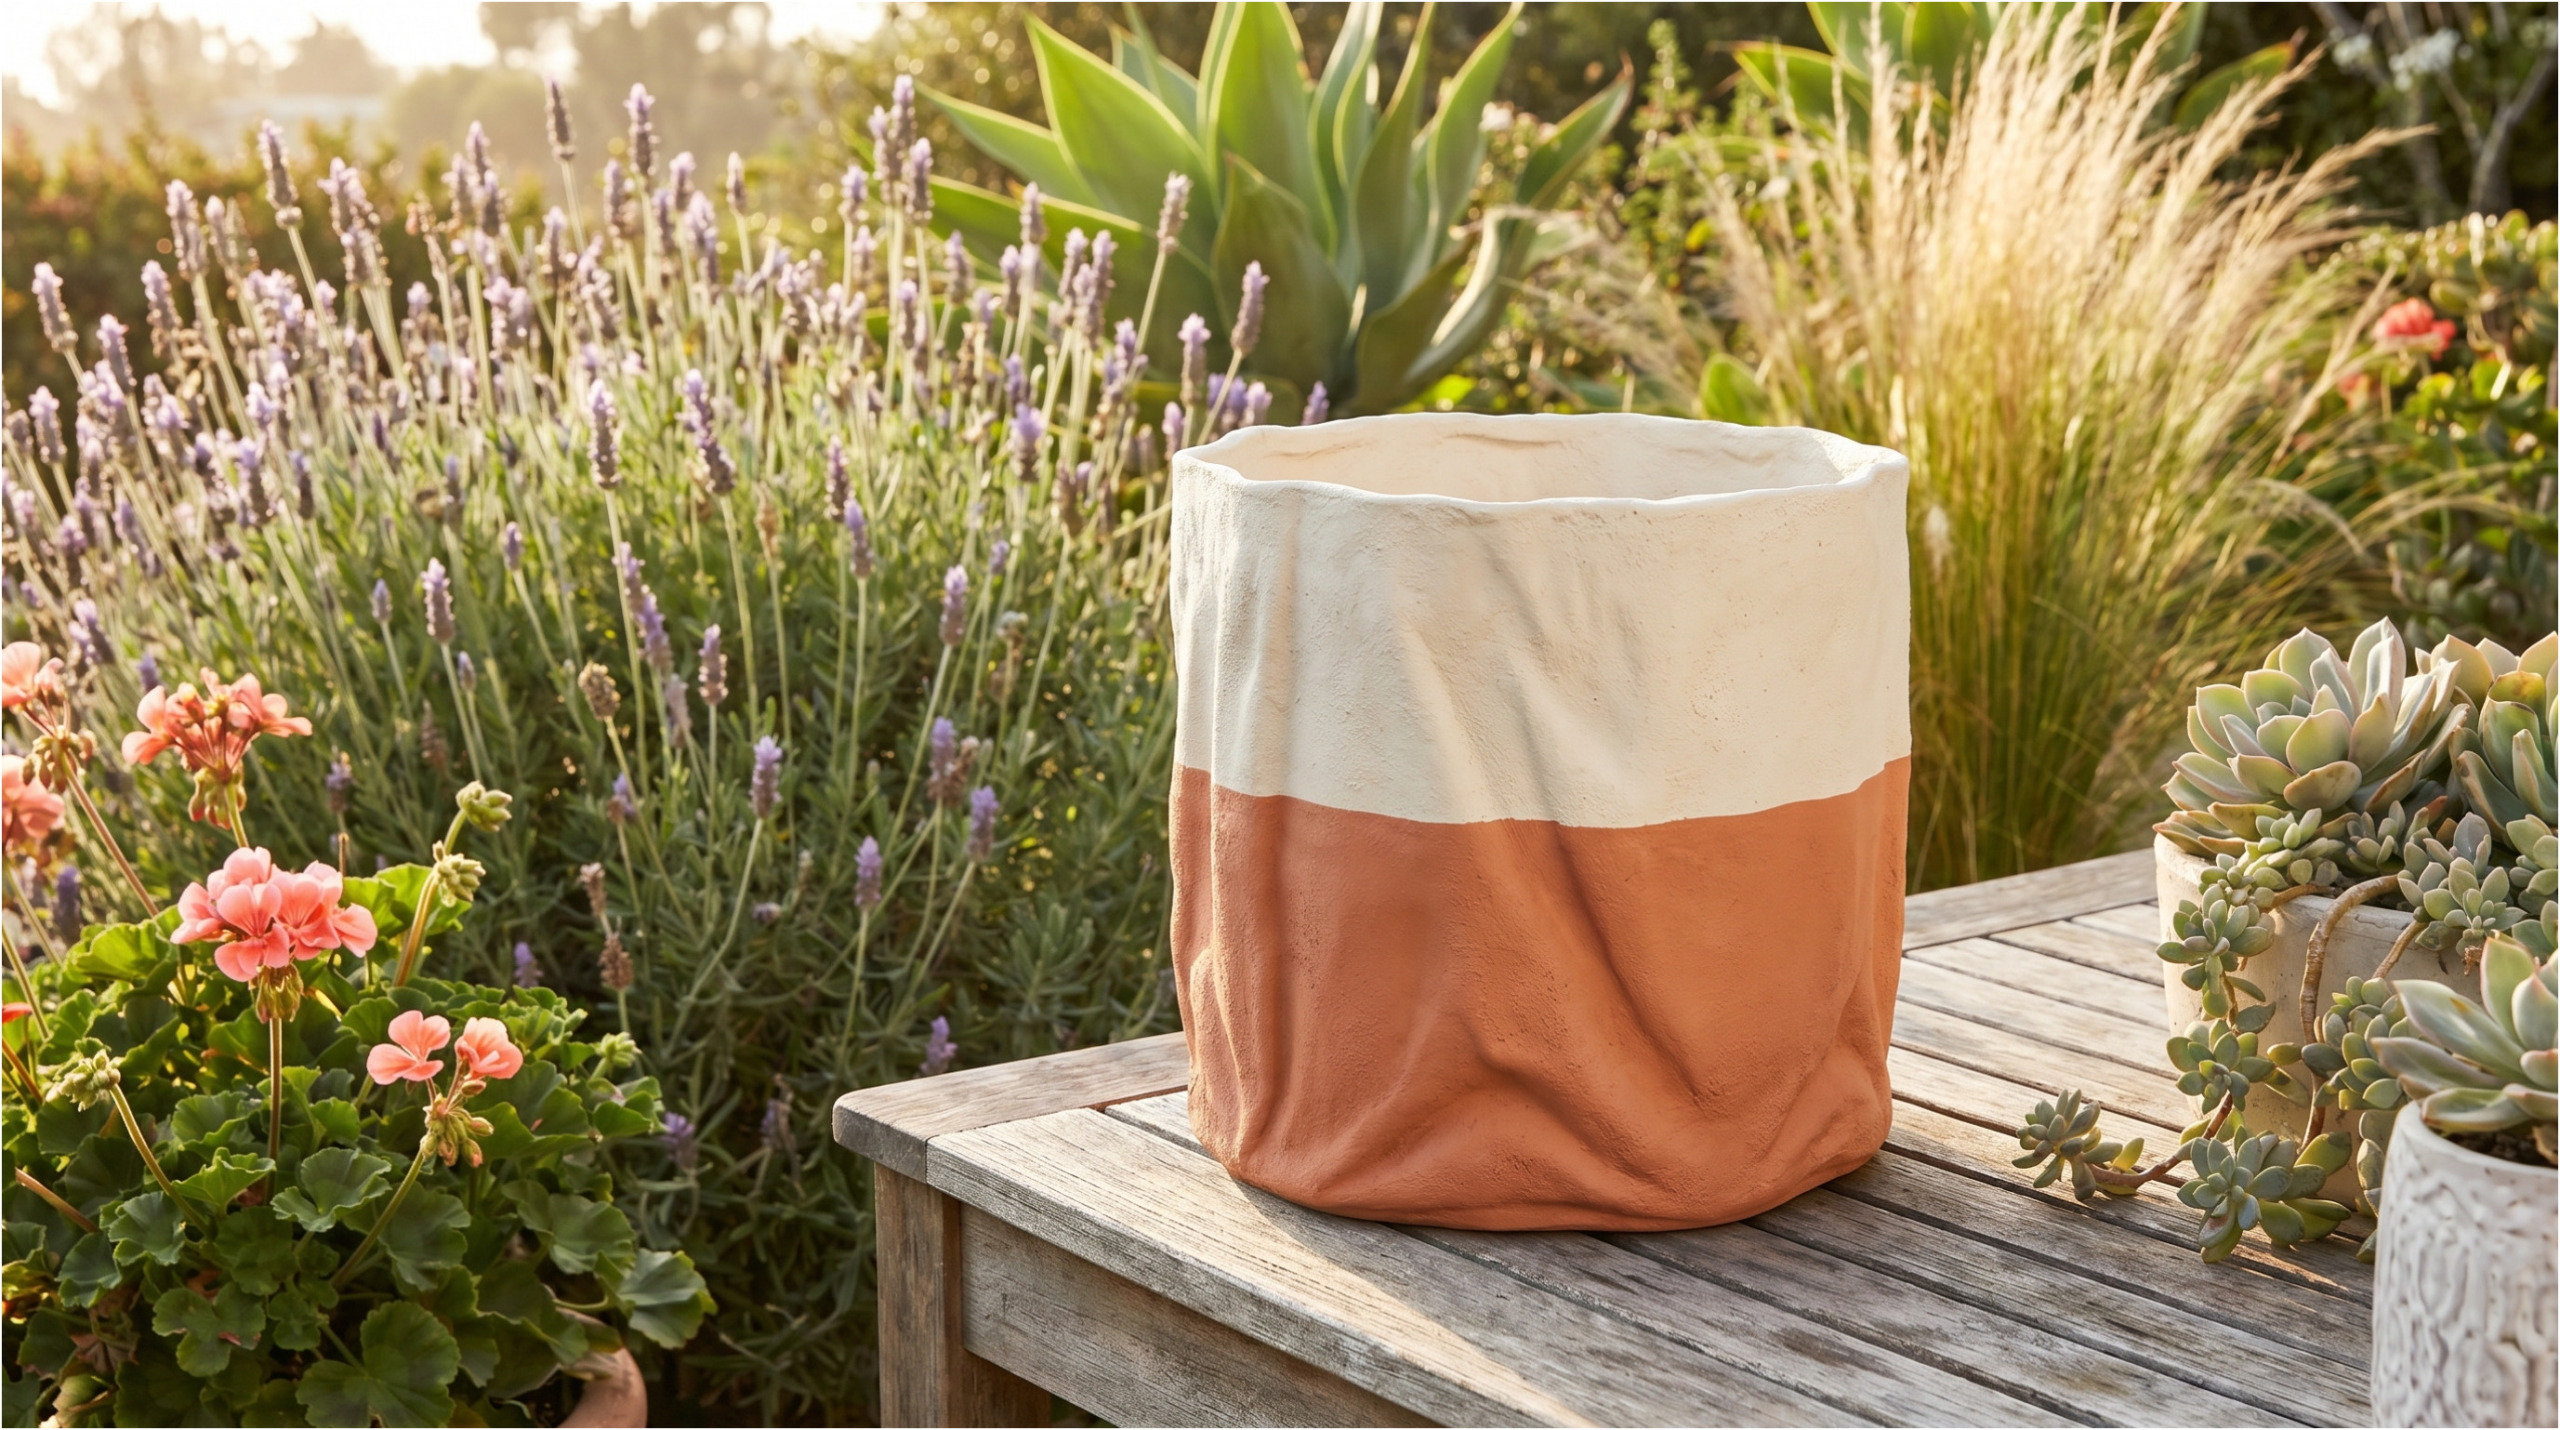
You can leave the finished plaster cover in its natural white color, or paint it to match your garden or interior style. Gray concrete effect, matte white, sand, terracotta, or black all look great.
A patina effect is also interesting. You can achieve this by painting the cover with a darker color and, once dry, lightly brushing over it with a lighter shade. This highlights the fabric texture and surface folds.
Can you plant directly into the plaster cover?
It’s better to use it as a decorative cover for a regular plant pot. So keep the plant in a plastic pot with drainage holes and place that inside the finished plaster cover.
Planting directly into plaster isn’t ideal, mainly because of water. Plaster can absorb moisture, soften over time, or get damaged. If you still want to plant directly into the cover, you’ll need to create a drainage hole and thoroughly treat the inside with a protective coating.
Where do homemade plaster covers fit best?
These covers look beautiful on a terrace, balcony, by the front door, on steps, or in a conservatory. They’re great for herbs, ornamental grasses, succulents, geraniums, lavender, or smaller houseplants.
The big advantage is that you can make a whole set in different sizes. Just use various molds and fabrics. Smaller covers look nice on a table, while larger ones can serve as a striking decoration by the house.
What to watch out for during production
The most common mistake is making the mixture too runny. If the plaster is too watery, the fabric won’t set properly and the cover may be fragile. On the other hand, if it’s too thick, it won’t soak evenly into the towel.
It’s also important not to use the item without protection in places where it will often get wet. Rain, overwatering, and frost can damage plaster. For outdoor use, a protective coating is almost essential.
An affordable decoration that looks luxurious
Making a plant pot cover from plaster and an old towel is a simple way to create an original garden decoration without spending much. You don’t need expensive tools or special skills. Just a few common things you probably already have at home.
The result is a handmade cover that looks elegant, modern, and much more expensive than it really is. Plus, you can customize the size, color, and shape exactly to your taste.
FAQ
You can use regular construction or modeling plaster. It’s important to prepare the mixture so that it is not too runny and properly coats the entire fabric.
Yes, an old dishcloth, a sturdier cotton fabric, or a smaller rag would be suitable. The fabric should absorb well and also be strong enough to hold its shape after hardening.
Yes, but it is advisable to treat it with varnish, impregnation, or outdoor paint. Unprotected plaster can crack or soften over time with prolonged moisture and rain.
A smaller cover usually dries in about 24 hours. For larger or thicker pieces, it’s better to wait 48 hours to ensure the product is really solid.
It is better to use it as a decorative cover for a regular pot. Direct planting is not ideal because the plaster can absorb water and get damaged without a protective coating.
Wrap the mold in plastic, food wrap, or lightly coat it with oil before use. The finished cover will then come off more easily after drying.
You can use acrylic paint, outdoor paint, varnish, or an impregnation coating. For outdoor use, a protective coating is important as it extends the lifespan of the cover.


